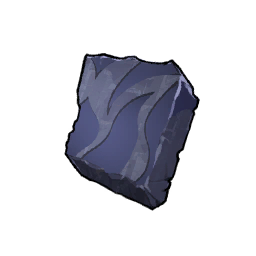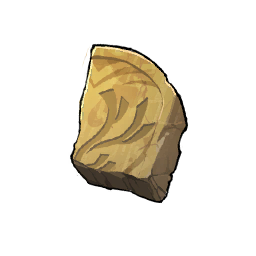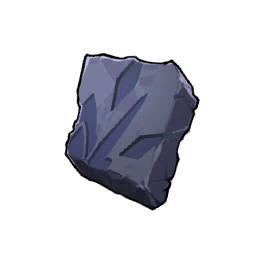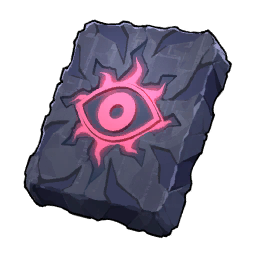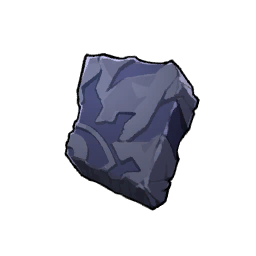
Bellanoir Libero's Slab Fragment
Blueprint1★A shard bearing the likeness of Bellanoir Libero. Assemble the complete set to form a Slab.
It is a component in one recipe, so keep a couple spare rather than a stockpile.
Details
It weighs almost nothing and stacks to 9,999, so there is no reason not to carry a full stack. It sells for almost nothing, so do not bother hauling it to a shop.
Where to Find Bellanoir Libero's Slab Fragment
Bellanoir Libero's Slab Fragment shows up as world loot — chests in the Desert, chests in the Mount Obsidian and chests in the Snowfields, and 5 more pools besides, usually 1–2 at a time. Higher-grade chests carry the better rolls, so the ones guarded by a camp are usually worth the detour.
Sending a team on the Blazing Cavern, Astral Frost Cavern and Free Pal Alliance Illicit Trading Post expeditions brings some back without you leaving base.
Expeditions are the only tap you can schedule, and the fastest one is not the guaranteed one. The 120-minute VeryHard run to the Free Pal Alliance Illicit Trading Post never comes back empty and averages 1.5 fragments, which is a slab in about three dispatches but only ~0.75 fragments per hour of real time. The 45-minute Blazing Cavern run pays half as often for half the haul — around 0.75 fragments expected per dispatch — yet its short timer makes it roughly 1 fragment per hour if you are around to redispatch, the best rate of the three. Astral Frost Cavern at 60 minutes sits between them on timer and matches the VeryHard rate per hour. Pick the guaranteed run when you are logging off, the Blazing Cavern loop when you are actively playing.
| How | Where | Details |
|---|---|---|
| Expedition | Blazing Cavern | Normal · 45 min · 50% chance · 1–2 at a time |
| Expedition | Astral Frost Cavern | Hard · 60 min · 50% chance · 1–2 at a time |
| Expedition | Free Pal Alliance Illicit Trading Post | VeryHard · 120 min · 100% chance · 1–2 at a time |
| World loot | Enemy camp boss stashes in the Mount Obsidian | Grade 3 · 90.9% chance · 1 at a time |
| World loot | Chests in the Desert | Grade 3 · 81.8% chance · 1 at a time |
| World loot | Chests in the Mount Obsidian | Grade 3 · 81.8% chance · 1 at a time |
| World loot | Enemy camp boss stashes in the Desert | Grade 3 · 81.8% chance · 1 at a time |
| World loot | Chests in the Snowfields | Grade 3 · 50.0% chance · 1 at a time |
| World loot | Enemy camp boss stashes in the Snowfields | Grade 3 · 50.0% chance · 1 at a time |
| World loot | Sea base enemy camp boss stashes in the Desert | Grade 1 · 50.0% chance · 1–2 at a time |
| World loot | Sea base enemy camp boss stashes in the Mount Obsidian | Grade 3 · 50.0% chance · 1 at a time |
Using Bellanoir Libero's Slab Fragment Well
Four fragments buy exactly one raid attempt. They combine into Bellanoir Libero's Slab, the slab is spent at a Summoning Altar to call Bellanoir Libero at Level 45, and a wipe costs you the whole set again — so budget fragments in blocks of four, not one at a time. The Ultra rematch does not reuse these: it wants Bellanoir Libero (Ultra) Slab Fragment, a separate fragment with its own drop pool, and the two never substitute for each other. Full fight breakdown on the Bellanoir Libero raid guide.
If you are not farming expeditions, the world-loot odds are steep enough to be worth aiming at: boss stashes in enemy camps in the Mount Obsidian roll a fragment 90.9% of the time — the single richest chest in the game for this item — with Desert stashes and Desert or Mount Obsidian chests at 81.8%. Snowfield chests and stashes are coin flips. Since these are one-at-a-time rolls, a Mount Obsidian camp circuit is about four or five cleared bosses per slab, which is comparable to the expedition route and pays out immediately instead of on a timer.
Alternatives and Upgrades
Other schematics at a similar tier, for when you want to weigh this against the rest of its class: