All Schematics and What They Unlock
579 schematics, the item or structure each one unlocks, and the rarity tier it was found at.
The Technology tree hands you most recipes, but the strongest gear in Palworld is deliberately kept off it. Those recipes arrive as schematics — drops you have to go and find — and until one lands in your inventory the crafting bench simply will not list the item.
Rarity is the part people miss. A schematic is not a yes-or-no unlock. Weapons and armour built from a higher-rarity copy come out with higher attack or defence than the exact same recipe built from a common one, and the difference is large enough that an old weapon from a legendary schematic will beat a newer one from a common. Keep farming a schematic you already own; you are farming the tier, not the unlock.
Where they come from. Container loot, for all but 24 of them. Nearly every schematic in the game sits on the loot tables of four channels: crates on the oil rigs, treasure map digs, the chests and enemy camp stashes of each region, and fishing. Set your expectations for the top tier before you start: a 4★ weapon schematic tops out near 2% per container anywhere in the game, and most tables sit under 1%. Oil rig crates and sea base enemy camp loot hold the best of those odds; treasure map digs appear on more 4★ tables than any other source but pay under 1% each, so they are the widest net rather than the fastest one. Ordinary region chests and fishing carry the same schematics at lower tiers, which is where the bulk of a 1★–3★ collection actually comes from. The two late islands are the odd ones out: the cavern chests of Feybreak and Sunreach Isle each run a table of their own, and every accessory schematic in the game is on one of those two. The ancient-tier guns and armour are the third exception and the sharpest one: not one of those four channels carries them, and the section below is the only routing that works for them.
The exception is worth planning your route around. 24 legendary schematics are also carried by one specific Alpha each, at a flat 3% per kill — better than the best container roll on every single one of them, and aimed at a fixed target you can walk to instead of a table you have to keep rolling. If the recipe you want is in the table below, the Alpha is the route; the rig run is what you do for the rest.
A few of them you can just buy. 12 schematics carry a price instead of a drop rate — the Arena Shop stocks most of them for Battle Tickets, and the Medal Shop sells both Lily's Spear recipes for Dog Coins. Nine are 4★, the top tier there is, bought with no farming and no luck involved. If the weapon you want is on that list, every hour spent on oil rig crates is wasted. See the table below, plus the arena guide for ticket rates.
The craft option will not appear if the schematic is in a chest. Learning a schematic is not permanent the way a Technology unlock is — the recipe only shows up at the bench while the schematic item is physically in your own inventory. Stash it in a base container or a Pal's pack to save weight and the entry silently vanishes from the crafting list.
Schematics You Can Buy Outright (12)
These are the only schematics in the game with a price tag instead of a drop rate. Every one is 4★ or 3★, so the copy you buy is the best copy — there is no reason to farm a higher tier of any weapon on this list. Prices are per purchase and the currency is earned rather than looted: Battle Tickets from arena rounds, Dog Coins from junk hauls while fishing and the coin nodes scattered across the islands.
| Schematic | Rarity | Unlocks | Price | Shop |
|---|---|---|---|---|
| Charge Rifle Schematic 4 | 4★ | 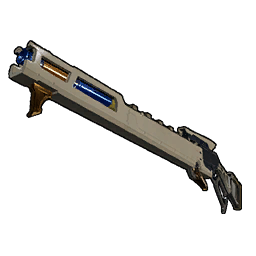 Charge Rifle Charge Rifle | 1,500 Battle Ticket | Arena Shop |
| Core Eject Shotgun Schematic 4 | 4★ | 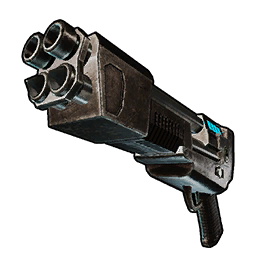 Core Eject Shotgun Core Eject Shotgun | 1,300 Battle Ticket | Arena Shop |
| Energy Shotgun Schematic 4 | 4★ | 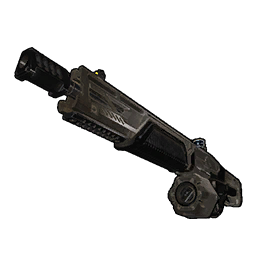 Energy Shotgun Energy Shotgun | 1,500 Battle Ticket | Arena Shop |
| Enhanced Lily's Spear Schematic 4 | 4★ | 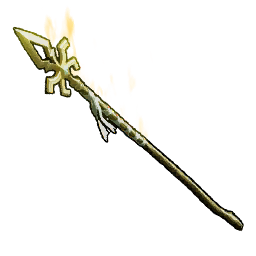 Enhanced Lily's Spear Enhanced Lily's Spear | 840 Dog Coin | Medal Shop |
| Lily's Spear Schematic 4 | 4★ | 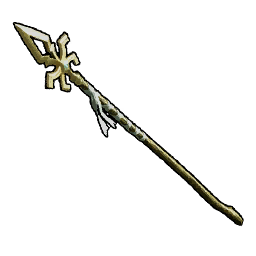 Lily's Spear Lily's Spear | 600 Dog Coin | Medal Shop |
| Marksman Revolver Schematic 4 | 4★ | 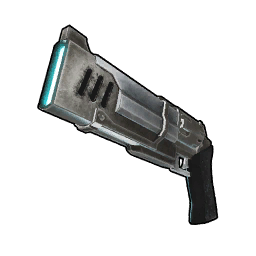 Marksman Revolver Marksman Revolver | 1,300 Battle Ticket | Arena Shop |
| Overheat Rifle Schematic 4 | 4★ | 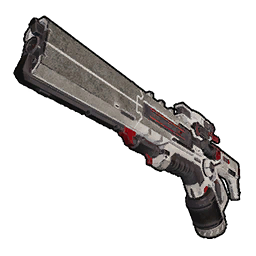 Overheat Rifle Overheat Rifle | 1,500 Battle Ticket | Arena Shop |
| V1 Armor Schematic 4 | 4★ |  V1 Armor V1 Armor | 1,000 Battle Ticket | Arena Shop |
| V2 Armor Schematic 4 | 4★ |  V2 Armor V2 Armor | 1,000 Battle Ticket | Arena Shop |
| Charge Rifle Schematic 3 | 3★ | Charge Rifle | 600 Battle Ticket | Arena Shop |
| Energy Shotgun Schematic 3 | 3★ | Energy Shotgun | 600 Battle Ticket | Arena Shop |
| Overheat Rifle Schematic 3 | 3★ | Overheat Rifle | 600 Battle Ticket | Arena Shop |
Cosmetic headgear is the other exception: Desert Shop, Village Shop and Volcano Shop sell 22 decorative hat and cap schematics for a flat 500 Gold each. They carry no stats, so one copy is the whole story.
Legendary Schematics with a Dedicated Alpha (24)
Each of these Alphas carries one 4★ schematic and no other, at 3% per kill. The last column is the best container anywhere in the game for the same schematic, so the gap is the whole argument: even a 2% oil rig crate is a worse roll than the Alpha, and the sub-1% ones are not close. Alphas sit at fixed spawn points and return, which makes this the only schematic route you can farm on purpose rather than by volume — pick the one whose level you can already beat, learn the approach, and repeat it.
The trade is level gating. The list runs from Lv 11 to Lv 70, and a 3% roll still means most trips end with nothing, so the honest expectation is roughly 23 clears for an even chance at a copy. Kills also stack toward the same fusion maths as containers — five copies of a lower grade make one of the next at the Ancient Workbench — but an Alpha only ever hands over the 4★ copy, so nothing here needs fusing.
 Chillet
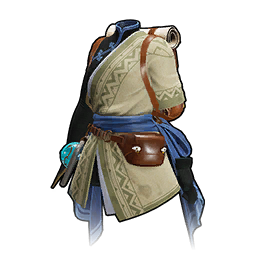 Cloth Outfit
 Penking
 Feathered Hair Band
 Kingpaca
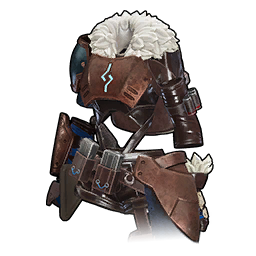 Metal Armor
 Bushi
Bushi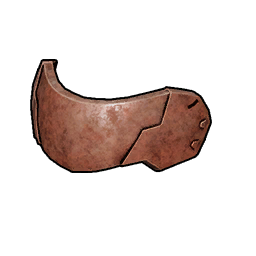 Metal Helm
 Fenglope
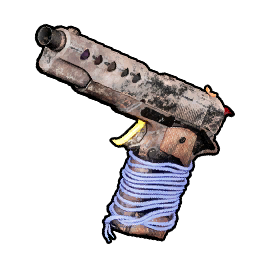 Makeshift Handgun
 Vaelet
 Blazehowl
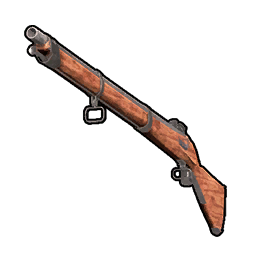 Musket
 Verdash
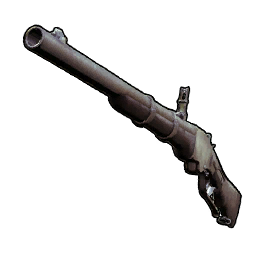 Single-Shot Rifle
 Beakon
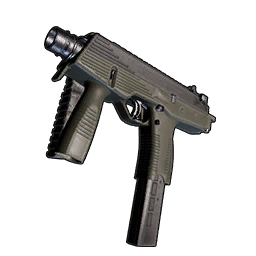 SMG
SMG Elizabee
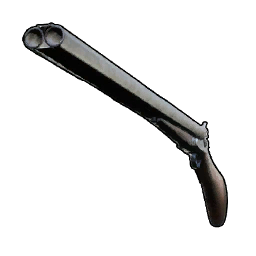 Double-Barreled Shotgun
 Azurobe
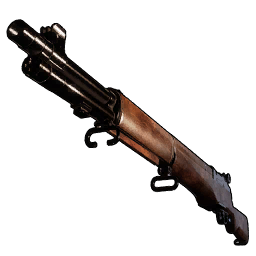 Semi-Auto Rifle
 Menasting
 Cold Resistant Refined Metal Armor
 Suzaku
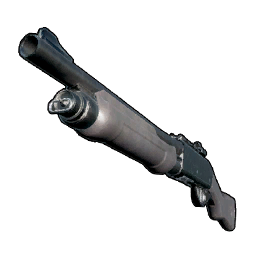 Pump-Action Shotgun
 Blazamut
 Astegon
 Lyleen Noct
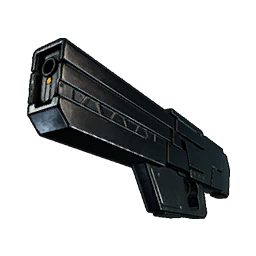 Laser Rifle
 Frostallion
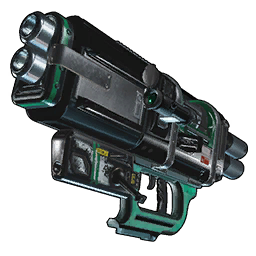 Plasma Cannon
 Neptilius
 Paladius
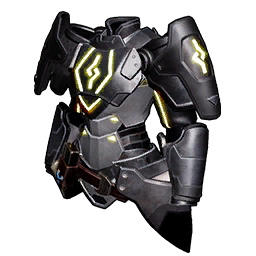 Lightweight Hexolite Armor
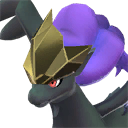 Frostallion Noct
 Azurmane
 Jetragon
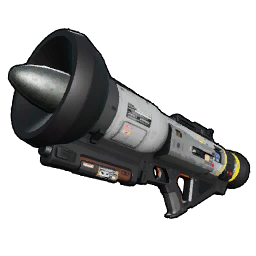 Rocket Launcher
 Necromus
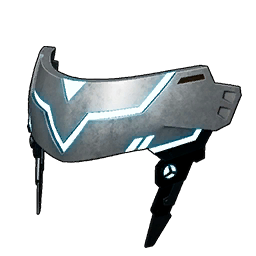 Hexolite Helmet
 Warsect
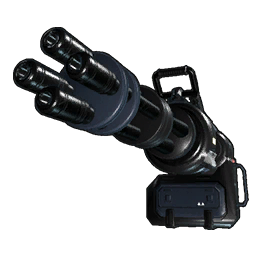 Laser Gatling Gun
Levels are the Alpha's, not the Pal's — see the Alpha list for stat multipliers and the map for each spawn point.
The Ancient Tier Ignores All of That (7)
7 recipes sit at the ceiling of the weapon and armour ladders, and every route above misses every one of them. No Alpha carries an ancient schematic. Nothing on an oil rig holds one, no enemy camp stash or region chest lists one, and no shop takes money for one. Three container channels feed the tier and all three hang off the World Tree — plus one route that is not a container at all, below the table.
| Schematic | Unlocks | World Tree fishing | Treasure map (tier 5) | Glistening relic |
|---|---|---|---|---|
| Cold-Resistant Ancient Armor Schematic 4 | 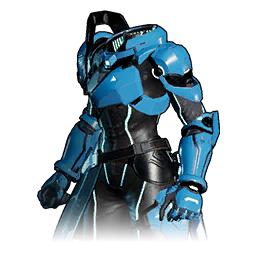 Cold-Resistant Ancient Armor Cold-Resistant Ancient Armor | 0.841% | 0.149% | 0.029% |
| Heat-Resistant Ancient Armor Schematic 4 | 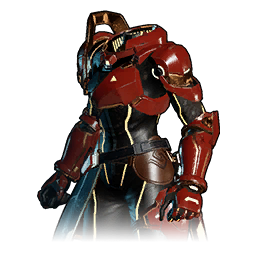 Heat-Resistant Ancient Armor Heat-Resistant Ancient Armor | 0.841% | 0.149% | 0.029% |
| Beam Launcher Schematic 4 | 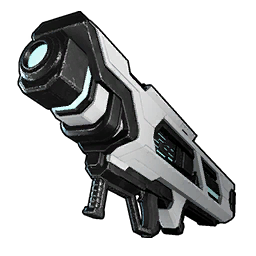 Beam Launcher Beam Launcher | 0.363% | 0.149% | 0.029% |
| Beam Scatter Schematic 4 | 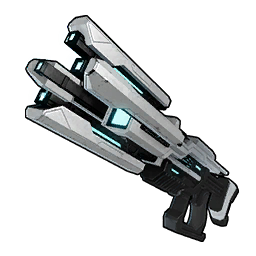 Beam Scatter Beam Scatter | 0.363% | 0.149% | 0.029% |
| Drone Launcher Schematic 4 | 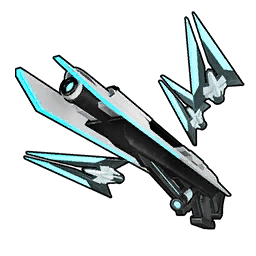 Drone Launcher Drone Launcher | 0.363% | 0.149% | 0.029% |
| Lightweight Ancient Armor Schematic 4 | 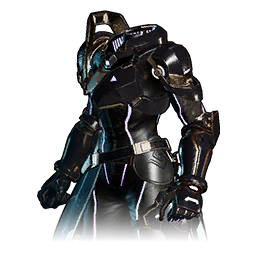 Lightweight Ancient Armor Lightweight Ancient Armor | 0.363% | 0.149% | 0.029% |
| Plasma Rifle Schematic 4 | 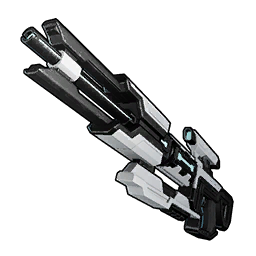 Plasma Rifle Plasma Rifle | 0.363% | 0.149% | 0.029% |
Fish, and fish specifically there. A rod at a World Tree spot beats the tier-5 dig on every row and beats the recycler by roughly an order of magnitude, which inverts the usual advice: for the ancient set the oil rig run is worth nothing and the fishing spots are the whole route. The two resistance armours roll better than the guns from the same water, so a session aimed at the armour is the more efficient one.
Recycling is a by-product, not a plan. The Ancient Relic Recycler pays these seven and nothing else in the schematic slot, so anything it hands you is on this table — but the relic grade decides whether the roll exists at all. A Glistening relic is the only grade with a 4★ rate worth writing down; a Decayed one rounds to zero and is a wood-and-ore machine in practice. Feed it what you pick up on the way past and treat a schematic as a bonus.
5 of the 7 have a second home: the hard-mode tower rematches. Clearing all eight towers on normal opens a rematch ladder, and each of these five bosses carries one ancient-tier recipe and no other — a different one per tower, so there is nothing to compete over and nothing to reroll for. It is a chance on the reward table rather than a guarantee, unlike the trainer's hat, which lands on the first clear every time. What it buys you over the rod is aim: the World Tree pools hand out whichever of the seven they feel like, while a tower is a named schematic you walk to.
| Hard rematch | Effective HP | Schematic | Unlocks | World Tree fishing |
|---|---|---|---|---|
 Victor & Shadowbeak Victor & Shadowbeak | ×400 | Cold-Resistant Ancient Armor Schematic 4 | Cold-Resistant Ancient Armor | 0.841% |
 Bjorn & Bastigor Bjorn & Bastigor | ×417 | Lightweight Ancient Armor Schematic 4 | Lightweight Ancient Armor | 0.363% |
 Auri & Shaolong Auri & Shaolong | ×440 | Beam Launcher Schematic 4 | Beam Launcher | 0.363% |
 Saya & Selyne Saya & Selyne | ×465 | Plasma Rifle Schematic 4 | Plasma Rifle | 0.363% |
 Axel & Orserk Axel & Orserk | ×733 | Heat-Resistant Ancient Armor Schematic 4 | Heat-Resistant Ancient Armor | 0.841% |
Effective HP is the rematch health multiplier divided by its damage-taken multiplier — the real size of the bar, and the only number worth sorting this list by. Victor & Shadowbeak at ×400 is the cheapest entry point of the five and Axel & Orserk at ×733 the most expensive, which is roughly 1.8× the work for one recipe of the same tier. Order your run by that column, not by which weapon you want first. The 2 recipes with no tower behind them stay a fishing job. Unlock conditions and full multipliers are on the hard mode tower guide and the tower boss list.
Schematics the Arena Hands Over Free (3)
Beating an arena rank for the first time pays a fixed bundle on top of the Battle Tickets, and 3 of those bundles contain a schematic outright — 100%, no roll, once per rank. This is separate from spending tickets at the counter: you get these for winning, whether or not you ever shop.
| Rank | Schematic | Rarity | Unlocks | Tickets with it |
|---|---|---|---|---|
| Silver | Handgun Schematic 1 | 1★ | 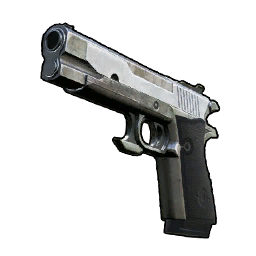 Handgun Handgun | 10 |
| Gold | Heat Resistant Refined Metal Armor Schematic 1 | 1★ | 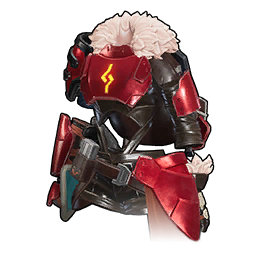 Heat Resistant Refined Metal Armor Heat Resistant Refined Metal Armor | 15 |
| Platinum | Meteor Launcher Schematic 4 | 4★ | 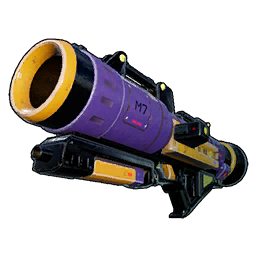 Meteor Launcher Meteor Launcher | 20 |
Meteor Launcher Schematic 4 is the one that matters. It is a 4★ recipe with no loot table anywhere in the game — nothing drops it, no container rolls it, no merchant stocks it, and no lower-grade copy of it exists to fuse upward from. Beating the Platinum rank and its Lv 50 team once is the only way Meteor Launcher ever gets built, which makes that clear worth pushing for even if you never enter the arena again.
Opponent teams, levels and the ticket economy are on the arena page.
Weapon Schematics (224)
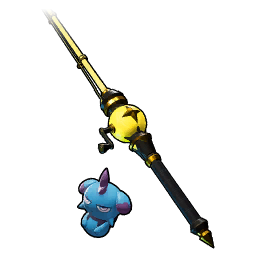
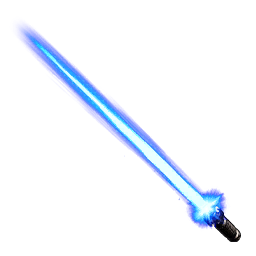
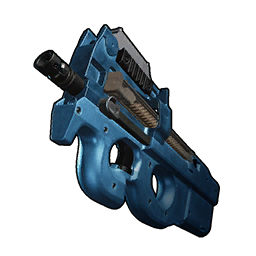
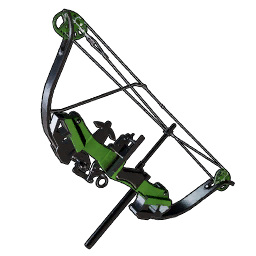
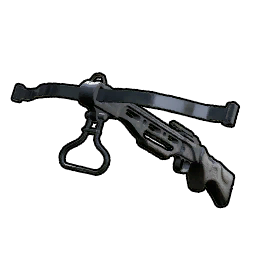
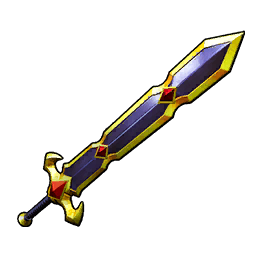
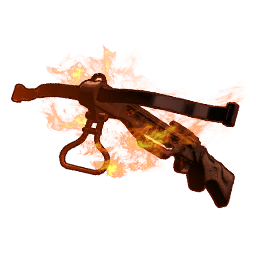
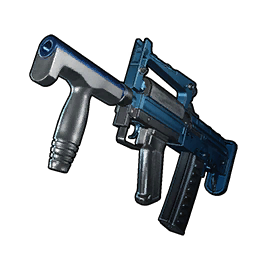
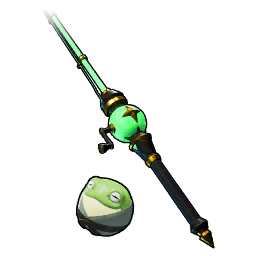
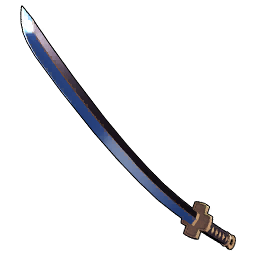
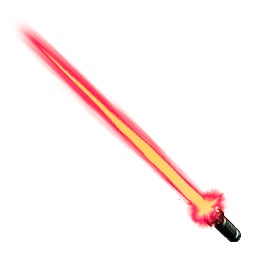
Guns, bows and melee weapons. These are the schematics worth farming: weapon damage scales with the rarity of the schematic you built from, so the same gun can be several tiers apart depending on which copy you used.
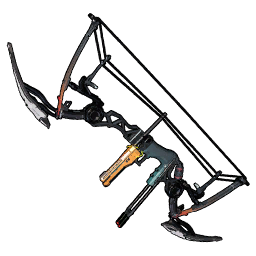 Advanced Bow
 Advanced Fishing Rod (Depresso)
 Beam Sword
 Beginner Fishing Rod (Gumoss)
 Combat SMG
 Compound Bow
 Crossbow
 Excalibur
 Excalibur
 Fire Arrow Crossbow
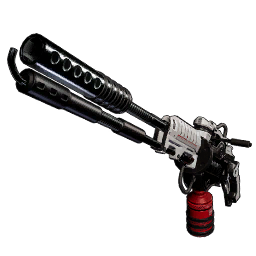 Flame Thrower
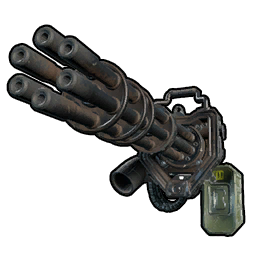 Gatling Gun
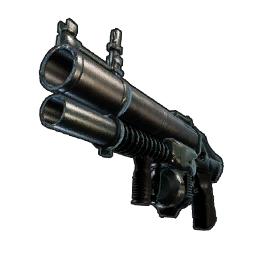 Grenade Launcher
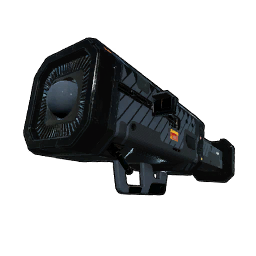 Guided Missile Launcher
 Heavy Assault Rifle
 Intermediate Fishing Rod (Croajiro)
 Katana
 Laser Sword
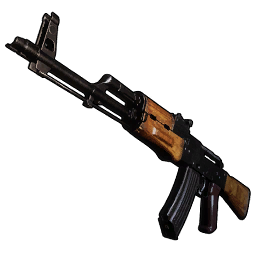 Makeshift Assault Rifle
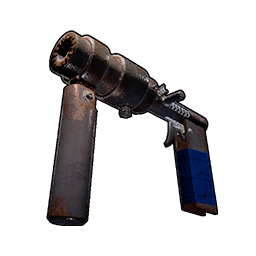 Makeshift Shotgun
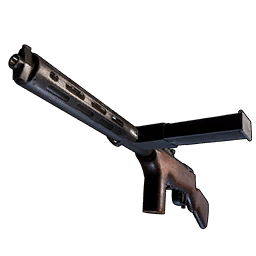 Makeshift SMG
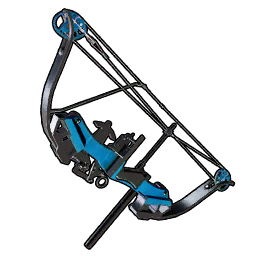 Mechanical Bow
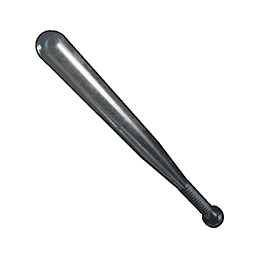 Metal Bat
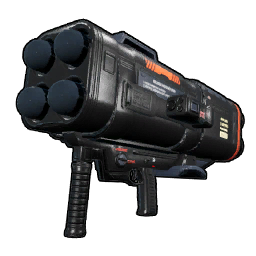 Multi Guided Missile Launcher
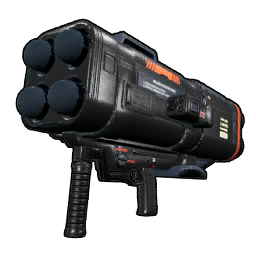 Multi Guided Missile Launcher
 Nightglow
 Nightglow
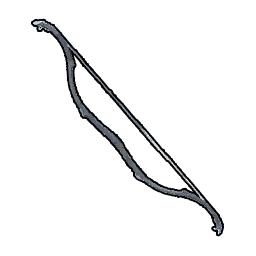 Old Bow
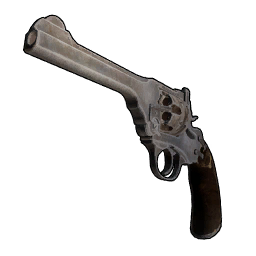 Old Revolver
 Poison Arrow Crossbow
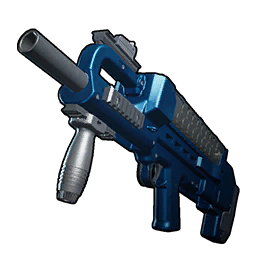 Prototype Shotgun
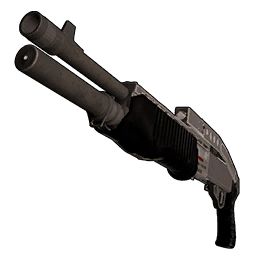 Semi-Auto Shotgun
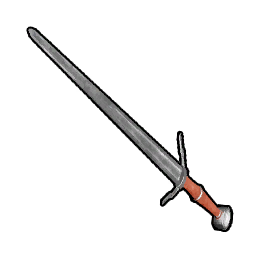 Sword
Sword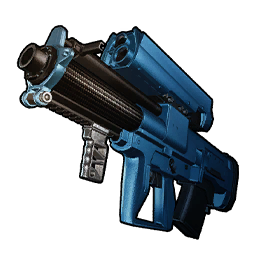 Tactical Grenade Launcher
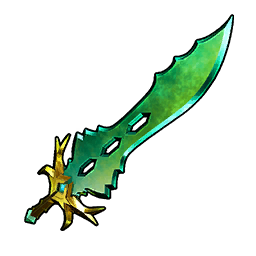 Terra Blade
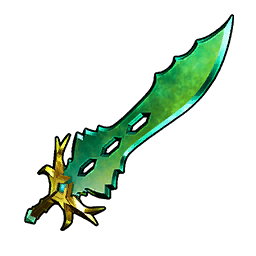 Terra Blade
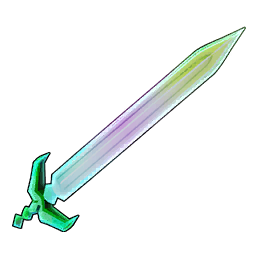 Terraprisma
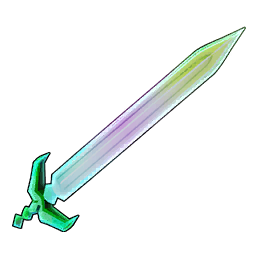 Terraprisma
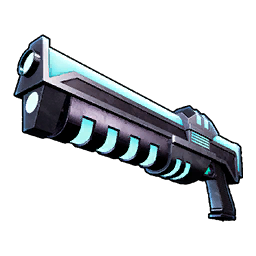 Vortex Beater
 Vortex Beater
Accessory Schematics (70)
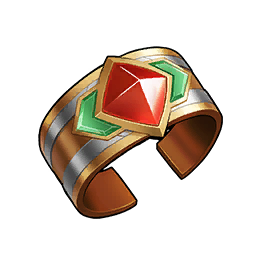
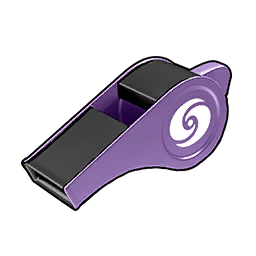
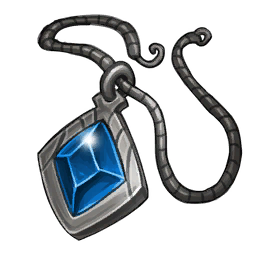
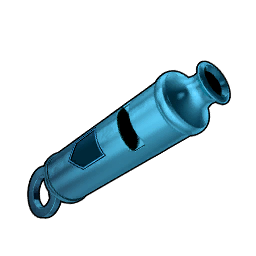
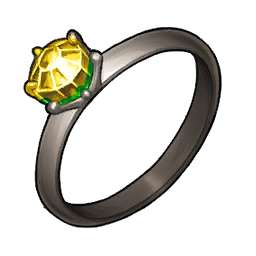
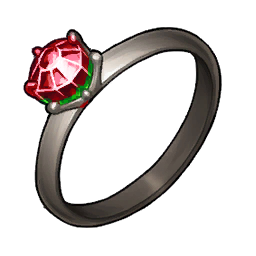
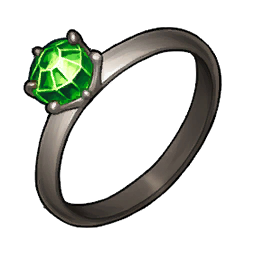
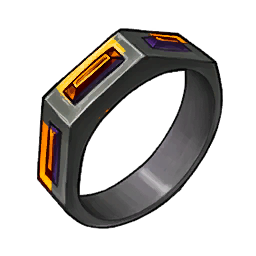
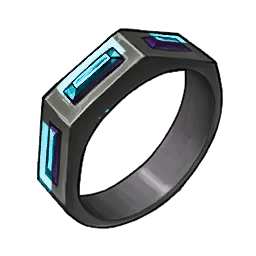
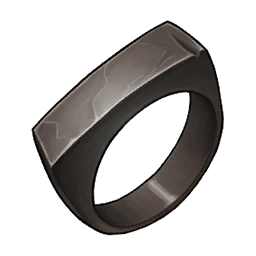
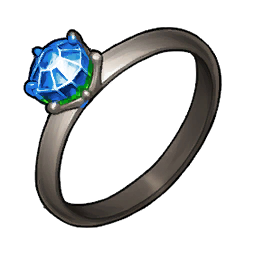
Rings, whistles, pendants, talismans, batons, charms and belts — the family the rarity rule above does not apply to. An accessory schematic exists at exactly one rarity and never rolls another, because the power ladder is written into the item names instead: Air Walker Mk I, Mk II, Mk III and EX are four separate recipes behind four separate schematics, so a duplicate of the one you already hold buys you nothing and the upgrade is a different drop entirely.
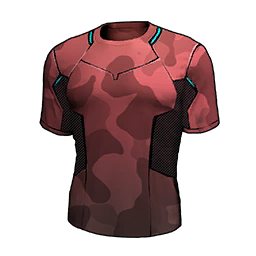
Two islands hold all of them, and they do not overlap. The 29 rare (2★) ones — every elemental resistance ring, every support whistle, the pendants and the undershirts — sit on Feybreak: treasure chests in its caverns at 3.4%, crates on the oil rigs at 1.2%, surface chests at 0.2%. The 41 epic (3★) ones — the named Pal talismans, rings and batons, the Air Walker ladder, the charms and belts — sit on Sunreach Isle instead: cavern treasure chests at 2.4%, large oil rig crates at 1%, surface chests at 0.2%. Nothing else in the game drops an accessory schematic, so farming the wrong island returns exactly zero of the set you want.
Cavern treasure chests are the only route worth running. Within each island every schematic sits at the same odds, which makes a treasure chest close to a uniform pick from that island's set — you cannot aim at one, but every open rolls at all of them. Reckon on about 20 Feybreak chests or 29 Sunreach ones for an even chance at a specific schematic; the surface chests, at 0.2%, are more than an order of magnitude worse and not worth the walk. One item has no table at all: the Phantom Ring schematic is carried by nothing.
Building them is a second gate. The material bill stays hidden until the schematic is physically on you, and the two sets cost what their islands suggest. Feybreak recipes are built at a High-Quality Workbench and want plain Ingot plus Ancient Civilization Parts; every Sunreach recipe needs the Production Assembly Line, most of them want Refined Ingot, and nine also call for Ancient Civilization Core. Have an ancient-parts supply running before you start opening chests, or you will end up holding recipes you cannot build.
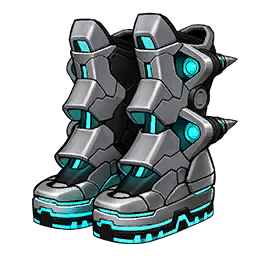 Air Walker EX
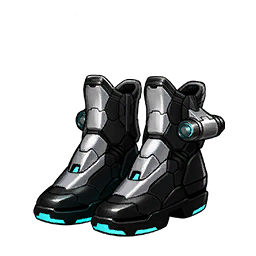 Air Walker Mk I
 Air Walker Mk II
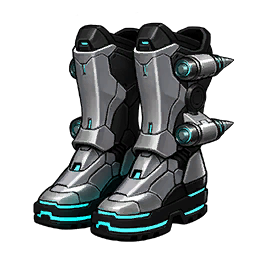 Air Walker Mk III
 Anubis's Talisman
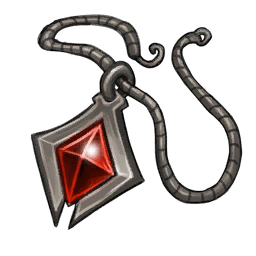 Attack Pendant
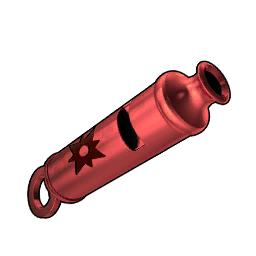 Attack Support Whistle
 Blazamut's Talisman
 Blazehowl Ring
 Celestial Emperor's Baton
 Cryolinx Ring
 Dark Support Whistle
 Defense Pendant
 Defense Support Whistle
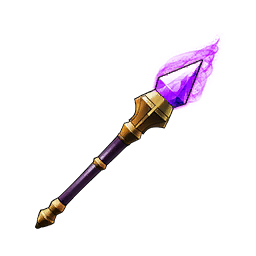 Divine Dragon's Baton
 Dogen Emblem
 Dragon Support Whistle
 Earth Emperor's Baton
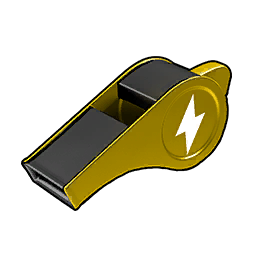 Electric Support Whistle
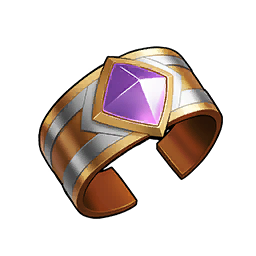 Elphidran Ring
 Faleris Aqua Ring
 Faleris Ring
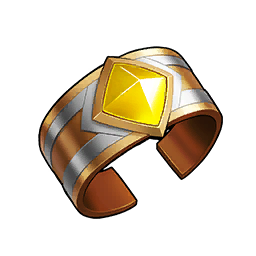 Fenglope Lux Ring
 Fire Support Whistle
 Flame Emperor's Baton
 Frostallion's Talisman
 Grass Support Whistle
 Ground Support Whistle
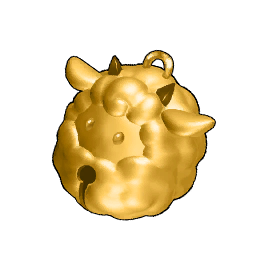 Growth Acceleration Bell
 Hartalis's Talisman
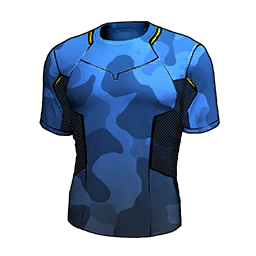 Heat Resistant Undershirt
 Ice Emperor's Baton
 Ice Support Whistle
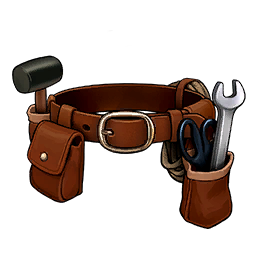 Islander's Tool Belt
 Jetragon's Talisman
 Katress Ring
 Life Pendant
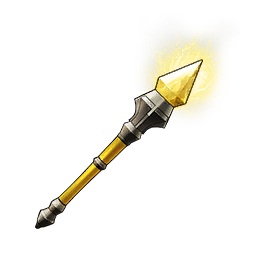 Lord of Lightning's Baton
 Lord of the Sea's Baton
 Lord of the Underworld's Baton
 Lyleen Noct's Talisman
 Lyleen's Talisman
 Menasting Terra Ring
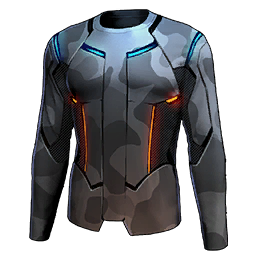 Multiclimate Undershirt
 Neptilius's Talisman
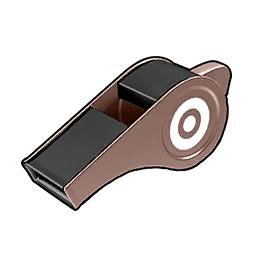 Neutral Support Whistle
 Orserk's Talisman
 Pal Tamer's Glasses
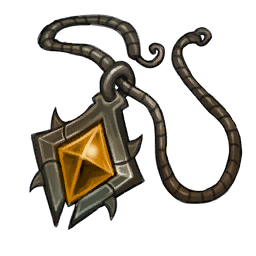 Pendant of Diligence
 Phantom Ring
 Reptyro Charm
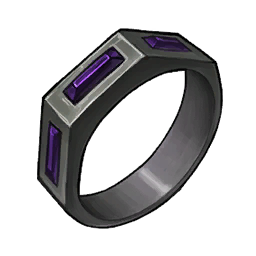 Ring of Dark Resistance
 Ring of Dragon Resistance
 Ring of Electric Resistance
 Ring of Fire Resistance
 Ring of Freight
 Ring of Grass Resistance
 Ring of Ground Resistance
 Ring of Ice Resistance
 Ring of Neutral Resistance
 Ring of Water Resistance
 Silvegis Emblem
 Spirit Emperor's Baton
 Thermal Undershirt
 Vaelet Ring
 Vanguard Charm
 Wandering Merchant Charm
 Warsect Terra's Belt
 Water Support Whistle
 Wumpo Charm
Armour and Shield Schematics (268)
Body armour, headgear and shields. Defence scales with schematic rarity the same way weapon attack does, so a legendary copy of an early-tier chestpiece can outlast several tech-tree upgrades.
 Ancient Armor
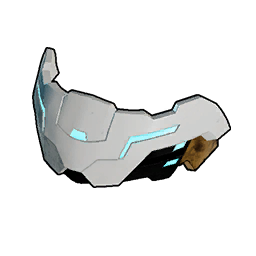 Ancient Helm
 Bowler Hat
 Bowler Hat
 Cold Resistant Hexolite Armor
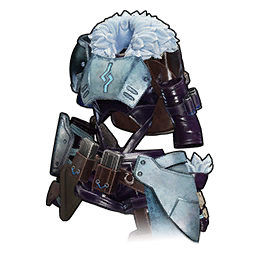 Cold Resistant Metal Armor
 Cold Resistant Pal Metal Armor
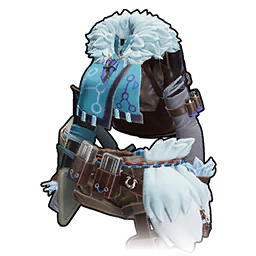 Cold Resistant Pelt Armor
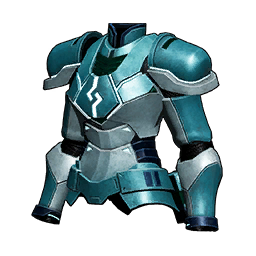 Cold Resistant Plasteel Armor
 Dazzi Hat
 Dazzi Hat
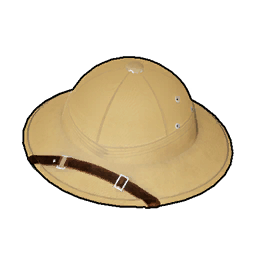 Explorer Cap
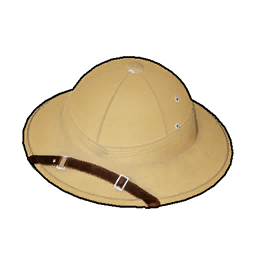 Explorer Cap
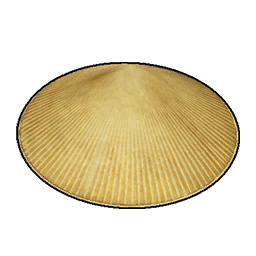 Farming Hat
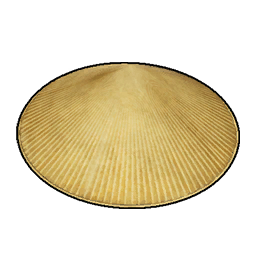 Farming Hat
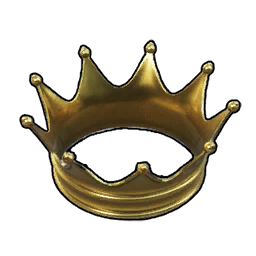 Golden Crown
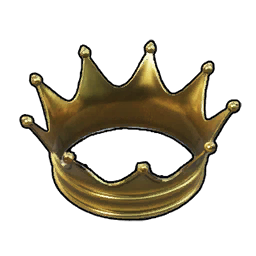 Golden Crown
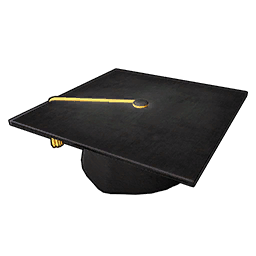 Graduation Cap
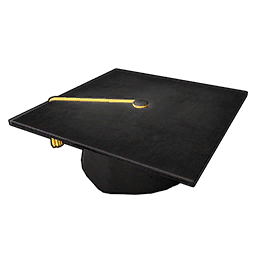 Graduation Cap
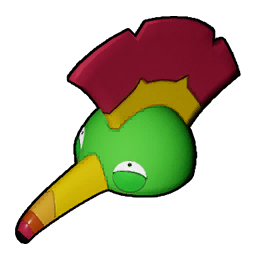 Grinning Tocotoco Cap
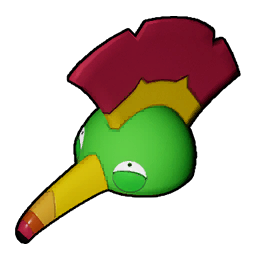 Grinning Tocotoco Cap
 Gumoss Cap
 Gumoss Cap
 Hallowed Headgear
 Hallowed Headgear
 Hallowed Helmet
 Hallowed Helmet
 Hallowed Hood
 Hallowed Hood
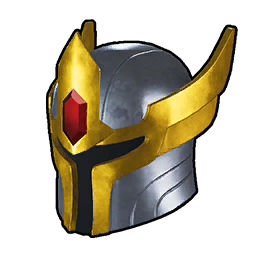 Hallowed Mask
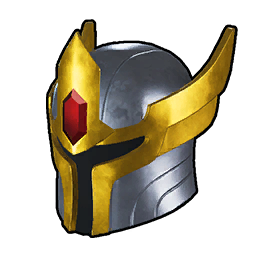 Hallowed Mask
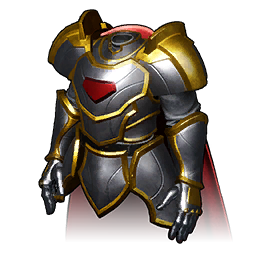 Hallowed Plate Mail
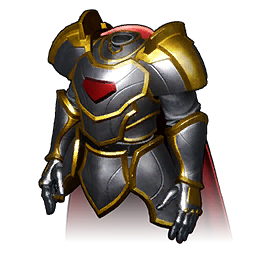 Hallowed Plate Mail
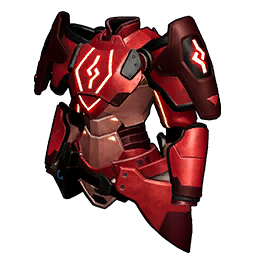 Heat Resistant Hexolite Armor
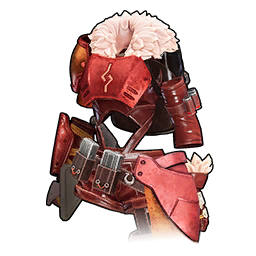 Heat Resistant Metal Armor
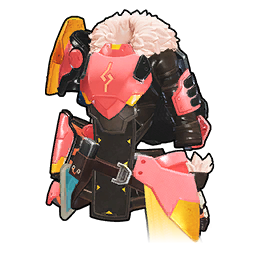 Heat Resistant Pal Metal Armor
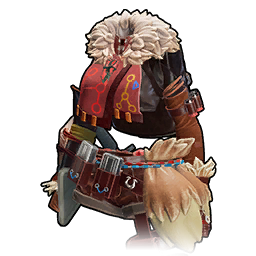 Heat Resistant Pelt Armor
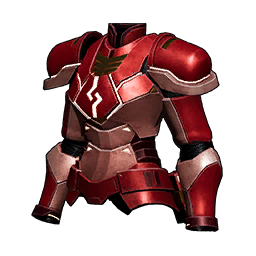 Heat Resistant Plasteel Armor
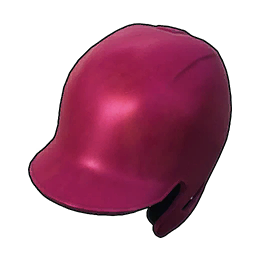 Helmet
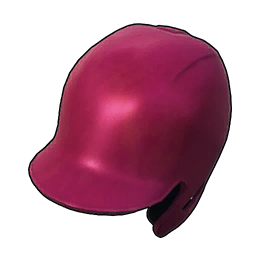 Helmet
 Hexolite Armor
 Katress Cap
 Katress Cap
 Killamari Cap
 Killamari Cap
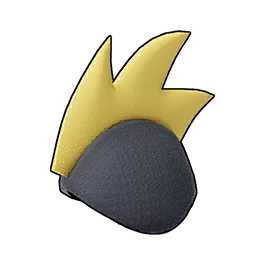 Leezpunk Hood
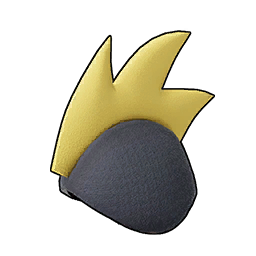 Leezpunk Hood
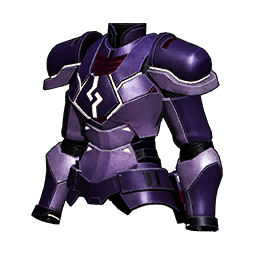 Lightweight Plasteel Armor
 Long-Eared Headband
 Long-Eared Headband
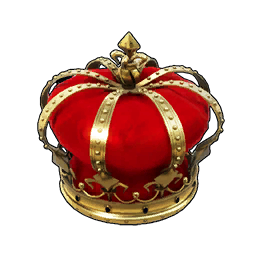 Monarch's Crown
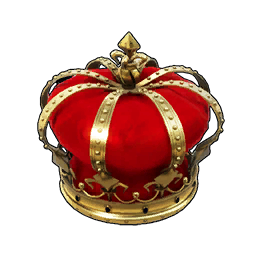 Monarch's Crown
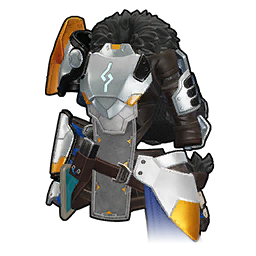 Pal Metal Armor
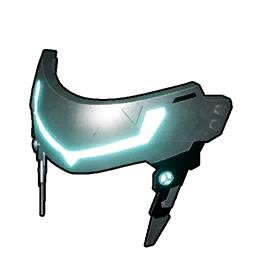 Pal Metal Helm
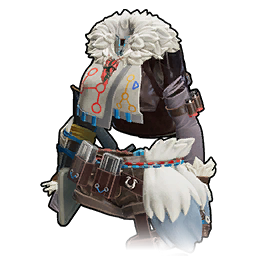 Pelt Armor
 Penking Cap
 Penking Cap
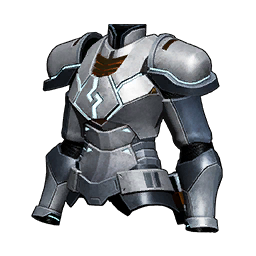 Plasteel Armor
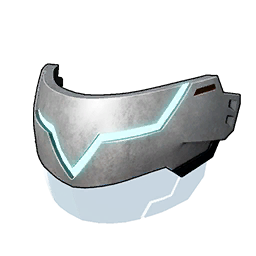 Plasteel Helmet
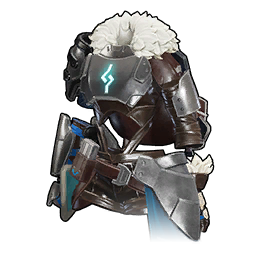 Refined Metal Armor
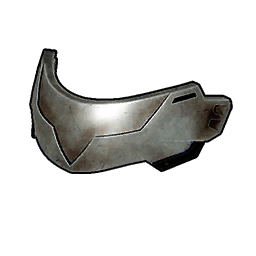 Refined Metal Helm
 Ribbuny Headband
 Ribbuny Headband
 Silk Hat
 Silk Hat
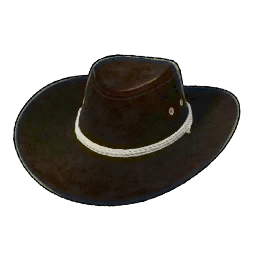 Soft Hat
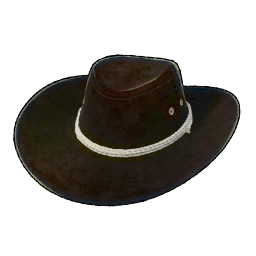 Soft Hat
 Swee Cap
 Swee Cap
 Tocotoco Cap
 Tocotoco Cap
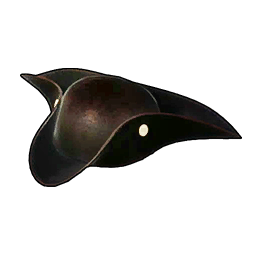 Tricorne
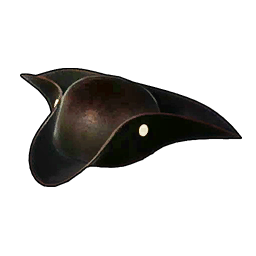 Tricorne
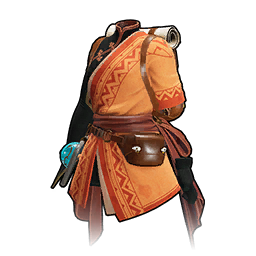 Tropical Outfit
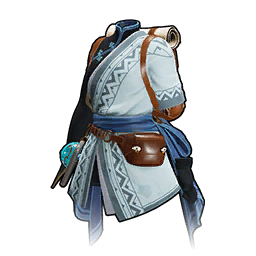 Tundra Outfit
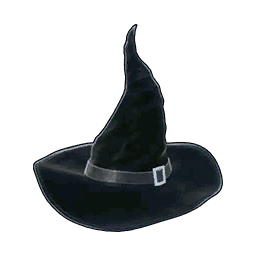 Witch Hat
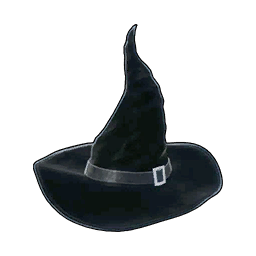 Witch Hat
Structure Schematics (15)
A handful of buildables are not on the Technology tree at all — decorative and themed pieces that only exist as a schematic drop. There is no rarity scaling here; one copy is all you need.
Other Schematics (2)
Consumables, saddles, spheres and utility gear that arrive as schematics rather than tech points.
| Schematic | Rarity | Unlocks |
|---|---|---|
| Celestial Sigil Schematic | 3★ | 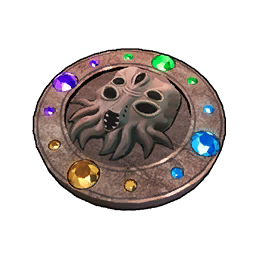 Celestial Sigil Celestial Sigil |
| Faded Schematic | 4★ | 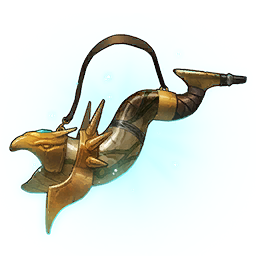 Echoing Flute Echoing Flute |
Related
weapon list · armour list · technology tree · dungeons · raid bosses · structures