Where to Farm

Pick any material and see every Pal that drops it — ranked by drop rate and quantity, so you know exactly which Pal to hunt.

78 Pals drop this

Hide off a Pal, and it serves as defensive material; only certain Pals yield it.

1Mammorest#87100%drop rate5–10per catch🗺 Spawn map
2Mammorest Cryst#87B100%drop rate5–10per catch🗺 Spawn map
3Eidrolon#171100%drop rate4–5per catchNot wild-spawning
4Eidrolon Ignis#171B100%drop rate4–5per catch🗺 Spawn map
5Flaracle#174100%drop rate3–4per catch🗺 Spawn map
6Roujay#177100%drop rate3–4per catch🗺 Spawn map
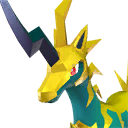
7Eikthyrdeer#32100%drop rate2–3per catch🗺 Spawn map
8Eikthyrdeer Terra#32B100%drop rate2–3per catch🗺 Spawn map
9Nitewing#51100%drop rate1–3per catch🗺 Spawn map
10Elgrove#81100%drop rate2–3per catch🗺 Spawn map
11Elgrove Cryst#81B100%drop rate2–3per catch🗺 Spawn map
12Fenglope#83100%drop rate3per catch🗺 Spawn map
13Fenglope Lux#83B100%drop rate3per catch🗺 Spawn map
14Leafan#90100%drop rate2–3per catch🗺 Spawn map
15Pyrin#93100%drop rate2–3per catch🗺 Spawn map
16Pyrin Noct#93B100%drop rate2–3per catch🗺 Spawn map
17Mossanda#102100%drop rate2–3per catch🗺 Spawn map
18Mossanda Lux#102B100%drop rate2–3per catch🗺 Spawn map
19Chillet#103100%drop rate2–3per catch🗺 Spawn map
20Chillet Ignis#103B100%drop rate2–3per catch🗺 Spawn map
21Moldron#105100%drop rate2–3per catch🗺 Spawn map
22Moldron Cryst#105B100%drop rate2–3per catchNot wild-spawning
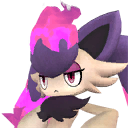
23Kitsun#111100%drop rate2–3per catch🗺 Spawn map
24Kitsun Noct#111B100%drop rate2–3per catch🗺 Spawn map
25Majex#115100%drop rate2–3per catch🗺 Spawn map
26Gildra#120100%drop rate2–3per catch🗺 Spawn map
27Starryon#130100%drop rate2–3per catch🗺 Spawn map
28Starryon Primo#130B100%drop rate2–3per catch🗺 Spawn map
29Sekhmet#140100%drop rate2–3per catch🗺 Spawn map
30Gildane#154100%drop rate2–3per catch🗺 Spawn map
31Celesdir#157100%drop rate2–3per catch🗺 Spawn map
32Celesdir Noct#157B100%drop rate2–3per catchNot wild-spawning
33Lapure#170100%drop rate2–3per catch🗺 Spawn map
34Dupin#176100%drop rate2–3per catch🗺 Spawn map
35Loomen#180100%drop rate2–3per catch🗺 Spawn map
36Renjishi#183100%drop rate2–3per catchNot wild-spawning
37Grizzbolt#185100%drop rate2–3per catch🗺 Spawn map
38Bastigor#191100%drop rate2–3per catch🗺 Spawn map
39Hartalis#197100%drop rate2–3per catchNot wild-spawning
40Foxparks Cryst#29B100%drop rate1–2per catch🗺 Spawn map
41Fuddler#31100%drop rate1–2per catch🗺 Spawn map
42Direhowl#33100%drop rate1–2per catch🗺 Spawn map
43Wispaw#50100%drop rate1–2per catch🗺 Spawn map
44Tombat#52100%drop rate1–2per catch🗺 Spawn map
45Univolt#54100%drop rate2per catch🗺 Spawn map
46Univolt Cryst#54B100%drop rate2per catch🗺 Spawn map
47Polapup Terra#72B100%drop rate1–2per catch🗺 Spawn map
48Gorirat#74100%drop rate1–2per catch🗺 Spawn map
49Katress#79100%drop rate1–2per catch🗺 Spawn map
50Kikit#126100%drop rate1–2per catch🗺 Spawn map
51Yakumo#127100%drop rate1–2per catch🗺 Spawn map
52Snugloo#133100%drop rate1–2per catch🗺 Spawn map
53Verdash#152100%drop rate1–2per catch🗺 Spawn map
54Valentail#162100%drop rate1–2per catch🗺 Spawn map
55Lapiron#165100%drop rate1–2per catch🗺 Spawn map
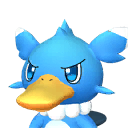
56Fuack#5100%drop rate1per catch🗺 Spawn map
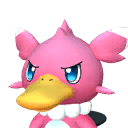
57Fuack Ignis#5B100%drop rate1per catch🗺 Spawn map
58Vixy#6100%drop rate1per catch🗺 Spawn map
59Herbil#10100%drop rate1per catch🗺 Spawn map
60Melpaca#20100%drop rate1per catch🗺 Spawn map
61Nox#24100%drop rate1per catch🗺 Spawn map
62Rooby#26100%drop rate1per catch🗺 Spawn map
63Mau#27100%drop rate1per catchNot wild-spawning
64Rushoar#28100%drop rate1per catch🗺 Spawn map
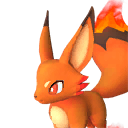
65Foxparks#29100%drop rate1per catch🗺 Spawn map
66Ribbuny#44100%drop rate1per catch🗺 Spawn map
67Ribbuny Botan#44B100%drop rate1per catch🗺 Spawn map
68Galeclaw#49100%drop rate1per catch🗺 Spawn map
69Finsider#88100%drop rate1per catch🗺 Spawn map
70Finsider Ignis#88B100%drop rate1per catch🗺 Spawn map
71Incineram#91100%drop rate1per catch🗺 Spawn map
72Incineram Noct#91B100%drop rate1per catch🗺 Spawn map
73Foxcicle#95100%drop rate1per catch🗺 Spawn map
74Reindrix#101100%drop rate1per catch🗺 Spawn map
75Braloha#110100%drop rate1per catch🗺 Spawn map
76Nyafia#143100%drop rate1per catch🗺 Spawn map
77Shaolong#192100%drop rate1per catch🗺 Spawn map
78Astralym#204100%drop rate1per catchNot wild-spawning

Drop rate is the chance of receiving the item each time you defeat or capture the Pal. Capturing a Pal grants the same drops as defeating it — and you keep the Pal.

Plantation Crops — Growth Times & Yields

Every crop you can grow at a plantation, fastest first. Each harvest pays out 10 of the crop; the work column is the total planting + watering + harvesting effort your base Pals put in per cycle — quicker crops finish sooner but keep your workers busier per item.


CropGrowth timeYieldTotal work
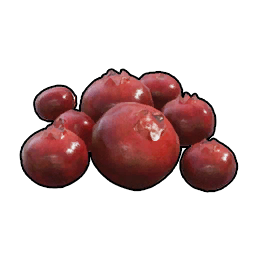
Red Berries3 min×1013,500
Wheat4.5 min×1022,500
Tomato5 min×1033,000
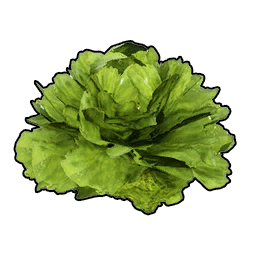
Lettuce5.5 min×1045,000
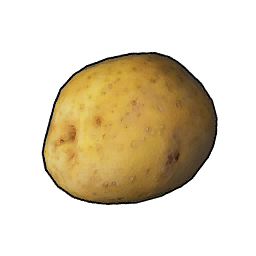
Potato5.8 min×1051,000
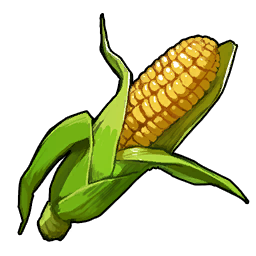
Corn6 min×107,500
Pumpkin6 min×107,500
Carrot6.2 min×1057,000
Onion6.5 min×1063,000

Watering and Planting suitability speed the cycle up — see the best base Pals for each job and Ranch Pals for the produce side.