Palworld Supply Drops & Meteorites — What's Inside, Region by Region
Every so often the sky announces "Meteorite descent in progress" or "Supply drop initiated" — and a crate of high-end loot lands somewhere nearby, usually with unfriendly company standing around it. The haul depends on the region it lands in: better zones drop better spheres, schematics and materials. Below is the full loot list for each region with exact chances, plus the guard squads you'll have to clear. You can tune how often these events happen in your world settings.
Jump to: Grasslands · Forest · Desert · Mount Obsidian · Snowfields · Sakurajima · Feybreak · Sunreach Isle
Before You Chase One
- The world setting is an interval, not a rate. The slider reads “Meteorite/Supplies Drop Interval” and it counts minutes between events, so turning the number down is what makes drops more common. All four difficulty presets — Easy, Normal, Hard and Hardcore — ship it at 180, meaning a default world averages one event every three hours no matter which one you picked.
- Both events announce themselves identically. A red alert washes across the screen and a marker lands on your compass, and capsule drops share that marker with meteorite descents — so the compass gets you to the crash site but won't tell you which of the two you're running toward until it's in view. Events also don't queue: a fresh one can start while an earlier crate still sits unopened, so there's no reason to rush a looting run.
- The escort doesn't lock the crate. Nothing about the guard squad gates the container — reach it and it opens. When the squad out-levels you, which it reliably will on Feybreak and Sunreach Isle, a flying mount, a straight dive onto the crate and an immediate exit beats winning the fight.
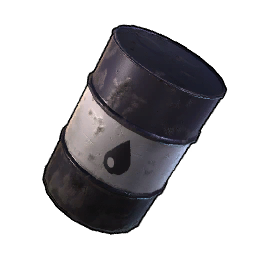
- Exactly one line per crate is guaranteed, and it's always a raw material. 6 regions pay Crude Oil, scaling with the region — ×10–20 in Grasslands up to ×30–40 in Sakurajima. Feybreak swaps it for Chromite ×30–40. Sunreach Isle swaps it for Soralite ×30–40. Everything else in the tables below is a roll, so a smash-and-grab always banks the material even when the spheres and schematics miss.
Grasslands supply drops
Possible guard squads (one spawns with the drop):

Full Grasslands loot table — 48 possible drops



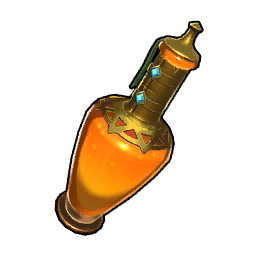
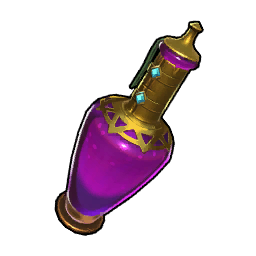

























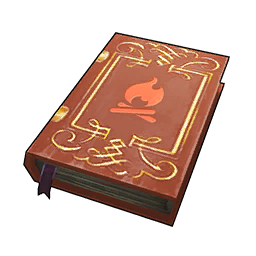
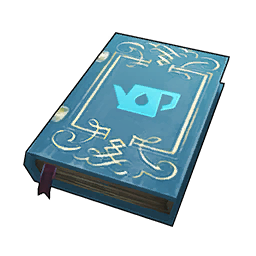




Forest supply drops
Possible guard squads (one spawns with the drop):
Full Forest loot table — 72 possible drops





















































Desert supply drops
Possible guard squads (one spawns with the drop):

Full Desert loot table — 52 possible drops
































Mount Obsidian supply drops
Possible guard squads (one spawns with the drop):
Full Mount Obsidian loot table — 52 possible drops








Snowfields supply drops
Possible guard squads (one spawns with the drop):
Full Snowfields loot table — 40 possible drops




















Sakurajima supply drops
Possible guard squads (one spawns with the drop):

Full Sakurajima loot table — 40 possible drops
Feybreak supply drops
Possible guard squads (one spawns with the drop):
Full Feybreak loot table — 44 possible drops

























Sunreach Isle supply drops
Possible guard squads (one spawns with the drop):
Full Sunreach Isle loot table — 40 possible drops

















Chances are per drop and roll independently, so a single crate can pay several lines at once. Related: base raids & invasions · all items · weapons & schematics · interactive map.