List of All Armor and Shields
Every piece of body armor, headgear and shield in Palworld — sortable by defense, HP, durability and tech level, with equip effects and full crafting recipes. Tap any column header to sort.
| Name | Type | Defense ▼ | HP | Durability | Tech Lv | Effects | Recipe |
|---|---|---|---|---|---|---|---|
 Ancient Shield | Shield | 2,200 | — | 22,000 | 71 | — | |
 Advanced Shield | Shield | 1,800 | — | 21,000 | 60 | — | |
 Ultra Shield | Shield | 1,520 | — | 20,000 | 55 | — | |
 Hyper Shield | Shield | 1,045 | — | 3,500 | 43 | — | |
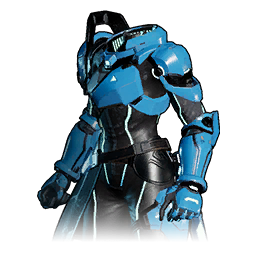 Cold-Resistant Ancient Armor | Body | 840 | 2,400 | 25,000 | 77 | Temperature Resist Cold3Temperature Resist Heat2Element Resist Ice 1 | |
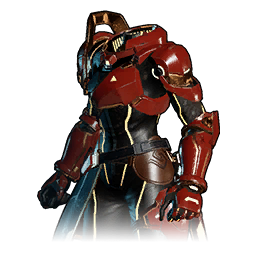 Heat-Resistant Ancient Armor | Body | 840 | 2,400 | 25,000 | 75 | Temperature Resist Cold2Temperature Resist Heat3Element Resist Fire 1 | |
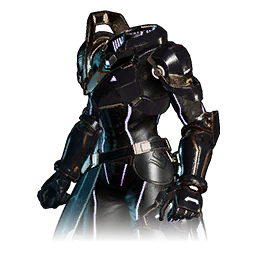 Lightweight Ancient Armor | Body | 840 | 2,400 | 25,000 | 79 | Temperature Resist Cold2Temperature Resist Heat2Max Inventory Weight up Equip 4 | |
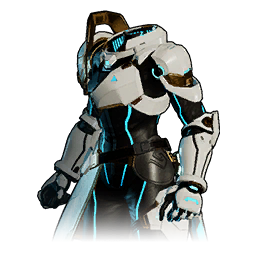 Ancient Armor | Body | 800 | 2,400 | 25,000 | 68 | Temperature Resist Cold2Temperature Resist Heat2 | |
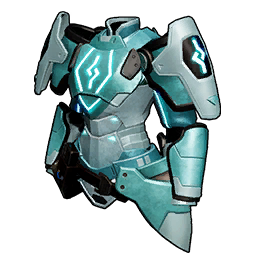 Cold Resistant Hexolite Armor | Body | 600 | 1,750 | 18,000 | 64 | Temperature Resist Cold3Temperature Resist Heat2Element Resist Ice 1 | |
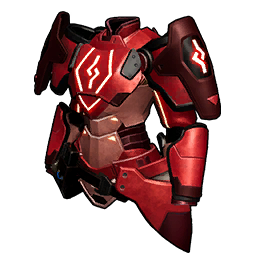 Heat Resistant Hexolite Armor | Body | 600 | 1,750 | 18,000 | 63 | Temperature Resist Cold2Temperature Resist Heat3Element Resist Fire 1 | |
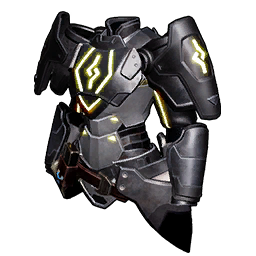 Lightweight Hexolite Armor | Body | 600 | 1,750 | 18,000 | 65 | Temperature Resist Cold2Temperature Resist Heat2Max Inventory Weight up Equip 3 | |
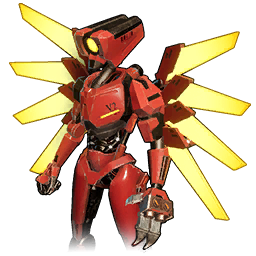 V2 Armor | Body | 600 | 215 | 19,000 | 56 | Temperature Resist Cold2Temperature Resist Heat2 | |
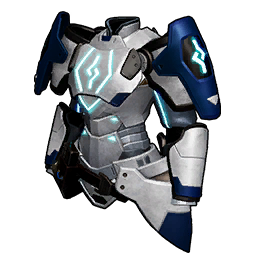 Hexolite Armor | Body | 580 | 1,750 | 20,000 | 59 | Temperature Resist Cold2Temperature Resist Heat2 | |
 Giga Shield | Shield | 540 | — | 2,250 | 29 | — | |
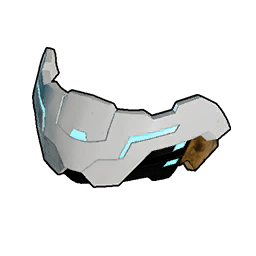 Ancient Helm | Head | 500 | 1,200 | 25,000 | 68 | Element Resist Normal 1Element Resist Dragon 1 | |
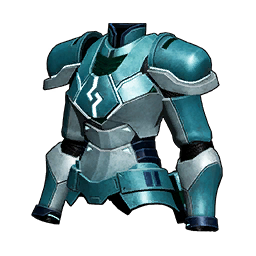 Cold Resistant Plasteel Armor | Body | 400 | 1,300 | 18,000 | 54 | Temperature Resist Cold2Temperature Resist Heat1Element Resist Ice 1 | |
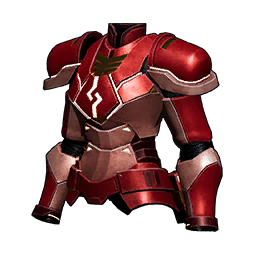 Heat Resistant Plasteel Armor | Body | 400 | 1,300 | 18,000 | 53 | Temperature Resist Cold1Temperature Resist Heat2Element Resist Fire 1 | |
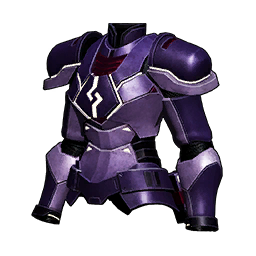 Lightweight Plasteel Armor | Body | 400 | 1,300 | 18,000 | 55 | Temperature Resist Cold1Temperature Resist Heat1Max Inventory Weight up Equip 3 | |
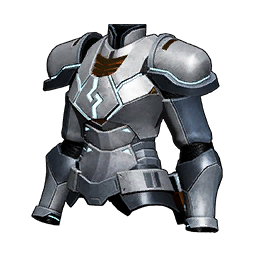 Plasteel Armor | Body | 385 | 1,300 | 18,000 | 51 | Temperature Resist Cold1Temperature Resist Heat1 | |
 Steal Armor 5 | Body | 352 | 1,200 | 26,000 | — | Temperature Resist Cold1Temperature Resist Heat1Attack ACC up4 Armor | |
 Eye of Cthulhu Mask | Head | 350 | 800 | 20,000 | — | — | |
 Moon Lord Mask | Head | 350 | 800 | 20,000 | — | — | |
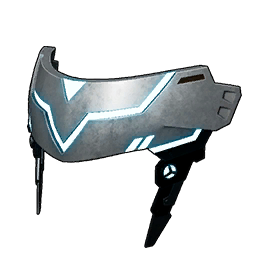 Hexolite Helmet | Head | 350 | 800 | 20,000 | 60 | — | |
 Steal Armor 4 | Body | 330 | 1,125 | 22,000 | — | Temperature Resist Cold1Temperature Resist Heat1Attack ACC up3 Armor | |
 Steal Armor 3 | Body | 308 | 1,050 | 18,000 | — | Temperature Resist Cold1Temperature Resist Heat1Attack ACC up2 Armor | |
 Steal Armor 2 | Body | 286 | 975 | 14,000 | — | Temperature Resist Cold1Temperature Resist Heat1Attack ACC up1 Armor | |
 Mega Shield | Shield | 260 | — | 1,500 | 16 | — | |
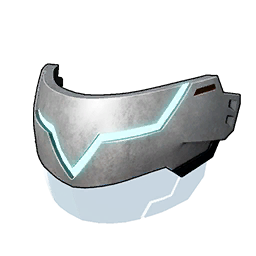 Plasteel Helmet | Head | 260 | 600 | 18,000 | 51 | — | |
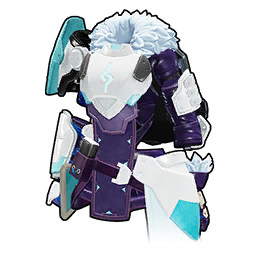 Cold Resistant Pal Metal Armor | Body | 250 | 750 | 10,000 | 50 | Temperature Resist Cold2Temperature Resist Heat1Element Resist Ice 1 | |
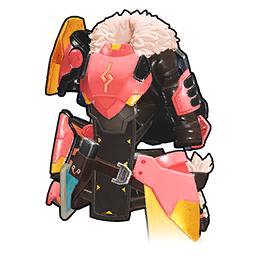 Heat Resistant Pal Metal Armor | Body | 250 | 750 | 10,000 | 48 | Temperature Resist Heat2Temperature Resist Cold1Element Resist Fire 1 | |
 Iron Armor 5 | Body | 240 | 800 | 7,000 | — | Temperature Resist Cold1Temperature Resist Heat1Attack ACC up4 Armor | |
 Iron Armor 4 | Body | 225 | 750 | 6,000 | — | Temperature Resist Cold1Temperature Resist Heat1Attack ACC up3 Armor | |
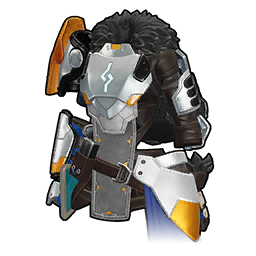 Pal Metal Armor | Body | 220 | 750 | 5,000 | 46 | Temperature Resist Cold1Temperature Resist Heat1 | |
 Iron Armor 3 | Body | 210 | 700 | 5,000 | — | Temperature Resist Cold1Temperature Resist Heat1Attack ACC up2 Armor | |
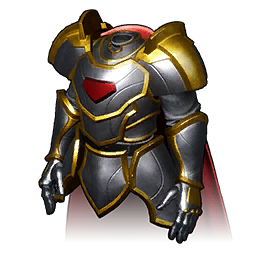 Hallowed Plate Mail | Body | 200 | 650 | 4,500 | — | Temperature Resist Cold1Temperature Resist Heat1Yakushima Protection Equip | |
 Iron Armor 2 | Body | 195 | 650 | 4,000 | — | Temperature Resist Cold1Temperature Resist Heat1Attack ACC up1 Armor | |
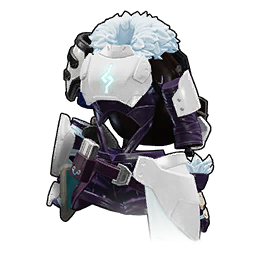 Cold Resistant Refined Metal Armor | Body | 180 | 500 | 3,000 | 41 | Temperature Resist Cold2Temperature Resist Heat1Element Resist Ice 1 | |
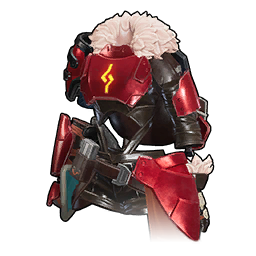 Heat Resistant Refined Metal Armor | Body | 180 | 500 | 3,000 | 40 | Temperature Resist Heat2Temperature Resist Cold1Element Resist Fire 1 | |
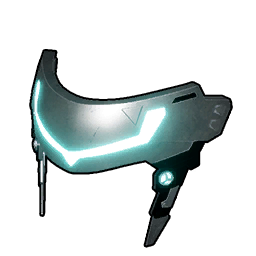 Pal Metal Helm | Head | 150 | 350 | 5,000 | 46 | — | |
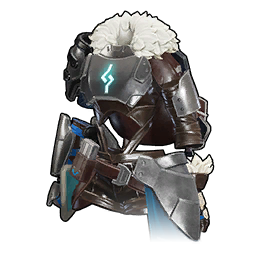 Refined Metal Armor | Body | 150 | 500 | 1,500 | 37 | Temperature Resist Cold1Temperature Resist Heat1 | |
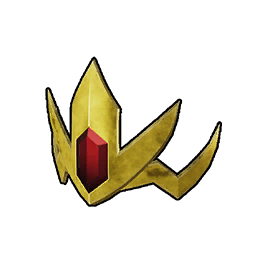 Hallowed Headgear | Head | 140 | 320 | 4,500 | — | Yakushima Dagame Boost Magic Equip | |
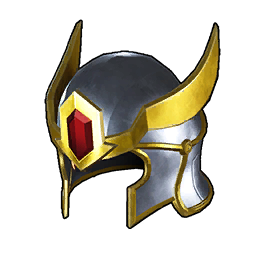 Hallowed Helmet | Head | 140 | 320 | 4,500 | — | Yakushima Dagame Boost Ranged Equip | |
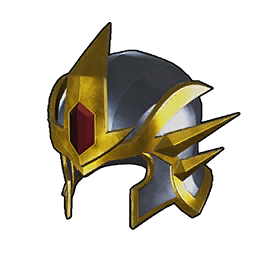 Hallowed Hood | Head | 140 | 320 | 4,500 | — | Yakushima Dagame Boost Summon Equip | |
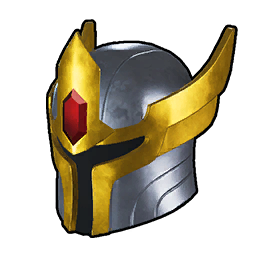 Hallowed Mask | Head | 140 | 320 | 4,500 | — | Yakushima Dagame Boost Melee Equip | |
 Lightz Helmet | Head | 125 | 300 | 500 | — | — | — |
 Copper Armor 5 | Body | 112 | 400 | 3,000 | — | Temperature Resist Cold1Temperature Resist Heat1Attack ACC up4 Armor | |
 Copper Armor 4 | Body | 105 | 375 | 2,600 | — | Temperature Resist Cold1Temperature Resist Heat1Attack ACC up3 Armor | |
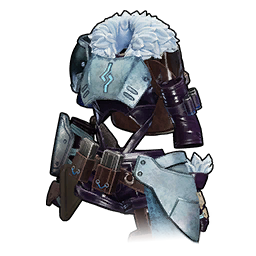 Cold Resistant Metal Armor | Body | 105 | 250 | 1,400 | 27 | Temperature Resist Cold2Temperature Resist Heat1Element Resist Ice 1 | |
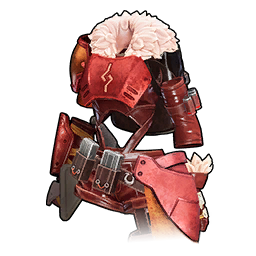 Heat Resistant Metal Armor | Body | 105 | 250 | 1,400 | 25 | Temperature Resist Heat2Temperature Resist Cold1Element Resist Fire 1 | |
 Common Shield | Shield | 100 | — | 1,000 | 4 | — | |
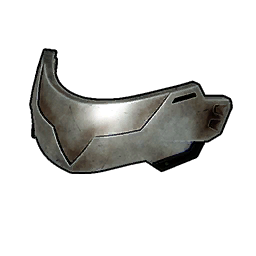 Refined Metal Helm | Head | 100 | 250 | 1,500 | 37 | — | |
 Copper Armor 3 | Body | 98 | 350 | 2,200 | — | Temperature Resist Cold1Temperature Resist Heat1Attack ACC up2 Armor | |
 Copper Armor 2 | Body | 91 | 325 | 1,800 | — | Temperature Resist Cold1Temperature Resist Heat1Attack ACC up1 Armor | |
 Depresso Helmet | Head | 70 | 250 | 700 | — | Element Resist Dark 1 | |
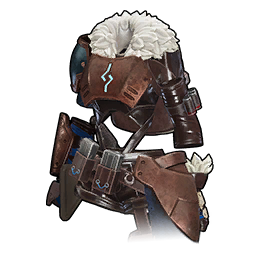 Metal Armor | Body | 70 | 250 | 700 | 23 | Temperature Resist Cold1Temperature Resist Heat1 | |
 Fur Armor 5 | Body | 56 | 224 | 1,400 | — | Temperature Resist Cold1Attack ACC up4 Armor | |
 Fur Armor 4 | Body | 52 | 210 | 1,200 | — | Temperature Resist Cold1Attack ACC up3 Armor | |
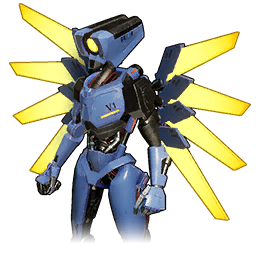 V1 Armor | Body | 51 | 806 | 1,450 | 32 | Temperature Resist Cold1Temperature Resist Heat1Octavia Armor Vampire | |
 Depresso Armor | Body | 50 | 100 | 1,800 | — | Temperature Resist Cold1Temperature Resist Heat1 | |
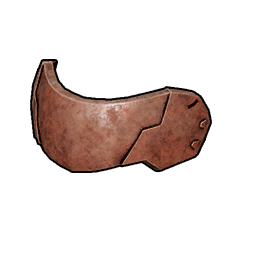 Metal Helm | Head | 50 | 100 | 700 | 23 | — | |
 Fur Armor 3 | Body | 49 | 196 | 1,000 | — | Temperature Resist Cold1Attack ACC up2 Armor | |
 Fur Armor 2 | Body | 45 | 182 | 800 | — | Temperature Resist Cold1Attack ACC up1 Armor | |
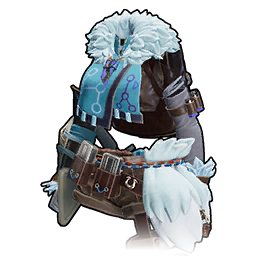 Cold Resistant Pelt Armor | Body | 45 | 140 | 600 | 18 | Temperature Resist Cold2Element Resist Ice 1 | |
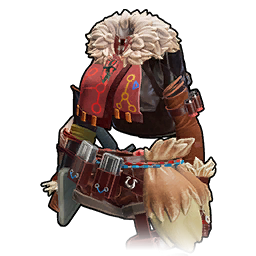 Heat Resistant Pelt Armor | Body | 45 | 140 | 600 | 16 | Temperature Resist Heat2Element Resist Fire 1 | |
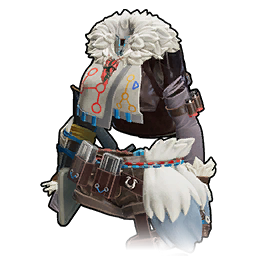 Pelt Armor | Body | 35 | 140 | 300 | 12 | Temperature Resist Cold1 | |
 Crown of Salvation | Head | 30 | 80 | 5,000 | — | Element Resist Thunder 1 | |
 Horns of Supremacy | Head | 30 | 80 | 5,000 | — | Element Resist Aqua 1 | |
 Witch's Crown | Head | 30 | 80 | 5,000 | — | Element Resist Dragon 1 | |
 Xenolord's head | Head | 30 | 80 | 5,000 | — | Element Resist Ice 1 | |
 Dandilord Hat | Head | 30 | 80 | 300 | — | Element Resist Dark 1 | — |
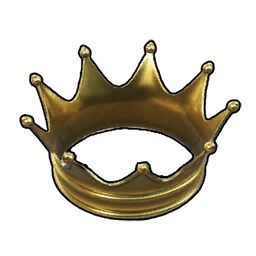 Golden Crown | Head | 30 | 80 | 450 | — | Element Resist Ice 1 | |
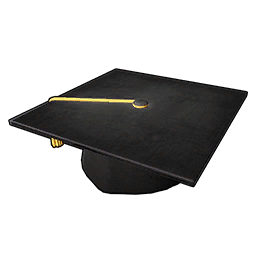 Graduation Cap | Head | 30 | 80 | 300 | — | Work Speed ACC up1 | |
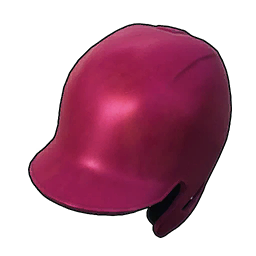 Helmet | Head | 30 | 80 | 600 | — | Element Resist Thunder 1 | |
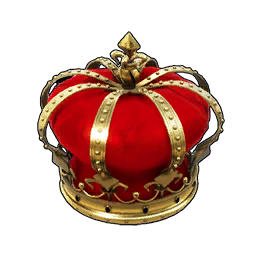 Monarch's Crown | Head | 30 | 80 | 525 | — | Element Resist Dragon 1 | |
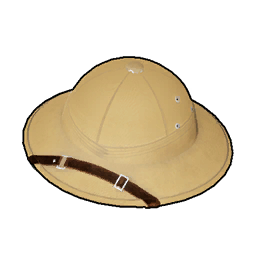 Explorer Cap | Head | 25 | 70 | 270 | — | Temperature Resist Heat1 | |
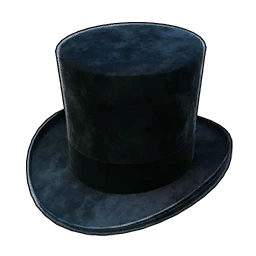 Silk Hat | Head | 25 | 70 | 300 | — | Element Resist Fire 1 | |
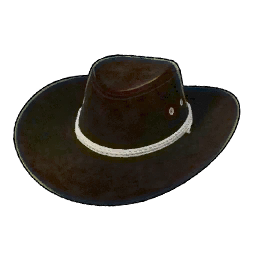 Soft Hat | Head | 25 | 70 | 270 | — | Element Resist Earth 1 | |
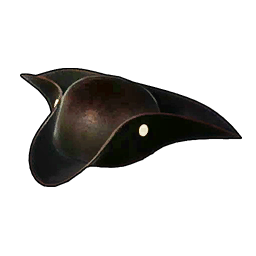 Tricorne | Head | 25 | 70 | 375 | — | Element Resist Aqua 1 | |
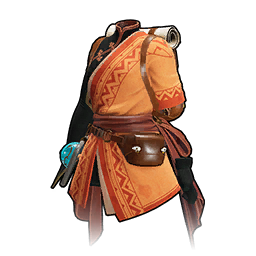 Tropical Outfit | Body | 25 | 70 | 300 | 9 | Temperature Resist Heat2 | |
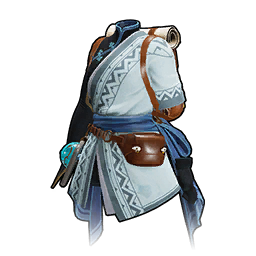 Tundra Outfit | Body | 25 | 70 | 300 | 9 | Temperature Resist Cold2 | |
 Cloth Armor 5 | Body | 24 | 112 | 700 | — | Temperature Resist Cold1Attack ACC up4 Armor | |
| Cloth Armor 4 | Body | 22 | 105 | 600 | — | Temperature Resist Cold1Attack ACC up3 Armor | |
| Cloth Armor 3 | Body | 21 | 98 | 500 | — | Temperature Resist Cold1Attack ACC up2 Armor | |
 Auri Hat | Head | 20 | 60 | 5,000 | — | — | |
 Axel Hat | Head | 20 | 60 | 5,000 | — | — | |
 Bjorn Hat | Head | 20 | 60 | 5,000 | — | — | |
 Lily Hat | Head | 20 | 60 | 5,000 | — | — | |
 Marcus Hat | Head | 20 | 60 | 5,000 | — | — | |
 Saya Hat | Head | 20 | 60 | 5,000 | — | — | |
 Victor Hat | Head | 20 | 60 | 5,000 | — | — | |
 Zenara Hat | Head | 20 | 60 | 5,000 | — | — | |
 Zoe Hat | Head | 20 | 60 | 5,000 | — | — | |
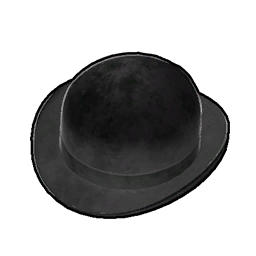 Bowler Hat | Head | 20 | 60 | 300 | — | Element Resist Normal 1 | |
 Cattiva Hat | Head | 20 | 60 | 300 | — | Element Resist Normal 1 | |
 Cawgnito Hat | Head | 20 | 60 | 300 | — | Element Resist Dark 1 | |
 Chikipi Cap | Head | 20 | 60 | 300 | — | Element Resist Normal 1 | — |
 Croajiro Cap | Head | 20 | 60 | 300 | — | Element Resist Aqua 1 | — |
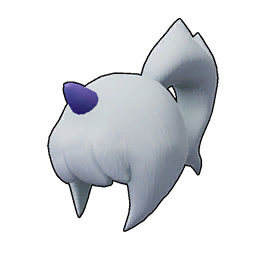 Dazzi Hat | Head | 20 | 60 | 300 | — | Element Resist Thunder 1 | |
 Dumud Helm | Head | 20 | 60 | 300 | — | Element Resist Earth 1 | |
 Ghangler Accessory | Head | 20 | 60 | 300 | — | Element Resist Aqua 1 | — |
 Gloopie Hat | Head | 20 | 60 | 300 | — | Element Resist Aqua 1 | — |
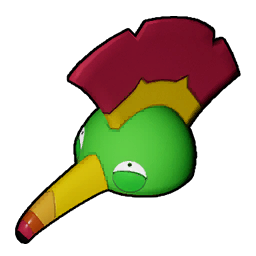 Grinning Tocotoco Cap | Head | 20 | 60 | 300 | — | Element Resist Normal 1 | |
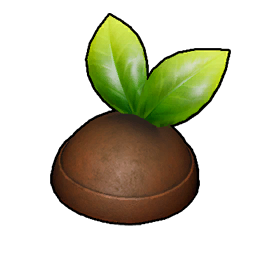 Gumoss Cap | Head | 20 | 60 | 300 | — | Element Resist Leaf 1 | |
 Herbil Headband | Head | 20 | 60 | 300 | — | Element Resist Leaf 1 | — |
 Icelyn Hat | Head | 20 | 60 | 300 | — | Element Resist Ice 1 | — |
 Jelliette Hat | Head | 20 | 60 | 300 | — | Element Resist Aqua 1 | — |
 Katress Cap | Head | 20 | 60 | 300 | — | Element Resist Dark 1 | |
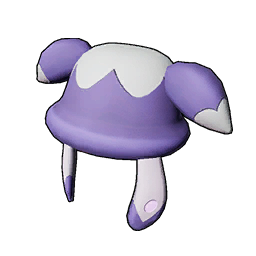 Killamari Cap | Head | 20 | 60 | 300 | — | Element Resist Dark 1 | |
 Kingpaca Headband | Head | 20 | 60 | 300 | — | Element Resist Normal 1 | — |
 Lamball Helm | Head | 20 | 60 | 300 | — | Element Resist Normal 1 | |
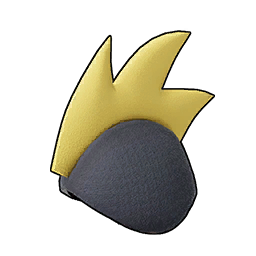 Leezpunk Hood | Head | 20 | 60 | 300 | — | Element Resist Dark 1 | |
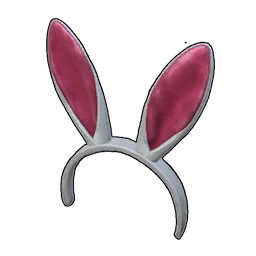 Long-Eared Headband | Head | 20 | 60 | 225 | — | Element Resist Leaf 1 | |
 Lyleen Accessory | Head | 20 | 60 | 300 | — | Element Resist Leaf 1 | |
 Penking Cap | Head | 20 | 60 | 300 | — | Element Resist Ice 1 | |
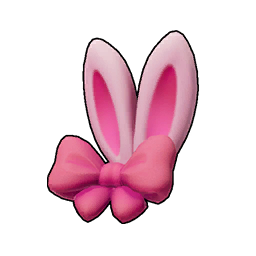 Ribbuny Headband | Head | 20 | 60 | 300 | — | Element Resist Normal 1 | |
 Shroomer Hat | Head | 20 | 60 | 300 | — | Element Resist Leaf 1 | — |
 Sibelyx Hat | Head | 20 | 60 | 300 | — | Element Resist Ice 1 | |
 Splatterina Hat | Head | 20 | 60 | 300 | — | Element Resist Dark 1 | — |
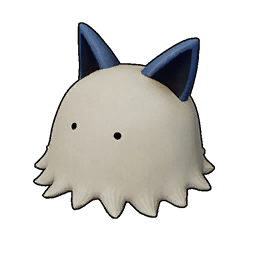 Swee Cap | Head | 20 | 60 | 300 | — | Element Resist Ice 1 | |
 Tarantriss Hat | Head | 20 | 60 | 300 | — | Element Resist Dark 1 | — |
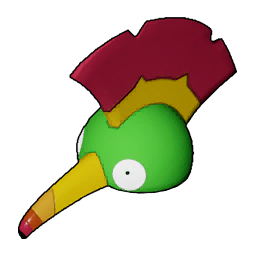 Tocotoco Cap | Head | 20 | 60 | 300 | — | Element Resist Normal 1 | |
 Turtacle Cap | Head | 20 | 60 | 300 | — | Element Resist Aqua 1 | — |
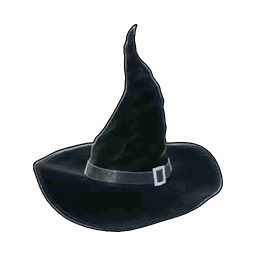 Witch Hat | Head | 20 | 60 | 300 | — | Element Resist Dark 1 | |
| Cloth Armor 2 | Body | 19 | 91 | 400 | — | Temperature Resist Cold1Attack ACC up1 Armor | |
| Cloth Outfit | Body | 15 | 70 | 150 | 4 | Temperature Resist Cold1 | |
 Feathered Hair Band | Head | 15 | 60 | 200 | 10 | Max Inventory Weight up Equip 1 | |
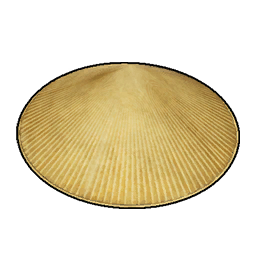 Farming Hat | Head | 10 | 30 | 270 | — | Temperature Resist Heat1 | |
 Cloth Hat | Head | 5 | 30 | 150 | — | — | — |




Choosing Armour in Palworld
128 pieces sit in three slots: 70 head pieces, 51 body armours and 7 shields. Body armour carries the bulk of your defense — the ceiling is the 840 of Cold-Resistant Ancient Armor — while shields add a separate pool on top, topping out at 2,200 on the Ancient Shield. A shield is not a substitute for armour; it buys you the seconds to get out of a fight you misjudged.
The shield pool pays for itself between fights. Every shield in the game refills on its own once you have gone a few seconds without being hit, so it is the one defensive resource you never have to restock — but it only comes back while nothing is touching you. Against steady chip damage it stays at zero, which makes breaking line of sight for a moment worth more than any extra armour you could have worn instead. Plan fights around backing off to let it refill rather than around outlasting them.
Every rung is a Technology tree unlock, and they are cheap. The shield line runs at levels 4, 16, 29, 43, 55, 60 and 71, and the points asked at each stop are 2, 2, 2, 3, 4, 5 and 5 — no schematic hunting, no drop luck. Nothing else fills the shield slot, so those points are worth reserving on the level you reach them; skipping one leaves you on the previous shield for the whole gap to the next, and the gaps between 16, 29 and 43 are the longest stretches in the game.
Resistance beats raw defense more often than you expect. The volcanic and frozen regions damage you for wearing the wrong outfit regardless of how much defense you stacked, so the equip effect column matters as much as the number next to it. Carry a second set and swap by biome rather than hunting one perfect piece.
Durability is a repair schedule, not a stat. Sort by it when you are heading somewhere far from base, and by tech level when you want to know what is actually craftable at your current progress.
Related: weapon stats and recipes, accessories and their effects,technology tree, the full item database.