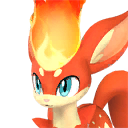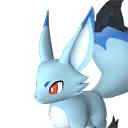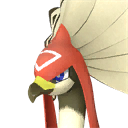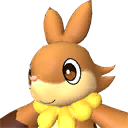
Jellroy
#46 Water
Water Dark
DarkClose enough to Jelliette in appearance to pass for one, and steps in whenever Jelliette can't make it. The performance is flawless enough that the switch goes unnoticed.
Type Effectiveness
 Fire
Fire Neutral
 Dragon
 Electric
 Grass
GrassBase Stats
Work Suitabilities
 Wateringbest
 Handiwork
 Medicine Production
 Transporting
Jellroy Food & Hunger

 3/10
3/10Higher food need means Jellroy eats more often while working at your base.
Jellroy Movement Speed
Behavior & Traits
 Night (nocturnal)
Trust Bonuses (Partner Level)
How strongly Jellroy's stats scale as its Trust level rises.
Jellroy Stats by Level
What Jellroy actually reads at each level, from a worst-case individual (IV 0) to a perfect one (IV 100). Condensing, souls and Trust stack on top of these.
| Level | HP | Attack | Defense |
|---|---|---|---|
| Lv 1 | 550–563 | 107–109 | 55–57 |
| Lv 10 | 1000–1135 | 175–197 | 106–123 |
| Lv 20 | 1500–1770 | 250–295 | 162–196 |
| Lv 30 | 2000–2405 | 325–392 | 218–269 |
| Lv 40 | 2500–3040 | 400–490 | 275–342 |
| Lv 50 | 3000–3675 | 475–587 | 331–415 |
| Lv 60 | 3500–4310 | 550–685 | 387–488 |
How to Get Jellroy
Jellroy can be fished up rather than fought — 23 wild spots of the small kind hold it, at level 1–45. The alpha turns up on the bigger spots, so a rod can hand you one without a fight. Once you have a Fishing Pond at base it shows up there too — 9.5% per catch in the small pool, which is the hands-off way to farm one.
Jellroy is Water / Dark, so a Dragon or Electric attacker takes it down fastest — and a Pal it resists will drag the fight long enough for it to heal or flee.
Wild Jellroy spawn between level 14 and 63. The higher end resists spheres noticeably harder, so it is worth hunting the low-level spawns for your first catch and saving the high ones for a condenser stack.
Its capture rate is 1.0, which makes it middle of the road: take the health bar down first and aim for its back.
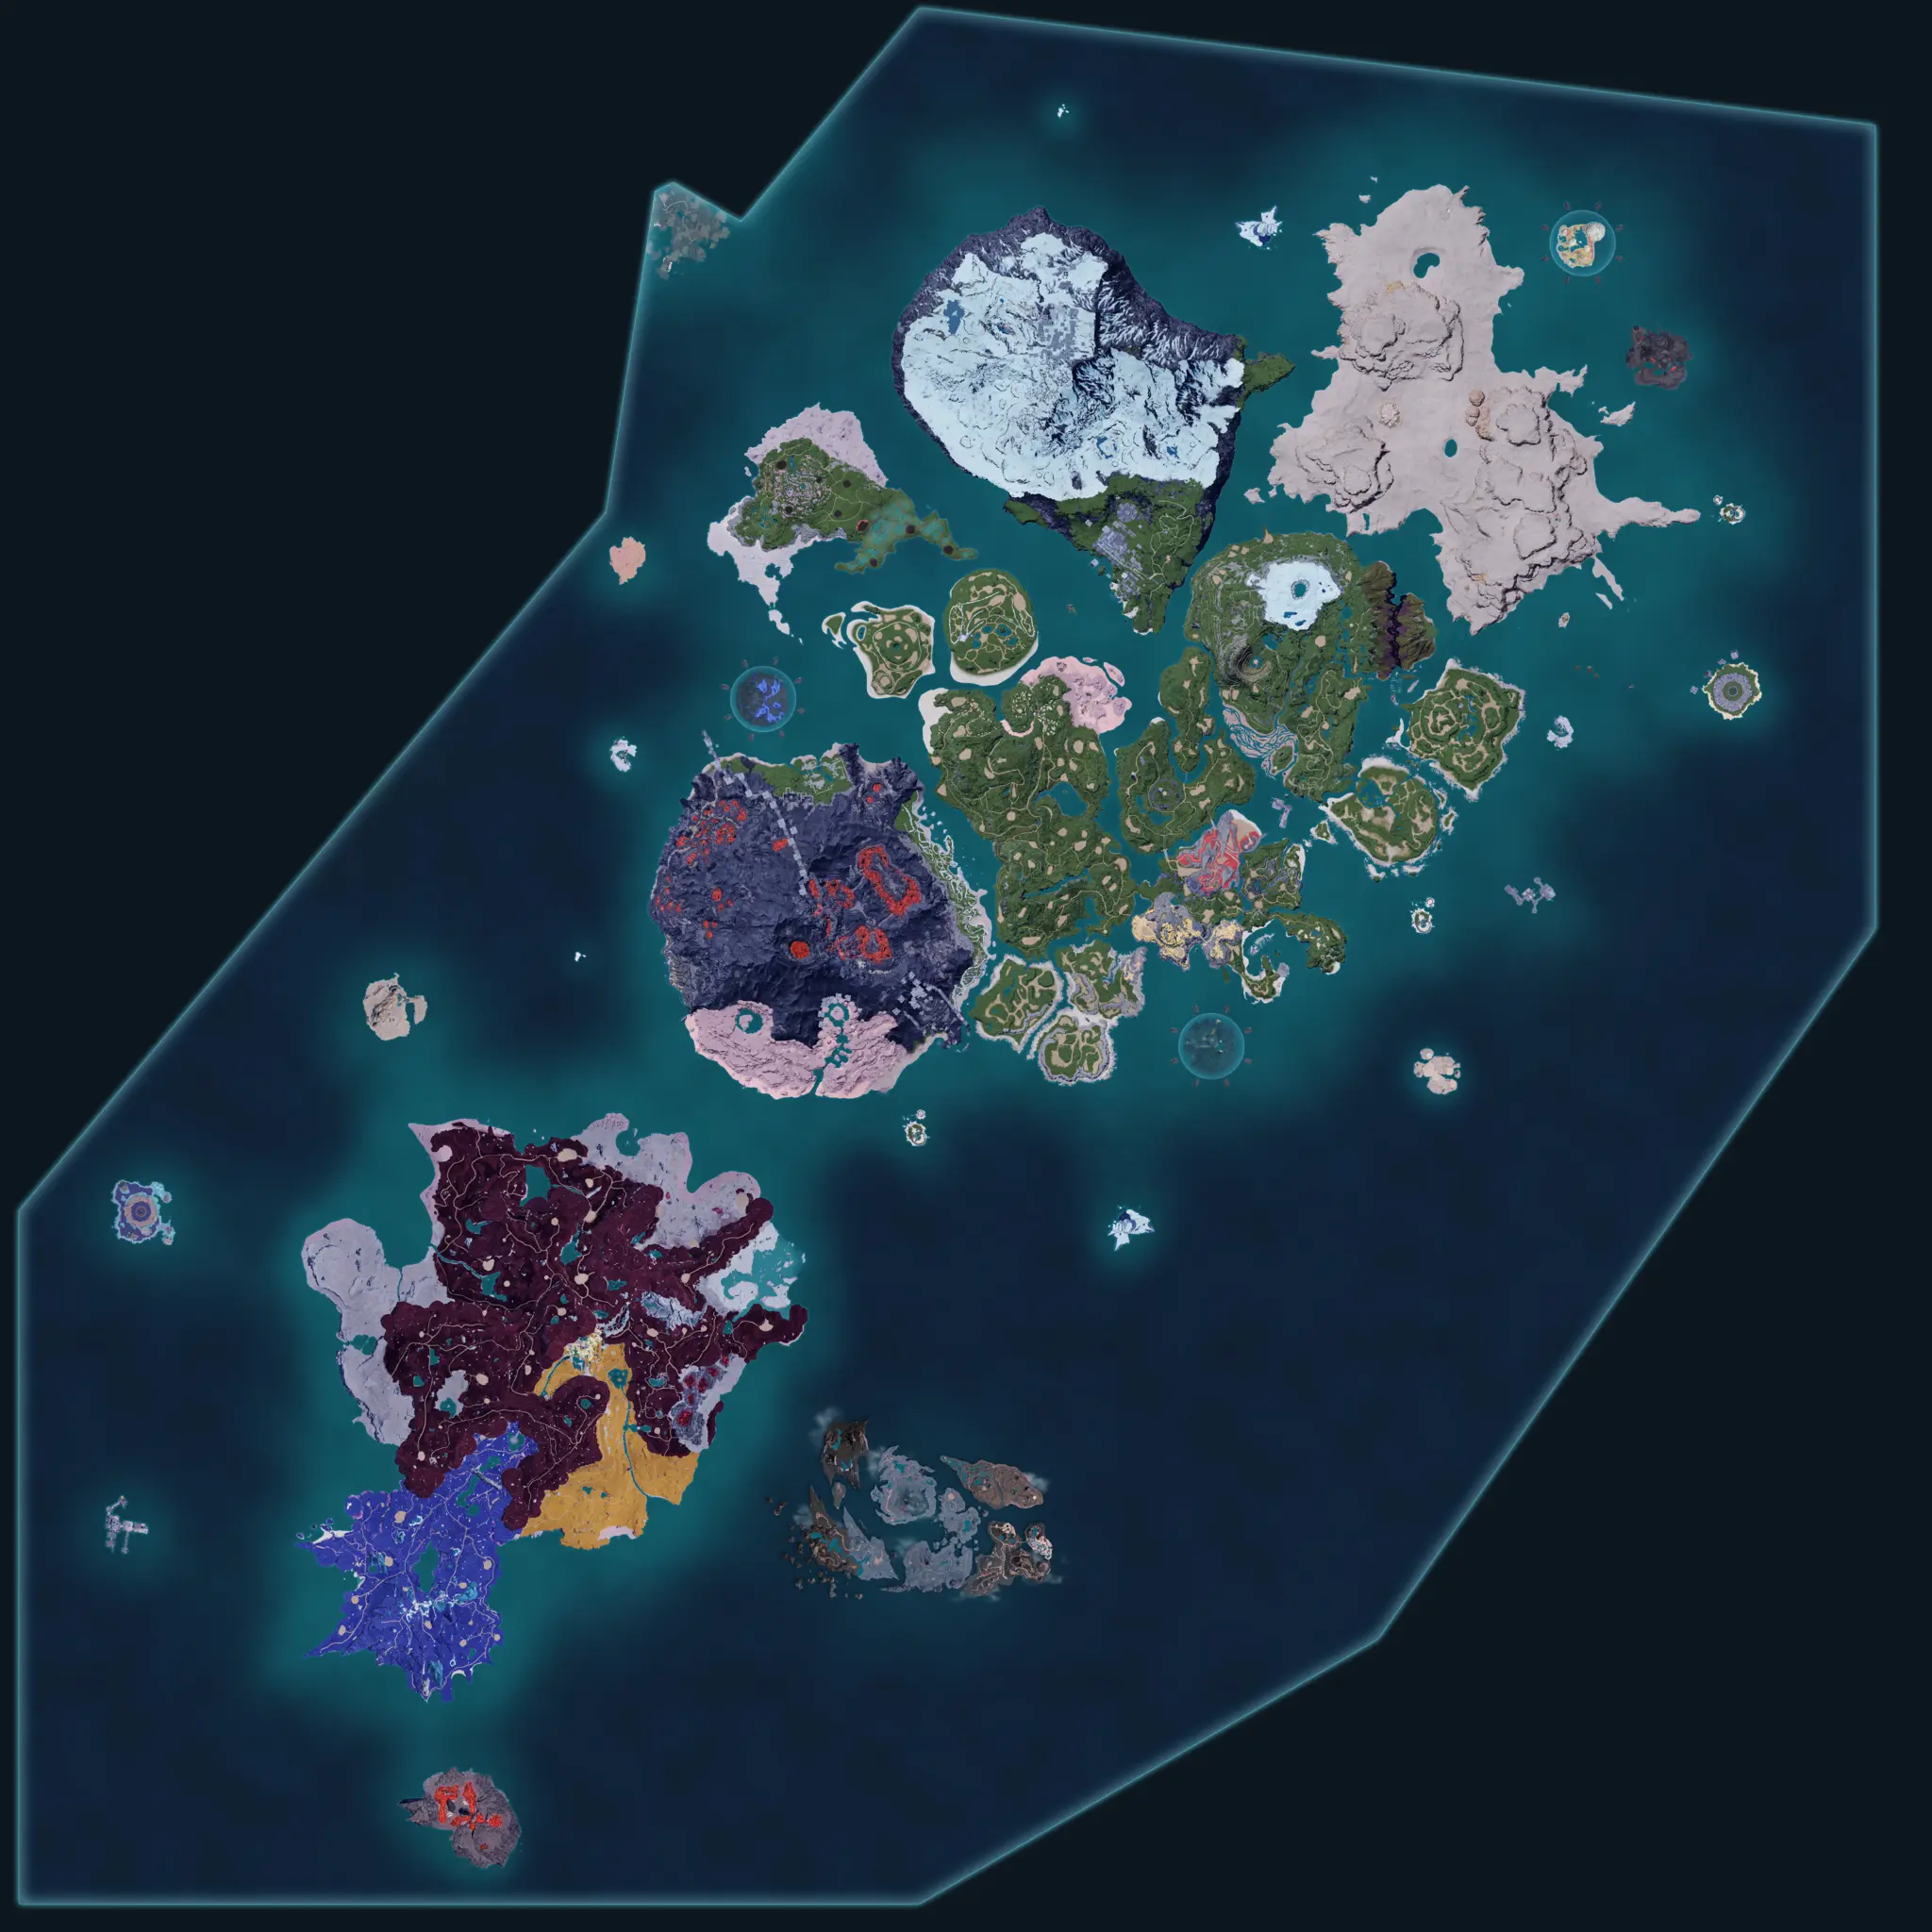
Pick the route by what you actually want out of it. The wild population is overwhelmingly nocturnal — of the roughly 1,200 spawn points logged for Jellroy, only nine are daytime placements, so a daylight sweep of the coast is close to wasted travel and the same ground after dark is thick with them. The nest route sidesteps the clock entirely but has one hard limit: Feybreak grade-1 nests roll no alphas at all. If what you are after is the alpha drop table — the Ancient Civilization Parts and Precious Entrails, not the Aquatic Pal Fluids — no number of eggs will produce it and you are back to the alpha fight in Ravine Grotto.
DragonElectricGrassPlaying Jellroy Well
The base half of that pairing is worth building around because it runs both ways. Jelliette carries the mirrored version of the skill, boosting its own watering speed under the exact same condition, so stationing the two of them together turns a pair of rank-2 waterers into a pair of sped-up rank-2 waterers off one assignment. The effect does not stack, though — a third jellyfish, or a second Jellroy, adds nothing to the same base, so build the pair once and spend the remaining worker slots elsewhere.
Jellroy Drop is really two effects with two different homes, and only one of them can be live at a time. The salvage bonus — 55% at skill level 1, rising to 65/75/85/95% — is a party effect, so it only pays out while Jellroy is riding along with you on a salvage run. The second half fires nowhere but a base, and only when Jelliette is assigned to the same one: with the pair together, Jellroy's own watering speed climbs 50/60/70/90/120% by skill level. So the Pal is either in your pocket for the loot rate or planted at home for the watering rate, never both at once.
Hunting is not the only way to get one, and on Feybreak it is not even the convenient one. Jellroy sits in the grade-1 Feybreak nest pool, which is the largest egg pool in the game — 496 nests scattered across the island, 37 Pals sharing it, each at 3.44%. Nests respawn on their own timer, so a repeatable circuit of Feybreak's nest sites keeps producing eggs without you ever finding the Pal in the field — though every egg you collect is a roll at the whole 37-Pal pool rather than a targeted one.
Jellroy Tier List Rankings
| Ranking | Tier | Why |
|---|---|---|
| Best Overall | D | — |
| Combat | D | — |
| Base Workers | C | — |
| Support | C | +95% items from salvaging — the wreck-diving counterpart to Jelliette. |
Wild Jellroy Level Range
Wild Jellroy roam at level 14–63 out in the world — plan your spheres and party level around that before hunting one on the interactive map.
Where to Find Jellroy
Jellroy spawn locations in the wild — every marked spot is a known spawn area.
Dungeons Jellroy Appears In
Besides its wild habitat, Jellroy turns up inside one cavern, and takes the boss chamber in one of them. Caverns are the reliable option when the overworld roll is not going your way.
the boss chamber fight is level 17–19, and ordinary cavern spawns run level 14–41.
Best Jellroy Build
Jellroy shines as a frontline attacker. The passives below push that strength as hard as possible — hunt them through catches, breeding or implants.
Partner skill: Jellroy Drop.
Best Jellroy Moveset — Highest DPS
ElectricSpark Blast25DPS · 50 powNeutralHoly Burst23.3DPS · 700 powDragonComet Strike22.5DPS · 180 powRanked by sustained damage per second. STAB moves share Jellroy's element for extra damage.
Active Skills (8)
| Lv | Move | Element | Power | Cooldown | DPS | Type | Range |
|---|---|---|---|---|---|---|---|
| 1 | Poison Blast | Dark | 30 | 2s | 15 | Shot | 5000 |
| 7 | Umbral Surge | Dark | 60 | 4s | 15 | Shot | 5000 |
| 15 | Bubble Blast | Water | 80 | 4s | 20 | Shot | 3500 |
| 22 | Spirit Flame | Dark | 200 | 12s | 16.7 | Shot | 5000 |
| 30 | Poison Shower | Dark | 160 | 8s | 20 | Shot | 1000 |
| 40 | Hydro Slicer | Water | 350 | 16s | 21.9 | Shot | 4000 |
| 50 | Dark Whisp | Dark | 600 | 30s | 20 | Shot | 1500 |
| 70 | Geyser Gush | Water | 600 | 30s | 20 | Melee | 5000 |
Drops
| Item | Qty | Rate |
|---|---|---|
 Aquatic Pal Fluids Aquatic Pal Fluids | 1-2 | 100% |
 Jellroy Bell Flesh Jellroy Bell Flesh | 1-1 | 100% |
Alpha & Boss Jellroy Drops
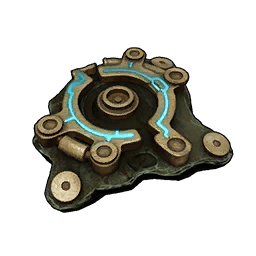
Boss encounters with Jellroy drop these instead — including Ancient Civilization Parts.

Egg Moves (42)
| Move | Element | Power | DPS |
|---|---|---|---|
| Air Blade | Neutral | 160 | 20 |
| Apocalypse | Dark | 400 | 20 |
| Aqua Burst | Water | 200 | 16.7 |
| Aqua Surge | Water | 500 | 20.8 |
| Beam Slicer | Dragon | 350 | 21.9 |
| Charge Cannon | Dragon | 400 | 20 |
| Circle Vine | Grass | 300 | 18.8 |
| Comet Strike | Dragon | 180 | 22.5 |
| Crosswind | Grass | 500 | 20.8 |
| Curtain Splash | Water | 300 | 18.8 |
| Dark Laser | Dark | 450 | 22.5 |
| Diamond Rain |  Ice Ice | 600 | 20 |
| Dragon Breath | Dragon | 160 | 20 |
| Dragon Cannon | Dragon | 40 | 20 |
| Dragon Meteor | Dragon | 600 | 20 |
| Flame Funnel | Fire | 300 | 18.8 |
| Flame Wall | Fire | 250 | 20.8 |
| Freeze Wall | Ice | 200 | 16.7 |
| Holy Burst | Neutral | 700 | 23.3 |
| Hydro Laser | Water | 450 | 22.5 |
| Hydro Slicer | Water | 350 | 21.9 |
| Iceberg | Ice | 120 | 15 |
| Ignis Breath | Fire | 160 | 20 |
| Ignis Rage | Fire | 500 | 20.8 |
| Lightning Bolt | Electric | 450 | 22.5 |
| Lock-on Laser | Electric | 140 | 17.5 |
| Nightmare Ball | Dark | 300 | 18.8 |
| Pal Blast | Neutral | 450 | 22.5 |
| Power Bomb | Neutral | 120 | 15 |
| Reflect Leaf | Grass | 400 | 20 |
| Rockburst |  Ground Ground | 300 | 18.8 |
| Rocky Impact | Ground | 600 | 20 |
| Sand Twister | Ground | 500 | 20.8 |
| Solar Blast | Grass | 450 | 22.5 |
| Spark Blast | Electric | 50 | 25 |
| Splash | Water | 160 | 20 |
| Thunder Rain | Electric | 400 | 20 |
| Thunderstorm | Electric | 600 | 20 |
| Torrential Blast | Water | 250 | 20.8 |
| Tri-Lightning | Electric | 200 | 16.7 |
| TriSpark | Electric | 250 | 20.8 |
| Volcanic Rain | Fire | 450 | 22.5 |
What Jellroy Can Breed Into (140)
Put Jellroy in a Breeding Farm with the right partner and these are the 140 Pals that can come out. The pairings needing the fewest specific partners are listed first — those are the ones worth planning a chain around.
 Cawgnito
 Dumud
Dumud Gloopie
 Hoodle
 Incineram
 Muffly
 Nitemary Botan
 Slowatt
 Smokie Cryst
 Surfent Terra
 Yakumo
 Amione
 Arsox
Arsox Bakemi
 Beakon
 Beegarde
 Blazehowl
 Bristla
 Broncherry
 Bushi
Bushi Caprity
 Caprity Noct
 Carnibora
 Cattiva
 Celaray
 Chillet
 Chillet Ignis
 Cinnamoth
 Croajiro
 Croajiro Noct
 Dazzi
Dazzi Dazzi Noct
 Digtoise
 Dinossom
 Dinossom Lux
 Direhowl
 Dumud Gild
 Dynamoff
 Eikthyrdeer
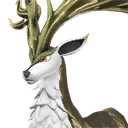 Eikthyrdeer Terra
+100 more — work out any pairing in the breeding calculator →