Best Skill Fruit Base Locations and Farming Camps
The best base locations for farming Skill Fruits in Palworld — how many trees sit inside each spot, the fast travel statue that serves it, what the regional fruit pool can actually roll, and the ore, wood and Soralite in each pocket.
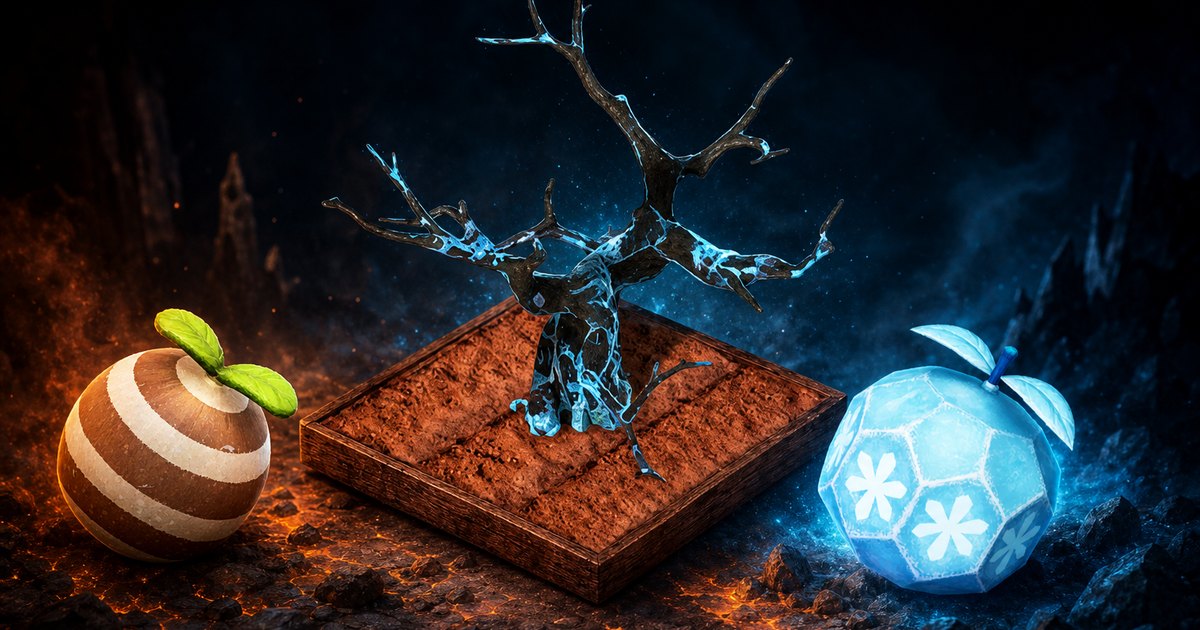
A Skill Fruit base is a Palbox parked close enough to Skill Fruit Trees that a harvest lap costs you a warp and thirty seconds. This guide ranks the spots worth building on — how many of the game's 47 trees fall inside each one, the statue that serves it, what that region's fruit pool can actually roll, and the ore, wood and Soralite in the pocket around the Palbox.
 Best Skill Fruit Base Locations at a Glance
Two things decide a Skill Fruit base and only one of them is tree count. The region your Palbox sits in locks the fruit table those trees roll from, and the gap between the best and worst table is total — a World Tree tree pays a 400-power-or-better fruit on 54% of pulls, while every tree on the Palpagos base island tops out at 300 power no matter how many you shake. Build for the pool first, then for the walk. Boreal Summit wins both: five trees inside 530 m of one statue, on the best table in the game.
| Rank | Base spot | Trees in range | Nearest statue | Pull is 400+ power | Best for |
|---|---|---|---|---|---|
| 1 | Boreal Summit — World Tree | 5 within 530 m | 58 m | 54% | The best fruit camp in the game |
| 2 | Within the Seal — World Tree | 2, 152 m apart | 36 m | 54% | Second stop on the same World Tree lap |
| 3 | Azure Covenant Tower — Sunreach Isle | 2, 184 m apart | 230 m | 51% | Best odds outside the World Tree, and it sits on Soralite |
| 4 | Deserted Ash Plateau — Feybreak | 1 at 61 m | 61 m | 32% | Shortest warp-to-tree walk on the main map |
| 5 | Sakurajima: West Coast | 1 at 190 m | 190 m | 32% | 600-power fruits you can reach mid-game |
| 6 | Isle of Silence Church Ruins — Palpagos | 1 at 97 m | 97 m | 0% | Best all-round early base that happens to own a tree |
| 7 | Mount Flopie Summit — Palpagos | 2, 316 m apart | 119 m | 0% | The only two-tree pocket on the starting island |
| 8 | Windscream Valley — Palpagos | 1 at 51 m | 51 m | 0% | Earliest tree you can realistically camp |
Every tree in that table is pinned on the Palworld interactive map with the Skill Fruit layer switched on, and the twelve World Tree trees sit on the World Tree map under the same layer. Turn the fast travel layer on next to it — the statues named above are the ones you warp to, and the distances are straight-line, so a cliff face can add a bit to the walk.
 What Makes a Skill Fruit Base Good
Trees are split across eight regional fruit tables, and the table is baked into the tree rather than into your level or the time of day. That single fact is why the fourteen trees on the starting island are close to worthless for farming: their pool caps out at Implode at 300 power, so no amount of shaking produces a fruit worth putting on an endgame Pal. The four regions below the World Tree line are where a base earns its keep.
| Region | Trees | Fruits in pool | Chance per fruit | Pull is 400+ power | Biggest fruit | Worth a base? |
|---|---|---|---|---|---|---|
| World Tree | 12 | 48 | 2.1% | 54% | Absolute Frost · 700 | Yes — the only wild source of the two 700-power fruits |
| Sunreach Isle | 4 | 43 | 2.3% | 51% |  Dark Whisp · 600 Dark Whisp · 600 | Yes — fewest trees, second-best table |
| Feybreak | 7 | 37 | 2.7% | 32% | 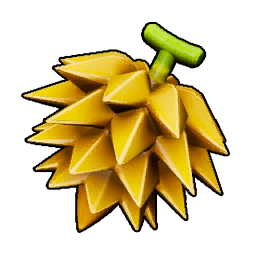 Thunderstorm · 600 Thunderstorm · 600 | Yes — most trees per region on the main map |
| Sakurajima | 4 | 37 | 2.7% | 32% | Diamond Rain · 600 | Yes — Feybreak's table, reachable far earlier |
| Snowfields | 2 | 31 | 3.2% | 32% | 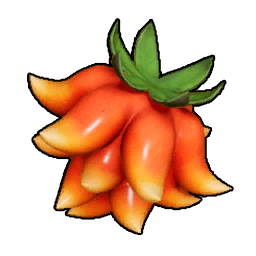 Fire Ball · 600 Fire Ball · 600 | Only if you already live there |
| Desert | 2 | 32 | 2.8% | 28% | 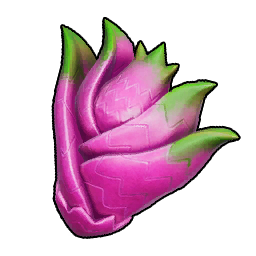 Dragon Meteor · 600 Dragon Meteor · 600 | Only if you already live there |
| Mount Obsidian | 2 | 32 | 2.7% | 27% | Fire Ball · 600 | One tree sits 91 m from the Anubis statue — worth a stop, not a base |
| Palpagos base island | 14 | 38 | 2.6% | 0% | 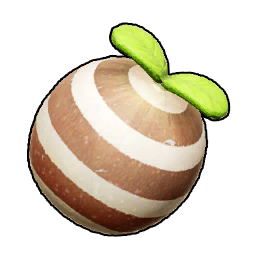 Implode · 300 Implode · 300 | No — build here for ore and wood, take the fruit as a bonus |
After the pool, rank spots by the walk. A tree 50 m from a statue is a base you actually re-run; a tree 500 m out across broken ground is one you visit twice and forget. Tree count only breaks a tie — two trees on a 0% table lose to one tree on a 54% table every time.
Boreal Summit — Five Trees Around One Statue
This is the single best place in Palworld to farm Skill Fruits and nothing else is close. Warping to Boreal Summit puts you 58 m from the first tree and 166 m from the second, with three more at 349 m, 379 m and 529 m — five of the World Tree's twelve trees on one loop. Drop the Palbox between the first two and the whole cluster is a short glide, on the table that carries Absolute Frost and Holy Burst, the only two 700-power fruits in the game and the only ones no other region grows.
| Detail | Value |
|---|---|
| Nearest fast travel | Boreal Summit |
| Trees at | 58 m · 166 m · 349 m · 379 m · 529 m |
| Fruit pool | 48 fruits, 2.1% each, 54% of pulls at 400+ power |
| Exclusive to this pool | Absolute Frost · Holy Burst · 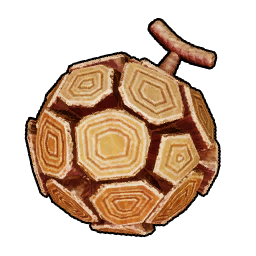 Rocky Impact · Rocky Impact ·  Geyser Gush Geyser Gush |
| Neighbours |  Mimog Mimog  Solmora Lux Solmora Lux  Whalaska Ignis Whalaska Ignis |
| Getting here | Beat Panthalus to open the World Tree |
One warning that has nothing to do with fruit: World Tree harvestable nodes despawn as you walk toward them unless the Pal with you carries a rank +5 World Tree passive, so treat this as a fruit-and-relic camp rather than a mining base. The trees themselves are not affected — you can pick them normally. The World Tree resource guide covers the passives that fix the node problem.
Within the Seal — The Second Stop on the Lap
Two more trees sit 152 m apart near Within the Seal, the closer one just 36 m from the statue — the shortest warp-to-tree walk anywhere in the game. It shares Boreal Summit's 54% table, so if you are running a loop rather than a base, warp here first, take both, then jump to Boreal Summit for the other five. Seven of the twelve World Tree trees in two warps is the fastest high-power fruit route there is.
| Detail | Value |
|---|---|
| Nearest fast travel | Within the Seal |
| Trees at | 36 m · 183 m |
| Fruit pool | Same 48-fruit World Tree table, 54% at 400+ power |
| Neighbours |  Roujay Roujay  Solenne Solenne  Faleris Aqua Faleris Aqua |
| Pairs with | Boreal Summit, five trees away |
Azure Covenant Tower — Sunreach Isle's 51% Table
Sunreach Isle only grows four trees, but every other pull off them is 400 power or better, which beats picking a dozen weak ones on the starting island. Two of the four sit 184 m apart north of the Azure Covenant Tower Entrance, and the pocket between them holds 8 Soralite nodes — the same Soralite the Skillfruit Orchard needs 150 of. That overlap is the argument for a real Palbox here rather than a warp stop: the base that farms your fruit also mines the material for the structure that grows more of it.
| Detail | Value |
|---|---|
| Nearest fast travel | Azure Covenant Tower Entrance, 230 m to the first tree |
| Trees | 2, 184 m apart |
| Fruit pool | 43 fruits, 2.3% each, 51% of pulls at 400+ power |
| Best fruit here | Dark Whisp · 600 power |
| In the pocket | 8  Soralite nodes Soralite nodes |
| Neighbours |  Quivern Quivern  Skutlass Skutlass  Suzaku Aqua Suzaku Aqua |
Deserted Ash Plateau — The Best Main-Map Spot
Feybreak carries seven trees, more than any other region on the Palpagos map, and the one at Deserted Ash Plateau is 61 m from the statue — close enough that you can warp in, pick, and warp out without touching the ground for long. The table behind it rolls a 400-power-or-better fruit on 32% of pulls and tops out at Thunderstorm at 600 power. As a base spot the pocket is thin, with 15 Stone and a pair of Hexolite Quartz nodes and not much else, so build small here and let the fruit be the point.
| Detail | Value |
|---|---|
| Nearest fast travel | Deserted Ash Plateau, 61 m |
| Other Feybreak trees | Loess Plains 115 m · Exile's Cape 130 m · Crystallized Great Tree 189 m |
| Fruit pool | 37 fruits, 2.7% each, 32% of pulls at 400+ power |
| In the pocket | 15 Stone, 2  Hexolite Quartz Hexolite Quartz |
| Neighbours | 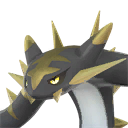 Cryolinx Terra Cryolinx Terra 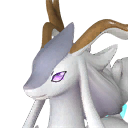 Celesdir Celesdir 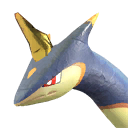 Surfent Terra Surfent Terra |
| Getting here | Feybreak location and how to reach it |
Three more Feybreak trees sit under 200 m from their own statues, so this region rewards a route more than a Palbox — four trees across four warps takes less time than walking between two anywhere else. The full tree list has the remaining three and their statues.
Isle of Silence and Mount Flopie — The Early-Game Answer
Nothing on the starting island can roll a 400-power fruit, so the honest early-game play is to build where the base is good and take the fruit as a bonus. Isle of Silence Church Ruins is the best of those by a distance: a tree 97 m out, and a pocket holding 16 Ore, 6 Coal, 6 Paldium Ore, 31 Stone, 15 trees and 99 Red Berry bushes — a full starter economy with a Skill Fruit Tree attached. Mount Flopie Summit is the alternative if you want two trees, 316 m apart with the Palbox between them, 119 m from the statue.
| Spot | Tree distance | In the pocket | Neighbours |
|---|---|---|---|
| Isle of Silence Church Ruins | 97 m | 16  Ore, 6 Ore, 6  Coal, 6 Paldium, 31 Stone, 15 trees, 99 Red Berry Coal, 6 Paldium, 31 Stone, 15 trees, 99 Red Berry |  Teafant Teafant  Cremis Cremis  Cattiva Cattiva |
| Mount Flopie Summit | 120 m and 252 m | 17 trees, 25 Stone, 8 Ore, 1 Coal |  Turtacle Turtacle  Kelpsea Mimog Kelpsea Mimog |
| Gobfin's Turf | 49 m | 13 trees, 7 Stone, 2 Coal, 2 Sulfur |  Cinnamoth Cinnamoth  Broncherry Broncherry 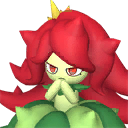 Bristla Bristla |
| Windscream Valley | 51 m | 11 Ore, 25 Stone, 2 Sulfur, no wood | 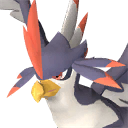 Nitewing Nitewing 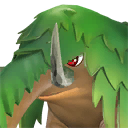 Mammorest Broncherry Mammorest Broncherry |
Windscream Valley gets named a lot as a Skill Fruit base and the tree really is there, 51 m from the statue — but check that last column before you commit. There is not a single lumber node inside 150 m of it, which makes it a rough place to run a base that needs to build anything. Cinnamoth Forest gets the same recommendation and deserves it even less: the nearest Skill Fruit Tree to that statue is the Windscream one, 810 m away. If you want the fruit, live at Windscream; if you want a base, live at Isle of Silence.
 Skillfruit Orchard — The Base That Grows Its Own
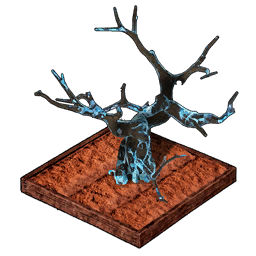
Every location above is a lottery ticket. The Skillfruit Orchard is the only way to aim: plant a fruit and the structure grows more fruit of that element, which turns a base from a harvest stop into a production line. It unlocks at Technology level 71 for 3 regular Technology Points, needs a Pal with Watering rank 1 or better, and costs a genuinely late-game pile of materials — which is exactly why the Sunreach spot above, sitting on 8 Soralite nodes, is worth more than its tree count suggests.
| Material | Qty | Fastest source |
|---|---|---|
 Mythical Wood Mythical Wood | 200 | Recycling Ancient Relics — up to 11 per Glistening relic |
 Paldium Fragment Paldium Fragment | 500 | 711 Paldium Ore nodes on the map, or 70 Gold each from a Wander Shop |
| Soralite | 150 | Sunreach Isle supply drops, 30–40 per drop |
The payout is slower than people expect, so plan around it rather than being surprised by it. Six cycles in ten produce nothing at all; when a cycle does pay, the most likely result is the exact fruit you planted. Rare fruit — the Absolute Frost tier — lands on 3% of cycles, which is still better odds than any tree in the game and it never sends you anywhere.
| Harvest result | Chance |
|---|---|
| Nothing this cycle | 60% |
| The exact fruit you planted | 15% |
| Common fruit of the same element | 15% |
| Uncommon fruit of the same element | 7% |
| Rare fruit of the same element | 3% |
Staffing it is the easy part, and one Pal makes a visible difference to cycle time. Shaolong holds the highest Watering rank in the game at 8, with no close second; Jormuntide and Neptilius sit at 7 with no competing job, so they never wander off the orchard to do something else. Ophydia is the pick if the same base runs food plots, since Planting 7 comes attached.
| Pal | Watering | Also does | Why bring it |
|---|---|---|---|
 Shaolong Shaolong | 8 | Gathering 5 | Highest Watering rank in the game — fastest cycles |
 Jormuntide Jormuntide | 7 | — | Rank 7 with no competing job, so it stays on the orchard |
 Neptilius Neptilius | 7 | — | Matches Jormuntide, straight swap if you own one |
| Faleris Aqua | 6 | Transporting 5 | Waters and hauls the harvest without a second Pal |
 Ophydia Ophydia | 5 | Planting 7 | Best dual-purpose pick for a base with food plots |
Palbox, Base Slots, and Respawn Timers
The Palbox itself is nearly free — Technology level 2, and 1 Paldium Fragment, 8 Wood and 3 Stone to build — so the real cost of a Skill Fruit camp is a base slot, not materials. You get slots by raising base level, and four is the ceiling, which means a dedicated fruit camp is competing with your ore base, your ranch and your breeding pen. That is the case for putting the fruit camp somewhere that also pays rent, like the Soralite pocket on Sunreach or the ore pocket at Isle of Silence.
| Base level | Worker slots | Bases you can own |
|---|---|---|
| 1 | 1 | 1 |
| 8 | 8 | 2 |
| 15 | 15 | 3 |
| 25 | 25 | 4 |
Trees regrow on your world's collectible respawn interval — the same setting that controls ore and berry nodes, not a timer specific to fruit. On a solo world you can shorten that interval in World Settings and re-run a five-tree loop back to back, which is what makes the Boreal Summit cluster so strong. On an official server the interval is fixed, so the answer is a wider route instead of a tighter camp: Feybreak's seven trees or the World Tree's twelve, rather than shaking the same two.
The Short Version
Build at Boreal Summit on the World Tree if you have beaten Panthalus — five trees inside 530 m on the only table that grows 700-power fruit. If you have not, put the camp at Azure Covenant Tower on Sunreach Isle for the 51% table and the Soralite, or run Deserted Ash Plateau in Feybreak for the shortest walk on the main map. Before endgame, do not build for fruit at all: park at Isle of Silence Church Ruins, take the tree 97 m away as a bonus, and spend the base slot on ore. Once you hit level 71, the Skillfruit Orchard replaces all of it.
Related Guides
More on Skill Fruits, bases and the regions above:
- All Skill Fruit Tree Locations and What Each One Drops
- How to Get Skillfruit Orchard: Cost, Odds, and Best Pals
- Best Base Locations in Palworld 1.0: Coordinates and Nodes
- How to Beat Panthalus and Enter the World Tree
- How to Gather Resources at the World Tree: All 9 Sources
- Feybreak Location, How to Get There, and What's On It
- Strongest Attack Skills in Palworld 1.0 and How to Get Them
- All Base Level Rewards and Requirements: Lv. 1 to 35
- Palworld interactive map — Skill Fruit tree layer
- All Palworld guides