How to Catch Pals, All Sphere Tiers, and Capture Rate
How catching works in Palworld: all 10 Pal Sphere tiers with unlock levels and recipes, what actually raises your capture rate, the Statue of Power effigy track, and which Pals are easiest and hardest to catch.
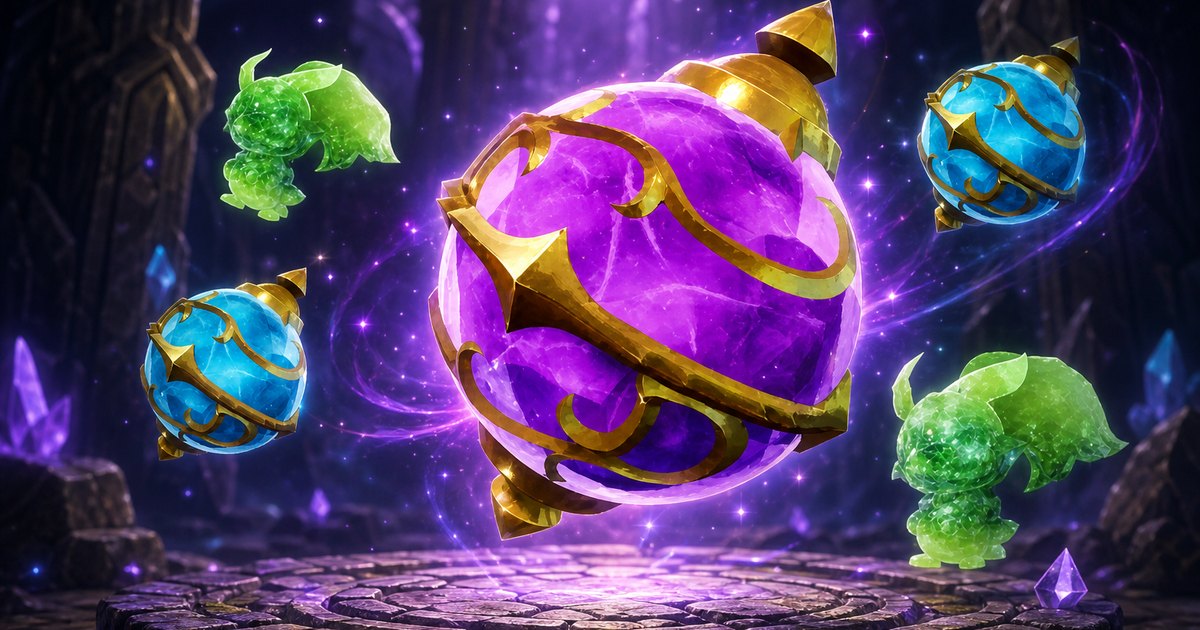
Catching Pals is how you get every worker, mount and fighter in the game, and the difference between burning 20 spheres on a target and landing it on the second throw comes down to a handful of numbers. This guide covers all 10 sphere tiers with their unlock levels and recipes, the modifiers that actually move your odds, the Lifmunk Effigy track at the Statue of Power, and which Pals have quietly rigged catch ratings.
 How Catching Works
Every capture is one dice roll per throw, and four things load the dice: the sphere you throw, how much health the Pal has left, whether it saw you coming, and how many effigies you have handed in. Fight the Pal down first, then throw — a sphere lobbed at a full-health target is close to wasted, no matter how expensive it was. The basic loop:
- Unlock and craft spheres — the plain Pal Sphere arrives at technology level 2 for a single point
- Chip the target's HP down without killing it, ideally with an attack it's weak to
- Circle behind it and throw from the rear for the back bonus
- Watch the capture bar — a failed throw still burns the sphere, so bring a full stack
- Repeat until it locks, then check the Pal's page for its work suitabilities and where else it spawns
Pocketpair has never published the exact capture formula, so the percentages you see anywhere — including the Palworld capture rate calculator on this site — are close estimates rather than gospel. The relative weight of each factor is solid, though: health first, then sphere tier, then the bonuses stacked on top.
 All 10 Pal Sphere Tiers and Unlock Levels
Ten spheres, from the level 2 starter to the level 74 endgame throw. Capture power is the number that matters — it roughly doubles from the Pal Sphere to the Mega Sphere, then climbs in smaller steps, so the early upgrades are the ones you feel most. The three newest tiers — Exotic, Sol and Ancient — sit above the Ultimate Sphere in practice, but their exact capture power has never been nailed down, so they're left blank rather than guessed. Shop price is what a merchant charges per sphere; every one of these can also be crafted.
| Sphere | Tech Lv | Points | Capture Power | Shop Price | Materials |
|---|---|---|---|---|---|
| Pal Sphere | 2 | 1 | 7 | 80 | 1× Paldium Fragment |
 Mega Sphere Mega Sphere | 14 | 2 | 14 | 460 | 1× Paldium Fragment, 1× Ingot, 3× Wood, 3× Stone |
 Giga Sphere Giga Sphere | 20 | 3 | 20 | 890 | 2× Paldium Fragment, 2× Ingot, 5× Wood, 5× Stone |
 Hyper Sphere Hyper Sphere | 27 | 3 | 26 | 1,350 | 3× Paldium Fragment, 3× Ingot, 8× Wood, 8× Stone |
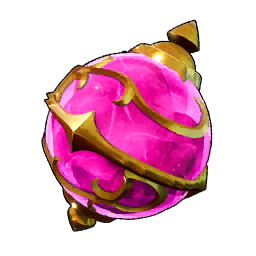 Ultra Sphere Ultra Sphere | 35 | 4 | 32 | 3,300 | 5× Paldium Fragment, 3× Refined Ingot, 10× Wood, 10× Stone |
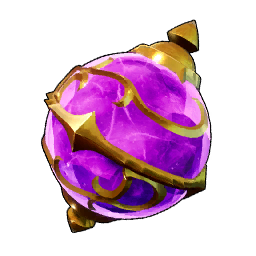 Legendary Sphere Legendary Sphere | 44 | 5 | 37 | 5,570 | 5× Paldium Fragment, 3× Pal Metal Ingot, 3× Hardwood, 20× Stone |
 Ultimate Sphere Ultimate Sphere | 51 | 5 | 43 | 12,560 | 10× Paldium Fragment, 5× Pal Metal Ingot, 10× Hardwood, 1× Plasteel |
 Exotic Sphere Exotic Sphere | 58 | 5 | — | 9,080 | 15× Paldium Fragment, 1× Plasteel, 10× Hardwood, 1× Hexolite |
 Sol Sphere Sol Sphere | 67 | 5 | — | 21,000 | 30× Paldium Fragment, 2× Soralite Ingot, 10× Hardwood |
| Ancient Sphere | 74 | 5 | — | 122,760 | 30× Paldium Fragment, 6× Paloxite Ingot, 3× Mythical Wood |
Two things stand out. The Exotic Sphere is cheaper at a merchant (9,080) than the Ultimate Sphere it outranks (12,560), so it's the better gold-per-throw buy once you hit level 58. And Paldium Fragment is in all ten recipes — 30 per sphere at the top end — which makes paldium the real bottleneck on catching, not ingots. The Ancient Sphere is the outlier in every direction: 122,760 gold each, and its recipe needs Mythical Wood and Paloxite Ingot from the World Tree.
Crafting time scales far harder than materials do. A Pal Sphere takes 300 work to build; a Ultra Sphere takes 20,000, an Exotic Sphere 300,000, and the Ancient Sphere a flat 1,000,000. That's a 3,333× jump from bottom to top of the same class, so mass-producing high-tier spheres is a base-throughput problem — stack Pals with high Handiwork on the assembly line or you'll wait all day for one throw.
 What Actually Changes Your Catch Odds
Health is the single biggest lever and it isn't close. Taking a Pal from full HP down to a sliver swings the roll by roughly nine times — more than jumping four sphere tiers does. Everything else is a multiplier stacked on top of that, and the cheap ones (a back throw, an element the target is weak to) cost nothing but positioning.
| Factor | Effect | How to use it |
|---|---|---|
| Remaining HP | ~9× swing from full to near-zero | The one thing worth doing every single time — fight first, throw last |
| Sphere tier | 7 to 43 capture power across the craftable tiers | Upgrade as soon as the tech unlocks; the early jumps are the biggest |
| Back throw | ~1.5× | Circle behind the Pal before you throw — free and stacks with everything |
| Alpha / boss Pal | ~0.7× penalty | Alphas are deliberately harder than their level implies; bring a full stack |
| Lifmunk Effigy rank | +0.5 capture power per rank | Permanent for the save — the only upgrade that compounds |
| Sphere modules | +1 to +3 capture power | All 6 sphere modules, from Heavy at Tech 19 to Homing at 69 |
| Partner skill | +1 to +5 capture power | Four Pals grant it — see the table below |
| World setting | Casual 2×, Normal 1×, Hard and Hardcore 0.8× | Set at world creation; the custom slider caps at the Casual value |
The world-difficulty multiplier is worth knowing before you start a save: Casual doubles every capture roll, Hard and Hardcore knock it down to 0.8×, and a custom world can be tuned but not pushed past the Casual figure. Status effects help too — a frozen or ivy-bound target is easier to land, and two of the partner skills below key off exactly those conditions.
 Lifmunk Effigies and the Statue of Power
The Statue of Power unlocks at technology level 9 and costs 20× Stone and 10× Paldium Fragment to build — pocket change, and it's the best long-term investment in the game for catching. Offering Lifmunk Effigies raises your Capture Power rank, which adds to every throw you make for the rest of the save. The track runs 15 ranks deep and costs 100 effigies to max out.
| Capture Power rank | Effigies for that rank | Running total |
|---|---|---|
| 1 | 1 | 1 |
| 2 | 2 | 3 |
| 3 | 3 | 6 |
| 4 | 4 | 10 |
| 5 | 5 | 15 |
| 6 | 6 | 21 |
| 7 | 7 | 28 |
| 8–15 | 9 each | 100 at rank 15 |
The curve is gentle early and then flattens into a grind: the first seven ranks cost 28 effigies between them, and the last eight cost 72. That's the point to stop going out of your way — grab effigies on the routes you're already running rather than sweeping the map for them. There are 360 effigy pins on the main island and another 47 on the World Tree map, so 407 total against a 100-effigy requirement means you have plenty of slack. Pull up every Lifmunk Effigy location on the map and clear the ones near your base first.
 Pals That Add Capture Power
Four Pals carry partner skills that feed directly into catching, and three of them stack flat capture power on your throws — up to +5 at max skill rank, which is more than a full sphere tier is worth. Each one has a trigger condition, so they're situational rather than always-on, and you'd swap them in for a catching session rather than run them permanently.
| Pal | Partner Skill | Trigger | Bonus |
|---|---|---|---|
| Wispaw | Death-Cheating Feline | Sneak captures — throw before the Pal notices you | +1 to +5 capture power |
 Muffly Muffly | Fluffy Flutterer | Target is frozen | +1 to +5 capture power |
 Souffline Souffline | Fuzzy Fairy | Target is tangled in ivy | +1 to +5 capture power |
 Yakumo Yakumo | Birds of a Feather | Any capture | 15% to 30% chance to pass a passive to the caught Pal |
Wispaw is the general-purpose pick because sneaking up is something you can do to any Pal, anywhere, while Muffly and Souffline need you to land a specific status first. Yakumo is the odd one out — it doesn't help you catch anything, it improves what you catch, rolling a chance to hand the new Pal a passive skill. If you're farming a species for a breeding project, that's the one you want out.
 Easiest and Hardest Pals to Catch
Every Pal carries a catch rating that multiplies your odds, and 263 of the 288 Pals sit at a flat 1.0 — the default. The 25 that don't are the interesting ones. The starter-tier Neutral Pals are rigged in your favour at 1.5, which is why Lamball and Chikipi practically fall into the sphere, while Mimog is the single hardest catch in the game at 0.8.
| Catch rating | Pals | What it means |
|---|---|---|
| 1.5 (easiest) |  Lamball Lamball  Cattiva Cattiva  Chikipi Chikipi | Half again on top of your normal odds |
| 1.3 |  Vixy Vixy  Cremis Cremis  Teafant Teafant  Gumoss Gumoss | Still noticeably generous |
| 1.2 |  Jolthog Jolthog | A small edge |
| 1.0 (default) | 263 of 288 Pals | No modifier either way |
| 0.9 |  Lifmunk Lifmunk  Pengullet Lux Pengullet Lux 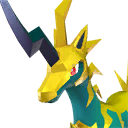 Univolt Univolt 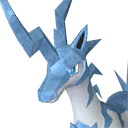 Univolt Cryst Univolt Cryst | Slightly stingy — bring extra spheres |
| 0.8 (hardest) | Mimog | The stingiest rating in the game |
The 1.1 band is worth a mention too — Foxparks, Flambelle, Swee, Sparkit, Tanzee, Fuack, Celaray and Rooby all sit there along with their variant forms, and they're exactly the Pals you're farming in bulk for kindling and base work. That small bump is why early base-staffing runs feel smoother than they should. Note that these ratings are a per-Pal multiplier, not a percentage — a 1.5 Pal at full health is still a bad throw.
Where to Buy Pal Spheres
You don't have to craft everything. Merchants stock the low tiers at exactly their listed price, which makes buying a reasonable stopgap when your paldium runs dry mid-expedition. There are 12 merchant pins scattered across the main map — check every merchant location before you commit to a farming trip.
| Vendor | Stocks | Price each |
|---|---|---|
| Village Shop | Pal Sphere | 80 |
| Caravan Shop | Pal Sphere | 80 |
| Wandering Trader | Pal Sphere Mega Sphere Giga Sphere | 80 / 460 / 890 |
The Wandering Trader is the useful one — it's the only vendor that carries anything above the base tier, and 890 gold for a Giga Sphere is cheap compared to hunting down 2× Paldium Fragment and 2× Ingot per sphere in the early game. Past that point, crafting wins on cost every time.
 Sphere Crafting Stations
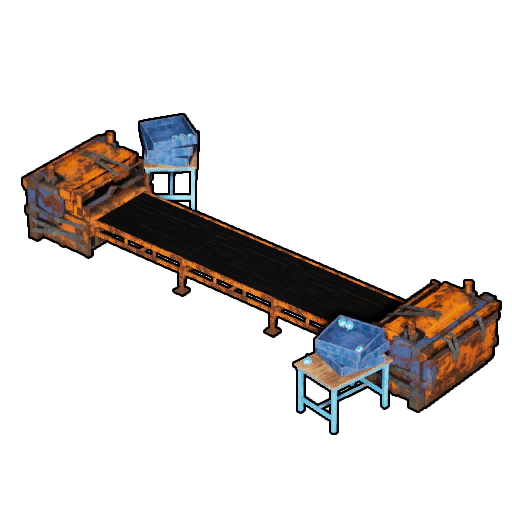
Spheres above the base tier need a dedicated station, and each one gates a chunk of the sphere list. The Sphere Workbench arrives at the same technology level as the Mega Sphere itself, and the upgrades track the tiers from there. Build the newest one you can afford — the higher stations craft faster, which matters a lot given how the work costs scale.
| Station | Tech Lv | Materials |
|---|---|---|
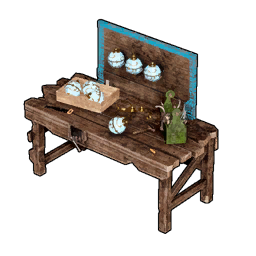 Sphere Workbench Sphere Workbench | 14 | 10× Paldium Fragment, 30× Wood, 10× Nail, 20× Ingot |
| Sphere Assembly Line | 27 | 30× Paldium Fragment, 5× Wooden Board, 100× Ingot, 20× Nail |
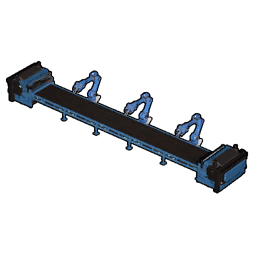 Sphere Assembly Line II Sphere Assembly Line II | 35 | 100× Refined Ingot, 10× Circuit Board, 30× Nail, 50× Paldium Fragment |
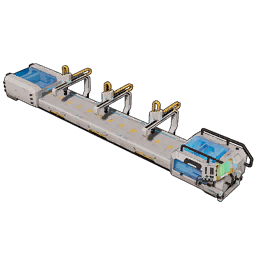 Advanced Sphere Assembly Line Advanced Sphere Assembly Line | 58 | 50× Hexolite, 50× Plasteel, 10× Computer, 10× Bio Battery |
The jump from the Assembly Line II at level 35 to the Advanced version at 58 is the painful one — 50 Hexolite and 50 Plasteel plus 10 Computers is a genuine base project. It's also mandatory if you want Exotic Spheres and above, so start stockpiling around level 50. Full breakdown on the Advanced Sphere Assembly Line page.
 Capture XP and Farming the Same Pal
Catching pays XP on top of whatever the fight gave you, and the bonus scales with the caught Pal's level — so catching high-level Pals is a real levelling strategy, not just a collection habit. Catching several of the same species in a row also pays escalating bonus XP, with the reward tapering off after the tenth, which is why hunting a dense spawn cluster beats wandering.
| Pal level | Bonus XP from the capture |
|---|---|
| 1 | 22 |
| 10 | 42 |
| 20 | 65 |
| 30 | 90 |
| 40 | 135 |
| 50 | 180 |
| 60 | 225 |
| 70 | 270 |
A level 50 capture is worth eight times a level 1 one, so the efficient play late is to catch everything you fight rather than killing it — the sphere costs less than the XP is worth. There's also a collectible tied to volume: the Mimog Effigy turns up on its own once you've captured a large number of Pals, and it feeds the same Statue of Power upgrade tracks as the standard effigies.
Related Guides
More catching, spheres and progression:
- Palworld Capture Rate Calculator
- List of All Sphere Modules and How to Make Them
- All Pal Effigies and Player Upgrade Tracks Explained
- How to Get the Advanced Sphere Assembly Line and All It Crafts
- Best Early Game Pals: First Catches for Every Job
- Alpha Pal Hunting Route: Every Field Boss by Level
- Palworld Interactive Map — every spawn, effigy and merchant
- Every Pal's spawn locations
- The complete technology tree