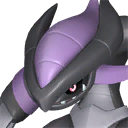
How to Beat Xenolord (Ultra): Weakness, Team, and Drops
How to beat the Level 80 Xenolord (Ultra) raid boss in Palworld — the x420 HP and x13 damage multipliers, why Ice is the only build worth making, all eight attacks, the 62 adds it drops across three meteor waves, and the hat only this fight pays.
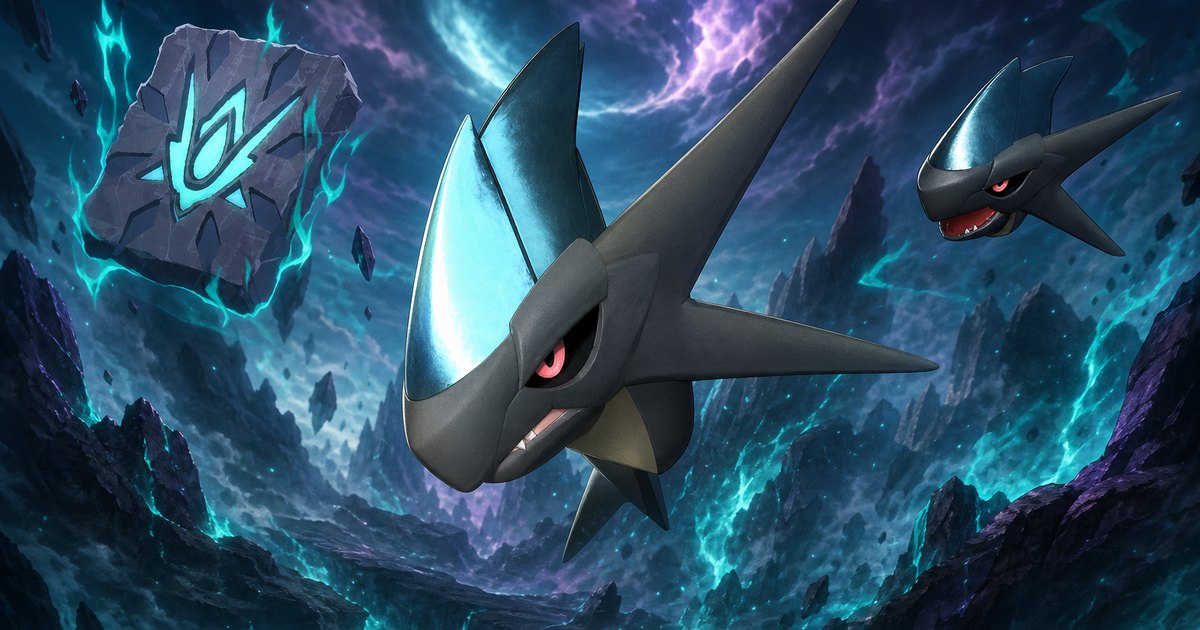
Xenolord (Ultra) is the Level 80 rematch that the standard Xenolord raid hands you a key to on your very first clear, and it sits at the top of the difficulty pile alongside the other two Level 80 Ultras. This guide covers its exact battle multipliers, why Ice is the only build worth committing to, all eight attacks with power and cooldown, the 62 extra bodies it drops on you across three meteor waves, the gear that survives a x13 hit, and every reward the kill pays — including the one piece of headgear nothing else in the game drops.
 Xenolord (Ultra) Raid Stats
The Ultra slab summons the same Pal with the numbers rewritten. It keeps the Dark/Dragon typing and the same eight-move rotation, but its health pool jumps from x280 to x420, everything it lands is multiplied by x13 instead of x5, and its armour cuts your damage down to 9% instead of 35%. Divide the health multiplier by the damage you actually land and you get roughly 4,667 times a normal Pal's health bar — near six times the standard fight, from a boss whose slab you got for free.
| Xenolord (Ultra) | |
|---|---|
| Boss | Xenolord |
| Elements | Dark / Dragon |
| Weak to | Ice (beats the Dragon half) and Dragon (beats the Dark half) |
| Summon level | 80 — up from 65 on the standard raid |
| HP multiplier | x420 |
| Damage it deals | x13 — tied with Hartalis (Ultra) for the hardest-hitting raid in the game |
| Damage it takes | x0.09 — 91% of your output is absorbed |
| Cooldown rate | x2 — the same rate every raid runs |
| Effective toughness | ~4,667x a normal health bar |
| Adds summoned | 62, across three meteor waves |
| Innate passives | Invader (+30% Dark and Dragon damage) and Otherworldly Cells (+10% attack, 15% less Fire and Lightning damage taken) |
| Summon item |  Xenolord (Ultra) Slab Xenolord (Ultra) Slab |
| Exclusive reward |  Xenolord's head — this fight is the only source Xenolord's head — this fight is the only source |
| Egg on clear | 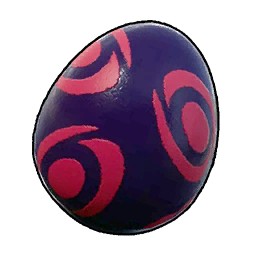 Huge Dark Egg — 90% normal Xenolord, 10% alpha Huge Dark Egg — 90% normal Xenolord, 10% alpha |
Against the other Ultras, Xenolord is the awkward one. Blazamut Ryu carries a bigger health pool and Hartalis is nowhere near as spongy, but Xenolord is the only fight that pairs the maximum damage multiplier with the maximum damage reduction — you are taking the worst hits in the game for the longest stretch of time. That combination, not any single mechanic, is what wipes squads.
| Ultra raid | HP | Damage dealt | Damage taken | Effective toughness |
|---|---|---|---|---|
| Xenolord (Ultra) | x420 | x13 | x0.09 | ~4,667x |
 Bellanoir Libero (Ultra) Bellanoir Libero (Ultra) | x420 | x10 | x0.09 | ~4,667x |
 Blazamut Ryu (Ultra) Blazamut Ryu (Ultra) | x500 | x8 | x0.09 | ~5,556x |
 Hartalis (Ultra) Hartalis (Ultra) | x320 | x13 | x0.2 | ~1,600x |
What You Need Before You Summon It
The entry fee is cheaper than people expect, because the standard raid pays the Ultra key on every single clear at 100%. Beat Xenolord once at Level 65 and the Xenolord (Ultra) Slab is in your bag — and since the Ultra also drops another one on its own clear, the fight reseeds itself forever. The four-fragment craft is only there as insurance if you burn a slab on a wipe.
| Requirement | How you get it |
|---|---|
 Summoning Altar Summoning Altar | Technology 33 — the same altar every raid uses |
| Xenolord (Ultra) Slab | Guaranteed drop from the standard Level 65 Xenolord raid, and from the Ultra itself |
 Xenolord (Ultra) Slab Fragment Xenolord (Ultra) Slab Fragment | 4x crafts a spare slab — only needed if you lose one |
| A maxed Ice attacker | Condensed to four stars and levelled to 60, from the team table below |
| Ancient-tier armour | Lightweight Ancient Armor at Technology 79, Ancient Helm at 68, Ancient Shield at 71 |
| A deep ammo stack | A x0.09 damage floor means a long fight — bring several times what the standard raid needed |
| Revives and meds | Revival Potions and Advanced Recovery Meds — a x13 hit removes a Pal, not a chunk of one |
| No Dark or Neutral Pals | Six of its eight moves are Dragon and the other two are Dark — both typings get punished |
 Ice Is the Only Build Worth Making
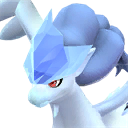
Both of Xenolord's weaknesses still apply at Level 80, but the Ultra breaks the tie decisively in Ice's favour. It is not about raw damage — it is that every Ice move in the game carries a 100% Freeze chance, and a frozen boss is a boss not firing a x13 laser at you. Dragon attackers deal the same bonus damage to the Dark half and bring nothing that stops the rotation, which is a fine trade at x5 and a bad one at x13.
| Matchup | Result at Level 80 |
|---|---|
| Ice attacking Xenolord | Bonus damage against the Dragon half, plus a Freeze roll on every hit |
| Dragon attacking Xenolord | Bonus damage against the Dark half, no crowd control attached |
| Its six Dragon moves vs your Dark Pals | Bonus damage against you — Frostallion Noct and Kitsun Noct are traps here |
| Its two Dark moves vs your Neutral Pals | Bonus damage against you — bench Neutral too |
| Its whole kit vs an Ice or Dragon Pal | Flat damage — neither typing is punished by anything it owns |
| Fire or Electric attacks on Xenolord | No bonus, and Otherworldly Cells shaves another 15% off — the worst possible pick |
 Best Pals for Xenolord (Ultra)
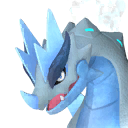
Pick for freeze uptime first and attack second. Moldron Cryst is the standout because both of its exclusive skills are Ice: Ice Laser at 700 power and Ice Spit at 600, each on a 30-second cooldown and each leaving frost pools behind that keep freezing things that walk into them. Frostallion still holds the best raw stat line of any Ice Pal at 140 ranged attack and 140 HP, and it comes with Ice Emperor and Legend built in. Everything below it is a question of what you have already condensed.
| Pal | Elements | Ranged / Melee | HP / Def | Why bring it |
|---|---|---|---|---|
| Moldron Cryst | Ice / Ground | 125 / 100 | 110 / 120 | The freeze engine — Ice Laser (700 power, 30s) and Ice Spit (600 power, 30s) are exclusive to it, and both leave frost pools that keep proccing after the cast |
| Frostallion | Ice | 140 / 100 | 140 / 120 | Highest attack and highest health of any Ice Pal, innate Legend and Ice Emperor, Crystal Wing at 700 power. Level 60 alpha |
 Bastigor Bastigor | Ice | 130 / 100 | 140 / 120 | Matches Frostallion's bulk exactly and spawns wild across 138 points on the map — no boss fight required |
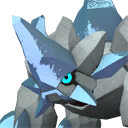 Pierdon Cryst Pierdon Cryst | Ice | 110 / 100 | 100 / 120 | The move pool pick: Absolute Frost (700), Diamond Rain (600) and Blizzard Spike (450) all on one Pal, all with Freeze attached |
 Icelyn Icelyn | Ice | 115 / 100 | 95 / 105 | Learns Absolute Frost at level 70 and Ice Missile from level 1 — the cheapest way to hold freeze uptime while your carry is on cooldown |
 Cryolinx Cryolinx | Ice | 100 / 140 | 100 / 110 | Top Ice melee number, catchable across 78 spawn points, but 100 HP in melee range of a x13 rotation is a short career |
 Panthalus Panthalus | Water | 120 / 100 | 180 / 200 | Not a damage pick — 200 defense and 180 HP is the highest combined bulk you can field, and Aqua Tornado at 800 power still hits for something while it soaks |
 Orserk Orserk | Dragon / Electric | 130 / 100 | 120 / 115 | The Dragon-side alternative if your Ice roster is thin — use its Dragon moves only, since Otherworldly Cells eats 15% of the Electric ones |
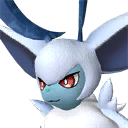 Loupmoon Cryst Loupmoon Cryst | Ice | 100 / 130 | 80 / 80 | 583 spawn points makes it the easy fallback, but 80 defense against x13 means it dies to the first thing that touches it |
The passive stack on your carry
At x13 incoming, a pure-offence passive spread stops being correct. The standard raid rewards stacking Ice damage as high as it goes; the Ultra rewards keeping the Pal alive long enough to land the third meteor wave. Diamond Body is the quiet star — 30% defense plus flinch and knockback immunity, which means a glancing hit no longer interrupts a 30-second cooldown skill mid-cast.
| Passive | Effect | Why it matters here |
|---|---|---|
| Diamond Body | +30% defense, immune to flinch and knockback | The best single passive in the fight — your 700-power casts stop getting interrupted |
| Legend | +20% attack, +20% defense, +20% move speed | The only passive that raises both sides of the equation at once |
| Ice Emperor | +30% Ice damage | Baseline Ice booster, innate on Frostallion |
| Siren of the Void | +30% Ice damage, +30% Dark damage | Stacks with Ice Emperor; the Dark half is dead weight but costs nothing |
| Lunker | +20% Ice damage, +20% Water damage, +20% defense | The only Ice booster that also adds defense |
| Serenity | −30% skill cooldown, +10% attack | Turns three 30-second Ice casts into far more freeze windows over a ten-minute fight |
| Immortality | +5% life steal, +100% health regen, +15% attack | Self-sustain matters when healing a Pal mid-rotation is not an option |
| Demon God | +30% attack, +5% defense | The raw-damage pick when you already have two defensive rolls |
 Support passives buff you, not the Pal
Passives that target the trainer apply from your active Pal, so the Pal riding shotgun does not need to be an Ice attacker at all. Vanguard and Stronghold Strategist each move your own numbers by 10%, which is worth more than it sounds when you are the one holding the Plasma Rifle and eating the splash from a meteor drop.
| Passive | Effect | Target |
|---|---|---|
| Vanguard | +10% attack | You, not the Pal |
| Stronghold Strategist | +10% defense | You, not the Pal |
| Diamond Body | +30% defense, flinch and knockback immunity | The Pal carrying it |
| Legend | +20% attack, defense and move speed | The Pal carrying it |
Every Attack in the Rotation
The Ultra does not learn anything new — it runs the same eight moves at the same power and cooldown values, with x13 stapled on the end. That is genuinely good news, because it means the standard fight teaches you the whole rotation. Six of the eight are Dragon-element and only two are Dark, and the two lowest-power moves are the ones on short timers, so most of your incoming damage arrives as a steady drip from Dragon Cannon rather than the big telegraphed casts.
| Attack | Element | Power | Cooldown | Range | What to do |
|---|---|---|---|---|---|
| Omega Laser | Dragon | 700 | 30s | 3,500 | Fires in all directions from a fixed point, and it has the shortest reach of the heavy casts — the one attack where backing off genuinely works |
| Meteorain | Dragon | 700 | 30s | 5,000 | Full-arena orbital drop with a Burn rider — keep the squad spread so one volley cannot catch two Pals |
| Cosmic Meteor | Dragon | 600 | 30s | 5,000 | It launches, rains projectiles, then charges back in as a comet. The charge is the part that kills — keep moving sideways, not backwards |
| Astral Ray | Dark | 500 | 24s | 5,000 | A straight-line beam and one of only two Dark moves — the exact reason a Neutral Pal has no place here |
| Beam Slash | Dragon | 450 | 20s | 3,000 | Two fast slashes at close range — pull any melee Pal like Cryolinx out before this comes off cooldown |
| Satellite Bit | Dragon | 400 | 20s | 5,000 | Deploys four auto-tracking wings. Ignore them and keep burning the boss; they stop when it does |
| Umbral Surge | Dark | 60 | 4s | 5,000 | Low power, fires constantly, and it needs 1,200 range minimum — it goes silent when you fight up close |
| Dragon Cannon | Dragon | 40 | 2s | 4,000 | Its basic attack, and at x13 the bulk of what actually drains your health bar over ten minutes |
 The Add Waves Are the Real Fight
This is where the Ultra separates itself from the Level 65 version, and it is the reason under-levelled squads get buried rather than out-damaged. Xenolord calls meteors down at three health thresholds instead of two — 80%, 50% and 20% — and each meteor lands a pack of Xenovader, with Xenogard joining from the second wave on. Add it up and the Ultra puts 62 extra Pals on the field over the course of one fight, against 36 in the standard raid, and the Ultra spawns the upgraded versions of both.
| HP trigger | Meteors | Xenovaders | Xenogards | Bodies that wave |
|---|---|---|---|---|
| 80% health | 4 | 12 | 0 | 12 |
| 50% health | 6 | 18 | 3 | 21 |
| 20% health | 8 | 25 | 4 | 29 |
| Full fight | 18 | 55 | 7 | 62 |
Both adds are worth knowing by their stat line. Xenovader is the Dark one and it is fragile — 125 ranged attack but only 90 HP and 85 defense, so a single Ice area move deletes several at once. Xenogard is the Dragon one at 130 defense and 110 HP, and it is the one that survives long enough to matter. The 20% wave is where fights are lost: eight meteors landing 29 bodies while the boss is still swinging at x13, right when your revives are already gone.
| Add | Elements | Ranged / Melee | HP / Def | How to handle it |
|---|---|---|---|---|
| Xenovader | Dark | 125 / 100 | 90 / 85 | The chaff, and the bulk of all 62 spawns — Blizzard Spike and Diamond Rain clear them in groups |
 Xenogard Xenogard | Dragon | 120 / 100 | 110 / 130 | Only seven show up all fight, but 130 defense means they linger — focus these down individually |
Fight Strategy
There is no trick that shortcuts the health pool. What the fight rewards is uptime — keeping the boss frozen, keeping the arena clear, and keeping every Pal you brought alive to the third wave. Four things decide whether that happens.
Freeze it, then keep it frozen
Every Ice move carries a 100% Freeze chance, which makes freeze uptime the actual win condition rather than a bonus. Chain the heavy casts — Ice Laser, then Ice Spit, then Blizzard Spike from a second Pal — so the 30-second cooldowns never overlap into a gap. Ice Missile is the glue: 40 power on a 2-second timer sounds useless, but it is a Freeze roll every two seconds while your big skills recharge, and Icelyn and Pierdon Cryst both know it from level 1.
Clear each wave before the next one lands
The waves stack if you let them. Xenovaders that survived the 80% meteors are still shooting when the 50% wave arrives, and 21 fresh bodies on top of leftovers is how a stable fight tips over. When a meteor drops, switch targets immediately and sweep the pack with an area Ice move — they die in one — then go straight back to the boss. Damage lost to add clear is cheaper than damage taken from three overlapping waves.
Bank damage above 80% health
The opening stretch is the only part of this fight with no adds in it. Nothing interrupts you, nothing is shooting from a flank, and your cooldowns are all up — burn everything you have before the health bar crosses 80%. Grenades, the full magazine, both heavy Ice casts. From that point on you are splitting attention three ways and your damage per minute never returns to the opening rate.
Dodge on foot and stay close
Mounted movement is fast but it makes you a much larger target, and the dodge roll's invincibility frames are what actually beat Meteorain and Cosmic Meteor. Fighting close also silences Umbral Surge outright — it needs 1,200 units of range to fire, so inside that ring one of its two Dark moves simply stops existing. The trade is Beam Slash, which only reaches 3,000, so watch its 20-second timer.
 Bring more ammo and food than you think
At a 9% damage floor this is a long fight, and running dry mid-rotation is a real failure mode rather than a theoretical one. Stock Plasma Rifle Ammo in bulk, and load a feed box before you touch the altar — Galeclaw Nikujaga gives +25% Defense and Mammorest Curry gives +25% Attack for a stretch, and 25% off a x13 hit is worth more here than in any other fight.
 Best Gear to Bring
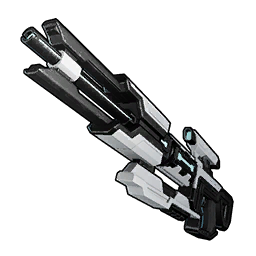
Weapon attack values only mean anything inside their own class — a bow's number and a rifle's number are built on completely different scales, so read down the class column rather than across the table. Within the classes that matter, the Plasma Rifle is the pick for sustained pressure at 46 rounds a magazine, and the Mechanical Bow is the burst option if you can land single shots between meteor drops. All values below are for the fully upgraded schematic.
| Class | Weapon | Attack (Legendary) | Magazine | Tech |
|---|---|---|---|---|
| Bow | 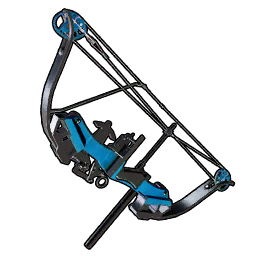 Mechanical Bow Mechanical Bow | 24,000 | 1 | 67 |
| Rocket Launcher | 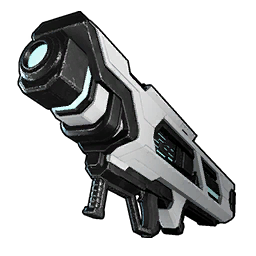 Beam Launcher Beam Launcher | 16,800 | — | 80 |
| Assault Rifle (burst) | 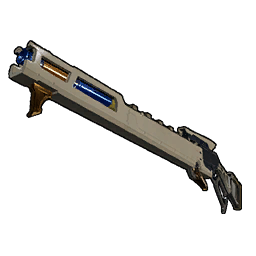 Charge Rifle Charge Rifle | 15,000 | 10 | 65 |
| Assault Rifle (sustained) | Plasma Rifle | 2,232 | 46 | 78 |
| Melee | 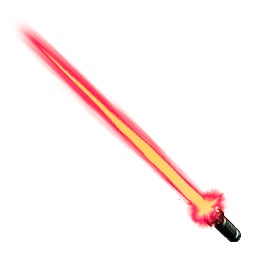 Laser Sword Laser Sword | 2,400 | — | 73 |
| Support | 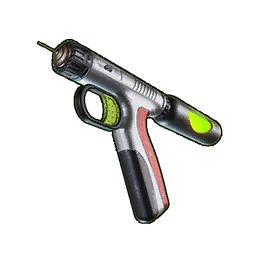 Megaboost Gun Megaboost Gun | 250 | 8 | 63 |
| Support | 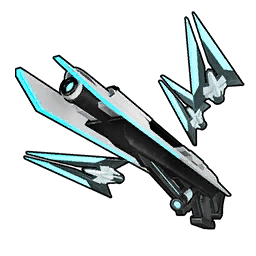 Drone Launcher Drone Launcher | 240 | — | 77 |
| Throwable | 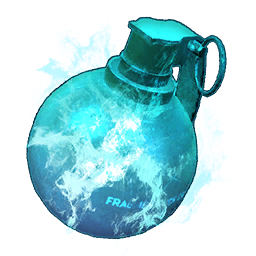 Ice Grenade Ice Grenade | 750 — Ice damage, hits the weakness | — | 29 |
The two support weapons are worth a slot even though their attack numbers look like typos next to the rifles. Megaboost Gun fires at your own Pal to raise its attack and defense, which is a direct multiplier on the only source of damage that matters here, and the Drone Launcher keeps chipping while you are busy dodging. Ice Grenades are the only weapon in your own hands that hits the weakness at all.
 Armour and accessories
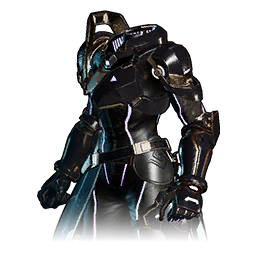
Ancient-tier armour is not optional at x13 — nothing below it survives a landed hit. The Cryolinx Ring is the highest-value accessory in the game for this specific fight, because it does both halves of the job: it cuts the incoming Dragon damage that makes up six of eight attacks, and it raises your Pal's Ice output at the same time.
| Slot | Pick | Stats | Why |
|---|---|---|---|
| Body | Lightweight Ancient Armor | 1,092 defense, 3,120 HP, Tech 79 | Top of the armour list, and the lightweight version keeps your dodge responsive |
| Head | 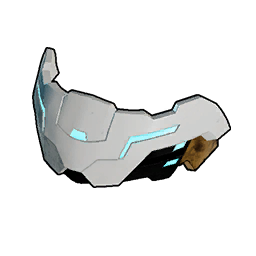 Ancient Helm Ancient Helm | 650 defense, 1,560 HP, Tech 68 | The highest-defense helmet in the game |
| Shield |  Ancient Shield Ancient Shield | 2,200 shield, Tech 71 | Self-repairing between waves, and the only thing standing between you and Omega Laser |
| Partner accessory |  Cryolinx Ring Cryolinx Ring | — | Cuts incoming Dragon damage and boosts outgoing Ice on your active Pal — best slot in the fight |
| Partner accessory (alt) |  Frostallion's Talisman Frostallion's Talisman | — | Partner defense plus Ice damage when the ring is not unlocked yet |
| Shared accessory |  Dogen Emblem Dogen Emblem | — | Raises attack for you and your active Pal together |
| Shared accessory |  Silvegis Emblem Silvegis Emblem | — | The defensive twin — raises defense for both of you |
| Player accessory | Ring of Dragon Resistance +2 | — | Blunts six of the eight moves in the rotation |
| Player accessory |  Phantom Ring Phantom Ring | — | Longer dodge invincibility — the direct counter to a 5,000-range meteor drop |
| Player accessory |  Warsect Terra's Belt Warsect Terra's Belt | — | Defense and health together when you keep getting caught by the third wave |
Xenolord (Ultra) Rewards
The Ultra flattens the standard raid's ranged rolls into fixed amounts and roughly doubles them — 10 Ancient Civilization Cores and 10 Training Crystals every clear, no variance. It also doubles the work handbook to two copies and adds Xenolord's head, a cosmetic helmet with 30 defense and 80 HP that no other source in the game drops. Everything is 100%.
| Reward | Ultra (Lv 80) | Standard (Lv 65) | Chance |
|---|---|---|---|
 Ancient Civilization Core Ancient Civilization Core | 10, fixed | 3–6 | 100% |
 Training Crystal Training Crystal | 10, fixed | 4–5 | 100% |
| Xenolord's head | 1 | — | 100% |
| Xenolord (Ultra) Slab | 1 | 1 | 100% |
 Applied Handiwork Handbook I Applied Handiwork Handbook I | 2 | 1 | Pick one of three |
 Applied Generating Electricity Handbook I Applied Generating Electricity Handbook I | 2 | 1 | Pick one of three |
 Applied Cooling Handbook I Applied Cooling Handbook I | 2 | 1 | Pick one of three |
 Dragon Skill Fruit: Dragon Meteor Dragon Skill Fruit: Dragon Meteor | — | 1 | 100% on the standard raid only |
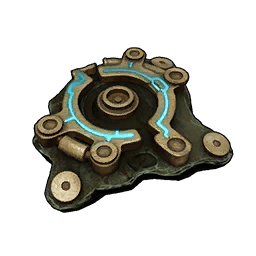 Ancient Civilization Parts Ancient Civilization Parts | 4–6 | 4–6 | 100% — from its own drop table |
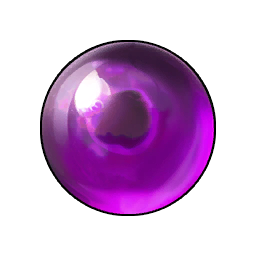 Precious Dragon Stone Precious Dragon Stone | 2–3 | 2–3 | 100% — sells high to merchants |
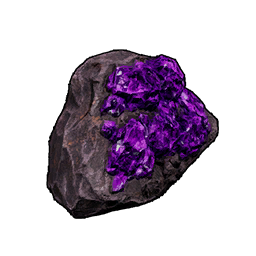 Meteorite Fragment Meteorite Fragment | 7–15 | 7–15 | 100% |
One line on that table deserves attention: the Dragon Skill Fruit: Dragon Meteor is not in the Ultra's reward list. If you want the 600-power Dragon move to teach a Pal, you farm the Level 65 fight for it, not this one. That is the clearest split between the two tiers — the standard raid is where you go for the skill fruit, the Ultra is where you go for cores, crystals and the hat.
The egg, and getting your own Xenolord
Xenolord never spawns in the wild, so the only way to own one is the Huge Dark Egg handed over for the clear. The egg rolls 90% ordinary and 10% alpha, and here is the part worth knowing before you grind: those weights are identical on the Level 65 and Level 80 versions. Clearing the harder tier buys you nothing on alpha odds. Farm whichever fight you can finish fastest, and run the Ultra when you actually want the cores and the crystals.
Summary
Bring Ice, keep it frozen, and clear each meteor wave before the next one lands. Moldron Cryst freezes best thanks to two exclusive Ice skills, Frostallion hits hardest, and Panthalus soaks when you need something to survive. Wear ancient armour with the Cryolinx Ring, stock more ammo than feels sensible, and save your reserves for the 20% wave. The payout is 10 Ancient Civilization Cores, 10 Training Crystals, two work handbooks, Xenolord's head and another slab — so the fight funds its own rematch forever.
Related Guides
| Guide | What it covers |
|---|---|
| How to Beat Xenolord Raid Boss | The Level 65 version — where the Ultra slab and the Dragon Meteor fruit come from |
| How to Get the Xenolord Slab: Fragment Sources | Every expedition, chest and dungeon that pays slab fragments |
| Xenolord Stats, Drops and Breeding | Full Paldeck entry, drop rates and the Xenolord x Xenolord breeding pair |
| How to Beat Hartalis (Ultra) | The other x13 Ultra, and the one with a mid-fight element flip |
| How to Beat Bellanoir Libero (Ultra) | Same x420 health and x0.09 armour, different weakness |
| How to Beat Blazamut Ryu (Ultra) | The biggest health pool of the four Ultras |
| All Raid Bosses and Battle Multipliers | Every raid tier side by side with its exact multipliers |
| List of All Ice Type Pals | The full Ice roster to pick a carry from |
| Best Pal Builds and Passive Combinations | How to roll Diamond Body, Legend and Serenity onto a raid carry |
| How to Get Legendary Ancient Armor | Every schematic source for the armour tier this fight requires |
| All Pals: Stats, Elements and Locations | The full Paldeck database |
| All Palworld Guides | Every guide on the site |