How to Beat Blazamut Ryu (Ultra): Team and Weakness
How to beat the Level 80 Blazamut Ryu (Ultra) raid boss in Palworld — the ×500 HP multiplier, the Water-to-Ground weakness flip mid-fight, the four-Pal team that covers both phases, every attack with power and cooldown, and the full reward list.
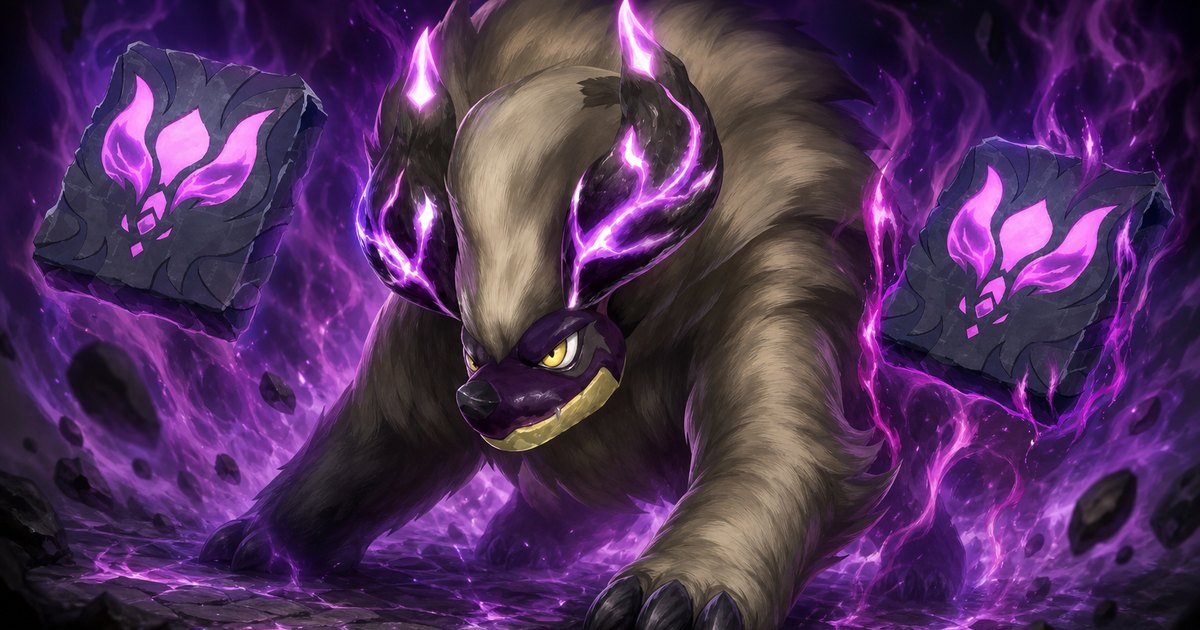
Blazamut Ryu (Ultra) is the Level 80 rematch tier of the Blazamut Ryu raid, and it carries the single largest health multiplier of any raid boss in the game. This guide covers its exact multipliers, the weakness that swaps from Water to Ground partway through, the four-Pal team that covers both halves, every attack it throws with power and cooldown, and what a clear actually pays.
 Blazamut Ryu (Ultra) Raid Stats
The Ultra tier is not a slightly harder version of the Level 55 fight — it is a different animal. Its health pool sits at ×500 the Pal's normal HP, the highest figure attached to any raid boss, and in practice that works out to a bar around 2.55 million deep. The far nastier number is the damage it takes: ×0.09, meaning 91% of everything you land is absorbed before it touches the health bar. Its outgoing damage is ×8, so an unprepared party gets deleted in a couple of connected hits.
| Standard (Lv 55) | Ultra (Lv 80) | |
|---|---|---|
| Level | 55 | 80 |
| HP multiplier | ×140 | ×500 |
| Damage it deals | ×2 | ×8 |
| Damage it takes | ×0.4 | ×0.09 |
| Cooldown rate | ×2 | ×2 |
| Base stats it scales from | HP 105 · Melee 150 · Ranged 130 · Defense 125 | HP 105 · Melee 150 · Ranged 130 · Defense 125 |
| Summon item | 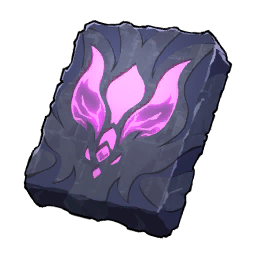 Blazamut Ryu Slab Blazamut Ryu Slab | 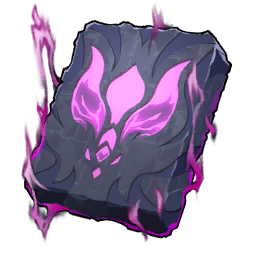 Blazamut Ryu (Ultra) Slab Blazamut Ryu (Ultra) Slab |
For scale, the other Ultra raids top out at ×420 HP (Bellanoir Libero and Xenolord) and ×320 (Hartalis) — the full set is on the raid boss multiplier list. Blazamut Ryu (Ultra) trades slightly lower incoming damage than those two for a much longer bar, which is why this fight is a stamina test more than a burst check. Its cooldown rate is ×2 on both tiers, so the attack cadence you learned at Level 55 carries over unchanged.
What You Need Before You Summon It
The gate is the slab, and the good news is you almost never have to farm the Ultra fragments. Clearing the Level 55 standard Blazamut Ryu raid drops a Blazamut Ryu (Ultra) Slab at a flat 100%, so one normal clear buys your first attempt outright. The rest of the checklist is about whether your squad can survive ×8 damage for the length of a 2.5-million-HP bar.
| Requirement | How you get it |
|---|---|
| Blazamut Ryu (Ultra) Slab | Guaranteed drop from the Level 55 raid, or craft from 4× 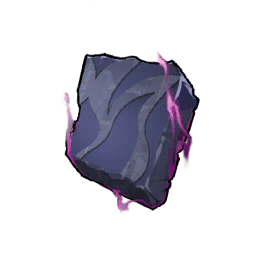 Blazamut Ryu (Ultra) Slab Fragment Blazamut Ryu (Ultra) Slab Fragment |
| Summoning Altar | Technology level 33 — 100 Stone and 20 Paldium Fragment |
| Level 80 Pals | Cap your squad first; stat point priority matters more here than raw level |
| Soul upgrades | +20 HP, Attack and Defense at a Statue of Power on every raid Pal |
| 4-star condensed | Condensing also raises the partner-skill rank, which is where the mount bonuses below scale |
| Trust Level 10 | Kinship Peaches and the fastest trust methods |
| Ammunition | Bring far more than you think — the health bar is the length of five normal raids |
| A stocked Feed Box | Build one beside the altar and fill it with  Galeclaw Nikujaga or Galeclaw Nikujaga or  Mammorest Curry before you offer the slab Mammorest Curry before you offer the slab |
| Healing |  Advanced Recovery Meds for you, a stack of Advanced Recovery Meds for you, a stack of  Revival Potions for the mounts you lose to Magna Crush Revival Potions for the mounts you lose to Magna Crush |
Condensing to 4 stars is doing double duty here. It raises the Pal's stats, but it also pushes the partner skill to its top rank, and both mounts in the recommended team scale their attack bonus from +5% at rank 1 to +20% at rank 5. Skipping condensation costs you a quarter of your damage output on a fight where damage output is the entire problem.
The food matters more than it looks. Nikujaga gives +25% Defense and Curry +25% Attack, and against ×8 outgoing damage a quarter shaved off every hit is the difference between a mount that survives Brawn Impact and one that does not. Eat before the pull rather than mid-fight, and buy Plasma Rifle Ammo in bulk from a captured Legendary Ammo Merchant instead of crafting it — a 2.5-million-HP bar empties magazines faster than a production line refills them. The feeding guide covers how the Feed Box works.
Its Weakness Changes Halfway Through
Blazamut Ryu starts as Dragon/Fire, which makes Water the obvious answer. Partway down the bar it transforms, picks up the Electric element, drops most of its Fire kit, and shocks everything standing in the arena. The moment that happens your Water squad stops being the counter and becomes the thing eating super-effective lightning — the correct read is Ground for the second half. Check the element type chart if you want the full matchup grid.
| Matchup | Phase 1 (Dragon/Fire) | Phase 2 (adds Electric) |
|---|---|---|
| Attack with | Water | Ground |
| Do not bring | Grass, Ice, Ground | Water, Electric, Flying |
| Boss element kit | Fire and Dragon moves | Electric and Dragon moves |
| Extra buffs it gains | — | Defense up, movement up, Dragon damage up |
| Arena effect on the flip | — | Everyone present takes an electric shock |
The buffs it stacks on the transformation are the reason experienced runners treat phase 1 as the scoring window. It gains a defense buff, a movement buff, and a boost to its Dragon damage all at once, so the same DPS that was chewing through the bar before the flip visibly slows afterwards. Push as hard as you safely can early and the back half stops being a war of attrition.
 Best Pals for Blazamut Ryu (Ultra)
You need four Pals, not two: an active mount and a field damage dealer for each phase. The mounts are picked for their partner skills, which convert your own weapon damage to the element the boss is currently weak to — that is where the bulk of your damage comes from, not from the Pal's attack stat. The field Pals are picked for the strongest move in the matching element.
| Pal | Role | Elements | HP / Melee / Ranged / Def | Why bring it |
|---|---|---|---|---|
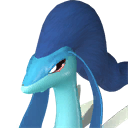 Azurobe Azurobe | Phase 1 mount | Water · Dragon | 110 / 70 / 100 / 100 | Waterwing Dance turns your gunfire into Water damage and adds +5% to +20% Ranged Attack by condense rank |
| Shaolong | Phase 1 field | Dragon · Water | 140 / 100 / 135 / 120 | Celestial Vortex is a 700-power Water move at 23.3 DPS — the top bracket for the element; highest HP in this team |
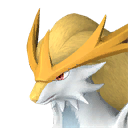 Gildane Gildane | Phase 2 mount | Ground | 120 / 100 / 110 / 110 | Sandstorm's Blessing converts your damage to Ground on the same +5% to +20% Ranged Attack ladder |
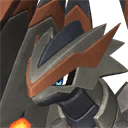 Aegidron Aegidron | Phase 2 field | Dragon · Ground | 105 / 100 / 125 / 140 | Missile Burst is the strongest Ground move in the game at 700 power and 23.3 DPS; 140 defense is the best in this team |
Shaolong and Aegidron are not interchangeable picks — each one owns the single best move in its phase's element. Shaolong learns Celestial Vortex at level 50 and Aegidron learns Missile Burst at level 70, so a Pal that is merely level 80 without those unlocked is doing a fraction of the work. Shaolong's 140 HP is the highest in the group and Aegidron's 140 defense is the sturdiest, which conveniently maps to the phase each one is used in: phase 1 is about output, phase 2 is about not dying.
Phase 1 — mount Azurobe, field Shaolong
Azurobe's Waterwing Dance is the whole engine of the opening phase. While you are mounted, your weapon damage is treated as Water, which means an ordinary rifle suddenly hits a Fire boss for super-effective damage, and the skill layers a ranged attack bonus on top that runs up to +20% at 4-star condensation. Shaolong sits on the field cycling Celestial Vortex on its 30-second cooldown while you supply the sustained fire. If you would rather run Shaolong as your active mount, its Azure Sovereign partner skill only gives +4% to +8% Ranged Attack with no element conversion — a clear downgrade against a Fire boss.
Phase 2 — swap to Gildane and Aegidron
Gildane's Sandstorm's Blessing is the mirror of Azurobe's skill: same +5% to +20% ranged attack ladder, but it converts your damage to Ground, which is what the newly-Electric boss is weak to. Aegidron takes the field and opens with Missile Burst. There is a real alternative worth knowing: Aegidron's own partner skill, Indestructible Fortress, gives 100% stun resistance at every condense rank plus 60% to 80% explosion resistance. If the arena shock and the AoE detonations are what keep ending your runs rather than raw damage, mounting Aegidron instead of Gildane trades your element conversion for that resistance package.
Every Attack in the Ultra Fight
Power and cooldown figures below are the move's base values — the raid multiplies its outgoing damage by ×8 on top of these, and the cooldown rate runs at ×2. What matters practically is the shape: this boss has a handful of enormous 30-second attacks that will one-shot a mount, separated by cheap filler. Learn the tells on the big ones and the filler barely matters.
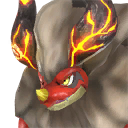 Phase 1 rotation (Dragon / Fire)
| Move | Element | Power | Cooldown | What it does |
|---|---|---|---|---|
| Magna Crush | Dragon | 700 | 30s | Its heaviest hit. The boss vanishes and reappears as a purple orb before the slam lands |
| Brawn Impact | Fire | 600 | 30s | Arm smash in melee range — stay off its front arc |
| Dragon Meteor | Dragon | 600 | 30s | Ranged bombardment; drops out of the rotation after the flip |
| Flame Wall | Fire | 250 | 12s | Line of fire across the ground; also gone after the flip |
| Ignis Breath | Fire | 160 | 8s | Filler cone of flame, cheap enough to tank through |
Magna Crush is the one attack you have to respect. At 700 power it is tied for the strongest Dragon move in the game, and it is the only move in either rotation with a visual tell that starts before the damage does. Everything else in phase 1 is survivable if you are moving; standing still through a 600-power Fire hit multiplied by eight is not.
Phase 2 rotation (adds Electric)
| Move | Element | Power | Cooldown | What it does |
|---|---|---|---|---|
| Magna Crush | Dragon | 700 | 30s | Carries over, and now benefits from the Dragon damage buff it gained on the flip |
| Thunderstorm | Electric | 600 | 30s | Wide arena-covering storm — the phase 2 equivalent of Dragon Meteor |
| Lightning Bolt | Electric | 450 | 20s | Targeted strike with a short lead-in |
| Thunder Rain | Electric | 400 | 20s | Persistent falling strikes; keep moving rather than trying to dodge individual bolts |
| Tri-Lightning | Electric | 200 | 12s | Three-way spread at mid range |
| Spark Blast | Electric | 50 | 2s | Constant chip damage on a 2-second cooldown — this is what wears mounts down |
The second half is less about single enormous hits and more about never getting a clean moment. Spark Blast alone fires roughly every two seconds, and layered over Thunder Rain it means chip damage is basically continuous. This is why the phase 2 slot goes to Aegidron and its 140 defense rather than a higher-attack Ground Pal — the Pal that survives the incoming stream gets more Missile Bursts off than the Pal with the bigger attack stat.
Fight Strategy
Four things decide this fight, and none of them are gear checks. Read the orb, swap on the animation, front-load your damage, and keep the mount alive.
The purple orb means Magna Crush is coming
When Blazamut Ryu disappears and turns into a floating purple orb, it is winding up Magna Crush. That is your cue to get clear of the landing zone entirely — not to strafe, not to keep firing. It is a 700-power Dragon move with the raid's ×8 damage multiplier on top, and at Ultra tier it will remove a mount and a chunk of your own health in a single landing. Because it is on a 30-second cooldown, every clean dodge buys you half a minute of uninterrupted damage.
Swap the whole team on the transformation animation
The mode change has a visible animation, and the arena-wide shock lands at the end of it. Expect it once the bar has dropped a little past the halfway mark — players report the flip landing at roughly 45% health remaining — so start watching for it as soon as the bar crosses half. Start your swap when the animation begins, not when the shock hits — if you are still mounted on Azurobe when the electricity goes out, you are a Water Pal absorbing an Electric hit and you are likely to lose the mount outright. Dismount, recall, put Gildane out and send Aegidron to the field in that order, then re-engage.
Burn as much of the bar as you can before the flip
The boss gains a defense buff, a movement buff and a Dragon damage boost when it transforms, so identical damage output produces visibly worse results afterwards. Phase 1 is the cheap phase and you should treat it that way: keep Azurobe mounted, keep firing through the filler attacks instead of over-dodging them, and only break off for Magna Crush. Runs that stall almost always stall because the player played phase 1 cautiously and then had to grind the harder half of a 2.5-million-HP bar.
Keep your mount out of the AoE
Most of this boss's kit is area damage, and a dead mount costs you both your element conversion and your ranged attack bonus at the same moment — a much bigger DPS loss than the health you saved by holding position. Fight from the flanks, stay outside the obvious ground markers, and accept that you will do less damage per second while repositioning than you would standing still. You will still finish faster, because you will finish.
 Best Gear to Bring
Because both mounts convert your weapon damage to the useful element, your gun choice comes down to sustained output rather than typing. Sustained-fire weapons win here: the health bar is long, the boss is large enough that accuracy is not the constraint, and magazine capacity decides how much of your time is spent shooting versus reloading. Attack values below only compare meaningfully inside a weapon class — a launcher's per-shot number is not a rifle's.
| Weapon | Attack (Legendary) | Magazine | Why bring it |
|---|---|---|---|
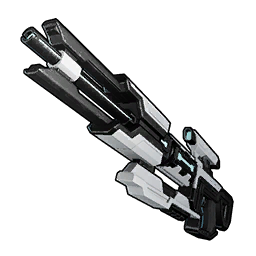
| Plasma Rifle | 2,232 | 46 | Best sustained-fire option — the 46-round magazine means the fewest reload gaps of any rifle |
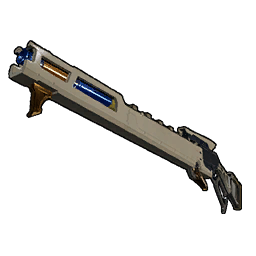 Charge Rifle Charge Rifle | 15,000 | — | Per-shot burst for punishing the boss during long recovery frames |
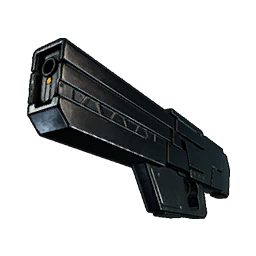 Laser Rifle Laser Rifle | 1,875 | 30 | Cheaper ammo than the Plasma Rifle if you are running low on late-game rounds |
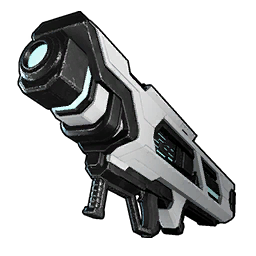 Beam Launcher Beam Launcher | 16,800 | — | Highest-damage launcher; save it for guaranteed openings, not the filler phases |
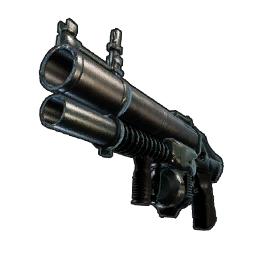 Grenade Launcher Grenade Launcher | 4,500 | 5 | Splash coverage, but five rounds and a slow reload make it a supporting pick here |
If you only take one, take the Plasma Rifle — the whole strategy depends on continuously converting weapon damage through the mount's partner skill, and continuous is the operative word. Carry a launcher as a secondary for the windows after Magna Crush lands, when the boss is briefly committed. The full weapon upgrade path and armor by tech level cover what to build if you are not there yet.
 Blazamut Ryu (Ultra) Rewards
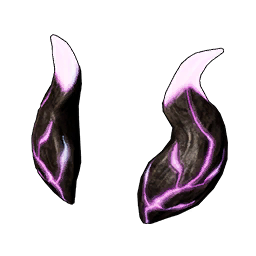
The headline prize is the Horns of Supremacy, a head slot piece that only exists here — 30 defense, 80 HP and a Water resistance passive, which is a slightly funny thing to be handed by a Fire boss. The volume rewards are what actually change your account, though: ten Ancient Civilization Cores and ten Training Crystals per clear, both at 100%.
| Reward | Ultra (Lv 80) | Standard (Lv 55) | Chance |
|---|---|---|---|
 Ancient Civilization Core Ancient Civilization Core | 10 | 2-4 | 100% |
| Horns of Supremacy | 1 | — | 100% |
 Training Crystal Training Crystal | 10 | — | 100% |
| Blazamut Ryu (Ultra) Slab | 1 | 1 | 100% |
 Training Manual (XL) Training Manual (XL) | — | 5-7 | 100% |
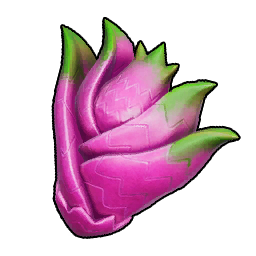 Dragon Skill Fruit: Beam Slicer Dragon Skill Fruit: Beam Slicer | — | 1 | 100% |
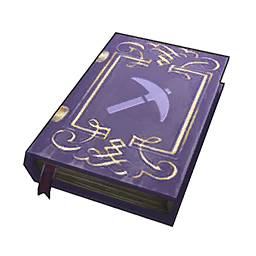 Applied Mining / Lumbering / Gathering Handbook I Applied Mining / Lumbering / Gathering Handbook I | 2 (your pick) | 1 (your pick) | Choice |
Ten Ancient Civilization Cores in one clear is the reason to keep running this after your first win — they gate the highest tier of the tech tree and there are few sources this dense, as the Ancient Civilization Core guide lays out. Ten Training Crystals is ten free levels distributed across your team. The clear also hands you an egg, which rolls an ordinary Blazamut Ryu about 90% of the time and an alpha the other 10%, so getting the alpha is a matter of running the fight again rather than doing anything different inside it.
Summary
Bring Azurobe and Shaolong for the Dragon/Fire half, swap to Gildane and Aegidron the instant the transformation animation starts, dodge Magna Crush whenever the boss becomes a purple orb, and push hard in phase 1 before it buffs its defense. Everything on the field needs to be level 80, 4-star condensed and soul-upgraded, because ×500 HP and ×0.09 incoming damage do not forgive an under-built squad. Win once and the guaranteed slab drop means you can farm it indefinitely.
Related Guides
- How to Get Blazamut Ryu: Slab Locations and Raid Fight
- All Raid Bosses and Battle Multipliers
- How to Beat Bellanoir Libero (Ultra)
- How to Beat Xenolord Raid Boss
- How to Beat Hartalis Raid Boss
- How to Get Ancient Civilization Cores and Uses
- Best Weapons at Every Tech Level
- Palworld Element Type Chart
- All Palworld Guides