List of All Items: Every Category and How to Get Them
Every item in Palworld sorted into its real category — all 1,887 of them across materials, food, consumables, weapons, armor, spheres and schematics, with gold values, weights and exactly where each group comes from.

Palworld holds 1,887 distinct items and the inventory screen tells you almost nothing about how they relate to each other. This guide sorts every one of them into its real category, gives you the standout items and numbers in each, and then breaks down every single source items come from — world nodes, Pal drops, chests, merchants and workbenches.
 Every Item Category in Palworld
Items fall into twelve buckets, and the bucket decides how you get the thing far more than its rarity does. Schematics are by far the biggest group at 589 — more than materials, food and armor combined — because nearly every weapon and armor piece has four schematic tiers sitting behind it. Note that the counts below are distinct item names: the game actually carries 2,382 item entries once each weapon's five upgrade tiers are counted separately, which is why the raw list looks so much bigger than it plays. Start with the full list of all Palworld items if you want to filter and sort the whole thing yourself.
| Category | Distinct items | What it covers | Example |
|---|---|---|---|
| Schematics | 589 | Recipe unlocks for weapons, armor and gear, four tiers deep each |  Charge Rifle Schematic 4 Charge Rifle Schematic 4 |
| Essential items | 331 | Pal gear, boss tokens, effigies, key spheres, pouches |  Grintale Saddle Grintale Saddle |
| Consumables | 227 | Skill fruits, implants, medicine, elixirs, bait, raid slabs | 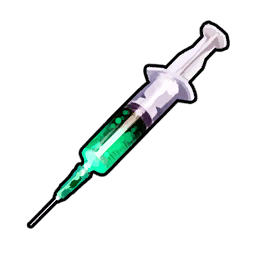 High Grade Medical Supplies High Grade Medical Supplies |
| Materials | 178 | Ore, wood, stone, ingots, Pal parts, gems and Pal eggs |  Paloxite Paloxite |
| Accessories | 144 | Rings, pendants, undershirts and masks | 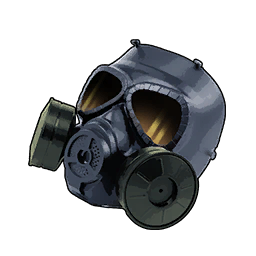 Corrosive Mist Mask Corrosive Mist Mask |
| Weapons | 130 | Fifteen weapon classes, from bows to beam launchers |  Charge Rifle Charge Rifle |
| Food | 120 | Raw ingredients and cooked dishes |  Special Cake Special Cake |
| Armor | 108 | Body armor, headgear and shields |  Cold-Resistant Ancient Armor Cold-Resistant Ancient Armor |
| Ammo | 38 | Arrows, shells, cartridges and rockets | 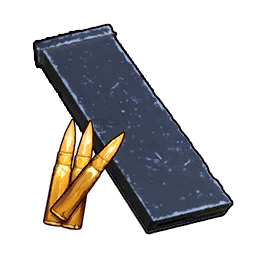 Assault Rifle Ammo Assault Rifle Ammo |
| Spheres | 11 | Every capture ball tier |  Ultimate Sphere Ultimate Sphere |
| Sphere modules | 6 | Bolt-on mods that change how a thrown sphere flies |  Homing Module Homing Module |
| Gliders | 5 | Glide gear, from the starting parachute up |  Wing Pack Wing Pack |
Materials: Ore, Ingots, and Pal Parts
Materials are the 178 items everything else is built out of, and they split cleanly by where they physically live. Sixteen of them sit on permanent world nodes you can route between, which is why the node counts matter so much: there are 1,632 copper ore nodes across the islands but only 226 Soralite nodes, and that ratio is the whole reason mid-game armor feels cheap while late-game gear feels gated. Everything else in this bucket comes off a Pal, out of a furnace, or from a merchant. The full breakdown lives in the list of all materials and their locations.
| Material | Nodes on the map | Gold value | Weight |
|---|---|---|---|
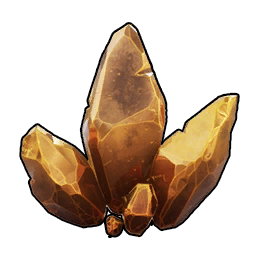 Ore Ore | 1,632 | 100 | 8.0 |
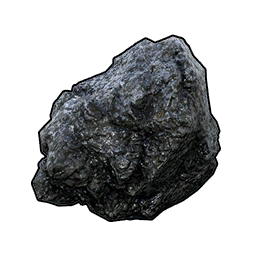 Coal Coal | 824 | 200 | 5.0 |
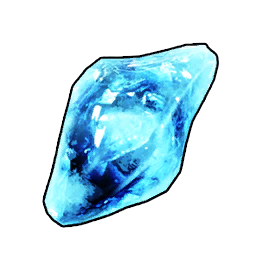 Paldium Fragment Paldium Fragment | 711 | 70 | 1.0 |
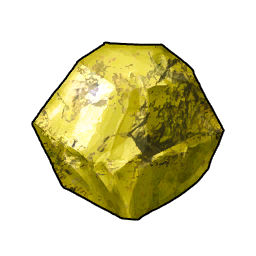 Sulfur Sulfur | 655 | 300 | 3.0 |
 Hexolite Quartz Hexolite Quartz | 635 | 1,000 | 2.0 |
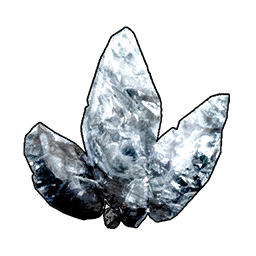 Pure Quartz Pure Quartz | 607 | 500 | 5.0 |
 Nightstar Sand Nightstar Sand | 271 | 1,000 | 1.0 |
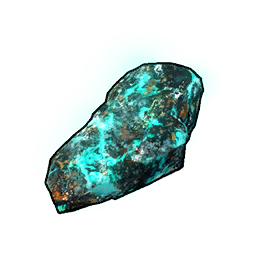 Soralite Soralite | 226 | 2,500 | 5.0 |
 Ancient Lava Ancient Lava | 10 | 1,000 | 8.0 |
The other half of the materials list never touches a node. Eleven ingots come out of a furnace — Ingot at 240 gold up to Paloxite Ingot at 16,200 — and 22 refined components like Cloth, Polymer and Thermal Core come off a workbench or production line. The 79 Pal materials are the ones that force you to fight: Leather drops from 78 different Pals, Bone from 23, and Ancient Civilization Parts from a staggering 288, which is effectively every alpha and boss in the game. If a recipe wants an organ, check the item page for that material and pick whichever source Pal spawns nearest your base.
Food and Cooked Dishes
There are 120 food items, and the gap between raw and cooked is enormous. The best raw ingredient in the game, Mammorest Meat, restores 180 hunger; a Special Cake restores 738 hunger and 92 sanity from the same cooking pot. Cakes are also the only food that doubles as breeding fuel, so a Cake production chain is usually the single most valuable thing on a mid-game base. Note that sanity restore is what actually keeps base Pals working — hunger alone will not stop a Pal from getting depressed, which is why the cake and curry rows below matter more than the burger rows.
| Dish | Hunger | Sanity | Gold value |
|---|---|---|---|
| Special Cake | 738 | 92 | 20,400 |
 Extravagant Vegetable Cake Extravagant Vegetable Cake | 717 | 90 | 9,360 |
 Vegetable Cake Vegetable Cake | 696 | 87 | 7,200 |
 Mushroom Cake Mushroom Cake | 676 | 84 | 7,740 |
 Cake Cake | 656 | 82 | 6,300 |
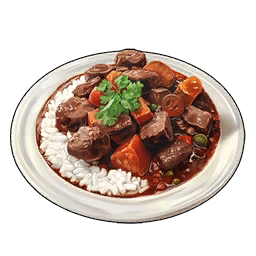 Mammorest Curry Mammorest Curry | 418 | 52 | 2,040 |
 Cheeseburger Cheeseburger | 338 | 22 | 3,400 |
 Broncherry Fried Noodles Broncherry Fried Noodles | 321 | 40 | 1,140 |
 Mammorest Meat (raw) Mammorest Meat (raw) | 180 | — | 1,000 |
 Consumables: Fruits, Implants, and Medicine
Consumables are the messiest category at 227 items, because "consumable" covers everything from a bandage to a permanent stat increase. The two groups worth learning are Skill Fruits, which are 93 of the 227 on their own and are how you overwrite a Pal's active moves, and the 28 Disposable Implants, which graft a specific passive onto a Pal without breeding for it. Everything below is one-use, so the practical rule is simple: eat the permanent ones the moment you get them and hoard nothing except raid slabs.
| Group | Items | What it does | Example |
|---|---|---|---|
| Skill Fruits | 93 | Teaches a Pal one specific active skill | 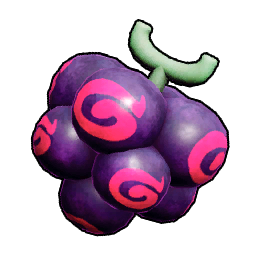 Dark Skill Fruit: Apocalypse Dark Skill Fruit: Apocalypse |
| Disposable Implants | 28 | Grafts a named passive onto a Pal | 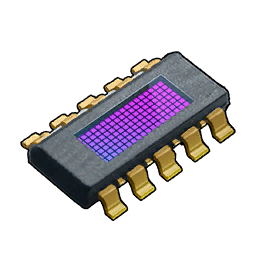 Disposable Implant: Diamond Body Disposable Implant: Diamond Body |
| Work Handbooks | 12 | Adds a work suitability a Pal was never born with |  Applied Handiwork Handbook I Applied Handiwork Handbook I |
| Elixirs and Remedies | 11 | Permanently raises one of your own stats | Vital Elixir |
| Recovery Meds | 10 | Heals HP in the field |  Advanced Recovery Meds Advanced Recovery Meds |
| Awakening Crystals | 9 | Awakens a Pal of that element |  Dragon Awakening Crystal Dragon Awakening Crystal |
| Fishing Bait | 9 | Changes what bites and how big it is |  Deluxe Bait Deluxe Bait |
| Starfruit | 5 | Ranks a Pal up a star without duplicates |  Starfruit ☆3 Starfruit ☆3 |
| Treasure Maps | 5 | Points you at a buried cache | 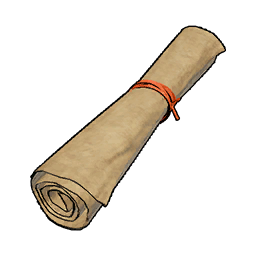 Treasure Map Treasure Map |
| Medical Supplies | 4 | Cures a specific status ailment | High Grade Medical Supplies |
| Training Manuals | 4 | Flat XP for the Pal that eats it |  Training Manual (XL) Training Manual (XL) |
| Talent Fruits | 3 | Nudges a Pal's HP, Attack or Defense talent up | 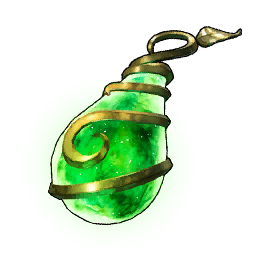 Life Fruit Life Fruit |
| Technical Manuals | 4 | Refunds technology points, including the ancient tier |  Ancient Technical Manual Ancient Technical Manual |
Weapons, Ammo, and Spheres
There are 130 weapons split across fifteen classes, and the single most important thing to understand is that attack values only compare inside a class. A Mechanical Bow listing 24,000 attack is not stronger than a 15,000-attack Charge Rifle — the bow fires one heavy arrow at a time while the rifle empties a magazine, so the numbers measure completely different things. Compare bows to bows and rifles to rifles, then pick on fire rate and ammo cost. Melee is the deepest class at 41 weapons, which sounds generous until you notice the strongest of them tops out at 2,400 attack in a game where you can carry a rocket launcher.
| Class | Weapons | Strongest in class | Attack |
|---|---|---|---|
| Melee | 41 |  Laser Sword Laser Sword | 2,400 |
| Assault rifle | 14 | Charge Rifle | 15,000 |
| Rocket launcher | 13 |  Beam Launcher Beam Launcher | 16,800 |
| Handgun | 13 |  Old Revolver Old Revolver | 1,500 |
| Thrown | 12 | 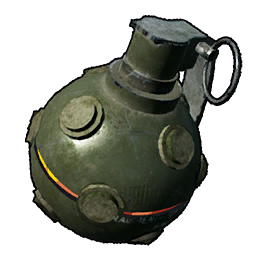 Frag Grenade Mk2 Frag Grenade Mk2 | 4,000 |
| Bow | 9 | 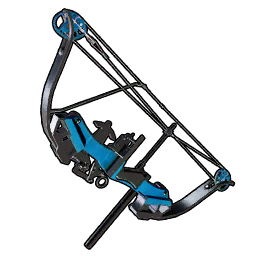 Mechanical Bow Mechanical Bow | 24,000 |
| Shotgun | 8 |  Prototype Shotgun Prototype Shotgun | 1,400 |
| Crossbow | 3 |  Crossbow Crossbow | 490 |
| Gatling gun | 2 | 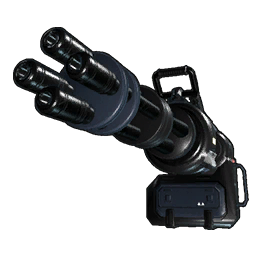 Laser Gatling Gun Laser Gatling Gun | 689 |
Every one of those needs feeding, and the 38 ammo types are where a late-game build quietly goes broke. Assault Rifle Ammo is 90 gold a round, but Beam Launcher Ammo is 13,660 and Plasma Rifle Ammo is 3,910. Before you commit to a top-tier gun, check that you have a production line for its ammo, because buying it is not sustainable. The full ranking sits in the best guns tier list and the ammo recipes in the ammo list.
Pal Spheres and Sphere Modules
Ten sphere tiers exist and they scale almost perfectly linearly in capture power — every step up is worth roughly five to seven more power. What is not linear is the crafting cost. A basic Pal Sphere is one Paldium Fragment and 300 work; an Ancient Sphere is 30 Paldium Fragments, 6 Paloxite Ingots, 3 Mythical Wood and 1,000,000 work, which is over three thousand times the labour. Run the numbers on your target first with the Palworld capture rate calculator rather than throwing your best spheres at a Pal that a Hyper Sphere would have held.
| Sphere | Capture power | Gold value | Key material |
|---|---|---|---|
| Pal Sphere | 7 | 80 | 1× Paldium Fragment |
 Mega Sphere Mega Sphere | 14 | 460 | 1× Ingot |
 Giga Sphere Giga Sphere | 20 | 890 | Refined Ingot tier |
 Hyper Sphere Hyper Sphere | 26 | 1,350 | Refined Ingot tier |
 Ultra Sphere Ultra Sphere | 32 | 3,300 | Pal Metal tier |
 Legendary Sphere Legendary Sphere | 37 | 5,570 | Pal Metal tier |
| Ultimate Sphere | 43 | 12,560 | 5× Pal Metal Ingot |
 Exotic Sphere Exotic Sphere | — | 9,080 | 1× Hexolite |
 Sol Sphere Sol Sphere | — | 21,000 | 2× Soralite Ingot |
 Ancient Sphere Ancient Sphere | — | 122,760 | 6× Paloxite Ingot |
Pocketpair has never published capture power for the Exotic, Sol and Ancient tiers, so those rows are left blank rather than guessed — what is certain is that they sit above Ultimate and cost accordingly. On top of the spheres sit six modules that change the throw itself, from the cheap Heavy Weight Module at 4,010 gold to the Homing Module at 1,432,580, the single most expensive non-weapon item in the game. Recipes for all six are in the list of all sphere modules.
Armor, Accessories, and Gliders
Defensive gear is 108 armor pieces plus 144 accessories and 5 gliders. Headgear is the largest slot by count at 70 items, but most of those are cosmetic hats — only a handful carry real defense, and the Ancient Helm at 650 defense is the ceiling. Body armor is where the actual survivability lives, and the three Ancient Armor variants are all within 200 defense of each other, so you pick by the environment you are heading into rather than the number: cold-resistant for the snowfields, heat-resistant for the volcano. Accessories almost never carry stats at all — they carry effects, which is why the accessory effects list is a better read than any defense column.
| Slot | Items | Best in slot | Rating |
|---|---|---|---|
| Body armor | 31 | Cold-Resistant Ancient Armor | 1,092 defense |
| Headgear | 70 |  Ancient Helm Ancient Helm | 650 defense |
| Shields | 7 |  Ancient Shield Ancient Shield | 2,200 shield |
| Accessories | 144 | Corrosive Mist Mask | Negates corrosive mist |
| Gliders | 5 | Wing Pack | Powered flight, 25 weight |
 Essential Items and Schematics
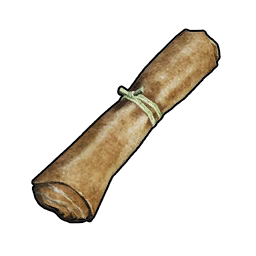
The 331 essential items are the category people never think of as items, and it is the one that quietly runs your account. Pal gear is the biggest chunk at 143 — every saddle, harness and glider-Pal unlock — followed by 102 boss reward tokens that you trade rather than use. The 25 miscellaneous essentials are the ones that actually gate progress: Lifmunk Effigies for capture power, the eight Key Spheres, and the Echobone set. Schematics are a separate 589-item mountain on top of all that; they share one scroll icon in your inventory, so the only way to tell them apart is by name and tier.
| Group | Items | What it's for |
|---|---|---|
| Pal gear | 143 | Saddles, harnesses and utility unlocks — see the full Pal gear list |
| Boss reward tokens | 102 | Traded at the bounty shop, not consumed |
| Passive-change items | 40 | Rerolls or locks a Pal's passive skills |
| Effigies, Key Spheres, Echobones | 25 | Progress gates — capture power, sealed doors, sea travel |
| Player unlocks | 14 | Extra weapon holsters, accessory boxes, feed bags |
| Pouches | 4 | Permanent inventory expansions |
| Lanterns | 2 | 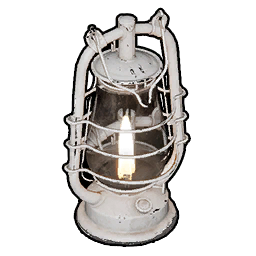 Enhanced Hip Lantern for cave and night runs Enhanced Hip Lantern for cave and night runs |
 How to Get Items: Every Source in the Game
Every item in Palworld arrives through one of five routes, and knowing which route a thing uses saves more time than any farming trick. Roughly half the game — 937 of the 1,887 items — has a recipe, which means it is crafted rather than found; the rest has to be mined, killed for, looted or bought.
Gathering World Nodes
There are 26,448 gatherable resource nodes placed across the islands in 17 different node types, and they all respawn, so a good route beats a good pickaxe. Rock is the most common by an enormous margin at 8,157 nodes plus another 4,286 small rocks; the scarce end is Ancient Lava at just 10 pins in the entire world. Open the resource layers on the interactive map and toggle only what you actually need — trying to display everything at once makes the route unreadable.
 Killing Pals and Ranching Them
148 items come off Pals directly, and for most of them there is a single obviously best source. Mammorest drops 5-10 Leather at a guaranteed rate, Melpaca gives 2-5 Wool, and Anubis hands over 3-5 Bone every kill. The catch is that killing is not the only option: 29 Pals produce items passively on a ranch, including Chikipi for Eggs and Kelpsea for Aquatic Pal Fluids, and a ranch never needs you to be online swinging. Check the Pal ranch production list before committing to a farming loop.
 Chests, Caches, and Dungeons
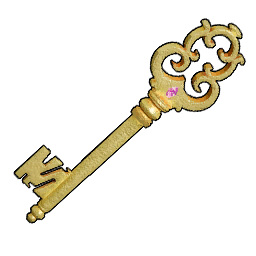
Looting is the largest single content layer on the map: 1,559 treasure chests, 8,371 loot caches, 1,816 Pal egg nests, 109 elemental-sealed chests and 106 hack terminals, on top of 170 dungeon entrances. Caches are the ones most players walk past — they are small, scattered and unmarked in game, but they are where a lot of early schematic luck comes from. Locked chests need the Copper, Silver or Gold Key, and the sealed ones need the matching element. Turn on the chest and cache layers and clear them by region rather than chasing individual pins.
Merchants and Shops
There are 10 merchant families running 38 separate stockrooms between them, carrying 266 distinct products. They do not all take gold: the Arena Shop wants Battle Tickets, the Bounty Shop wants Successful Bounty Tokens, and the Medal Shop runs on its own currency, which means some items are only reachable through the activity that pays that currency. Merchants are also the fastest way to skip a farming step entirely — schematics you would otherwise grind dungeons for are sold outright. The full merchant stock list shows who carries what and at which price.
 Crafting and Production Lines
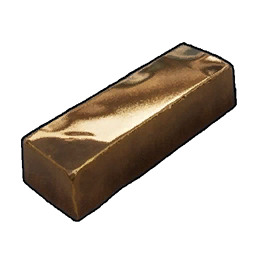
937 items are craftable, which is where the bulk of the item list actually comes from. Work cost matters as much as materials here — the same furnace that turns out a 240-gold Ingot will take orders of magnitude longer on a Paloxite Ingot, so your bottleneck late is Pal work speed rather than ore. Plan multi-step chains with the Palworld recipe planner, which expands a target item into every raw material underneath it.
 The Most Valuable Items to Sell
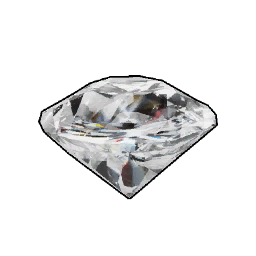
If you want gold rather than gear, the useful thing to know is that the highest-value items in the game are all things you cannot craft. Gems top the list, and they come off very specific Pals: Paladius, Selyne and Tetroise between them cover Diamond, Sapphire and Ruby at guaranteed rates. The Precious series is the more practical farm though — Precious Entrails drops from 95 different boss Pals at 6-8 per kill, so a single alpha circuit pays far more than hunting one rare gem Pal. Stat Lotuses are the outlier: they are worth 30,000 each but you would be throwing away a permanent stat increase to sell one.
| Item | Gold value | Where it comes from |
|---|---|---|
| Diamond | 50,000 | 7 Pals including Paladius at a guaranteed rate |
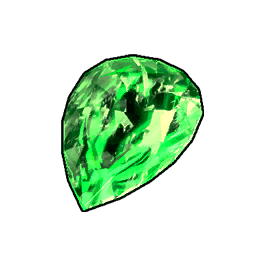 Emerald Emerald | 40,000 | Tetroise Primo, 1-2 per kill |
 Sapphire Sapphire | 30,000 | Selyne at 2-3, plus 4 rarer sources |
 Life Lotus (L) Life Lotus (L) | 30,000 | 866 lotus pickups on the map — use it, don't sell it |
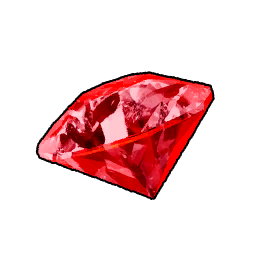 Ruby Ruby | 20,000 | Tetroise and Roujay, 1-2 per kill |
 Precious Dragon Stone Precious Dragon Stone | 15,000 | 25 dragon bosses; Jetragon gives 7-9 |
 Precious Entrails Precious Entrails | 12,500 | 95 boss Pals at 6-8 each |
 Precious Plume Precious Plume | 10,000 | 38 flying bosses; Faleris gives 6-8 |
 Precious Claw Precious Claw | 7,500 | 45 boss Pals at 5-8 each |
Related Guides
Start with the hubs, then drop into whichever category you are actually working on:
- List of All Items — the filterable database with every recipe, drop and price
- Palworld Interactive Map — every node, chest and cache pinned by layer
- List of All Materials: Locations, Sources, and Uses
- List of All Clothes and Armor: Defense and Materials
- List of All Accessories: Effects, Slots, and How to Get
- Best Guns Tier List: All Guns Ranked
- List of All 140 Pal Gear: Tech Levels and Materials
- Crafting Guide: Every Workbench and Best Crafting Pals
- How to Catch Pals, All Sphere Tiers, and Capture Rate
- List of All 485 Base Structures: Levels and Costs