How to Get the Beta Wave Generator and What It Boosts
Everything the Beta Wave Generator costs in Palworld: the level 46 unlock and its 3 technology points, the 40 Pal Metal Ingot, 30 Circuit Board and 5 Bio Battery bill broken down into 170 Ore, 100 Pure Quartz and the rest of the raw list, the 120,000 build workload, and how the work speed buff stacks with Artisan and the Alpha Wave Generator.
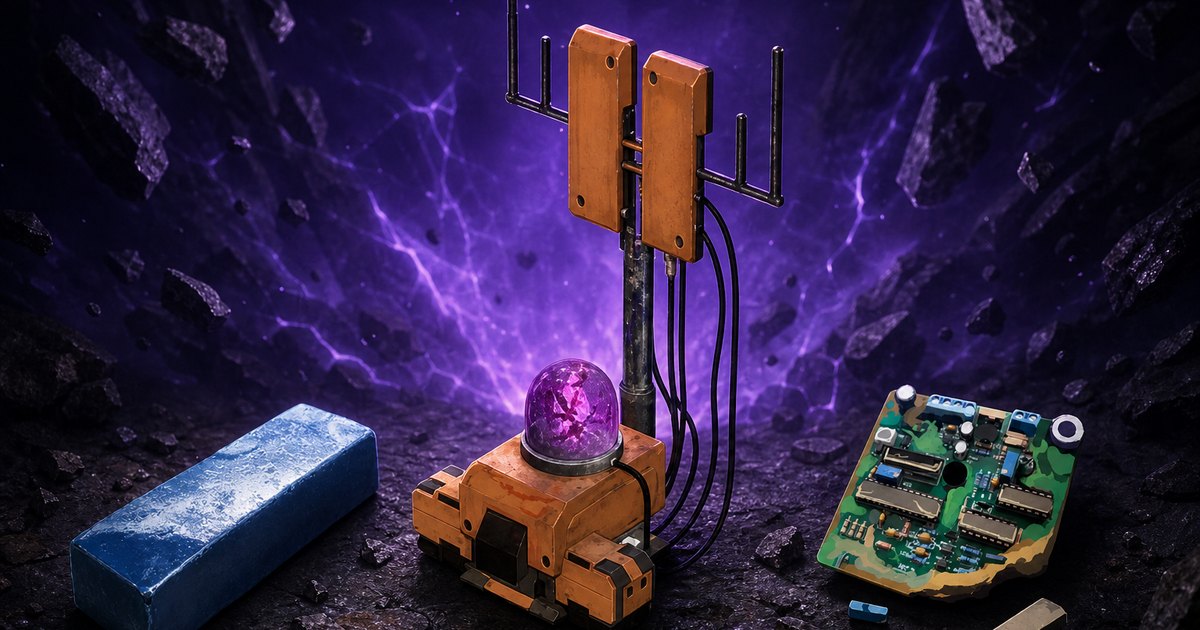
The Beta Wave Generator is the base object that speeds up every Pal working in your camp, and it is the single heaviest build in the whole Other tab at 120,000 workload. This guide covers the level 46 unlock and its 3 technology points, the 40 Pal Metal Ingot / 30 Circuit Board / 5 Bio Battery bill traced all the way back to raw ore, what the buff actually does, which passives stack on top of it, and whether you want the Paldium-cheap Alpha Wave Generator instead.
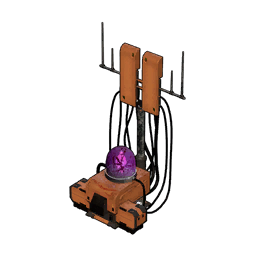 Beta Wave Generator at a Glance
It sits in the Other tab of the build menu next to the Alpha Wave Generator, and it is about as low-maintenance as base gear gets. It draws no electricity, takes no worker slot, and has nothing to assign a Pal to — you place it once and it just runs, raising the work speed of the Pals in that base camp. The catch is the price tag: 120,000 build workload is double the next heaviest object in the same tab, and the materials sit behind three separate production stations. One unit covers the whole camp, so a second one is wasted stone.
| What | Detail |
|---|---|
| Type | Base structure, Other tab |
| Effect | Raises the work speed of Pals assigned to that base camp |
| Technology level | Lv. 46 |
| Point cost | 3 Technology Points (ordinary points, not Ancient) |
| Materials | 40 Pal Metal Ingot, 30 Circuit Board, 5 Bio Battery |
| Build workload | 120,000 — the heaviest in the Other tab, next is 60,000 |
| Power needed | None. It never draws from your generators |
| Worker slots | 0 — nothing to assign, the effect is passive |
| Structure HP | 5,000, defence 3 |
| Stacking | No. A second generator adds nothing |
| Placement | Inside the Palbox radius only. No cap on how many you place |
| Sibling object | Alpha Wave Generator — same tab, slows SAN loss instead |
How to Unlock the Beta Wave Generator
Reach character level 46, open the Palworld Technology Tree and spend 3 points. Nothing else gates it — no boss kill, no prerequisite technology, no Ancient Technology Points. The competition on that row is the real decision. Level 46 holds nine unlocks; eight of them share 21 ordinary points, and only the Sulfur Quarry charges Ancient points, so it doesn't compete with the rest for your pile. If you are running a production base, the generator and the Sulfur Quarry are the two rows that pay you back forever, while the Pal Metal armour pieces are the ones you can put off until you actually have ingots to spare.
| Level 46 unlock | Points | Why it competes |
|---|---|---|
| Beta Wave Generator | 3 | Permanent camp-wide work speed. Pays back on every craft you ever queue |
| Sulfur Quarry | 5 Ancient | Endless Sulfur at home — comes out of the Ancient pile, so it costs you nothing here |
| Pal Metal Armor | 4 | Top-tier body armour of its tier, but eats the same Pal Metal Ingot stock as this build |
| Pal Metal Helm | 4 | Same ingot problem. Take it after the generator unless you are gearing for a raid |
| Blazamut Saddle | 4 | Only worth it if Blazamut is actually in your team |
| Kingpaca Cryst Saddle | 2 | Niche mount unlock |
| Large Mounted Lamp | 2 | Wide-area base lighting, cosmetic-adjacent |
| Amusement Furniture Set | 1 | Five decorations for one point |
| Street Lamp Set | 1 | Four street lamps, needs electricity to light |
 Beta Wave Generator Materials and Crafting Chain
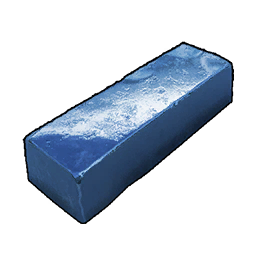
None of the three materials can be bought or looted — every one is crafted, and they come off three different stations. The ingots are the wall: 40 Pal Metal Ingot at 50,000 workload each is 2,000,000 workload on its own, more than sixteen times the build itself. Circuit Boards are the second wall at 900,000 for the batch, and the Bio Battery line is almost an afterthought at five units. The good news is the station chain unlocks itself on the way to level 46 — the Production Assembly Line arrives at technology level 29, the Production Assembly Line II at 42, and the Electric Furnace at 44.
| Material | Qty | Made at | Recipe per unit | Workload each |
|---|---|---|---|---|
| Pal Metal Ingot | 40 | Electric Furnace (Lv. 44) | 4 Ore + 1 Pure Quartz + 2 Paldium Fragment | 50,000 |
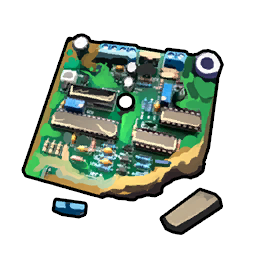 Circuit Board Circuit Board | 30 | Production Assembly Line (Lv. 29) | 2 Pure Quartz + 1 Polymer | 30,000 |
 Polymer Polymer | 30 | Production Assembly Line (Lv. 29) | 2 High Quality Pal Oil + 1 Sulfur | 10,000 |
 Bio Battery Bio Battery | 5 | Production Assembly Line II (Lv. 42) | 1 Electric Organ + 1 Refined Ingot + 1 Carbon Fiber | 20,000 |
 Carbon Fiber Carbon Fiber | 5 | Production Assembly Line (Lv. 29) | 5 Charcoal + 1 Flame Organ | 10,000 |
 Refined Ingot Refined Ingot | 5 | Improved Furnace (Lv. 34) | 2 Ore + 2 Coal | 7,000 |
 Charcoal Charcoal | 25 | Primitive Furnace (Lv. 10) | 2 Wood | 1,000 |
 Raw Material Shopping List
Flatten the whole chain and one generator costs you nine raw materials. Ore and Pure Quartz are the two that hurt, and they are mined from the same kind of node runs — the map carries 1,632 Ore nodes and 607 Pure Quartz nodes, so a single loop through a quartz-heavy desert stretch covers both. The organs are the small print: five Electric Organ and five Flame Organ drop from a single hunting trip, since Prixter Lux hands over 4-5 organs per kill and Blazamut drops a flat 10 Flame Organ. Sixty High Quality Pal Oil is the sleeper cost — Mammorest gives 5-10 a kill and is the fastest way to clear it.
| Raw material | Total needed | Where to get it |
|---|---|---|
| Ore | 170 | 1,632 nodes on the Palworld Ore map, or from Pierdon and Digtoise |
 Pure Quartz Pure Quartz | 100 | 607 nodes on the Pure Quartz map. Pierdon Cryst is the only Pal that drops it |
 Paldium Fragment Paldium Fragment | 80 | 711 Paldium Ore nodes on the Paldium map |
 High Quality Pal Oil High Quality Pal Oil | 60 | Pal drop from 25 Pals — Mammorest gives 5-10 per kill |
 Sulfur Sulfur | 30 | 655 nodes on the Sulfur map, or the level 46 Sulfur Quarry |
 Wood Wood | 50 | Any tree, or a Logging Site with Lumbering Pals |
 Coal Coal | 10 | 824 nodes on the Coal map |
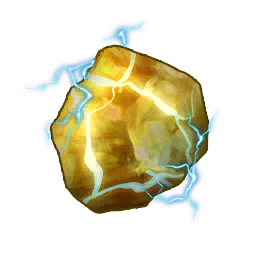 Electric Organ Electric Organ | 5 | 23 Pals drop it — Prixter Lux 4-5, Grizzbolt 2-4 |
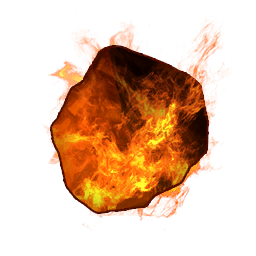 Flame Organ Flame Organ | 5 | 37 Pals drop it — Blazamut drops 10 flat |
How the Work Speed Buff Works
The generator emits a beta wave that keeps the Pals in the camp energised, which in plain terms means everything with a work bar fills faster — crafting at a workbench, smelting, planting, hauling, the lot. It is a base-wide effect tied to the camp it stands in, not a radius you have to build your workbenches around, so corner placement is fine. Pocketpair has never published the exact percentage, so treat it as a flat uplift rather than a number you can budget around, and judge it by the queue times you see before and after. Two things do matter: a second unit is dead weight because the effect refuses to stack, and each of your base camps needs its own generator since the buff does not travel between them.
Passives That Stack On Top of It
The generator lifts the whole camp, but the biggest work speed swings still come from the passives rolled on your individual Pals. Remarkable Craftsmanship at +75% and Artisan at +50% are the two you actually chase when breeding base workers, and Serious at +20% is the cheap filler that shows up constantly. Work Slave is the sneaky one — +30% work speed for a rank 1 passive, and the -30% Shot Attack it carries costs you nothing on a Pal that never leaves the camp. Watch the other direction too: Musclehead cuts work speed in half, and Slacker takes 30% straight off, so a base Pal carrying either is worth re-rolling before you spend 40 Pal Metal Ingot trying to fix your throughput with a building.
| Passive | Work speed | Rank | Notes |
|---|---|---|---|
| Demon's Hand | +90% | 4-star | Best in the game, but SAN drains 15% faster alongside it |
| Remarkable Craftsmanship | +75% | 4-star | The clean top-tier pick with no downside |
| Artisan | +50% | 3-star | The realistic breeding target for every base worker |
| Work Slave | +30% | 1-star | -30% Shot Attack, which is free on a camp-only Pal |
| Lucky | +20% | 4-star | Also +15% Shot Attack and +15% Defense |
| Serious | +20% | 1-star | Common filler in a four-slot spread |
| Conceited | +10% | 1-star | -10% Defense attached |
| Musclehead | -50% | 2-star | Combat passive. Never leave it on a base Pal |
| Slacker | -30% | Negative | Cancels most of what the generator gives you |
Full effect values for all 312 passives sit on the Palworld Passive Skills list, and the Work Suitability Optimizer will tell you which jobs your current roster is actually short on.
 Alpha Wave Generator vs Beta Wave Generator
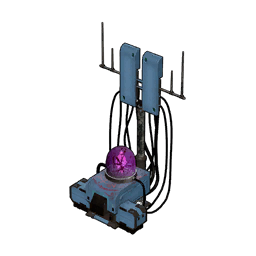
These two are built as a pair and they solve different halves of the same problem. The Alpha Wave Generator unlocks five levels earlier at 41, costs the same 3 points, and slows how fast your Pals lose SAN — that is the one that stops workers wandering off, sulking and eventually going on strike. The Beta Wave Generator raises the ceiling instead of protecting the floor. Build the Alpha first because it is far cheaper on every axis: 50,000 workload against 120,000, and its bill of Refined Ingot and Paldium Fragment is a fraction of the Pal Metal chain. Once your camp is stable, the Beta is the upgrade. Neither of them stacks with a second copy, and neither draws power.
| Stat | Alpha Wave Generator | Beta Wave Generator |
|---|---|---|
| What it does | Slows base Pals' SAN loss | Raises base Pals' work speed |
| Technology level | Lv. 41 | Lv. 46 |
| Point cost | 3 | 3 |
| Materials | 40 Refined Ingot, 20 Circuit Board, 10 Corrosive Solvent, 20 Paldium Fragment | 40 Pal Metal Ingot, 30 Circuit Board, 5 Bio Battery |
| Build workload | 50,000 | 120,000 |
| Structure HP | 5,000, defence 3 | 5,000, defence 3 |
| Power needed | None | None |
| Stacks with itself | No | No |
SAN and work speed feed each other, so running both is the actual goal. A miserable Pal works badly no matter what the Beta Wave Generator is broadcasting, which is why a Japanese-Style Hot Spring and decent food belong in the same base plan — the best SAN food does more for a struggling camp than either generator alone.
 Build It Faster With Handiwork Pals
That 120,000 workload is not something you hand-hammer. Pals with high Handiwork chew through construction while you go do something else, and 109 Pals have the suitability at some level. Solenne is the outright best at Handiwork Lv. 8 — the only Pal in the game at that rank — with Selyne a step behind at 7. Below that it is a wide field of Lv. 6 workers, and the ones worth a camp slot are the double-dippers: Anubis also mines at Lv. 6, Dandilord is a Lv. 8 planter, and Renjishi handles kindling at Lv. 8. Three or four of these and the generator goes up in a couple of in-game hours.
| Pal | Handiwork | Other jobs it covers |
|---|---|---|
| Solenne | Lv. 8 | Gathering 4, Transporting 2 |
 Selyne Selyne | Lv. 7 | Medicine Production 6, Transporting 3 |
 Anubis Anubis | Lv. 6 | Mining 6, Transporting 4 |
 Dandilord Dandilord | Lv. 6 | Planting 8, Medicine Production 6, Gathering 5 |
 Renjishi Renjishi | Lv. 6 | Kindling 8, Gathering 5, Transporting 5 |
 Silvance Silvance | Lv. 6 | Medicine Production 8, Planting 6, Gathering 4 |
 Flaracle Flaracle | Lv. 6 | Kindling 7, Transporting 2 |
 Venusa Venusa | Lv. 6 | Gathering 6, Medicine Production 5, Transporting 2 |
The full ranking, including every Lv. 5 and below option, is on the Best Handiwork Pals page.
Is the Beta Wave Generator Worth It?
Yes, but not the moment it unlocks. It arrived with the Feybreak update as a late-game base convenience, and the cost proves it: 3 technology points is nothing, while 170 Ore, 100 Pure Quartz and 60 High Quality Pal Oil sitting behind an Electric Furnace is a real afternoon. If your camp is still short on Pal Metal Ingot for armour and saddles, spend the ingots there first. Once your production base is stable and the queues are the bottleneck rather than the materials, this is a permanent, power-free, zero-upkeep speed boost on every craft you will ever run — and unlike a bigger furnace, it makes everything faster at once.
Related Guides
Base building and production: