How to Get Barricade Set: Level 49 and All 5 Pieces
How to unlock the Barricade Set in Palworld: technology level 49 for one point, all five recipes from the plain Barricade to the Iron Fence, the full 23 Ingot, 1 Polymer and 1 Flame Organ bill, and why none of it stops a raid.
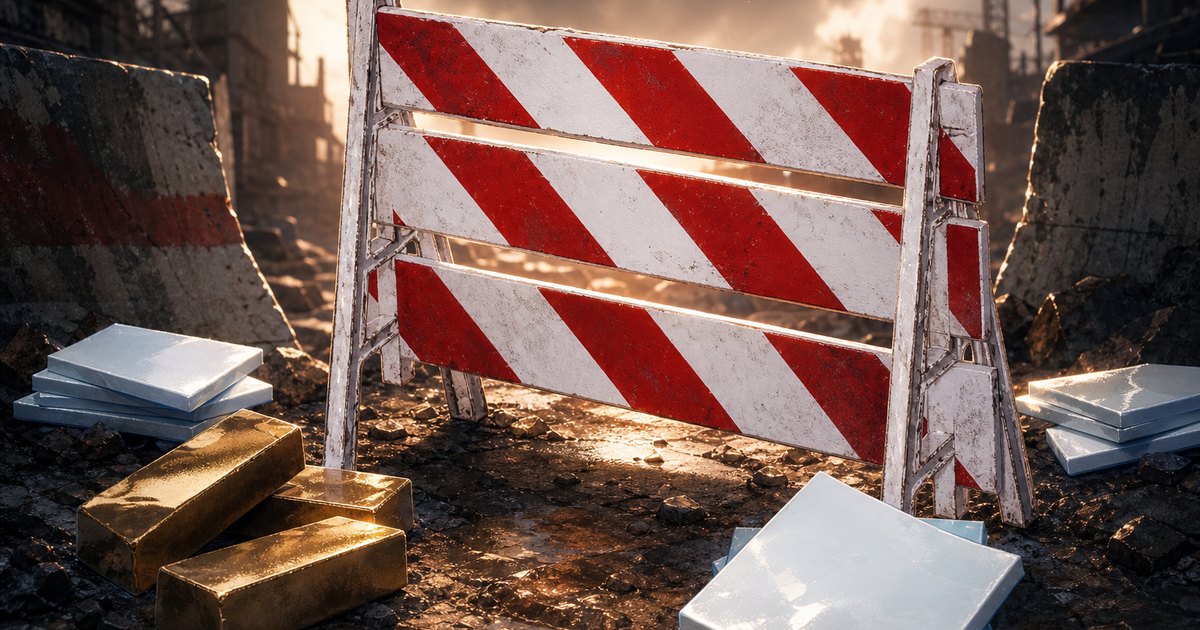
The Barricade Set is a single technology point at level 49 that hands you five road-works props at once — the plain Barricade, the Orange Barricade, the Red Iron Barricade, the White Iron Barricade and the Iron Fence. This guide covers the unlock, every recipe, the full 23 Ingot plus 1 Polymer and 1 Flame Organ bill for all five, and the thing the name promises but the category does not deliver: these do not block anything.
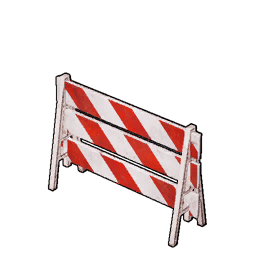 Barricade Set at a Glance
Five pieces for one point is the headline, and it makes this one of the better-value decoration rows in the back half of the tree — only one other set at level 46 or later gives you five recipes for a single point. The catch is in the Furniture category line. The game files it as decoration, not defense, so it will not slow a raid, damage an attacker or stop a Pal from wandering through. What it does do is mark territory, and at level 49 you have the Ingot throughput to spam it. The full build menu is on the list of all Palworld base structures.
| What | Detail |
|---|---|
| Type | Technology unlock — decorative road-works barrier set |
| Category | Furniture — it does not block, damage or gate anything |
| Required level | 49 |
| Technology points | 1, and there is no parent technology to buy first |
| Pieces unlocked | 5 — Barricade, Orange Barricade, Red Iron Barricade, White Iron Barricade, Iron Fence |
| Total material cost | 23  Ingot, 1 Ingot, 1  Polymer, 1 Polymer, 1  Flame Organ Flame Organ |
| Raw material value | 6,900 gold across all five builds |
| Cheapest piece | Orange Barricade — 3 Ingot and 1 Polymer |
| Where they go | Flat ground inside your base radius — no foundation needed |
| In-game blurb | "Decorative furniture set. Place to keep somewhere off limits." |
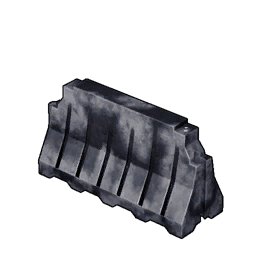 How to Unlock the Barricade Set
Hit character level 49, open the Palworld Technology Tree and spend one normal point. Nothing else gates it — no schematic hunt, no boss kill, no prerequisite row. The real question is what else is competing for points on that same level, and the answer is brutal: the Hyper Grappling Gun wants four points and both the Item Retrieval Machine and the Large-Scale Stone Oven want five. Against those, a one-point decoration set is an easy thing to postpone, and it costs exactly the same point whenever you come back for it.
| Level 49 technology | Points | What it gets you |
|---|---|---|
| Barricade Set | 1 | 5 decorative barriers and an iron fence |
| Road Sign Set | 1 | 4 road signs — Stop, No Pals Beyond, and two Pal warnings |
| Faux Snowy Greenery Set | 1 | 4 snow-dusted fake plants |
| Japanese-Style Structure Set | 2 | 23 building parts — walls, roofs, foundations, stairs |
| Hyper Grappling Gun | 4 | The rank-4 grapple, a straight mobility upgrade |
| Item Retrieval Machine | 5 | Recovers the gear you dropped on death |
| Large-Scale Stone Oven | 5 | The big cooking station for base-scale food |
If you are hoarding points, take the Item Retrieval Machine first — dying at level 49 in the endgame regions is expensive, and that machine is the only thing that undoes it. The Barricade Set is the definition of a filler purchase, which is fine, because points keep coming as you level. If you are short, the ways to get more technology points cover the fastest catch-up routes.
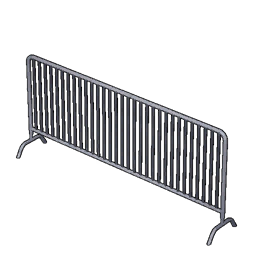 All 5 Barricade Set Recipes
Three of the five are identical: 5 Ingot and nothing else. The two that break the pattern are the interesting ones. The Orange Barricade is actually the cheapest in metal terms at 3 Ingot, but it swaps in 1 Polymer — a refined material that needs a Production Assembly Line, so it is the one piece you cannot build straight off a furnace. The Red Iron Barricade keeps the full 5 Ingot and adds 1 Flame Organ on top, making it the most expensive of the five. If you only want one look and do not care which, build the White Iron Barricade or the plain Barricade — same cost, zero extra material chains.
| Piece | Materials | Gold value | What it looks like |
|---|---|---|---|
| Barricade | 5 Ingot | 1,200 | The standard A-frame road block with a striped panel |
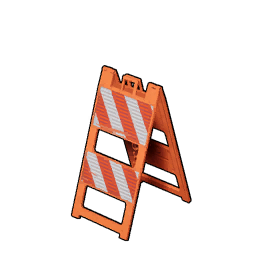 Orange Barricade Orange Barricade | 3 Ingot, 1 Polymer | 1,800 | Bright orange plastic-panel version — the loudest of the five |
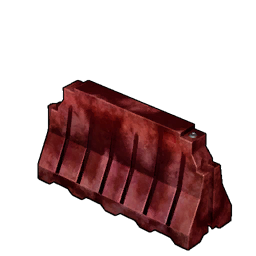 Red Iron Barricade Red Iron Barricade | 5 Ingot, 1 Flame Organ | 1,500 | Red-painted metal frame, the priciest recipe in the set |
| White Iron Barricade | 5 Ingot | 1,200 | Clean white metal frame that reads well against dark builds |
| Iron Fence | 5 Ingot | 1,200 | A free-standing fence panel rather than an A-frame |
Total Material Cost for All Five Pieces
Building one of each costs 23 Ingot, 1 Polymer and 1 Flame Organ — about 6,900 gold of raw materials, which at level 49 is a single furnace shift rather than a project. The 23 Ingot means 46 Ore, and that is the only part that takes real time. Weight is the thing to plan around if you are hauling: 46 Ore weighs 368 before smelting, while the finished 23 Ingot weigh 115, so smelt at the mining base and carry the metal home, never the rock.
| Material | Qty for the full set | Weight | Where it comes from |
|---|---|---|---|
| Ingot | 23 | 5.0 each — 115 total | Smelt 2 Ore per Ingot at a furnace with a Kindling Pal |
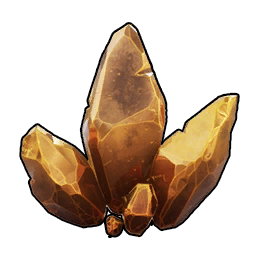 Ore Ore | 46 (to make the Ingot) | 8.0 each — 368 total | 1,632 copper ore nodes across Palpagos Islands |
| Polymer | 1 | 0.5 | Craft from 2 High Quality Pal Oil and 1 Sulfur at a Production Assembly Line |
| Flame Organ | 1 | 0.5 | 100% drop from Fire Pals, or park one on a Ranch and never farm it again |
Where to Get the 1 Polymer
Polymer is the only genuine roadblock in this set, because it is a crafted material and not a drop. The recipe is 2 High Quality Pal Oil plus 1 Sulfur at a Production Assembly Line, which is a level 29 technology costing 100 Ingot, 5 Wooden Board, 20 Nail and 10 Cement to build. Most players already have one by 49 because firearms need it. If you somehow do not, building the station for a single barricade is absurd — skip the Orange Barricade and build the other four, then come back. For the oil, Mammorest is the best single kill at 5-10 per body, and Dumud turns the whole problem into passive income on a Ranch.
| Source | What you get | Rate | Spawn spots | Why use it |
|---|---|---|---|---|
 Mammorest Mammorest | 5-10 High Quality Pal Oil per kill | 100% | 484 spots | One kill covers the Polymer with oil to spare |
 Dumud Dumud | High Quality Pal Oil on a Ranch | Passive | 368 spots | Set and forget — no killing, no travel |
 Dumud Gild Dumud Gild | High Quality Pal Oil on a Ranch, rank 4 | Passive | 312 spots | The upgraded Dumud if you can find one |
| Sulfur nodes | 1 Sulfur needed | Mining | 655 nodes | Desert and volcanic ground — you likely already have stacks |
Where to Get the 1 Flame Organ
Every Fire Pal that carries this drops it at a 100% rate, so a single Flame Organ is not something to plan a trip around — one kill of literally any Fire Pal covers the Red Iron Barricade. The table below is really for players who want a stack for furnaces and later crafts, where the count per kill starts to matter. Blazamut is the flat best at a guaranteed 10 per body, but it is rare on the map; Ragnahawk is the practical answer because 150 spawn points beat a bigger number you have to hunt for.
| Pal | Organs per kill | Drop rate | Spawn spots | Why go for it |
|---|---|---|---|---|
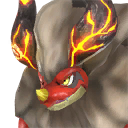 Blazamut Blazamut | 10 | 100% | 16 spots | Highest guaranteed haul in the game — no roll involved |
 Suzaku Suzaku | 5-10 | 100% | 13 spots | Matches Blazamut on a good roll, also a strong flying mount |
 Bushi Noct Bushi Noct | 4-8 | 100% | 1,990 spots | By far the easiest to run into — more spawn points than anything else on this list |
 Ragnahawk Ragnahawk | 5-7 | 100% | 150 spots | Best mix of count per kill and how often you find one |
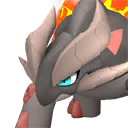 Reptyro Reptyro | 5-7 | 100% | 22 spots | Same haul as Ragnahawk if you are already in the volcano |
 Kelpsea Ignis Kelpsea Ignis | Flame Organ on a Ranch | Passive | 786 spots | The hands-off option — the most common Ranch producer for it |
Where to Get the 23 Ingot
Twenty-three Ingot is 46 Ore and one furnace shift, which is nothing at this stage of the game. There are 1,632 copper ore nodes on the map, so the bottleneck was never supply — it is whether your base smelts while you are away. By level 49 the fix is a dedicated mining base: an Ore Mining Site with Digtoise-tier miners feeding an Improved or Electric Furnace with Kindling Pals parked on it. The ore farming setup covers the node clusters worth building on, and the ingot guide covers which furnace tier to run.
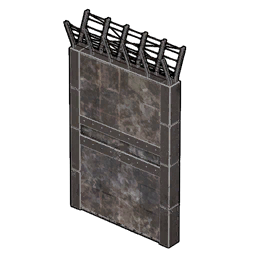 Barricades Do Not Block Anything
This is the part worth reading twice, because the set's own blurb about keeping somewhere off limits sets the wrong expectation. All five pieces are Furniture, which in Palworld means scenery — they take no aggro, deal no damage and do not count as a wall when a raid spawns. The real defensive structures live in a separate Defenses category, and every one of them unlocks well before level 49, so if you have reached this row you already own better options. Build the barricades to shape a driveway or fence off a Pal pen visually; build the wall below to actually survive a raid.
| Structure | Category | Level | Materials | What it actually does |
|---|---|---|---|---|
| Barricade Set (any of 5) | Furniture | 49 | 3-5 Ingot each | Decoration — no collision-based defense at all |
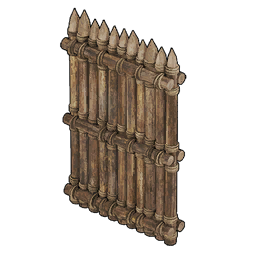 Wooden Defensive Wall Wooden Defensive Wall | Defenses | 8 | 10 Wood | A real wall, but it burns down fast under raid pressure |
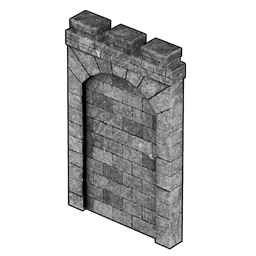 Stone Defensive Wall Stone Defensive Wall | Defenses | 19 | 10 Stone | The cheap mid-game perimeter — dirt cheap to spam |
| Metal Defensive Wall | Defenses | 30 | 10 Ingot, 1 Cement | The one you want at level 49 — highest-tier wall in the category |
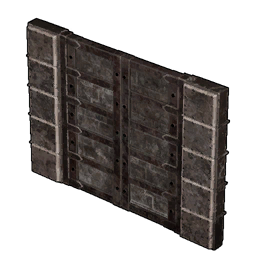 Iron Gate Iron Gate | Defenses | 30 | 10 Ingot, 1 Cement | The doorway that goes with the metal wall, same recipe |
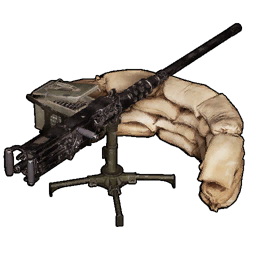 Mounted Machine Gun Mounted Machine Gun | Defenses | 40 | 15 Ingot, 10 Nail, 15 Cement | The heavy turret, and the best raid answer before level 50 |
 Iron Fence vs Metal Fence vs Wire Fence
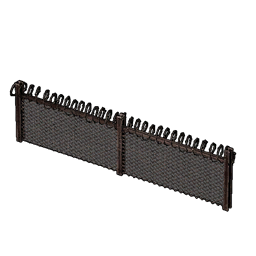
Palworld has three fences with near-identical names and three completely different jobs, and picking the wrong one is the most common mistake around this row. The Iron Fence from this set is Furniture — it stands wherever you drop it. The Metal Fence is a Foundations piece from level 30 that snaps to floor and roof edges, costs 3 Ingot instead of 5, and is what you want for railings. The Wire Fence is the odd one: it is not on the technology tree at any level and only unlocks from the Wire Fence Schematic, which you have to find as loot. If you want a chain-link look, no amount of levelling will give it to you — check the full schematic list instead.
| Fence | Category | Level | Materials | Use it for |
|---|---|---|---|---|
| Iron Fence | Furniture | 49 | 5 Ingot | Free-standing panels on open ground, matching the barricades |
| Metal Fence | Foundations | 30 | 3 Ingot | Railings on foundations and roofs — cheaper and it snaps |
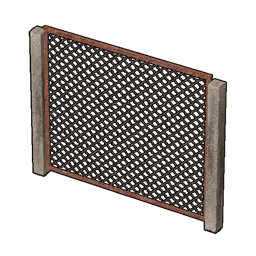 Wire Fence Wire Fence | Furniture | Schematic only | 5 Ingot, 10 Stone | Chain-link look, but you have to loot the schematic first |
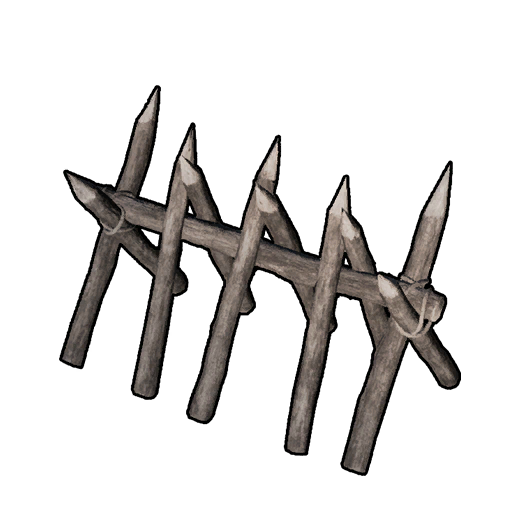 Wooden Barricade Wooden Barricade | Furniture | Schematic only | 10 Wood, 10 Fiber | The rustic timber version — see the Wooden Barricade guide |
 How It Compares to the Other Late Furniture Sets
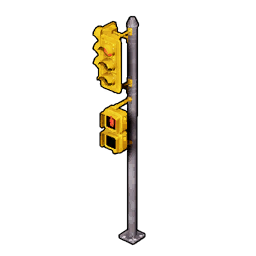
There are 41 furniture sets on the technology tree and only two of them unlock after this one, so level 49 is effectively the end of the decoration catalogue. The theme across the last stretch is unmistakable — street lamps at 46, exit signs at 47, traffic cones at 48, then barricades and road signs both landing at 49. Pocketpair clearly built one urban-infrastructure kit and spread it across four levels. On value, the Barricade Set is at the top of that group: five recipes for one point, tied only with the Amusement Furniture Set, while everything else in the level 46-plus band gives you four pieces or fewer.
| Furniture set | Level | Points | Pieces | Theme |
|---|---|---|---|---|
| Amusement Furniture Set | 46 | 1 | 5 | Arcade cabinet, claw machine, vending machine, old TV |
| Street Lamp Set | 46 | 1 | 4 | Powered outdoor lamp posts |
| Emergency Exit Sign Set | 47 | 1 | 2 | Lit wall and ceiling exit signs |
| Traffic Control Set | 48 | 1 | 4 | Three traffic cones and a working traffic light |
| Barricade Set | 49 | 1 | 5 | Four barricades and an iron fence panel |
| Road Sign Set | 49 | 1 | 4 | Stop, No Pals Beyond, and two Pal warning signs |
| Faux Snowy Greenery Set | 49 | 1 | 4 | Snow-dusted fake plants and a white bush |
| Japanese-Style Furniture Set | 55 | 2 | 13 | The biggest set in the game, and the last big one |
| Faux Cherry Blossoms Set | 56 | 1 | 3 | The final furniture unlock on the tree |
The short version: reach level 49, spend one technology point on the Barricade Set, and bring 23 Ingot for all five pieces. Add 1 Polymer if you want the Orange Barricade and 1 Flame Organ for the Red Iron one — both are single-unit costs you can cover with one Fire Pal kill and a Production Assembly Line you almost certainly already own. Pair them with the Traffic Control Set from the level before if you are building a road, and put a Metal Defensive Wall behind them if anything is actually meant to be kept out.
Related Guides
Hubs and tools:
Barricades and fences:
Materials for the build: