List of All Food: Every Buff, Recipe, and Where to Get It
All 93 obtainable foods in Palworld with nutrition and SAN values, the exact stat buff each cooked dish gives, full recipes, the Pals and crops every raw ingredient comes from, and the 28 food items left unfinished in the files.
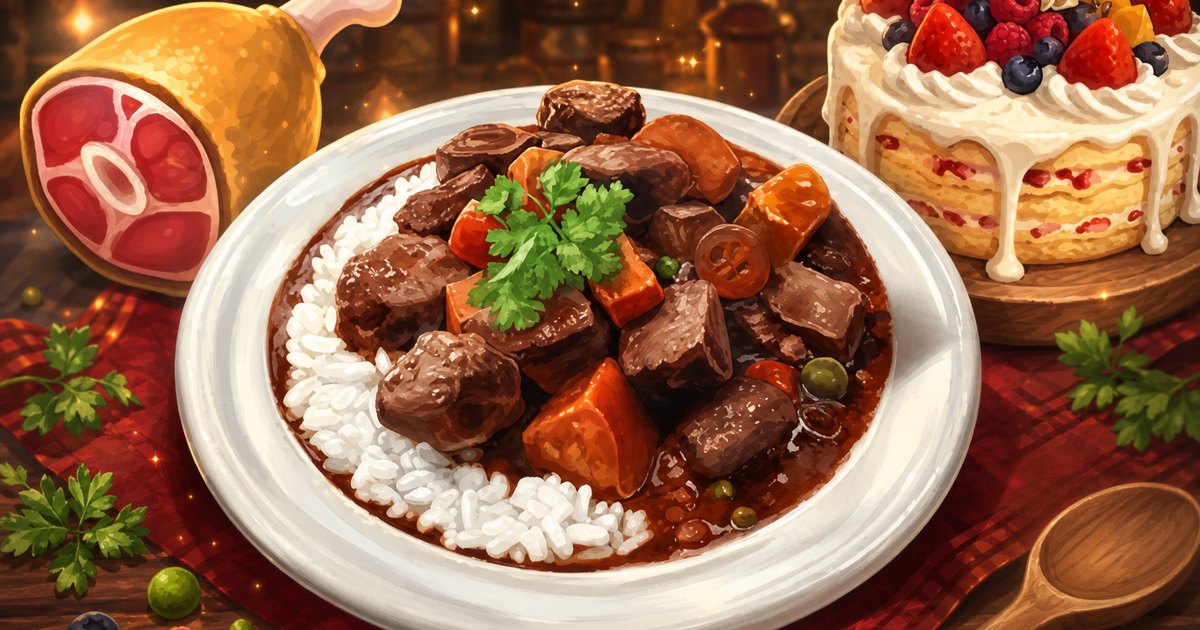
Palworld has 121 food entries, but only 93 of them can actually be obtained — 60 cooked dishes and 33 raw ingredients, with 38 of those carrying a real stat buff when you eat them. This page lists every one: nutrition and SAN restored, the exact buff and how long it lasts, full recipes, which Pal or crop each ingredient comes from, and the 28 foods sitting unfinished in the game files.
 How Food Works in Palworld
Every food does two things at once. Nutrition refills your hunger bar, and SAN restores sanity — and the split between them is brutal. Raw ingredients restore zero SAN no matter how filling they are, which is why Broncherry Meat fills 180 nutrition and does nothing for your mood, while Special Cake hands over 738 nutrition and 92 SAN in one bite.
Cooked dishes add a third layer: a timed stat buff. Almost all of them run for exactly 10 minutes, so a buff is something you eat right before a fight or a farming session, not something you keep topped up. Only two foods break that rule, and they are both EXP dishes that last half an hour. Eating a second dish of the same buff type refreshes the timer rather than stacking the number.
| Property | What it does | Range across all food |
|---|---|---|
| Nutrition | Refills the hunger bar | 1 (Mysterious Mushroom) to 738 (Special Cake) |
| SAN restored | Recovers sanity for you or a Pal | 0 on every raw ingredient, up to 92 on Special Cake |
| Buff duration | How long the stat boost lasts | 10 minutes on 35 dishes, 30 minutes on 2, 1 minute on Mysterious Mushroom |
| Weight | Inventory load per unit | 0.1 (Flour) to 5.0 (raw Pal meat) |
| Spoilage | Timer resets when the food is cooked | Slowed by coolers, stopped by nothing |
 All Food Categories and How Many There Are
Meat dishes are the biggest group by a wide margin, and they own the combat buffs — every attack-boosting food in the game is a meat dish. Vegetable dishes are second, but they carry the cakes, which is why that category holds the five highest nutrition values in Palworld. Raw vegetables are the weakest thing you can eat and exist almost entirely as cooking inputs: the best of them, Cavern Mushroom, restores 15 nutrition.
| Category | Obtainable | Best of the group | Nutrition |
|---|---|---|---|
| Meat dishes | 31 | 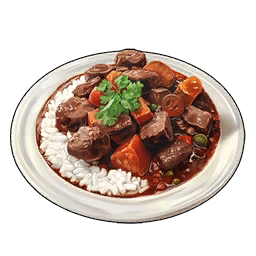 Mammorest Curry Mammorest Curry | 418 |
| Vegetable dishes | 18 |  Special Cake Special Cake | 738 |
| Raw Pal meat | 17 |  Broncherry Meat Broncherry Meat | 180 |
| Raw vegetables and produce | 14 |  Cavern Mushroom Cavern Mushroom | 15 |
| Fish dishes | 11 | 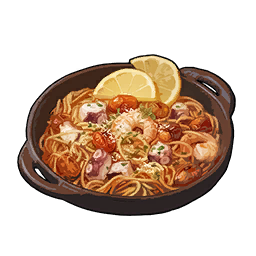 Seafood Pasta Seafood Pasta | 193 |
| Raw fish | 2 |  Raw Dumud Raw Dumud | 50 |
| Everything you can get | 93 | — | — |
 Every Food Buff in Palworld
This is the part of the food system most players never touch, and it is worth more than the hunger bar. Thirty-eight obtainable foods apply a timed buff, split across attack, defense, work speed, sanity and hunger resistance, plus a handful of oddities. The tables below group each dish by its headline effect and list the secondary effect where it has one — several dishes carry two.
Attack Buff Food
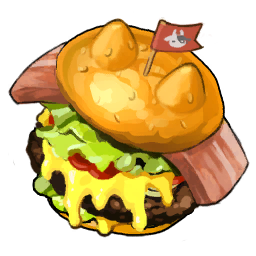
Mammorest Curry is the strongest attack food in the game at +25%, and nothing else comes close on nutrition either — 418 is the highest of any non-cake dish. It costs one Mammorest Meat plus common crops, and a single Mammorest drops 2 meat, so one kill is two currys. Bring it to raid bosses and tower fights. If you are still early and cannot reach a Mammorest safely, Eikthyrdeer Loco Moco gives +20% off an Eikthyrdeer and two eggs.
| Dish | Attack buff | Also gives | Nutrition | SAN | Recipe |
|---|---|---|---|---|---|
| Mammorest Curry | +25% | — | 418 | 52 | 1 Mammorest Meat, 2 Onion, 2 Carrot, 2 Potato, 2 Red Berries |
| Broncherry Fried Noodles | +20% | — | 321 | 40 | 1 Broncherry Meat, 1 Onion, 1 Carrot, 1 Flour |
| Mozzarina Cheeseburger | +20% | +50% hunger resist | 288 | 36 | 2 Mozzarina Meat, 1 Flour, 2 Tomato, 2 Milk |
 Eikthyrdeer Loco Moco Eikthyrdeer Loco Moco | +20% | — | 174 | 22 | 1 Eikthyrdeer Venison, 2 Red Berries, 2 Egg |
 Rushoar Bacon 'n' Eggs Rushoar Bacon 'n' Eggs | +10% | — | 167 | 21 | 2 Rushoar Pork, 2 Egg |
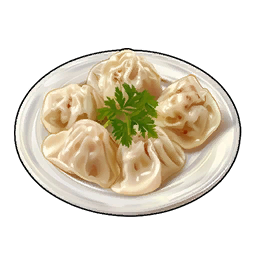 Rushoar Gyoza Rushoar Gyoza | +10% | +25% hunger resist | 115 | 20 | 1 Rushoar Pork, 1 Mushroom, 1 Flour |
 Omelet Omelet | +10% | — | 67 | 7 | 1 Tomato, 2 Egg |
 Defense Buff Food
The defense ladder tops out higher than the attack one: Galeclaw Nikujaga gives +25% damage reduction, and Galeclaw is a common early flyer, so this is far cheaper to mass-produce than Mammorest Curry. Its weakness is nutrition — 150, versus 212 on Eikthyrdeer Stew at +20%. For long raid attempts the stew is usually the better single slot because it keeps you fed as well. Gratin is the pick if you want defense that survives an entire expedition, since its +50% hunger resistance stretches the meal much further.
| Dish | Defense buff | Also gives | Nutrition | SAN | Recipe |
|---|---|---|---|---|---|
| Galeclaw Nikujaga | +25% | — | 150 | 19 | 1 Galeclaw Poultry, 2 Onion, 2 Carrot, 2 Potato |
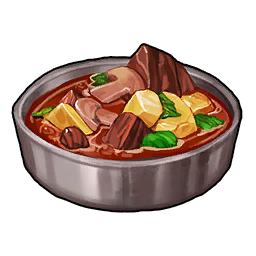 Eikthyrdeer Stew Eikthyrdeer Stew | +20% | — | 212 | 27 | 2 Eikthyrdeer Venison, 1 Mushroom, 2 Milk |
 Rushoar Hot Dog Rushoar Hot Dog | +20% | — | 140 | 18 | 1 Rushoar Pork, 1 Flour, 2 Lettuce |
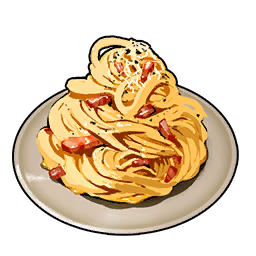 Carbonara Carbonara | +20% | — | 129 | 16 | 1 Flour, 2 Egg, 2 Milk |
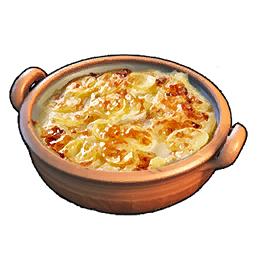 Gratin Gratin | +10% | +50% hunger resist | 113 | 14 | 2 Milk, 2 Potato, 1 Flour |
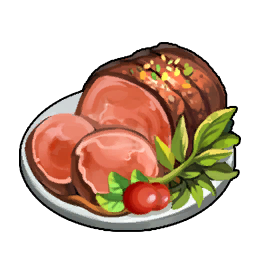 Herb Roasted Lamball Herb Roasted Lamball | +10% | — | 94 | 12 | 1 Lamball Mutton, 2 Red Berries |
 Marinated Mushrooms Marinated Mushrooms | +10% | — | 60 | 7 | 1 Mushroom, 2 Red Berries |
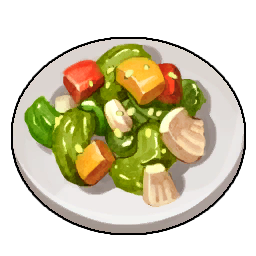 Stir-Fried Vegetables Stir-Fried Vegetables | +10% | +10% work speed | 54 | 7 | 2 Onion, 2 Carrot |
 Work Speed Food for Base Pals
Work speed food is the most under-used category in Palworld, because these buffs apply to Pals eating out of the Feed Box too. Dumud Chowder and Mozzarina Hamburger both give +50%, the highest in the game, and Dumud is one of the easiest Pals on the map to farm. Stock a Feed Box with either one and your whole base speeds up for the duration. Salad is the low-effort version — two lettuce, two tomato, +30% — and it is the one to bulk-produce once your plantations are running.
| Dish | Work speed | Also gives | Nutrition | SAN | Recipe |
|---|---|---|---|---|---|
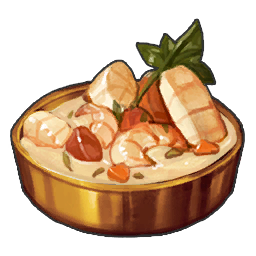
| Dumud Chowder | +50% | +25% hunger resist | 170 | 21 | 1 Raw Dumud, 2 Lettuce, 2 Tomato |
 Mozzarina Hamburger Mozzarina Hamburger | +50% | +25% SAN resist | 162 | 20 | 1 Mozzarina Meat, 1 Flour, 2 Lettuce |
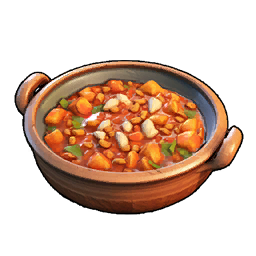 Minestrone Minestrone | +40% | — | 146 | 18 | 3 Tomato, 2 Carrot, 2 Onion, 1 Potato |
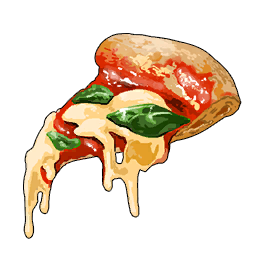 Pizza Pizza | +30% | +25% hunger resist | 184 | 23 | 1 Flour, 2 Red Berries, 2 Tomato, 2 Milk |
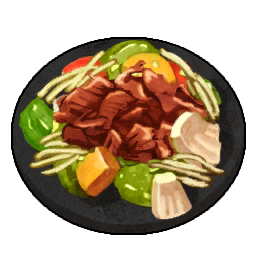 Grilled Lamball Grilled Lamball | +30% | +20% SAN resist | 147 | 18 | 1 Lamball Mutton, 2 Lettuce |
 Fried Chikipi Fried Chikipi | +30% | +25% SAN resist | 108 | 14 | 1 Chikipi Poultry, 1 Flour, 1 Egg, 1 Pal Oil |
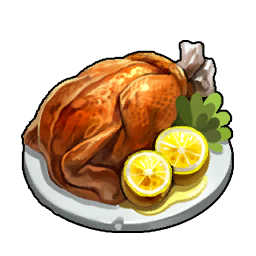 Chikipi Sauté Chikipi Sauté | +30% | — | 92 | 12 | 1 Chikipi Poultry, 2 Red Berries |
| Salad | +30% | — | 84 | 11 | 2 Lettuce, 2 Tomato |
 SAN and Hunger Resistance Food
SAN resistance slows how fast sanity drains, and hunger resistance slows the hunger bar — both are prevention rather than recovery, and both matter most on Pals working long shifts. Mushroom Quiche is the standout because it is the only dish carrying +50% on both at once, on top of 184 nutrition. Spring Rolls and Fried Kelpsea also hit +50% SAN resistance while bolting on a combat stat, which makes them better all-round Feed Box filler than the pure SAN options like Pancake.
| Dish | SAN resist | Hunger resist | Also gives | Nutrition | Recipe |
|---|---|---|---|---|---|
| Mushroom Quiche | +50% | +50% | — | 184 | 1 Flour, 2 Mushroom, 2 Onion, 2 Egg, 2 Milk |
 Spring Rolls Spring Rolls | +50% | — | +10% attack | 115 | 2 Onion, 2 Mushroom, 1 Flour |
 Fried Kelpsea Fried Kelpsea | +50% | — | +10% defense | 108 | 1 Raw Kelpsea, 1 Flour, 1 Egg, 1 Pal Oil |
 Reindrix Stew Reindrix Stew | — | +25% | — | 132 | 1 Reindrix Venison, 2 Tomato |
 Stewed Galeclaw Stewed Galeclaw | +20% | — | — | 92 | 1 Galeclaw Poultry, 2 Red Berries |
 Mushroom Soup Mushroom Soup | — | +25% | — | 52 | 1 Mushroom, 2 Milk |
 Pancake Pancake | +25% | — | — | 42 | 1 Flour, 1 Milk |
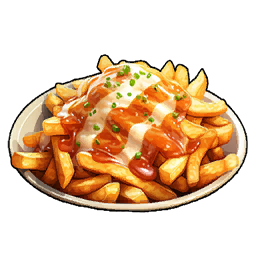 French Fries French Fries | +25% | — | — | 35 | 2 Potato, 1 Pal Oil |
 EXP and Situational Food
Five dishes do something no other food does. Seafood Salad and Fried Gloopie Balls are the only foods with a 30-minute timer instead of 10, and the salad's +20% EXP is the single best levelling buff you can eat — pair it with a tower XP farm run. Seafood Pasta hands out full explosion resistance, which is the answer to grenade-heavy Syndicate camps, and Salt-Grilled Skutlass makes you immune to flinching and knockback — enormous when a boss keeps interrupting your reloads. All four need Pal meat from water Pals, so keep a fishing-adjacent base stocked.
| Dish | Effect | Duration | Nutrition | Recipe |
|---|---|---|---|---|
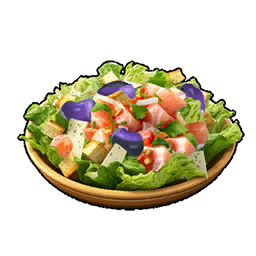
| Seafood Salad | +20% EXP gained | 30 min | 95 | 3 Gloopie Tentacle, 4 Lettuce |
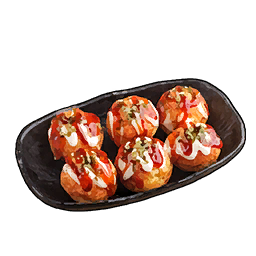 Fried Gloopie Balls Fried Gloopie Balls | +10% EXP gained | 30 min | 80 | 2 Gloopie Tentacle, 3 Flour |
| Seafood Pasta | +100% explosion resistance | 10 min | 193 | 3 Gloopie Tentacle, 3 Flour, 2 Tomato |
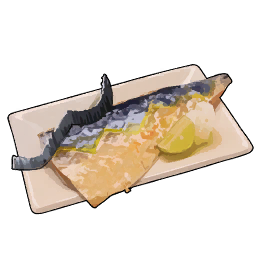 Salt-Grilled Skutlass Salt-Grilled Skutlass | Immune to flinch and knockback | 10 min | 90 | 1 Skutlass Sashimi |
 Jellroy's Jolly Jelly Jellroy's Jolly Jelly | +10% EXP and +10% defense | 10 min | 60 | 2 Jellroy Bell Flesh, 2 Red Berries |
 Jelliette's Jiggly Jelly Jelliette's Jiggly Jelly | +10% EXP and +10% attack | 10 min | 58 | 2 Jelliette Bell Flesh, 2 Aquatic Pal Fluids |
Highest Nutrition Food in Palworld
If you only care about filling the hunger bar, the five cakes are in a league of their own — Special Cake restores 738 nutrition and 92 SAN for 1.0 weight, roughly four times what the best combat dish manages. They are also the most expensive things in the kitchen, and their real job is breeding, so burning one as a meal is usually a waste. Below the cakes, Mammorest Curry at 418 is the practical answer for a single filling slot. Watch the weight column though: the plain roasts like Broncherry Rib Roast restore 252 but weigh 5.0 each, ten times a curry, so they clog your bag fast.
| Food | Nutrition | SAN | Weight | Notes |
|---|---|---|---|---|
| Special Cake | 738 | 92 | 1.0 | Best breeding cake, unlocks at Lv. 74 |
 Extravagant Vegetable Cake Extravagant Vegetable Cake | 717 | 90 | 1.0 | Lv. 60 unlock, no meat needed |
 Vegetable Cake Vegetable Cake | 696 | 87 | 1.0 | Lv. 47 unlock |
 Mushroom Cake Mushroom Cake | 676 | 84 | 1.0 | Lv. 30 unlock |
 Cake Cake | 656 | 82 | 1.0 | Comes free with the Breeding Farm |
| Mammorest Curry | 418 | 52 | 0.5 | Best nutrition-per-weight dish with a buff |
| Broncherry Fried Noodles | 321 | 40 | 0.5 | +20% attack |
| Mozzarina Cheeseburger | 288 | 36 | 0.5 | +20% attack, +50% hunger resist |
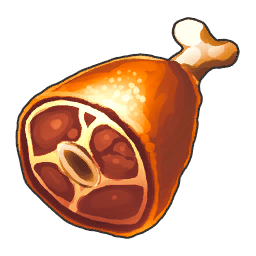 Broncherry Rib Roast Broncherry Rib Roast | 252 | 3 | 5.0 | One-ingredient roast, very heavy |
 Mammorest Steak Mammorest Steak | 252 | 3 | 5.0 | One-ingredient roast, very heavy |
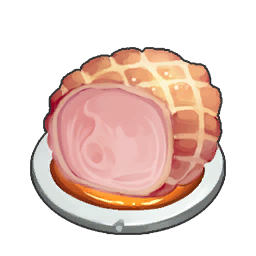 Roast Reindrix Roast Reindrix | 252 | 1 | 2.0 | Best nutrition available at the Campfire |
| Eikthyrdeer Stew | 212 | 27 | 0.5 | +20% defense |
All Cakes and What They Do
Cakes are food on paper and breeding currency in practice — one goes into the Breeding Farm chest per egg. The base Cake comes free with the Breeding Farm at Lv. 19, and the four upgrades are separate technologies costing 4 points each. The upgrades are not just bigger meals: Special Cake specifically raises the odds of an egg inheriting multiple passive skills from its parents, which is what makes it the endgame pick for min-maxing. Extravagant Vegetable Cake is the sleeper — it needs no meat and no honey, just crops and cotton candy, so a fully planted base can run it forever.
| Cake | Unlock level | Tech cost | Nutrition | SAN | Materials |
|---|---|---|---|---|---|
| Cake | 19 (with Breeding Farm) | Included | 656 | 82 | 5 Flour, 8 Red Berries, 7 Milk, 8 Egg, 2 Honey |
| Mushroom Cake | 30 | 4 | 676 | 84 | 5 Flour, 5 Mushroom, 3 Cavern Mushroom, 8 Egg, 2 Honey |
| Vegetable Cake | 47 | 4 | 696 | 87 | 8 Flour, 8 Tomato, 7 Lettuce, 8 Egg, 4 Honey |
| Extravagant Vegetable Cake | 60 | 4 | 717 | 90 | 12 Flour, 8 Cotton Candy, 10 Potato, 6 Onion, 8 Carrot |
| Special Cake | 74 | 4 | 738 | 92 | 20 Flour, 8 Caramel Cotton Candy, 15 Milk, 15 Egg, 2 Mammorest Meat |
 All Raw Meat and Fish, and Which Pals Drop It
Every raw meat comes off a specific Pal, and the difference between them is enormous — Broncherry and Mammorest meat restore 180 nutrition each, five times what Chikipi poultry gives, and both drop 2 per kill. They are also the ingredients the two strongest attack dishes need. The pin counts below are how many spawn points each Pal has across the map, so Kelpsea at 2,742 pins is the easiest meat in the game to farm, and Reindrix at 128 is the hardest of the common ones.
A Meat Cleaver turns any caught Pal into its meat drop, which is how you farm the rarer entries without hunting the spawn points at all. Open the interactive Palworld map and switch on a Pal's layer to route a farming loop.
| Raw food | Nutrition | Weight | Dropped by | Per kill | Spawn pins |
|---|---|---|---|---|---|
| Broncherry Meat | 180 | 5.0 |  Broncherry Broncherry | 2 | 984 |
 Mammorest Meat Mammorest Meat | 180 | 5.0 | Mammorest | 2 | 968 |
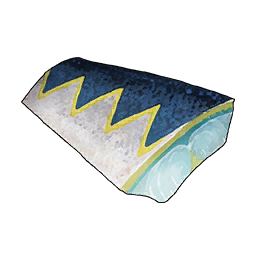 Skutlass Sashimi Skutlass Sashimi | 80 | 5.0 |  Skutlass Skutlass | 1-2 | 274 |
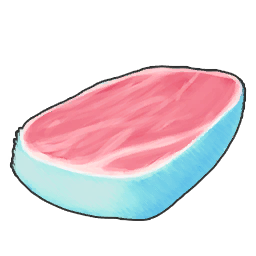 Reindrix Venison Reindrix Venison | 64 | 2.0 |  Reindrix Reindrix | 2 | 128 |
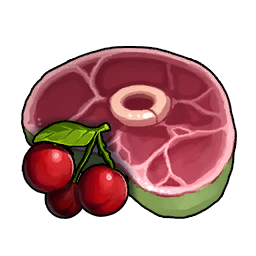 Caprity Meat Caprity Meat | 57 | 2.5 |  Caprity Caprity | 2 | 786 |
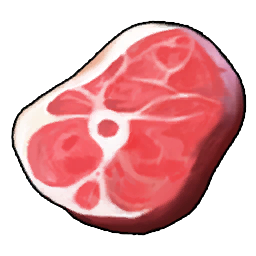 Mozzarina Meat Mozzarina Meat | 57 | 2.5 |  Mozzarina Mozzarina | 2-3 | 222 |
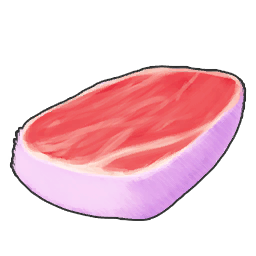 Eikthyrdeer Venison Eikthyrdeer Venison | 50 | 2.0 |  Eikthyrdeer Eikthyrdeer | 2 | 454 |
| Raw Dumud | 50 | 2.0 |  Dumud Dumud | 2 | 744 |
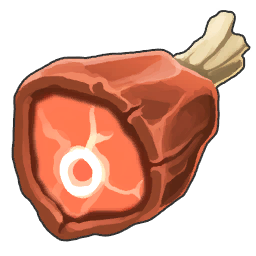 Rushoar Pork Rushoar Pork | 43 | 2.0 |  Rushoar Rushoar | 1-2 | 296 |
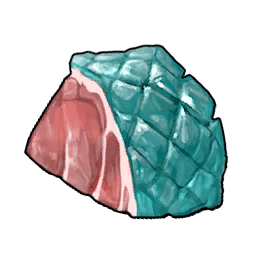 Munchill Meat Munchill Meat | 42 | 5.0 |  Munchill Munchill | 1 | 458 |
 Gloopie Tentacle Gloopie Tentacle | 40 | 5.0 |  Gloopie Gloopie | 1-2 | 1,018 |
 Jellroy Bell Flesh Jellroy Bell Flesh | 37 | 5.0 |  Jellroy Jellroy | 1 | 1,206 |
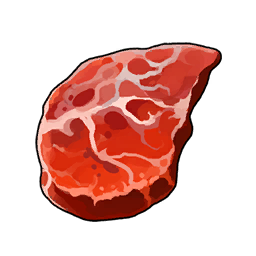 Lamball Mutton Lamball Mutton | 37 | 1.0 |  Lamball Lamball | 1 | 702 |
 Chikipi Poultry Chikipi Poultry | 36 | 1.0 |  Chikipi Chikipi | 1 | 548 |
 Galeclaw Poultry Galeclaw Poultry | 36 | 1.0 |  Galeclaw Galeclaw | 1 | 858 |
 Raw Kelpsea Raw Kelpsea | 36 | 1.0 |  Kelpsea Kelpsea | 1 | 2,742 |
 Jelliette Bell Flesh Jelliette Bell Flesh | 35 | 5.0 |  Jelliette Jelliette | 1 | 990 |
 All Crops and Where to Grow Them
Nine crops exist and only eight of them have a plantation you can build — Red Berries at Lv. 5 is the first, Onion at Lv. 36 the last. Growth time is the flat part, but the work value is what actually decides throughput, and it varies wildly: berries need 13,500 work per harvest while onions need 63,000, so an onion plantation demands roughly five times the planting and gathering Pals to keep up. Every crop yields 10 per harvest regardless.
Wheat is the one to build first even though it is the weakest food, because Flour is an ingredient in almost every worthwhile dish and the  Mill turns 3 wheat into 1 flour. Merchants also sell most seeds and the crops themselves, which is the fast way to test a recipe before committing a plantation.
| Crop | Grow time | Yield | Plantation level | Merchant price | Nutrition |
|---|---|---|---|---|---|
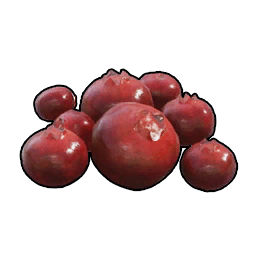
| Red Berries | 3.0 min | 10 | 5 | 50 Gold | 15 |
 Wheat Wheat | 4.5 min | 10 | 15 | 70 Gold | 6 |
 Tomato Tomato | 5.0 min | 10 | 21 | 80 Gold | 15 |
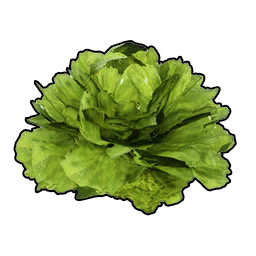 Lettuce Lettuce | 5.5 min | 10 | 25 | 80 Gold | 15 |
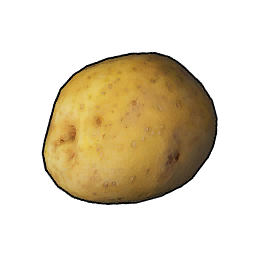 Potato Potato | 5.8 min | 10 | 29 | 100 Gold | 11 |
 Carrot Carrot | 6.2 min | 10 | 32 | 100 Gold | 10 |
 Onion Onion | 6.5 min | 10 | 36 | 100 Gold | 9 |
 Flour Flour | Crafted at the Mill | 1 per 3 Wheat | 15 | — | 3 |
 All Ranch Food and Foraged Ingredients
Six food ingredients come from Pals sitting in a Ranch rather than from farming or killing anything, and they are the ones the cake recipes eat. Chikipi eggs and Mozzarina milk are the two you need in bulk — a Special Cake alone wants 15 of each — and both Pals are cheap to breed. Beegarde honey is the awkward one: only 43 spawn points on the map and a rank-3 ranch requirement, so most players get honey by breeding it instead of hunting it.
Mushrooms are the exception that is foraged, not ranched. Regular Mushroom nodes are scarce on the surface at 274 pins, while Cavern Mushroom has 1,445 nodes underground — that is why Mushroom Cake is easier to supply than its level suggests, and why cave runs are worth doing for food and not just ore.
| Ingredient | Source | Nutrition | Where to get it |
|---|---|---|---|
| Egg | Chikipi ranch | 16 | Rank 1 ranch, 274 ranch-eligible spawn spots, or 200 Gold from merchants |
 Milk Milk | Mozzarina ranch | 12 | Rank 2 ranch, also drops 1 per kill, or 200 Gold |
 Honey Honey |  Beegarde ranch Beegarde ranch | 10 | Rank 3 ranch only — no merchant sells it |
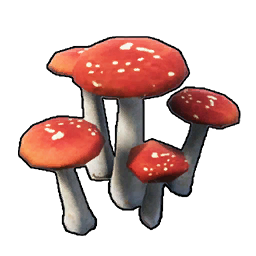 Mushroom Mushroom |  Shroomer ranch or foraging Shroomer ranch or foraging | 13 | 274 surface nodes, rank 3 ranch, or 300 Gold |
| Cavern Mushroom | Foraging underground | 15 | 1,445 nodes inside caves, or 500 Gold |
 Cotton Candy Cotton Candy |  Woolipop ranch Woolipop ranch | 5 | Rank 1 ranch, restores 5 SAN |
 Caramel Cotton Candy Caramel Cotton Candy |  Woolipop Terra ranch Woolipop Terra ranch | 5 | Rank 1 ranch — only 26 spawn spots, breed for it |
| Red Berries | Caprity ranch or foraging | 15 | 1,906 berry bushes, rank 1 ranch, or 50 Gold |
 Where to Cook Food
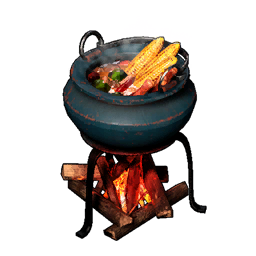
Four kitchens and a mill cover every recipe in the game, and the jump that matters is the Cooking Pot at Lv. 17 — that is where real dishes with buffs start, versus the  Campfire, which only handles single-ingredient roasts. The
 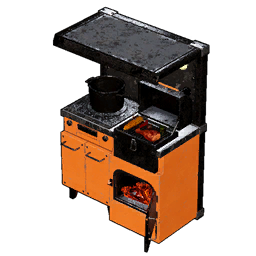 Electric Kitchen at Lv. 41 does not unlock new recipes so much as cook the same ones far faster, and the
 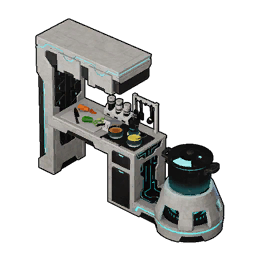 Ancient Kitchen at Lv. 70 is the endgame version. Whichever you build, staff it with a kindling Pal — cooking is a Kindling job, and work speed on that Pal is the real bottleneck on cake production.
| Station | Unlock level | Materials | What it handles |
|---|---|---|---|
| Campfire | 2 | 10 Wood | Single-ingredient roasts and grilled meat |
| Mill | 15 | 10 Wooden Board, 40 Stone, 10 Ingot | Turns 3 Wheat into 1 Flour |
| Cooking Pot | 17 | 5 Wooden Board, 15 Ingot, 3 Flame Organ | Multi-ingredient dishes and cakes |
| Electric Kitchen | 41 | 30 Refined Ingot, 5 Circuit Board, 20 Charcoal, 5 Flame Organ | Same recipes, much faster, needs power |
| Ancient Kitchen | 70 | 80 Soralite Ingot, 30 Thermal Core, 50 Cryogenic Coolant, 10 Ancient Civilization Core | Endgame kitchen, costs Ancient points |
 How to Stop Food From Spoiling
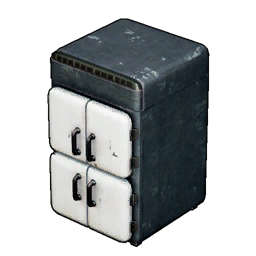
Food rots in your inventory and in ordinary chests, and cooking resets the timer — which is the practical reason to cook meat the moment you get home instead of stockpiling it raw. Cooling structures slow decay rather than stopping it, and they get better as you climb: the 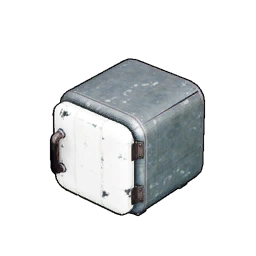 Cooler Box at Lv. 13 is the cheap first step, the Refrigerator at Lv. 38 is the one worth committing to, and the Cold Food Box at Lv. 51 is the only cooled container that also feeds your Pals.
Every cooler needs an ice Pal assigned to run it, so pair one with a good cooling Pal or the box does nothing. The 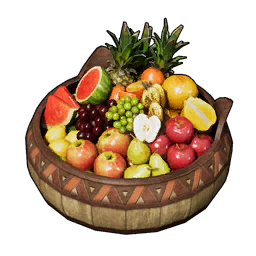 Feed Box at Lv. 4 is not cooled at all — stock it with cheap, buff-carrying dishes you can replace constantly rather than anything precious.
| Structure | Unlock level | Materials | Role |
|---|---|---|---|
| Feed Box | 4 | 20 Wood | Auto-feeds base Pals, no cooling |
| Cooler Box | 13 | 10 Ingot, 10 Stone, 2 Ice Organ | First cooled storage, needs an ice Pal |
 Cooler Cooler | 18 | 20 Ingot, 20 Stone, 5 Ice Organ | Bigger version of the Cooler Box |
| Refrigerator | 38 | 50 Refined Ingot, 20 Polymer, 10 Cryogenic Coolant, 5 Circuit Board | Powered, the main mid-game food store |
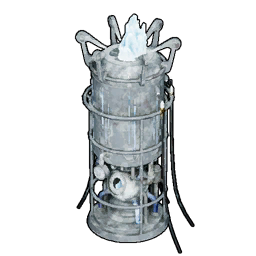 Electric Cooler Electric Cooler | 42 | 30 Refined Ingot, 10 Circuit Board, 10 Cryogenic Coolant | Powered cooler, no ice Pal needed |
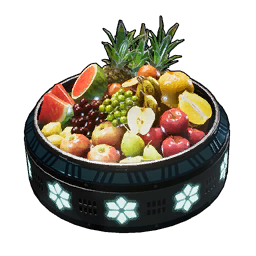 Cold Food Box Cold Food Box | 51 | 20 Pal Metal Ingot, 20 Plasteel, 15 Cryogenic Coolant | Cooled Feed Box — feeds Pals without spoiling |
 Food That Wrecks Your Sanity
Four consumables trade sanity for work speed, and the exchange rate ranges from bad to catastrophic. Mysterious Mushroom is the mild one — 1 nutrition, 3 SAN restored, and a 1-minute debuff that makes hunger drain 25% faster. The juices are the serious version: Suspicious Juice gives +200% work speed, Strange Juice gives +400%, and Mysterious Mushroom Juice gives +600% — each for only 10 seconds, and each with a sanity penalty so large the Pal drinking it will need a hot spring afterwards.
These are technically medicine rather than food, but they end up in Feed Boxes constantly and behave the same way, so they belong on this list. Use them for a single frantic crafting push, never as standing base supply.
| Item | Work speed | Duration | SAN restored | Sanity cost |
|---|---|---|---|---|
| Mysterious Mushroom | — | 1 min | 3 | Hunger drains 25% faster |
 Suspicious Juice Suspicious Juice | +200% | 10 sec | 30 | Severe |
 Strange Juice Strange Juice | +400% | 10 sec | 60 | Extreme |
 Mysterious Mushroom Juice Mysterious Mushroom Juice | +600% | 10 sec | 80 | Ruinous |
 Nutrient Tonic Nutrient Tonic | — | 10 min | 1 | None — keeps your stomach full instead |
 Food in the Files You Cannot Get
This is where most food lists go wrong. Of the 121 food entries in Palworld, 28 have no recipe, no shop, no drop and no crop attached to them — they exist with full stats, icons and in some cases working buffs, but nothing in the world hands them to you. Cheeseburger is the most striking: 338 nutrition and a +30% hunger resist, +10% defense buff, and completely unobtainable. Corn and Pumpkin are the odd pair — both have growth data, but no seed item and no plantation exists for either.
Do not plan around these, and be suspicious of any list that includes them in a total. If a future patch wires them up, the ones with finished buffs are the likely candidates:
- Finished dishes with working buffs, no source: Cheeseburger, Hamburger, BLT, Bolognese Sauce, Mushroom Stew, Hot Dog, Stir-Fried Veggies
- Crops with no seeds or plantation: Corn, Pumpkin
- Leftovers with no effect at all: Curry (an older duplicate), Sandwich, Stew, Corn Soup, Seafood Soup, Grilled Fish, Grilled Meat, Hot Milk, Potage, Baked Potato, LuxuryOmelette, Venison Boiled In Tomato, Meat, Fish Meat, a duplicate Red Berries, Grape, Hop, Beer and Wine
Related Guides
More food, cooking and base-supply guides:
- All Palworld guides and the full Palworld item database
- Best Food for SAN and Hunger — which meals to keep in the Feed Box
- How to Eat Food and Feed Pals — hunger, feed bags and auto-feeding
- How to Make Cake: All Recipes and Effects — the breeding side of cakes
- Refresh Food Expiration Glitch — how spoilage timers actually behave
- How to Stack Plantations — layouts and costs for crop supply
- Best Pals to Butcher — turning caught Pals into meat
- How to Farm Honey — the hardest cake ingredient
- How to Get Egg — Chikipi ranch setup and recipes
- Best Pals for Kindling — who should be running your kitchen
- How to Get the Cold Food Box — cooled auto-feeding at Lv. 51
- Palworld interactive map — berry, mushroom and Pal spawn layers