How to Beat Hard Mode Bjorn and Bastigor: Team and Drops
Hard Mode Bjorn and Bastigor is a level 80 Ice tower rematch with about 487,500 HP that only takes 18% of your damage. Here's the Fire team that answers it, the ring and armor to wear, every attack in Bastigor's rotation, and the 10% legendary schematic it pays out.
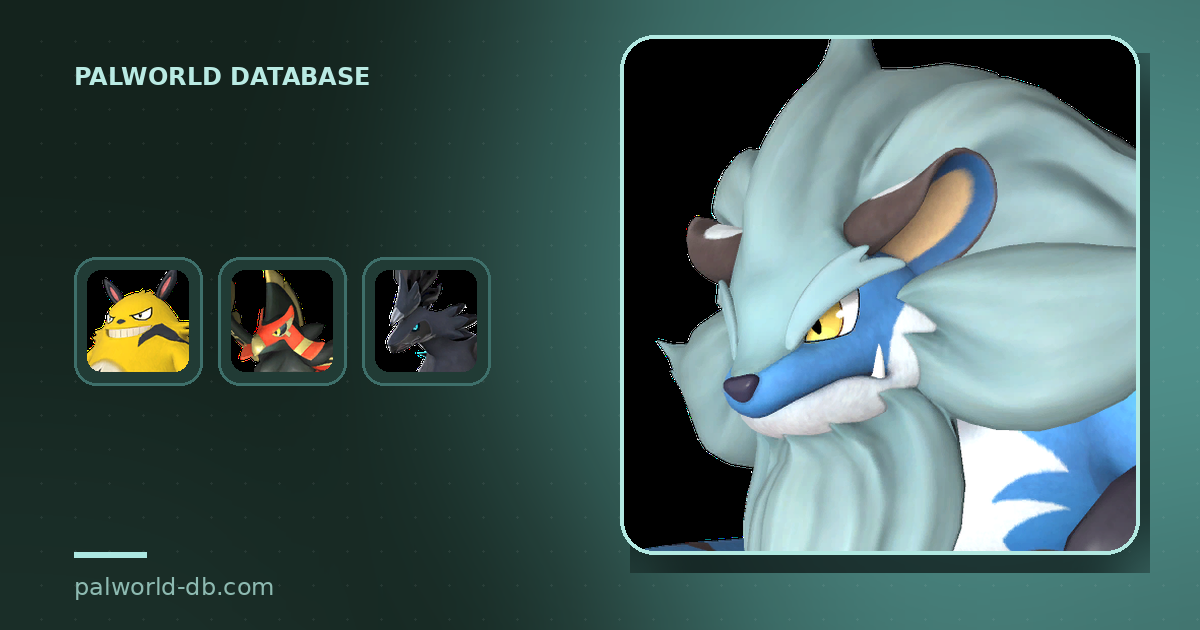
Bjorn and Bastigor on Hard Mode is the level 80 Ice tower rematch, and it is the one most players clear first because it carries the smallest health multiplier on the whole rematch ladder. What it does instead is hit ten times harder and absorb 82% of everything you deal. This guide covers the boss card, the checklist that decides whether an attempt is even worth starting, the Fire Pals and gear that shorten the fight, every attack in Bastigor's rotation, and the drop table — including the legendary schematic that only this fight hands out.
 Bjorn and Bastigor (Hard) at a Glance
Bastigor is a pure Ice Pal, so the counter list is one item long: Fire is the only element that hits Ice for bonus damage on the element matchup chart and counter finder. At level 80 the health bar lands at roughly 487,500, and the five-minute timer never moves. Put those two numbers together with the ×0.18 damage-taken line and you need to push around 2.7 million raw damage through the fight — a bit over 9,000 a second, every second, before the boss's own defense takes its cut. That is the whole difficulty of this rematch in one sentence, and it is why the element you bring matters more than the armor you wear.
| Hard Mode | |
|---|---|
| Boss | Bjorn & Bastigor |
| Element | Ice |
| Weak to | Fire |
| Level | 80 |
| HP | ~487,500 |
| Damage dealt | ×10 |
| Damage taken | ×0.18 |
| Cooldown | ×2 |
| Time limit | 5 minutes |
| Unlock | Clear all 8 normal tower bosses |
| Paldeck | #191 |
How Hard Mode Changes the Fight
Bastigor's rematch is the odd one out, because the health pool barely moves. Every other tower boss multiplies its health several times over — Grizzbolt goes from ×12 to ×100, Faleris from ×27 to ×110 — while Bastigor climbs only from ×62 to ×75, the smallest step in the game. The two lines that actually change are damage dealt, which goes up tenfold, and damage taken, which collapses to ×0.18. Since the health bar was never the problem in the first battle, the rematch is won on weakness damage and staying alive, not on burst. Every multiplier for every fight sits on the tower boss list, and the normal version of this fight is covered in How to Beat Bjorn and Bastigor.
| Multiplier | First battle | Hard rematch |
|---|---|---|
| HP | ×62 | ×75 |
| Damage dealt | ×1 | ×10 |
| Damage taken | ×1 | ×0.18 |
| Cooldown | ×2 | ×2 |
Against the rest of the ladder, Bastigor is the shortest health bar and the middle of the pack for danger. Grizzbolt hits hardest at ×13 and Shadowbeak is the scariest overall at ×12 on a ×2 rotation, while Bastigor's ×10 on a ×2 rotation puts it just behind. The ×0.18 it absorbs is also the third most forgiving figure on the board, so of the eight rematches this is the one where a slightly-off team still has a chance.
| Rematch | Element | HP × | Deals × | Takes × | Cooldown × |
|---|---|---|---|---|---|
| Bastigor | Ice | 75 | 10 | 0.18 | 2 |
 Shaolong Shaolong | Dragon / Water | 88 | 12 | 0.20 | 2.5 |
 Selyne Selyne | Dark / Neutral | 93 | 9 | 0.20 | 2 |
 Grizzbolt Grizzbolt | Electric | 100 | 13 | 0.10 | 3 |
 Lyleen Lyleen | Grass | 100 | 10 | 0.12 | 3 |
 Shadowbeak Shadowbeak | Dark | 100 | 12 | 0.25 | 2 |
 Faleris Faleris | Fire | 110 | 8 | 0.15 | 2.5 |
 Orserk Orserk | Dragon / Electric | 110 | 10 | 0.15 | 2.5 |
 Astralym Astralym | — | 405 | 5 | 0.45 | 2 |
The Checklist Before You Walk In
There is one gate on the door and several soft gates on your box. The door only asks that you have cleared all eight normal tower bosses once each — Zenara and Astralym are not counted, and world difficulty and story progress do not matter, which the Hard Mode tower unlock guide goes through in full. The soft gates are the ones that actually decide the run. A level 80 Fire attacker that has not been condensed, souled and trusted is doing a fraction of the damage the fight needs, and there is no partial credit when the timer hits zero.
| Requirement | Detail | Where it comes from |
|---|---|---|
| Unlock | All 8 normal tower bosses cleared once | Hard Mode tower unlock guide |
| Attacker level | 80 — the boss's own level | Pal level and EXP calculator |
| Condense rank | 4 stars, which is the top rank of every partner skill | 750 Dog Coins of graded Starfruits, or duplicates |
| Soul rank | As high as you can afford — the ladder runs 20 ranks | 52 Pal Souls for a full climb, 30 of them Giant |
| Potential | Attack topped out on the 0-100 scale | +10 per Power Fruit, 25 Bounty Tokens each |
| Passives | All four slots filled with attack passives | Breeding, locked in before you spend anything else |
| Trust | Rank 7 is 80,000 trust points | Trust level database |
Two of those rows are worth more here than anywhere else. Condensing to four stars is not a small stat bump — it is what takes Knocklem Ignis's partner skill from +60% to +210% attack and defense, and no amount of gear replaces that. The soul ladder is the long pole at 52 souls per Pal, so pick your one Fire attacker and finish it rather than half-building three; the min-maxing guide lays out the order to spend in, and the rank-up guide covers the condenser itself.
 The Fire Pals That Shorten It
Fire is the only element that gets bonus damage on Bastigor, and the chart runs both ways — a Fire Pal also takes reduced damage from the six Ice attacks in the rotation. But read the typing carefully before you field the biggest statline you own: Ice is strong into Dragon, so Jormuntide Ignis, Blazamut Ryu and Eidrolon Ignis all deal bonus damage *and* take bonus damage in the same fight. Against a boss swinging at ×10 that trade is usually bad. The pure-Fire options are the safer picks even where the raw numbers are slightly lower.
| Pal | Element | Attack | HP / Def | Why bring it |
|---|---|---|---|---|
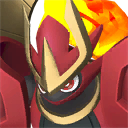 Knocklem Ignis Knocklem Ignis | Fire | 115 ranged | 105 / 135 | Iron Guardian Mode gives +210% attack and +210% defense at 4 stars — the single biggest buff available for this fight, and pure Fire so nothing here hits it hard |
| Blazamut | Fire | 150 melee | 100 / 120 | The highest melee attack of any pure-Fire Pal, with 120 defense behind it and no Dragon typing to punish |
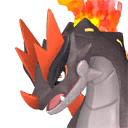 Moldron Moldron | Fire / Ground | 125 ranged | 110 / 115 | Rideable at 850 sprint speed, and its Ground half is neutral against everything Bastigor throws |
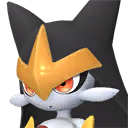 Flaracle Flaracle | Fire | 125 ranged | 110 / 105 | Best pure-Fire ranged number after Blazamut — the pick if you want to fight from distance |
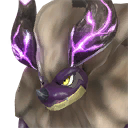 Blazamut Ryu Blazamut Ryu | Dragon / Fire | 150 melee | 105 / 125 | Higher ceiling than Blazamut, but its Dragon half takes bonus damage from every Ice move in the rotation |
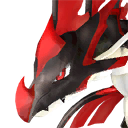 Jormuntide Ignis Jormuntide Ignis | Dragon / Fire | 150 melee | 130 / 100 | The tankiest statline in the Fire pool at 130 HP, same Dragon caveat — bring it only if you can keep it out of the big casts |
If you only build one, build Knocklem Ignis. A +210% defense line on your partner is what stops the ×10 damage from resetting the fight every thirty seconds, and the matching attack half means you are not paying for that survivability with damage. Blazamut is the pick if you fight up close and would rather out-trade than out-last it. Both are S or A tier on the combat tier list.
 Turn Your Own Gun Into Fire Damage
If you do most of the damage yourself rather than letting the Pal work, four partner skills convert your attacks to Fire — rifles and launchers included — so your weapon inherits the same weakness multiplier your Pal does. That is the cheapest way to close the gap on a boss that only takes 18% of what you deal. Wixen is the standout because it converts while summoned, so it works on foot with any weapon and adds up to +50% ranged attack at four stars. The other three do it while you ride, which trades dodging for mobility. The full roster is in All Pals That Change Your Attack Element.
| Pal | Element | Trigger | Note |
|---|---|---|---|
| Wixen | Fire | Summoned | Works on foot with any weapon, and its Lord Fox skill scales from +30% to +50% ranged attack |
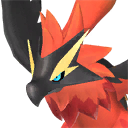 Ragnahawk Ragnahawk | Fire | While mounted | Flying converter — saddle at Technology 33 |
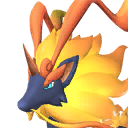 Pyrin Pyrin | Fire | While mounted | The early, easy option — saddle at Technology 29 |
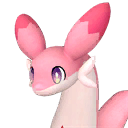 Chillet Ignis Chillet Ignis | Fire / Dragon | While mounted | Converts fine, but the Dragon half takes bonus damage from Ice |
 The Ring That Was Made for This Fight
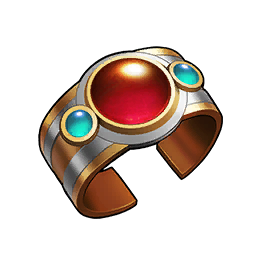
One accessory covers both halves of this fight in a single slot. The Faleris Ring goes on the Pal fighting beside you and stacks Ice Damage Reduction Lv. 4 with Pal Fire Damage Enhancement Lv. 4 — top rank on both — for 20 Refined Ingot, 15 Ice Organ, 15 Flame Organ and 5 Ancient Civilization Parts. If your partner is already surviving fine, the Baton and Talisman carry the same Fire boost with an Attack or Defense raise attached instead of the resistance. For yourself, the Wumpo Charm is the top-rank Ice resistance option and doubles as cold protection on the walk in. Recipes and effects for the whole set are in List of All Pal Rings: Effects and Recipes and on the accessories database.
| Accessory | Who wears it | What it does |
|---|---|---|
| Faleris Ring | Your Pal | Ice Damage Reduction Lv. 4 and Pal Fire Damage Enhancement Lv. 4 |
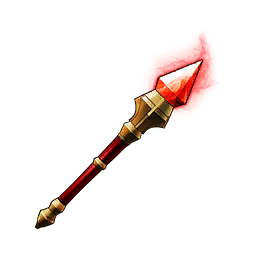 Flame Emperor's Baton Flame Emperor's Baton | Your Pal | Same Fire boost, with Pal Attack Up Lv. 4 instead of the resistance |
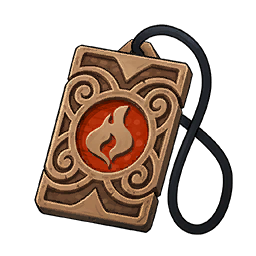 Blazamut's Talisman Blazamut's Talisman | Your Pal | Same Fire boost, with Pal Defense Up Lv. 4 instead of the resistance |
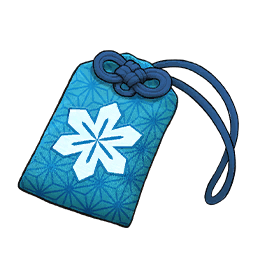 Wumpo Charm Wumpo Charm | You | Ice Damage Reduction Lv. 4 plus cold protection |
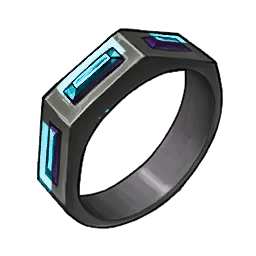 Ring of Ice Resistance Ring of Ice Resistance | You | Ice Damage Reduction Lv. 3 — the budget stand-in |
 Armor and Guns to Bring
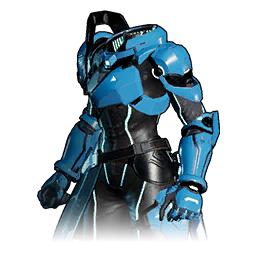
Cold-Resistant Ancient Armor at legendary rarity is the body piece for this door — 1,092 defense, 3,120 HP and an innate Ice Damage Reduction line, on top of an Attack Up (S) Lv. 4 roll the plain version does not get. The base craft is a big step down at 840 defense and 2,400 HP, so the legendary schematic is worth chasing before the run; the Cold-Resistant Ancient Armor schematic guide covers where it comes from, and the Ancient Armor guide covers the rest of the set.
On weapons, read the ratings the right way: attack numbers only compare inside a weapon class. The Beam Launcher tops the launchers at 14,000 and the Charge Rifle tops the rifles at 12,500, and those two are not on the same scale as each other. Against a 487,500 health bar the Plasma Rifle earns its slot on 25,000 durability rather than its 1,860 attack — a gun that never needs swapping mid-run beats one that hits marginally harder. The Megaboost Gun and the Drone Launcher are the support picks, since neither is there for its own damage. Full rankings live in the Best Guns Tier List.
| Gear | Type | Key numbers | Tech |
|---|---|---|---|
| Cold-Resistant Ancient Armor | Body armor | 1,092 defense, 3,120 HP, innate Ice resistance | 75 |
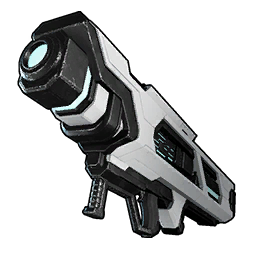 Beam Launcher Beam Launcher | Rocket launcher | 14,000 attack (launcher scale) | 80 |
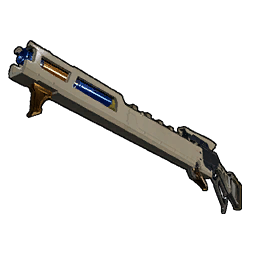 Charge Rifle Charge Rifle | Assault rifle | 12,500 attack (rifle scale) | 65 |
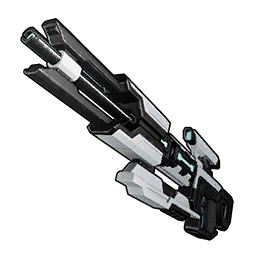 Plasma Rifle Plasma Rifle | Assault rifle | 1,860 attack, 25,000 durability | 78 |
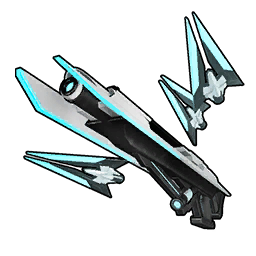 Drone Launcher Drone Launcher | Support | 200 attack, 6,500 durability | 77 |
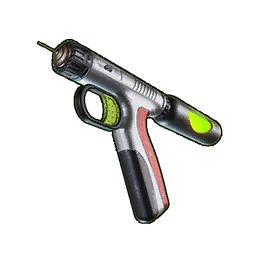 Megaboost Gun Megaboost Gun | Handgun | 250 attack, 400 durability | 63 |
Every Attack in Bastigor's Rotation
Six of Bastigor's nine moves are Ice, which is exactly why a Fire partner is so forgiving here — it resists two thirds of the kit outright. The other three are the ones to actually respect: Stone Cannon, Rockburst and especially Rocky Impact are Ground, so no Fire resistance and no Ice-resist charm does a thing about them, and Rocky Impact is a 600-power hit that reaches 5,000 units. Powers and cooldowns for every skill in the game are on the active skills list.
| Attack | Element | Power | Cooldown | Type | Range |
|---|---|---|---|---|---|
| Double Blizzard Spike | Ice | 700 | 30s | Shot | 1,000 – 5,000 |
| Glacial Impact | Ice | 650 | 30s | Melee | 0 – 3,000 |
| Diamond Rain | Ice | 600 | 30s | Shot | 0 – 5,000 |
| Rocky Impact | Ground | 600 | 30s | Melee | 0 – 5,000 |
| Frost Talon | Ice | 300 | 16s | Melee | 0 – 1,200 |
| Rockburst | Ground | 300 | 16s | Shot | 0 – 1,200 |
| Crystal Breath | Ice | 160 | 8s | Shot | 500 – 1,500 |
| Iceberg | Ice | 120 | 8s | Shot | 100 – 5,000 |
| Stone Cannon | Ground | 120 | 8s | Shot | 500 – 2,500 |
The ranges hand you a free rule. Frost Talon and Rockburst both stop at 1,200 units, so holding distance deletes two of the mid-tier hits from the fight entirely and leaves only the 8-second fillers and the four heavy casts able to reach you. Everything that hurts sits on a 30-second timer, which the tower's ×2 cooldown stretches to a full minute — so a heavy cast going out is your window, not your cue to back off.
How to Actually Fight It
Clear the escorts before you commit
Bjorn does not come alone on Hard Mode — there are extra fighters in the arena alongside the pair, and they do not share Bastigor's element, so your Ice resistance and your Fire partner's typing do nothing about their damage. Burn them down first. Trying to race the boss with three other things chipping at you is how a run that was on pace at four minutes ends in a wipe at four-thirty.
Fight at range and punish the heavy casts
Sitting outside 1,200 units removes Frost Talon and Rockburst from the rotation, and the four 30-second casts are all telegraphed by an animation you have time to read. Push every bit of damage you have while one is on cooldown, then play safe as the minute-long timer comes back around. Fighting at one flat pace is the most common reason a team with the right element still times out.
Keep the Fire buff live the whole way
With damage taken at ×0.18, the fight is decided by uptime rather than burst. Every second your partner skill is down is a second you are doing a fifth of your real damage, so field two Fire attackers and swap the moment the first one's skill expires instead of bringing one great Pal and one filler. If you fight on foot, Wixen holds the conversion up while you dodge, which is the version of this that survives a bad reaction.
 What Hard Mode Bjorn and Bastigor Drop
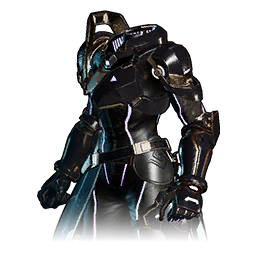
This fight is the only place in the game that hands over the legendary Lightweight Ancient Armor schematic directly, at roughly one clear in ten. Every other route to it is a container roll — a tier 5 treasure map dig or an Ancient Relic Recycler spin, both of which can just as easily give you a different legendary. That is what makes this rematch farmable in a way the others are not: the first clear is the entry fee, and every run after it is a 10% roll you can take whenever you want. The armor it crafts is a 1,092-defense, 3,120-HP body piece with a carry-weight line, built at the Ancient Workbench.
| Drop | Chance | Note |
|---|---|---|
| Legendary Lightweight Ancient Armor Schematic | ~10% | Crafts a 1,092 defense, 3,120 HP body piece — the reason to farm this fight |
 Bjorn Hat Bjorn Hat | First clear | 20 defense, 60 HP cosmetic headpiece |
 Power Lotus (L) Power Lotus (L) | Repeat | Three of these plus lesser lotuses craft a Power Fruit |
 Life Lotus (L) Life Lotus (L) | Repeat | Feeds the Life Fruit recipe |
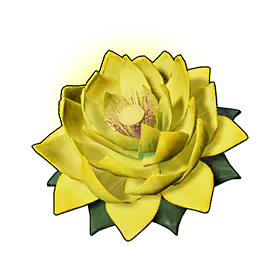 Stamina Lotus (L) Stamina Lotus (L) | Repeat | Feeds the Stout Fruit recipe |
 Speed Lotus (L) Speed Lotus (L) | Repeat | Fruit material |
 Carrying Lotus (L) Carrying Lotus (L) | Repeat | Fruit material |
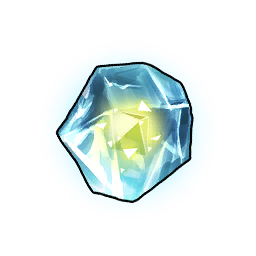 Training Crystal Training Crystal | Repeat | Otherwise 50 Battle Tickets at the Arena Shop |
The lotus haul is worth more than it looks if you are still building the Pal you brought. Each large lotus is a component of the Potential fruits from the checklist above — three Power Lotus (L) go into every Power Fruit, and each fruit is +10 on the 0-100 Attack scale. In other words the fight pays out the exact material that makes your next attempt at it faster. Radiant Gems for awakening Fire Pals come from elsewhere; the Radiant Gem farming guide has the per-element sources.
Where the Tower Is
Nothing new opens on the map when Hard Mode unlocks — the rematch runs at the same door you already used, in the far south-west of the map at roughly -1294, -1669. All eleven tower entrances are pinned on the interactive map with the Tower Bosses layer switched on: eight on the main map plus three more in the World Tree region. If you would rather own a Bastigor than fight one, it also spawns wild at 69 locations, day and night alike — open the map with Bastigor's spawns pinned and take the closest, or check the Bastigor stats and location page for its full move list and work numbers.
Related Guides
The rest of the rematch ladder and the gear behind it:
- How to Beat Bjorn and Bastigor: Weakness, Team, and Drops
- How to Unlock Hard Mode Towers: Requirements and Boss List
- How to Beat Hard Mode Marcus and Faleris
- How to Beat Hard Mode Axel and Orserk
- How to Beat Hard Mode Saya and Selyne
- How to Beat Hard Mode Victor and Shadowbeak
- All Tower Bosses and Battle Multipliers
- Palworld Element Matchup Chart and Counter Finder
- How to Min-Max Pals: IVs, Passives, Souls, and Condensing
- List of All Pal Rings: Effects and Recipes
- All Pals That Change Your Attack Element
- How to Get Legendary Ancient Armor: Every Schematic Source
- Best Pals Tier List for Combat
- All Palworld guides