How to Repair Tools and Equipment: Repair Bench and Costs
How to repair tools, weapons, armor and shields in Palworld — where the Repair Bench sits in the tech tree, what it costs to build, the durability every gear class actually carries, how fast pickaxes and fishing rods burn through it, and the Pal that adds up to 100% more durability.
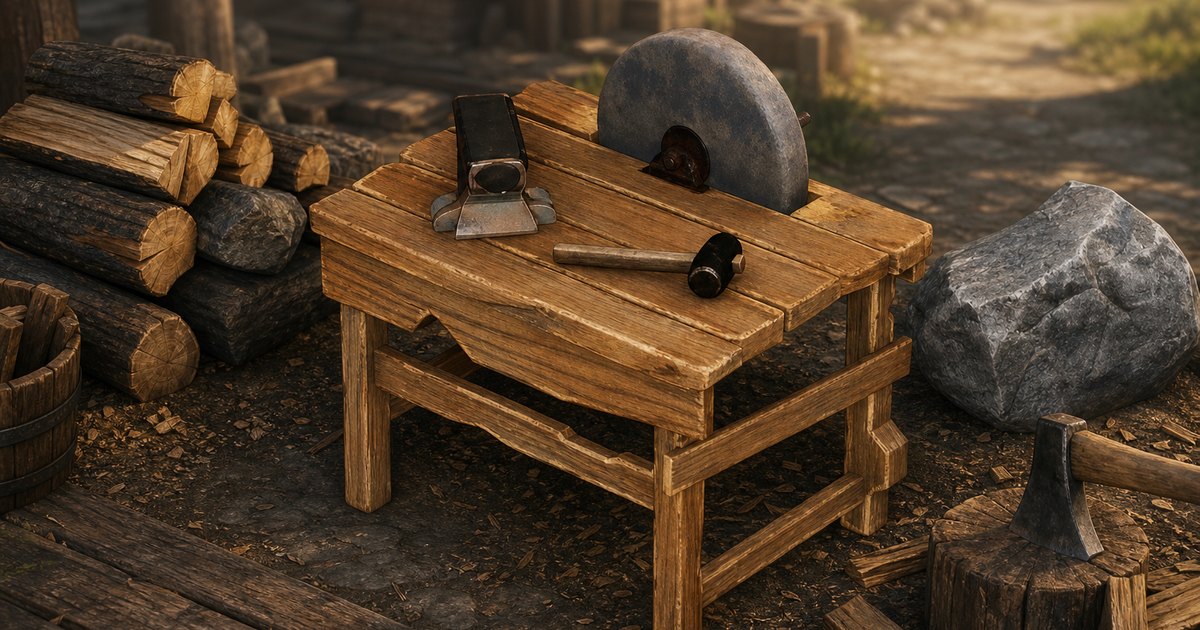
Everything you swing, shoot or wear in Palworld sits on a durability bar, and when that bar empties the item stops working until you fix it. This guide covers the Repair Bench — where it sits in the tech tree, what it costs, how much durability each class of gear actually holds, how fast tools and fishing rods chew through it, and the one Pal that adds up to 100% more durability to your whole loadout.
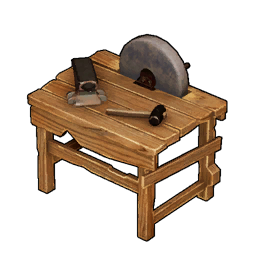 Repair Bench at a Glance
The Repair Bench is the only building whose entire job is undoing wear, and the game hands it to you almost immediately. It unlocks at technology level 2 for a single Technology Point, and it costs 10 Wood and 10 Stone to place — the same order of cost as a Wooden Chest. That is deliberate: the Stone Pickaxe and Stone Axe unlock one level earlier, at level 1, so the bench that repairs your first tools arrives one level after the tools themselves. It shares that level-2 row with the Palbox, the Pal Sphere, the Campfire and the Wooden Chest, all at 1 point each, which makes it one of the cheapest permanent quality-of-life buildings in the game.
| Detail | Repair Bench |
|---|---|
| Unlocks at | Technology level 2, 1 Technology Point |
| Build cost | 10 Wood, 10 Stone |
| Category | Production structure |
| Worker suitability | Handiwork rank 1 — any handiwork Pal can run it |
| Repairs | Weapons, tools, armor, headgear, shields and fishing rods |
| Does not repair | Base structures — those take a Building Repair Kit instead |
| Cost to repair | Materials, drawn from what the item was built out of |
The bench's own in-game blurb is blunt about the trade: it is a workbench for repairing broken tools, and materials are needed to make repairs. That is the whole economy of it — a repair is always cheaper than a fresh craft, because a fresh craft also costs you the Technology Point spend, the work time and, on anything above Common rarity, the schematic. The one thing the bench will not touch is your base: walls, chests and production stations sit outside its list entirely.
How to Repair Your Gear
Repairing is a four-step loop and none of it is hidden behind a quest or an unlock beyond the level-2 technology. The only thing worth planning is where you put the bench — it wants to sit next to the chest holding your repair materials, because the bench pulls from your inventory and nearby storage rather than from your Palbox.
- Unlock and build it. Spend the single Technology Point at level 2, then place the bench for 10 Wood and 10 Stone.
- Interact and pick the item. The bench opens an item-management list showing everything damaged; select a piece and pay the material cost.
- Use the Repair All option. The bench has a dedicated repair-everything action, which is far faster than clicking through eight armor pieces one at a time after a boss run.
- Stock the materials first. The bench asks for the same materials the item was crafted from, so a chest of Wood, Stone and Ingot covers almost everything you own before level 30.
- Assign a Handiwork Pal. The bench takes a Handiwork rank 1 worker, so any handiwork Pal in the base can carry the job while you do something else.
Because the requirement is only rank 1, you do not need to burn a top-tier crafter on it — but if you already have one idle, the highest Handiwork ratings in the game belong to Solenne at rank 8 and Selyne at rank 7, with Anubis and eleven others sitting at rank 6. Our best Pals for Handiwork guide ranks the full list if you are still building a crafting bench crew.
 How Durability Works
The rule the game states in its own help text is simple: equipment loses durability with use and breaks when durability reaches zero, and you restore damaged equipment with materials at the repair table. Broken gear is not destroyed — it goes dead in your hands until it is repaired. 664 items in the game carry a durability value, and the spread between them is enormous: a Hand-Held Torch carries 100, while a Legendary Ancient Armor carries 100,000. That thousand-fold gap is why early-game players feel like they live at the bench and late-game players forget it exists.
| Gear class | Pieces in class | Lowest durability | Highest durability |
|---|---|---|---|
| Body armor | 145 | 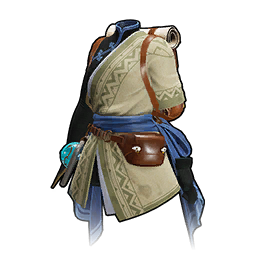 Cloth Outfit — 150 Cloth Outfit — 150 |  Ancient Armor — 100,000 Ancient Armor — 100,000 |
| Headgear | 202 |  Cloth Hat — 150 Cloth Hat — 150 |  Ancient Helm — 100,000 Ancient Helm — 100,000 |
| Assault rifles | 70 | 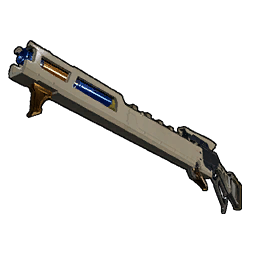 Charge Rifle — 200 Charge Rifle — 200 | 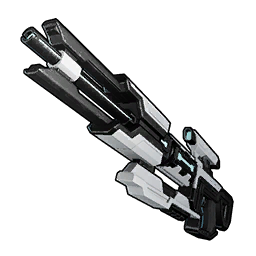 Plasma Rifle — 100,000 Plasma Rifle — 100,000 |
| Gatling guns | 10 | 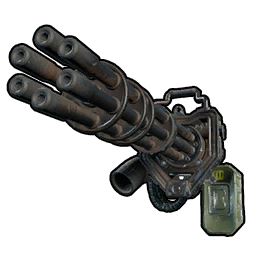 Gatling Gun — 6,000 Gatling Gun — 6,000 | 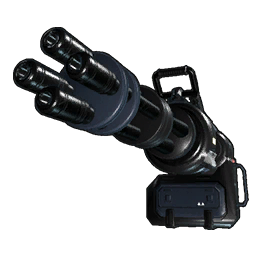 Laser Gatling Gun — 32,000 Laser Gatling Gun — 32,000 |
| Melee weapons | 77 | 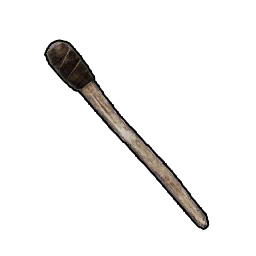 Hand-Held Torch — 100 Hand-Held Torch — 100 |  Drone Launcher — 26,000 Drone Launcher — 26,000 |
| Shotguns | 40 | 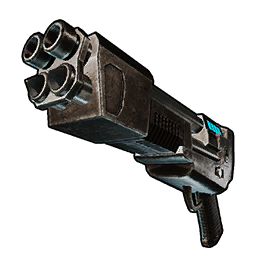 Core Eject Shotgun — 150 Core Eject Shotgun — 150 | 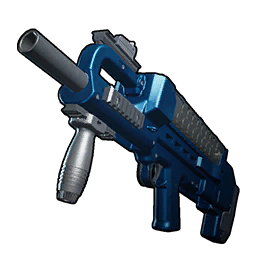 Prototype Shotgun — 24,000 Prototype Shotgun — 24,000 |
| Shields | 8 |  Common Shield — 1,000 Common Shield — 1,000 |  Ancient Shield — 22,000 Ancient Shield — 22,000 |
| Rocket launchers | 38 | 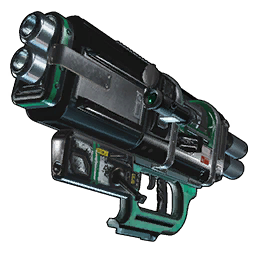 Plasma Cannon — 300 Plasma Cannon — 300 |  Beam Launcher — 14,000 Beam Launcher — 14,000 |
| Bows | 25 | 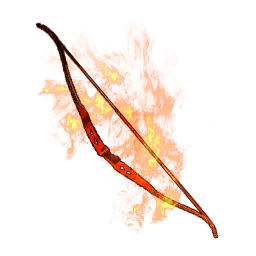 Fire Bow — 150 Fire Bow — 150 | 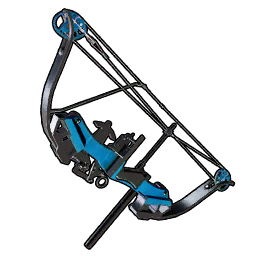 Mechanical Bow — 8,000 Mechanical Bow — 8,000 |
| Handguns | 24 | 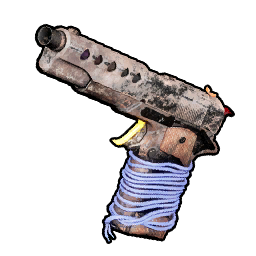 Makeshift Handgun — 300 Makeshift Handgun — 300 | 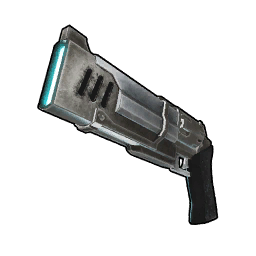 Marksman Revolver — 2,400 Marksman Revolver — 2,400 |
| Crossbows | 15 | 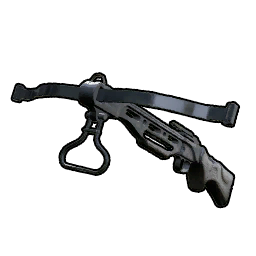 Crossbow — 300 Crossbow — 300 |  Poison Arrow Crossbow — 1,400 Poison Arrow Crossbow — 1,400 |
| Fishing rods | 6 |  Beginner Rod (Chillet) — 120 Beginner Rod (Chillet) — 120 |  Advanced Rod (Depresso) — 720 Advanced Rod (Depresso) — 720 |
Read that table down its own columns, not across them. Durability only means something against the wear rate of the same class — a crossbow spends durability per bolt, a set of armor spends it per hit taken, and a fishing rod spends it per catch, so 1,400 on a Poison Arrow Crossbow is not "worse" than 6,000 on a Gatling Gun. What does compare cleanly is the shape: the ancient-tier and sky-island gear sits one or two orders of magnitude above everything below it, which is the real reason endgame players stop thinking about repairs. Shields are the odd one out — their shield bar refills on its own after a few seconds without damage, but the shield item still carries a durability value that only the bench restores.
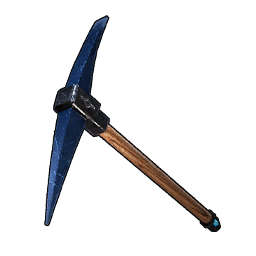 Tools Carry the Smallest Durability Pools
Tools are where the Repair Bench earns its keep, because the numbers here are tiny. A Stone Pickaxe holds 150 durability and a Hand-Held Torch holds 100 — the two lowest values on anything you use every single session. The good news is that each tool tier raises durability alongside attack, so the ladder from Stone to Pal Metal is a 2.7× jump in how long the tool lasts on top of its 6× attack gain. The axe at every tier is a mirror of the pickaxe: identical durability, identical attack, identical materials, identical unlock level, so upgrading one always means upgrading both.
| Tool | Durability | Attack | Unlocks at | Craft cost |
|---|---|---|---|---|
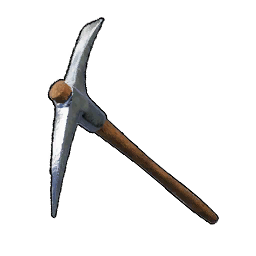 Stone Pickaxe Stone Pickaxe | 150 | 20 | Level 1, 1 pt | 5 Stone, 5 Wood |
| Metal Pickaxe | 250 | 30 | Level 11, 2 pts | 15 Stone, 20 Wood, 15 Ingot |
| Refined Metal Pickaxe | 300 | 60 | Level 34, 2 pts | 30 Stone, 4 Wooden Board, 10 Refined Ingot |
| Pal Metal Pickaxe | 400 | 120 | Level 44, 2 pts | 10 Pal Metal Ingot, 10 High Quality Wooden Board, 100 Stone, 5 Corrosive Solvent |
| Hand-Held Torch | 100 | 10 | Level 6, 2 pts | 2 Wood, 2 Stone |
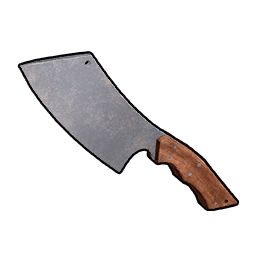 Meat Cleaver Meat Cleaver | 300 | 25 | Level 12, 2 pts | 5 Ingot, 20 Wood, 5 Stone |
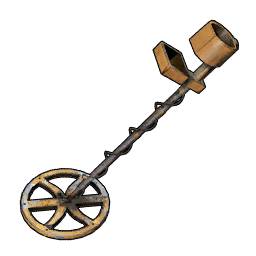 Metal Detector Metal Detector | 400 | — | Level 58, 3 pts | 30 Plasteel, 100 Paldium Fragment, 15 Computer, 20 Nightstar Sand |
 Capture Rope Capture Rope | 200 | 1,000 | No unlock needed | Not crafted |
The Pal Metal Pickaxe is the one to chase, and not only for the 400 durability. Its repair bill is the awkward part — 5 Corrosive Solvent and 10 High Quality Wooden Board per craft is a real production chain, so keep those two flowing before you retire the Refined Metal Pickaxe. The Metal Detector is the sleeper on this list: 400 durability, no attack value at all, and it burns down purely from use while you sweep for buried caches.
Fishing Rods Spend a Fixed Amount Per Catch
Fishing is the one activity where durability drain is completely predictable, because every fishing spot charges a set amount per successful catch rather than scaling with time. Beginner water costs 1 durability per catch; everything from Expert spots upward costs a flat 4. That turns rod choice into simple division — and it explains why a Beginner Fishing Rod (Chillet) with 120 durability feels fine on your home pond and falls apart the moment you take it somewhere serious.
| Spot tier | Pal level range | Durability per catch | Catches from a 720 rod |
|---|---|---|---|
| Beginner | 1–28 | 1 | 720 |
| Intermediate | 20–45 | 1–4 | 180–720 |
| Advanced | 30–69 | 2–4 | 180–360 |
| Expert | 40–69 | 4 | 180 |
| Master | 65–69 | 4 | 180 |
| Grand Master | 71–79 | 4 | 180 |
The practical read: the Advanced Fishing Rod (Depresso) and its 720 durability gives you 180 catches at the top-tier spots before a repair, which is roughly one long session. The cheaper Advanced Fishing Rod (Pengullet) holds 480 and gives you 120. Below that, an Intermediate Rod (Cattiva) at 240 durability is a 60-catch rod in Expert water — take it out there and you will be walking home mid-trip. Our Palworld fishing guide covers which Pals each tier actually pulls up, and the fishing database has the full spot-by-spot lists.
Better Schematics Mean Fewer Repair Trips
Schematic rarity does not only move attack and defense — it moves durability by the same ladder, and that is the single biggest reduction in repair frequency available to you. Of the 117 weapon and armor lines that have a Legendary version, 90 land on exactly four times the base durability, and 77 of them follow the identical curve on the way there: ×1.5 at Uncommon, ×2 at Rare, ×3 at Epic, ×4 at Legendary. Upgrading a schematic you already use is quietly worth more than the attack number on the tooltip suggests.
| Gear line | Common 0★ | Uncommon 1★ | Rare 2★ | Epic 3★ | Legendary 4★ |
|---|---|---|---|---|---|
| Ancient Armor | 25,000 | 37,500 | 50,000 | 75,000 | 100,000 |
| Plasma Rifle | 25,000 | 37,500 | 50,000 | 75,000 | 100,000 |
 Hexolite Armor Hexolite Armor | 20,000 | 30,000 | 40,000 | 60,000 | 80,000 |
| Prototype Shotgun | 6,000 | 9,000 | 12,000 | 18,000 | 24,000 |
| Sword | 500 | 750 | 1,000 | 1,500 | 2,000 |
The Sword row is the one to internalise, because it is the shape every mid-tier weapon follows: a Common Sword needs a bench visit four times as often as its Legendary counterpart for exactly the same swings. On the armor side the gap is even more lopsided — a Legendary Ancient Armor at 100,000 durability is effectively a piece you never think about again. If you are hunting the upgrades, our Legendary weapon schematic locations and how to upgrade schematics guides cover where they drop, and item rarity explained breaks down what else each star adds.
 Tetroise Primo Nearly Doubles Your Durability
There is exactly one Pal in the game that touches durability, and most players never notice it. Tetroise Primo carries the Stone-Chaser Archelon partner skill, and its in-game wording is unambiguous: while in your party, it increases the durability of all weapons and armor by a percentage, and the effect does not stack. At partner skill rank 1 that is +80%, and at rank 5 it reaches +100% — a straight doubling of every durability pool you are carrying.
| Partner skill rank | Weapon durability | Armor durability | What it means in practice |
|---|---|---|---|
| Rank 1 | +80% | +80% | A 500-durability Sword behaves like 900 |
| Rank 2 | +84% | +84% | Small step; ranks 1–4 are only 12 points apart in total |
| Rank 3 | +88% | +88% | Roughly the halfway point of the scaling |
| Rank 4 | +92% | +92% | One rank short of the payoff |
| Rank 5 | +100% | +100% | Everything you carry lasts exactly twice as long |
Two catches worth knowing. First, the buff applies to weapons and armor as two separate effects, and fishing rods are explicitly excluded — the one gear class with the most predictable drain is the one class Tetroise Primo will not help with. Second, because it does not stack, a second Tetroise Primo in the party is wasted; one is the whole benefit. It is also a rideable Mining rank 6 Pal with a saddle at technology level 75, so it can pull double duty as a mount and an ore worker rather than sitting in your party purely for the buff. The partner skills database and our best partner skills guide cover what else is worth a party slot.
 Structures Use a Different Repair Item
The Repair Bench handles things you carry. Your base is a separate system, and the item that fixes it is the Building Repair Kit — a Common consumable that weighs 1.0, stacks to 9,999, and is used directly on a destroyed structure rather than at a workstation. Its description spells the use case out: tools for repairing structures, used on destroyed structures to repair them. You do not craft it at a bench, so treat every one you find as a raid-recovery item rather than something to spend freely.
- Bench items vs base items. Weapons, armor, shields, tools and rods go to the Repair Bench; walls, chests and production stations take a Building Repair Kit.
- Keep a stack banked. Raids flatten production lines, and a kit turns a rebuild into a single interaction.
- Weight is real. At 1.0 each, a large stack is one of the heavier things you can carry — see how the weight stat works before you haul fifty of them.
- Prevention beats repair. Base layout and defensive placement decide how often you need kits at all.
Related Guides
Repairs sit at the intersection of crafting, gear progression and base management, so these are the pages that pick up where this one stops.
- Hubs: all Palworld guides · Palworld weapons database · Palworld armor database · all base structures · technology tree
- Crafting and materials: Palworld crafting guide · list of all craftable items · list of all materials
- Gear progression: best weapons by tech level · best armor by tech level · how to upgrade schematics · item rarity explained
- Base and Pals: base building guide · best Pals for Handiwork · best research to rush
- Fishing: Palworld fishing guide · best fishing team