List of All Consumables, Effects, and Where to Get Them
Every consumable in Palworld: all 231 entries by category, what each med, juice, elixir, fruit, handbook, bait and slab actually does, full crafting costs, merchant prices, and the exact chests, dungeons and map pins they come from.
Palworld carries 231 consumables — items you use straight out of the inventory instead of equipping. Only 62 of them can be crafted and 74 appear in a merchant's stock, which means most of the good ones are sitting in a chest, a dungeon stand or a treasure dig somewhere. This page breaks the whole class down by category, lists what every item does, and tells you exactly where each one comes from.
 What Counts as a Consumable
Consumables are their own item class, separate from food, ammo, spheres and Pal gear. They range from a 780 Gold bandage to Legendary fruits that permanently raise a Pal's stats, and the class is lopsided: skill fruits alone make up 93 of the 231 entries. Everything else splits into medicine, permanent stat items, Pal upgrades, and field utility like bait and keys.
The spread of sources matters more than the item count. 179 consumables appear in at least one loot table, only 22 show up in supply drops, and a single one is an expedition reward — so if you want a specific consumable reliably, you are usually looking at a shop with a token currency rather than farming for it.
| Category | Items | What they do | Main source |
|---|---|---|---|
| Skill Fruits | 93 | Teach a Pal one active skill permanently | Chests, skill fruit trees, Arena Shop for 30-45 Battle Tickets |
| Disposable Implants | 28 | Grant a Pal one passive skill permanently | Pal Surgery Table, unlocked at Technology 38 |
| Slabs, keys and field tools | 25 | Summon raid bosses, open locked chests, repair buildings | Dungeon stands, expeditions, fishing junk hauls |
| Work Handbooks | 12 | Permanently raise one work suitability on a Pal | Medal Shop for 300 Dog Coins each |
| Remedies and Elixirs | 11 | Permanently raise a player stat | Dungeon elixir stands, supply drops, Medal Shop |
| Meds and juices | 9 | Heal HP over time, boost work speed, block hunger | Craftable, plus Caravan and Dungeon Shops |
| Fishing Bait | 9 | Change the odds in the fishing minigame | Craftable from Technology 15 onward |
| Awakening Crystals | 9 | Awaken a Pal of the matching element | Crafted from 50 Radiant Gems each |
| Starfruit | 5 | Raise a Pal's star rank without condensing | Medal Shop, Bounty Shop, relic recycling |
| Treasure Maps | 5 | Mark a dig site with tiered loot | Enemy camp boss stashes |
| Technical Manuals | 4 | Hand you Technology or Ancient Technology points | Chests, fishing, enemy camp boss stashes |
| Training Manuals | 4 | Give a Pal a flat EXP lump | Dungeon chests, oil rig crates, craftable at the top end |
| Medical Supplies | 4 | Cure specific status conditions, no healing | Craftable, sold at five shop families |
| IV Fruits | 3 | Permanently raise a Pal's HP, Attack or Defense | Arena Shop, Bounty Shop, treasure map digs |
| Kinship Peaches | 2 | Raise a Pal's friendship level | Bounty Shop, Very Hard expeditions, relic recycling |
| One-offs | 4 | Revival Potion, Training Crystal, World Tree Holy Water, Homeward Thundercloud | Treasure digs, Arena Shop, the World Tree |
| Unused leftovers | 4 | Three antibiotics and an energy drink with no recipe or source | Not obtainable |
 Recovery Meds and Status Cures
Two different families get mixed up constantly. Recovery meds heal HP over time and scale in four tiers, while medical supplies cure status conditions and heal nothing at all — eating High Grade Medical Supplies when you are on low HP does exactly zero for your health bar. Each grade of medical supply covers different conditions, so the three of them are not upgrades of each other and you want a stack of all three in the Medicine Rack at your base.
Low Grade Medical Supplies handle Sick, Sprain and Overfull. Medical Supplies cover Ulcer and Fracture. High Grade Medical Supplies deal with Weakened and Depressed. For raw healing, Advanced Recovery Meds is the ceiling — it unlocks at Technology 61 for 2 points and is the only recovery med you cannot buy from any merchant.
| Item | Rarity | What it does | Craft cost | Where else to get it |
|---|---|---|---|---|
 Low Quality Recovery Meds Low Quality Recovery Meds | Common | Restores some HP over time | 3 Cavern Mushroom, 5 Red Berries, 2 Aquatic Pal Fluids | Caravan and Dungeon Shops, 2,820 Gold; tier 1 treasure digs give 5 |
| Recovery Meds | Uncommon | Restores a decent chunk of HP over time | 5 Cavern Mushroom, 5 Red Berries, 5 Aquatic Pal Fluids, 3 Cotton Candy | Caravan Shop, 6,180 Gold; 37.5% from Mountain Stream Grotto chests |
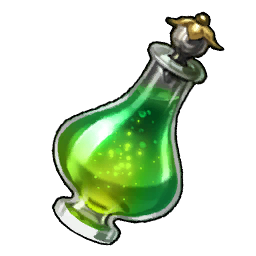 High Quality Recovery Meds High Quality Recovery Meds | Rare | Restores a lot of HP over time | 10 Cavern Mushroom, 20 Red Berries, 5 High Quality Pal Oil, 5 Cotton Candy, 5 Sulfur | Caravan Shop, 12,600 Gold; oil rig crates and Feybreak chests |
| Advanced Recovery Meds | Epic | Rapidly restores HP | 15 Cavern Mushroom, 30 Red Berries, 10 High Quality Pal Oil, 7 Cotton Candy, 10 Sulfur | Tier 4 treasure digs give 5 guaranteed; large oil rig crates |
 Low Grade Medical Supplies Low Grade Medical Supplies | Common | Cures Sick, Sprain and Overfull | 5 Red Berries, 2 Horn | 780 Gold at six shop families, including the Village Shop |
 Medical Supplies Medical Supplies | Uncommon | Cures Ulcer and Fracture | 3 Ingot, 3 Horn, 1 Bone | 1,820 Gold at five shop families |
 High Grade Medical Supplies High Grade Medical Supplies | Rare | Cures Weakened and Depressed | 5 Ingot, 5 Horn, 2 Bone | 3,120 Gold at five shop families; Feybreak Cavern chests |
 Revival Potion Revival Potion | Epic | Revives a downed Pal instantly | 30 Cavern Mushroom, 50 Red Berries, 20 High Quality Pal Oil, 10 Cotton Candy, 20 Sulfur | Tier 5 treasure digs give 3 guaranteed |
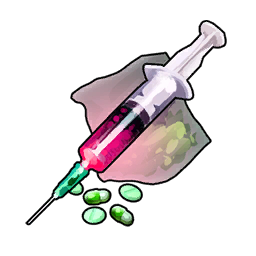 Mind Control Meds Mind Control Meds | Common | Used on humans, not Pals — no healing | 10 Refined Ingot, 10 Horn, 5 Bone, 3 Aquatic Pal Fluids | Craft only |
The whole family runs through the medicine workbenches: the Medieval version at Technology 12, the Electric one at 43, and the Advanced Medicine Workbench at 61. Ingredients are cheap to farm at scale — the map holds 1,445 Cavern Mushroom nodes and 1,906 Red Berry bushes, and Aquatic Pal Fluids, High Quality Pal Oil and Cotton Candy all come off ranch Pals like Kelpsea, Dumud and Woolipop, so a ranch base is worth more than a merchant run here.
 Work Speed Juices and Hunger Blockers
The juices are the base-builder's consumables. All three raise work speed for a period, all three cost SAN, and they scale from mild to extreme — which is why they are best used on a Pal that already has a SAN-recovery setup like a hot spring waiting for it. Nutrient Tonic is the odd one out: it blocks hunger with 360 nutrition and no work-speed effect, and at Technology 79 for 4 points it is the single most expensive consumable to unlock.
Memory Wiping Medicine deserves its own note. It refunds every status point you have spent, so a bad early stat spread is fixable — but the recipe wants 99 Beautiful Flowers, and only 27 Beautiful Flower nodes exist on the whole map, so plan on ranching or several full sweeps before you brew one.
| Item | Effect | Craft cost | Where else to get it |
|---|---|---|---|
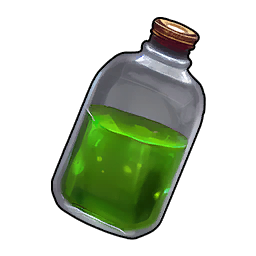 Suspicious Juice Suspicious Juice | Work speed up for a period, lowers SAN | 3 Beautiful Flower, 3 Horn, 1 Bone, 1 Aquatic Pal Fluids | Caravan and Dungeon Shops, 3,120 Gold |
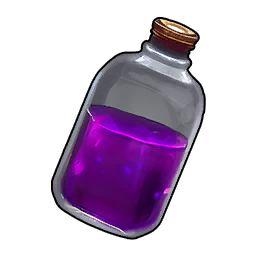 Strange Juice Strange Juice | Bigger work speed boost, bigger SAN cost | 5 Beautiful Flower, 5 Horn, 2 Bone, 2 Aquatic Pal Fluids | Caravan Shop, 5,400 Gold |
| Mysterious Mushroom Juice | Largest work speed boost of the three | 20 Mysterious Mushroom, 10 Beautiful Flower, 10 Horn, 5 Bone, 5 Aquatic Pal Fluids | Craft only |
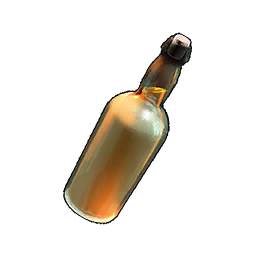 Nutrient Tonic Nutrient Tonic | Blocks hunger, 360 nutrition | 25 World Tree Holy Water, 18 Caramel Cotton Candy, 20 Onion, 10 Cavern Mushroom | 17.8% from World Tree treasure chests |
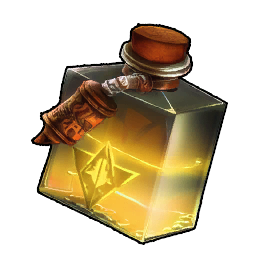 Memory Wiping Medicine Memory Wiping Medicine | Refunds all of your spent status points | 99 Beautiful Flower, 50 Horn, 50 Bone, 50 Aquatic Pal Fluids | Craft only |
 Permanent Player Stat Remedies and Elixirs
These are the only consumables that permanently raise your stats rather than a Pal's, and they come in two grades. Remedies give a slight bump, elixirs give a bigger one, and both are wasted if you feed them to a Pal. Five stats are covered — Health, Attack, Stamina, Work Speed and carrying capacity — with one item per stat per grade.
The reliable source is not crafting, it is dungeon elixir stands: each region's dungeon stands hand out one specific item at 100%, so if you want Burden Elixir you run Mount Obsidian dungeons, and Grasslands stands are where Vital Remedy and Speed Remedy live. Every elixir is also 200 Dog Coins at the Medal Shop, which is the fastest route once you have a Dog Coin farm going. Crafting them means stat lotuses, and the map carries 866 stat lotus pins — check the lotus layer before you commit to buying.
| Item | Stat raised | Craft cost | Where to find it |
|---|---|---|---|
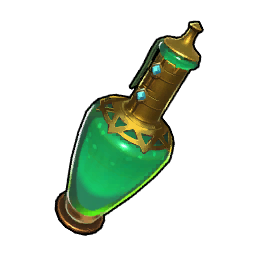 Vital Remedy Vital Remedy | Health (slight) | 4 Life Lotus (S), 1 Predator Core | Grasslands dungeon elixir stands; Grasslands and Forest supply drops, 20% |
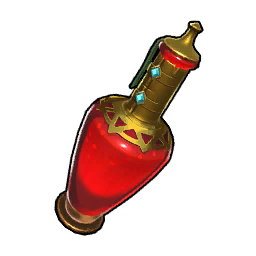 Might Remedy Might Remedy | Attack (slight) | 4 Power Lotus (S), 1 Predator Core | Desert dungeon elixir stands; Grasslands and Forest supply drops |
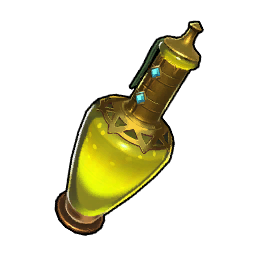 Stamina Remedy Stamina Remedy | Stamina (slight) | 4 Stamina Lotus (S), 1 Predator Core | Forest dungeon elixir stands; Grasslands and Forest supply drops |
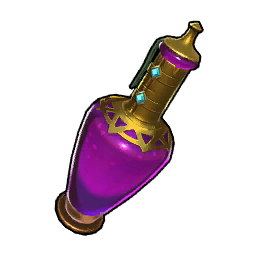 Burden Remedy Burden Remedy | Carrying capacity (slight) | 4 Carrying Lotus (S), 1 Predator Core | Forest dungeon elixir stands; Grasslands and Forest supply drops |
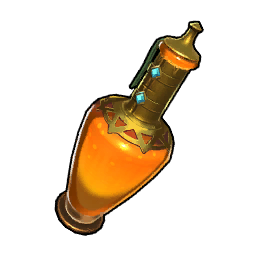 Speed Remedy Speed Remedy | Work Speed (slight) | 4 Speed Lotus (S), 1 Predator Core | Grasslands dungeon elixir stands; Grasslands and Forest supply drops |
| Vital Elixir | Health | 6 Life Lotus (L), 2 Predator Core | Viking ruins elixir stands; Medal Shop, 200 Dog Coins |
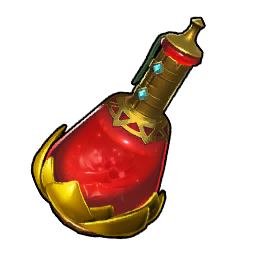 Might Elixir Might Elixir | Attack | 6 Power Lotus (L), 2 Predator Core | Sunreach Isle elixir stands; Medal Shop, 200 Dog Coins |
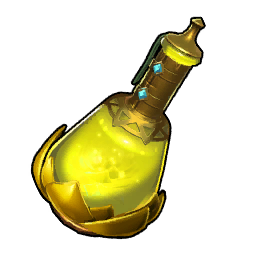 Stamina Elixir Stamina Elixir | Stamina | 6 Stamina Lotus (L), 2 Predator Core | Snowfields elixir stands; Medal Shop, 200 Dog Coins |
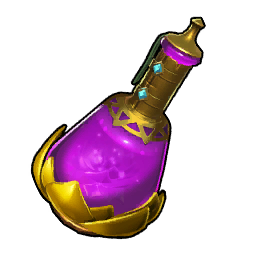 Burden Elixir Burden Elixir | Carrying capacity | 6 Carrying Lotus (L), 2 Predator Core | Mount Obsidian elixir stands; Medal Shop, 200 Dog Coins |
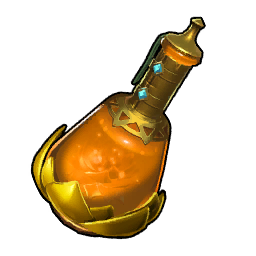 Speed Elixir Speed Elixir | Work Speed | 6 Speed Lotus (L), 2 Predator Core | Sakurajima elixir stands; Medal Shop, 200 Dog Coins |
Every elixir also drops from late-region supply drops at 20% apiece, in stacks of one to two, so a Feybreak or Sunreach Isle drop is often worth the trip on its own. There is one more in this family that plays by different rules: Life Crystal, a Tides of Terraria item that only raises Health, does nothing at max HP, and does nothing on a Pal.
 Pal Stat, Rank, and EXP Consumables
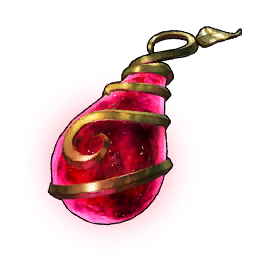
This is where the min-maxing lives. IV fruits raise a Pal's hidden HP, Attack or Defense values, Starfruit skips condensing entirely by pushing a Pal up a star rank, and Training Crystal simply adds a level. If you are chasing a perfect team, the Arena and Medal Shops are the honest answer — token prices are fixed, while relic recycling odds for these items sit under 0.3% per relic.
Note how cheap the ranks get in token terms: Starfruit ☆1 is 50 Dog Coins, but Starfruit ☆4 is 400, and Ripe Starfruit — which raises any rank by one — costs 50 Bounty Tokens instead. Bounty Tokens are the better currency for the top end.
| Item | Rarity | What it does | Best source |
|---|---|---|---|
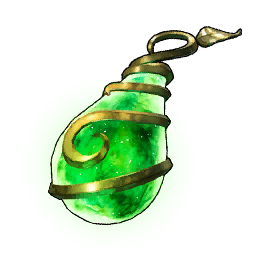 Life Fruit Life Fruit | Legendary | Raises a Pal's HP IV | Arena Shop 100 Battle Tickets, Bounty Shop 25 Tokens, Medal Shop 200 Dog Coins |
| Power Fruit | Legendary | Raises a Pal's Attack IV | Same three shops; also every tier of treasure map dig |
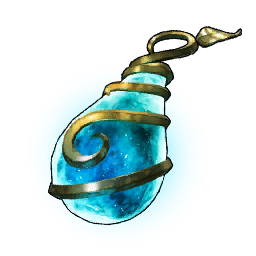 Stout Fruit Stout Fruit | Legendary | Raises a Pal's Defense IV | Same three shops; also every tier of treasure map dig |
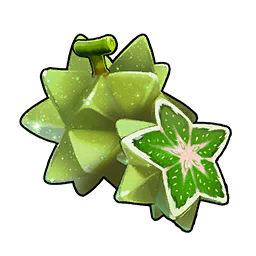 Starfruit ☆1 Starfruit ☆1 | Epic | Takes a Pal from ☆0 to ☆1 | Medal Shop, 50 Dog Coins |
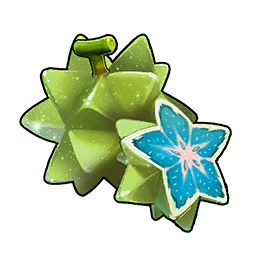 Starfruit ☆2 Starfruit ☆2 | Epic | Takes a Pal from ☆1 to ☆2 | Medal Shop, 100 Dog Coins |
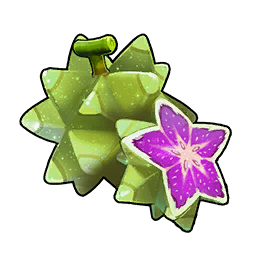 Starfruit ☆3 Starfruit ☆3 | Epic | Takes a Pal from ☆2 to ☆3 | Medal Shop, 200 Dog Coins |
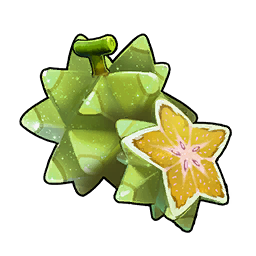 Starfruit ☆4 Starfruit ☆4 | Epic | Takes a Pal from ☆3 to ☆4 | Medal Shop, 400 Dog Coins |
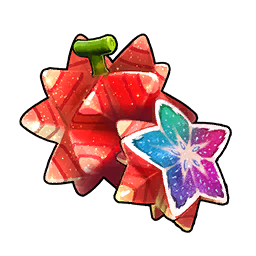 Ripe Starfruit Ripe Starfruit | Legendary | Raises any Pal's rank by one | Bounty Shop, 50 Successful Bounty Tokens |
 Training Crystal Training Crystal | Legendary | Raises a Pal's level by one | Arena Shop 50 Battle Tickets; Sakurajima and Feybreak sea base boss stashes, 100% |
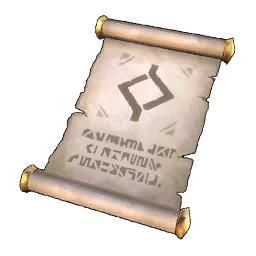 Training Manual (S) Training Manual (S) | Common | Tiny EXP lump for one Pal | Grasslands chests, 9.4% |
 Training Manual (M) Training Manual (M) | Uncommon | Small EXP lump | Grasslands chests and fishing, near guaranteed; small oil rig crates, 84% |
 Training Manual (L) Training Manual (L) | Rare | Large EXP lump | Forest, Desert and Mount Obsidian chests at 100%; craftable from 100 Ancient Pal Manuscript |
 Training Manual (XL) Training Manual (XL) | Epic | Substantial EXP lump | Late dungeon chests and oil rig crates at 100%; craftable from 500 Ancient Pal Manuscript |
 Kinship Peach Kinship Peach | Epic | Large friendship gain on one Pal | Bounty Shop 15 Tokens; Very Hard 120-minute expeditions at 100% |
 Little Kinship Peach Little Kinship Peach | Uncommon | Small friendship gain | Relic recycling, under 0.7% per relic |
 Handbooks, Technical Manuals, and Implants
Handbooks are the quiet best-value consumable in the game. Each one permanently adds a work suitability level to the Pal that reads it, which turns a mediocre base Pal into a specialist without breeding for it. All 12 cost exactly 300 Dog Coins at the Medal Shop, and they also fall out of treasure map digs at 8.3% on tiers 3 through 5 — tier 5 digs hand over three at a time, making them the cheapest bulk source once you have maps.
Supply drops carry them too, but the rate scales hard with region: 0.08% in the Grasslands versus 8.33% in Feybreak and Sunreach Isle, a hundredfold difference. Grinding early-region drops for handbooks is a waste of time.
| Handbook | Work suitability it raises | Medal Shop price |
|---|---|---|
| Applied Mining Handbook I | Mining | 300 Dog Coins |
 Applied Handiwork Handbook I Applied Handiwork Handbook I | Handiwork | 300 Dog Coins |
 Applied Transporting Handbook I Applied Transporting Handbook I | Transporting | 300 Dog Coins |
 Applied Lumbering Handbook I Applied Lumbering Handbook I | Lumbering | 300 Dog Coins |
 Applied Kindling Handbook I Applied Kindling Handbook I | Kindling | 300 Dog Coins |
 Applied Cooling Handbook I Applied Cooling Handbook I | Cooling | 300 Dog Coins |
 Applied Watering Handbook I Applied Watering Handbook I | Watering | 300 Dog Coins |
 Applied Planting Handbook I Applied Planting Handbook I | Planting | 300 Dog Coins |
 Applied Generating Electricity Handbook I Applied Generating Electricity Handbook I | Generating Electricity | 300 Dog Coins |
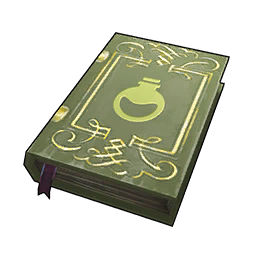 Applied Medicine Production Handbook I Applied Medicine Production Handbook I | Medicine Production | 300 Dog Coins |
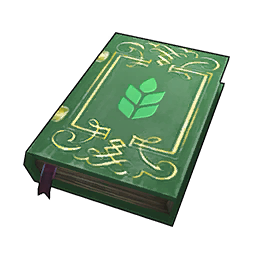 Applied Gathering Handbook I Applied Gathering Handbook I | Gathering | 300 Dog Coins |
 Applied Ranching Handbook I Applied Ranching Handbook I | Farming | 300 Dog Coins |
Technical manuals do the same job for your tech tree. Advanced Technical Manual is a few points and costs just 5 Bounty Tokens, Innovative Technical Manual comes out of Desert and Mount Obsidian chests at 33%, and Futuristic Technical Manual is the big one — Snowfields chests drop it at 46.2% and Sakurajima at 42.9%. Ancient Technical Manual is the only source of Ancient Technology points in the class, and Snowfields chests carry it at 49.2% in stacks of up to three.
The 28 Disposable Implants are the newest group. Each one permanently grants a specific passive to a Pal at the Pal Surgery Table (Technology 38), including the ones you cannot breed for — Legend, Lucky, Invader and Siren of the Void among them. They are a straight fix for a Pal with perfect IVs and junk passives.
 Awakening Crystals and Skill Fruits
All nine Awakening Crystals share one recipe shape: 50 Radiant Gems of the matching element plus 10 World Tree Holy Water. There is no shop that sells them and no chest that drops them, so the entire cost is the gem grind — which makes holy water, not the gems, the thing people run short of first if they are also brewing Nutrient Tonic.
| Crystal | Element | Materials |
|---|---|---|
| Fire Awakening Crystal | Fire | 50 Fire Radiant Gem + 10 World Tree Holy Water |
 Water Awakening Crystal Water Awakening Crystal | Water | 50 Water Radiant Gem + 10 World Tree Holy Water |
 Ice Awakening Crystal Ice Awakening Crystal | Ice | 50 Ice Radiant Gem + 10 World Tree Holy Water |
 Grass Awakening Crystal Grass Awakening Crystal | Grass | 50 Grass Radiant Gem + 10 World Tree Holy Water |
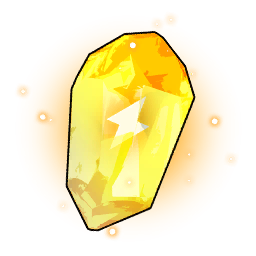 Electric Awakening Crystal Electric Awakening Crystal | Electric | 50 Electric Radiant Gem + 10 World Tree Holy Water |
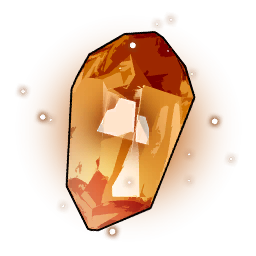 Ground Awakening Crystal Ground Awakening Crystal | Ground | 50 Ground Radiant Gem + 10 World Tree Holy Water |
 Dragon Awakening Crystal Dragon Awakening Crystal | Dragon | 50 Dragon Radiant Gem + 10 World Tree Holy Water |
 Dark Awakening Crystal Dark Awakening Crystal | Dark | 50 Dark Radiant Gem + 10 World Tree Holy Water |
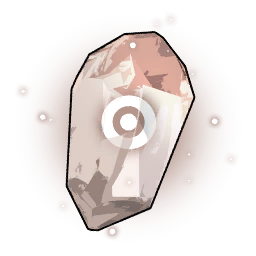 Neutral Awakening Crystal Neutral Awakening Crystal | Neutral | 50 Neutral Radiant Gem + 10 World Tree Holy Water |
Skill fruits are the largest consumable group at 93 items, one per teachable active skill. 27 of them are sold at the Arena Shop for 30 or 45 Battle Tickets, which is the only guaranteed way to get a specific fruit; everything else is chest and fishing RNG at roughly 1.5% per late-region chest. The map holds 35 skill fruit tree pins plus 12 more on the World Tree, and the Skillfruit Orchard at Technology 71 turns the whole thing into a base facility. Full lists live on the element pages — Fire, Dragon and Dark included.
 Bait, Treasure Maps, Keys, and Slabs
 Fishing Bait
Nine baits exist and they are not a simple ladder — each one tweaks a different part of the fishing minigame. Simple Bait unlocks with the Beginner Fishing Set at Technology 15 and crafts ten at a time, and the later tiers branch: Alluring Bait widens the catch bar and increases item yield, while Risky Bait shrinks the bar for better rewards. Simple and High Quality Bait are also stocked by the Desert and Volcano Shops at 160 and 240 Gold, which beats farming flour for them early on.
| Bait | What it changes | Unlock | Yield per craft |
|---|---|---|---|
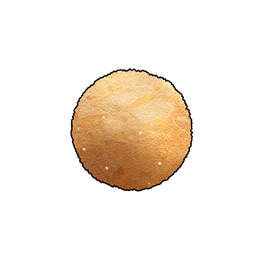 Simple Bait Simple Bait | Basic bait, required to fish at all | Technology 15 | 10 |
| Beginner Bait | Slows the capture gauge drain | Technology 15 | 1 |
| Sweet Bait | More bites than Simple Bait | Technology 15 | 1 |
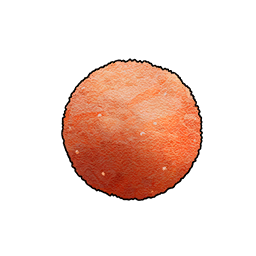 High Quality Bait High Quality Bait | Higher bite chance | Technology 22 | 10 |
| Lucky Bait | More items per catch | Technology 22 | 1 |
| Quick Bait | Even higher bite chance | Technology 22 | 1 |
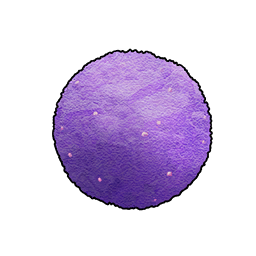 Deluxe Bait Deluxe Bait | Slightly wider catch bar | Technology 38 | 10 |
| Alluring Bait | Wider bar and more items | Technology 52 | 3 |
| Risky Bait | Narrow bar, better payout | Craft only | 1 |
 Treasure Maps and Keys
The five treasure maps all share one name in-game and are told apart only by rarity, which is why people lose track of which tier they are holding. They come almost entirely from enemy camp boss stashes, and the good ones come from sea bases — the tier 5 map drops at 100% from Sakurajima and Feybreak sea base boss stashes. Payouts are worth the detour: tier 4 digs hand over five Advanced Recovery Meds, tier 5 digs three Revival Potions, and every tier can drop an IV fruit.
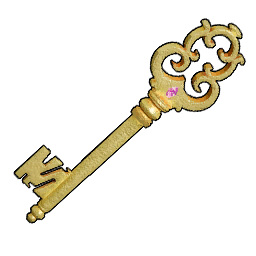
The three keys open locked chests and are graded to match them. Copper Key shows up in Grasslands fishing junk hauls at 36%, Silver Key comes from the elemental sealed chests in Sakurajima at 33.3% each, and Gold Key is a late-region item from Astral Mountains Cavern chests, oil rig crates and Sakurajima fishing. There are 109 elemental sealed chest pins on the map, so a stack of Silver Keys always finds a use.
 Summoning Slabs and Field Tools
Slabs are consumed at a Summoning Altar (Technology 33) to spawn a raid boss, and every one of them is built from four matching fragments rather than found whole. Base slabs also drop directly from dungeon technology-book stands — Xenolord Slab at 25.3% in the Viking ruins, Blazamut Ryu Slab at 25.3% in Sakurajima, and Hartalis Slab at 33.3% on Sunreach Isle. The map marks 16 summoning altars, and the Ultra versions of each slab need Ultra fragments, which only the earlier raid tiers hand out.
The rest of the class is odd jobs. Homeward Thundercloud teleports you to the nearest base for one Dazzi Cloud and 5 Electric Organ at Technology 22 — the cheapest panic button in the game. Building Repair Kit fixes destroyed structures, Pal Reverser flips a Pal's gender for 7 Bounty Tokens at the Surgery Table, and Wing Cell fuels the Wing Pack at Technology 80 for 10 Mythical Wood and 20 Crude Oil a piece.
Where Consumables Actually Come From
Six sources cover almost the entire class, and they are not equally worth your time. Token shops are the only place you can buy a specific item on demand; chests and dungeon stands are where the volume is; supply drops and relic recycling are lottery tickets. If a consumable has a token price, paying it is nearly always faster than farming the drop.
| Source | What it hands you | Where to look |
|---|---|---|
| Medal Shop (Dog Coins) | All 5 elixirs, all 12 handbooks, Starfruit ☆1-☆4, IV fruits | 12 merchant pins on the map |
| Arena Shop (Battle Tickets) | IV fruits, Training Crystal, Pal Reverser, 27 skill fruits | Arena rewards and prices |
| Bounty Shop (Tokens) | Ripe Starfruit, Kinship Peach, technical manuals, IV fruits | Bounty targets and payouts |
| Gold merchants | Recovery meds, all three medical supplies, juices, basic bait | Caravan, Village, Desert, Volcano, Wander and Dungeon Shops |
| Dungeon chests and stands | Elixirs, slabs, technical manuals, training manuals, keys | 170 dungeon entrances |
| Overworld and sealed chests | Technical manuals, meds, skill fruits, bait | 1,521 chest pins across the regions |
| Oil rig crates | High-tier meds, training manuals, stat lotuses, Gold Keys | 56 crate pins on the rigs |
| Enemy camp boss stashes | Every tier of treasure map, Training Crystal | 48 land camps and 10 sea bases |
| Treasure map digs | IV fruits, handbooks, Advanced Recovery Meds, Revival Potions | Marked on your map when you use a map item |
| Ancient Relic Recycler | Starfruit, Kinship Peaches, Training Crystal — all under 0.7% | Recycler unlock and odds |
Crafting covers the gap for everything consumed in bulk. 62 consumables have a recipe, and they are exactly the ones you burn through — meds, bait, juices, elixirs, awakening crystals and slabs. Materials are the constraint rather than tech level: Cavern Mushrooms, Red Berries and Sulfur are all heavily seeded on the map (1,445, 1,906 and 655 nodes), while Horn, Bone and Pal fluids come off farmable Pals like Elgrove, Cawgnito and Azurobe.
Related Guides
Start with the full item database or the interactive Palworld map if you are hunting a specific item, then dig into the guides below for the categories that matter most.
• List of All Food: Every Buff, Recipe, and Where to Get It • How to Heal Pals and Player HP: Items, Pals, and Beds • How to Farm IV Fruits and Training Crystals Fast • All Handbooks and the Best Pals to Use Them On • How to Farm Dog Coins: Best Sources and Medal Shop Prices • What to Buy from Merchants: Best Items Worth Your Gold • How to Get Starfruit: All Sources, Costs, and Uses • How to Get World Tree Holy Water: All Sources • How to Min-Max Pals: IVs, Passives, Souls, and Condensing