How to Beat Hard Mode Marcus and Faleris: Team and Drops
Hard Mode Marcus and Faleris is a level 80 Fire tower rematch with about 561,000 HP that only takes 15% of your damage. Here's the Water team that answers it, the accessories and armor to wear, every attack in its rotation, and the full drop table.
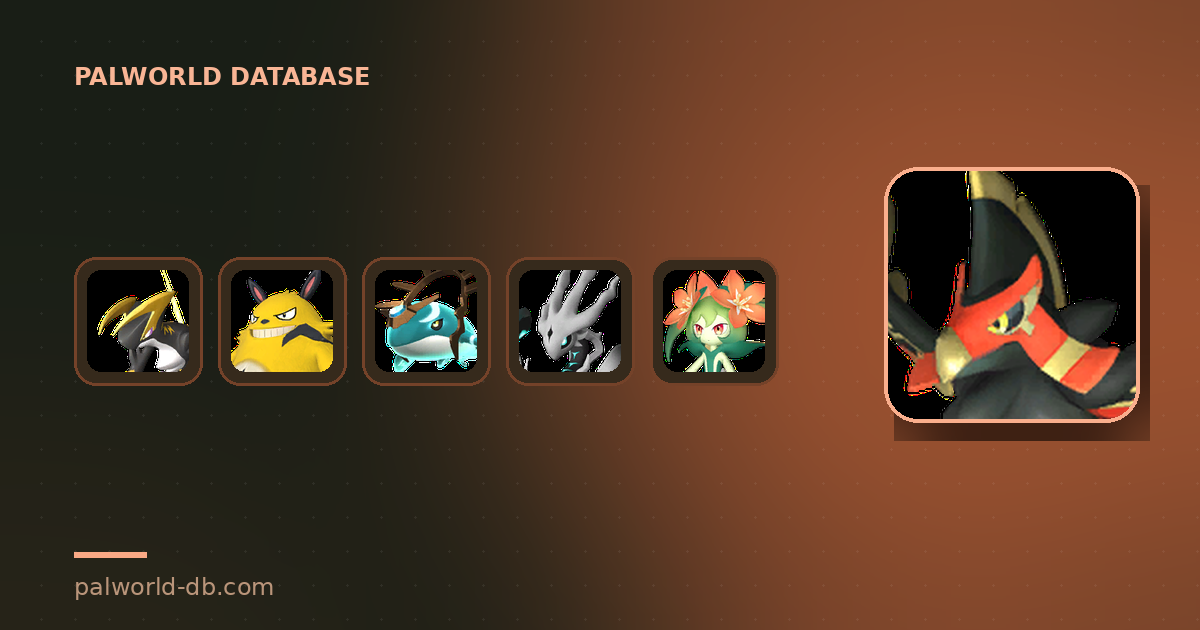
Marcus and Faleris on Hard Mode is the Fire tower rematch, and it is an endurance fight rather than a lethal one — the boss sits on roughly 561,000 HP and shrugs off 85% of everything you throw at it, but it hits softer than any other tower rematch in the game. This guide covers the boss card, why Water counts twice here, the Pals and accessories that shorten the fight, every attack in Faleris's rotation, and exactly what the drop table pays.
 Marcus and Faleris (Hard) at a Glance
Faleris is a pure Fire Pal, which makes the whole fight simple to plan for: Water is strong into Fire, so one element covers everything. The line that decides how long you'll be in there is the damage-taken multiplier — at ×0.15 the boss absorbs 85% of your output, so a team that isn't hitting the weakness will run the clock out long before it runs out of health. You can check any pairing yourself on the element matchup chart and counter finder.
| Hard Mode | |
|---|---|
| Boss | Marcus & Faleris |
| Element | Fire |
| Weak to | Water |
| Level | 80 |
| HP | ~561,000 |
| Damage dealt | ×8 |
| Damage taken | ×0.15 |
| Unlock | Clear Marcus and Faleris on Normal Mode first |
| Paldeck | #188 |
How Hard Mode Changes the Fight
The rematch is not a small step up. Faleris's health multiplier jumps from ×27 to ×110, its damage goes from ×1 to ×8, and its damage taken collapses from ×1 to ×0.15 — that last one is the change most people underestimate, because it silently quadruples how long a non-Water team needs to finish. The full multiplier set for every fight is on the tower boss list.
| Multiplier | First battle | Hard rematch |
|---|---|---|
| HP | ×27 | ×110 |
| Damage dealt | ×1 | ×8 |
| Damage taken | ×1 | ×0.15 |
| Cooldown | ×2 | ×2.5 |
 Where Faleris Ranks Among the Hard Rematches
Put side by side with the other rematches, Faleris is the tankiest of the elemental towers and the least dangerous. It ties Orserk for the highest health multiplier at ×110 and for the tightest damage-taken figure at ×0.15, but its ×8 damage output is the softest on the board — Grizzbolt swings at ×13 for comparison. That combination is why this fight is usually lost to the timer rather than to a wipe, and why bringing the right element matters more here than bringing the best armor. Panthalus is the one tower Pal with no hard rematch at all.
| Tower Boss | Element | HP × | Deals × | Takes × |
|---|---|---|---|---|
 Astralym Astralym | — | 405 | 5 | 0.45 |
| Faleris | Fire | 110 | 8 | 0.15 |
| Orserk | Dragon / Electric | 110 | 10 | 0.15 |
 Grizzbolt Grizzbolt | Electric | 100 | 13 | 0.10 |
 Lyleen Lyleen | Grass | 100 | 10 | 0.12 |
 Shadowbeak Shadowbeak | Dark | 100 | 12 | 0.25 |
 Selyne Selyne | Dark / Neutral | 93 | 9 | 0.20 |
 Shaolong Shaolong | Dragon / Water | 88 | 12 | 0.20 |
 Bastigor Bastigor | Ice | 75 | 10 | 0.18 |
 Water Is the Answer, Twice Over
Water is strong into Fire, so a Water attacker hits the weakness — but the chart runs both ways, and being strong against an element also means resisting it. A Water Pal therefore takes reduced damage from Faleris's fire on top of dealing extra to it, which is the single biggest reason this fight can be trivial or miserable depending on what you walk in with. Four of the fourteen S-tier Pals on the combat tier list carry Water, so the roster is deep.
Neptilius is the pick if you want damage — 145 ranged attack, and its pure Water typing means nothing in Faleris's kit gets a clean hit on it. Jormuntide trades that for the highest melee number in the group at 150, and Panthalus is the survivability option with 200 defense and 180 HP, useful if you keep dying to the big casts rather than timing out. Shaolong sits between the two and is by far the fastest of them to reposition on.
| Pal | Element | Attack | HP / Def | Why bring it |
|---|---|---|---|---|
| Neptilius | Water | 145 ranged | 105 / 125 | Best ranged attack of the pure-Water S-tier picks; takes reduced damage from every Fire move in the fight |
 Jormuntide Jormuntide | Dragon / Water | 150 melee | 130 / 100 | Highest melee attack in the Water pool — for close-range builds |
| Shaolong | Dragon / Water | 135 ranged | 140 / 120 | Strong ranged damage plus the best mobility of the group |
 Panthalus Panthalus | Water | 120 ranged | 180 / 200 | 200 defense and 180 HP — the answer if the AoE keeps killing you |
 Faleris Aqua Faleris Aqua | Water | 110 ranged | 110 / 115 | The Water version of the boss itself, and far easier to get than the legendaries |
 Suzaku Aqua Suzaku Aqua | Water | 105 ranged | 125 / 105 | Flying Water attacker for players who want to fight from the air |
 Turn Your Own Gun Into Water Damage
If you do most of the damage yourself rather than letting the Pal work, two partner skills convert your attacks to Water — guns included — so your rifle inherits the same weakness multiplier your Pal does. Azurobe does it while you ride it, and Finsider does it while summoned, which makes Finsider the pick for anyone who fights on foot and dodges. Neither is a heavy hitter on its own; the value is entirely in what it does to your weapon. The full list is in All Pals That Change Your Attack Element and How It Works.
| Pal | Element | Trigger | Note |
|---|---|---|---|
| Azurobe | Water / Dragon | While mounted | Converts your attacks to Water and keeps you mobile |
 Finsider Finsider | Water | Summoned | Works on foot with any weapon — no saddle needed |
 The Accessories That Matter Here
One accessory is almost custom-built for this fight. The Faleris Aqua Ring goes on the Pal fighting beside you and stacks top-rank Fire resistance with a top-rank Water damage boost — both halves of this fight in a single slot, and it costs only 20 Iron Ingots, 30 Paldium Fragments, 30 Aquatic Pal Fluids and 5 Ancient Civilization Parts. If you'd rather push raw numbers, the Baton and Talisman carry the same Water boost with an Attack or Defense raise attached instead of the resistance. For yourself, the Reptyro Charm is the top-rank Fire resistance option. Full recipes and effects are in List of All Pal Rings: Effects and Recipes and on the accessories database.
| Accessory | Who wears it | What it does |
|---|---|---|
| Faleris Aqua Ring | Your Pal | Top-rank Fire resistance and top-rank Water damage boost |
 Lord of the Sea's Baton Lord of the Sea's Baton | Your Pal | Same Water boost, with an Attack raise instead of the resistance |
 Neptilius's Talisman Neptilius's Talisman | Your Pal | Same Water boost, with a Defense raise instead of the resistance |
 Reptyro Charm Reptyro Charm | You | Top-rank Fire resistance plus heat protection |
 Armor and Guns to Bring
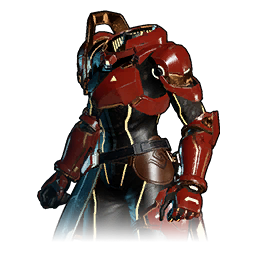
Heat-Resistant Ancient Armor is the body piece to wear — 840 defense and 2,400 HP at Technology 75, and it is one of the few chestplates that carries an innate Fire resistance line, which is doing real work against a boss whose entire kit but one move is Fire. The Ancient Armor guide covers where each schematic drops.
On weapons, read the numbers the right way: attack ratings only compare inside a weapon class. The Beam Launcher tops the launchers at 14,000 and the Charge Rifle tops the rifles at 12,500, and those two are not on the same scale as each other. The Plasma Rifle earns its slot on 25,000 durability rather than its 1,860 attack — against a health pool this size, a gun that never needs repairing mid-run is worth more than one that hits marginally harder. Full rankings are in the Best Guns Tier List.
| Gear | Type | Key numbers | Tech |
|---|---|---|---|
| Heat-Resistant Ancient Armor | Body armor | 840 defense, 2,400 HP, innate Fire resistance | 75 |
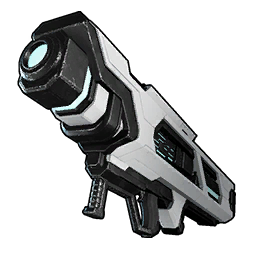 Beam Launcher Beam Launcher | Rocket launcher | 14,000 attack (launcher scale) | 80 |
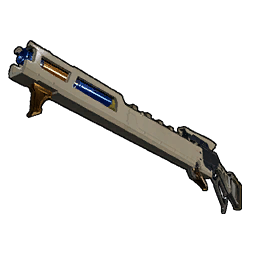 Charge Rifle Charge Rifle | Assault rifle | 12,500 attack (rifle scale) | 65 |
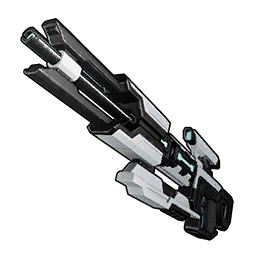 Plasma Rifle Plasma Rifle | Assault rifle | 1,860 attack, 25,000 durability | 78 |
Every Attack in Faleris's Rotation
Eight of Faleris's nine moves are Fire, which is what makes a Water team so forgiving here. The exception is the important one: Holy Burst is Neutral, it is the single hardest hit in the kit at 700 power, and it reaches 5,000 units — so it is the one attack your Water resistance and your Fire-resistant gear do absolutely nothing about. Treat it as the move you dodge and everything else as damage you can afford to eat. Powers and cooldowns for every skill in the game are on the active skills list.
| Attack | Element | Power | Cooldown | Type | Range |
|---|---|---|---|---|---|
| Holy Burst | Neutral | 700 | 30s | Shot | 0 – 5,000 |
| Raging Flame Wave | Fire | 650 | 30s | Shot | 0 – 3,000 |
| Fire Ball | Fire | 600 | 30s | Shot | 500 – 5,000 |
| Ignis Rage | Fire | 500 | 24s | Shot | 100 – 1,000 |
| Phoenix Flare | Fire | 320 | 16s | Melee | 500 – 3,000 |
| Ignis Breath | Fire | 160 | 8s | Shot | 500 – 1,500 |
| Flare Arrow | Fire | 120 | 8s | Shot | 500 – 5,000 |
| Spirit Fire | Fire | 80 | 4s | Shot | 1,000 – 3,000 |
| Ignis Blast | Fire | 40 | 2s | Shot | 500 – 5,000 |
The pattern that falls out of those ranges: Ignis Rage and Phoenix Flare only reach 1,000 and 3,000 units, so staying at long range removes two of the four heavy hits from the fight entirely. Raging Flame Wave starts at range 0, which is why standing on top of Faleris is worse than it looks.
 What Faleris Drops
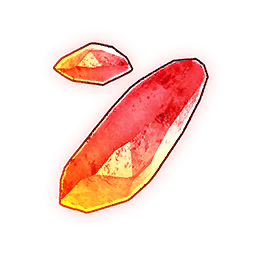
The payout is one of the better ones in the game, and almost all of it is guaranteed rather than a gamble. The Fire Radiant Gems are the headline for anyone still awakening Fire Pals — 10 to 20 per kill at 100% — and the relic haul underneath is arguably worth more, because Decayed, Dormant and Gorgeous relics all land every single time and those are the feedstock for the Ancient Relic Recycler's schematic rolls. The one-in-four Glistening Ancient Relic is the real prize there, since it fires the recycler's best odds. Marcus himself pays out the Marcus Hat, a 20-defense, 60-HP cosmetic headpiece you'll want for the collection more than for the stats.
| Drop | Chance | Amount |
|---|---|---|
| Fire Radiant Gem | 100% | 10 – 20 |
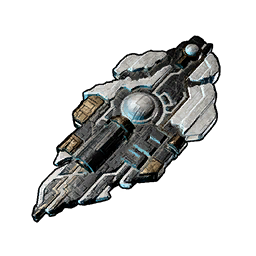 Decayed Ancient Relic Decayed Ancient Relic | 100% | 30 – 50 |
 Dormant Ancient Relic Dormant Ancient Relic | 100% | 10 – 20 |
 Gorgeous Ancient Relic Gorgeous Ancient Relic | 100% | 4 – 8 |
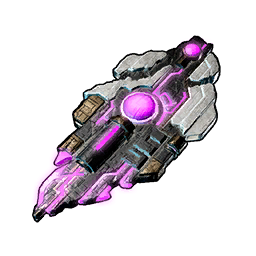 Glowing Ancient Relic Glowing Ancient Relic | 50% | 2 – 3 |
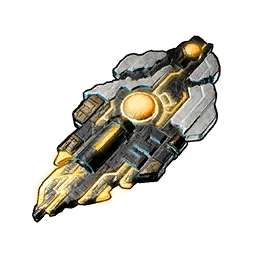 Glistening Ancient Relic Glistening Ancient Relic | 25% | 1 |
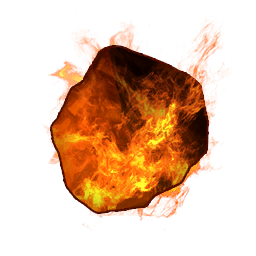 Flame Organ Flame Organ | 100% | 1 – 4 |
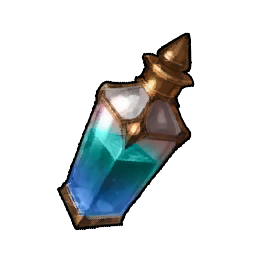 World Tree Holy Water World Tree Holy Water | 50% | 1 – 3 |
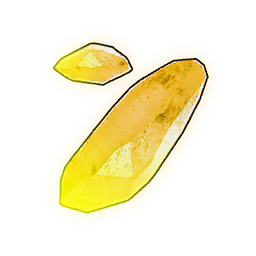 Electric Radiant Gem Electric Radiant Gem | 50% | 1 – 3 |
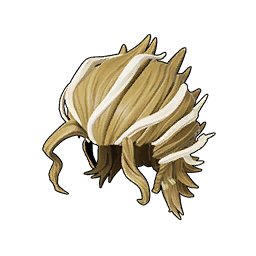 Marcus Hat Marcus Hat | Boss reward | 20 defense, 60 HP |
Where to Find Faleris Outside the Tower
You don't have to beat the tower to own one. Faleris appears at 47 spawn locations across the map, day and night alike — open the interactive map with Faleris's spawns pinned and pick the closest. It is also worth catching for reasons that have nothing to do with combat: Kindling Level 6 makes it one of the better furnace and forge workers you can park at a base.
Breeding is the other route, with a catch — Faleris is excluded from the normal combination pool, so the only pairing that produces one is Faleris with Faleris. What it *does* unlock is Faleris Aqua: pair Faleris with Jormuntide and you get the Water version, which is both the counter to this very fight and far easier to farm in the wild at 197 spawn locations, including a level 66 alpha. Run the numbers on any pair in the breeding calculator.
Related Guides
The rest of the tower run and the gear behind it:
- How to Beat Hard Mode Axel and Orserk
- How to Beat Hard Mode Saya and Selyne
- How to Beat Hard Mode Victor and Shadowbeak
- All Tower Bosses and Battle Multipliers
- Palworld Element Matchup Chart and Counter Finder
- List of All Pal Rings: Effects and Recipes
- How to Farm Radiant Gems: All 9 Elements and Best Sources
- How to Get and Use the Ancient Relic Recycler
- How to Get Legendary Ancient Armor: Every Schematic Source
- Best Pals Tier List for Combat