All Base Level Rewards and Requirements: Lv. 1 to 35
Every Palworld base level from 1 to 35: the exact Palbox missions each board asks for, the player level that unlocks them, the work Pal and base caps you earn, the 3 boards that cost Ancient Technology Points, and the full material bill for levels 1 to 10.
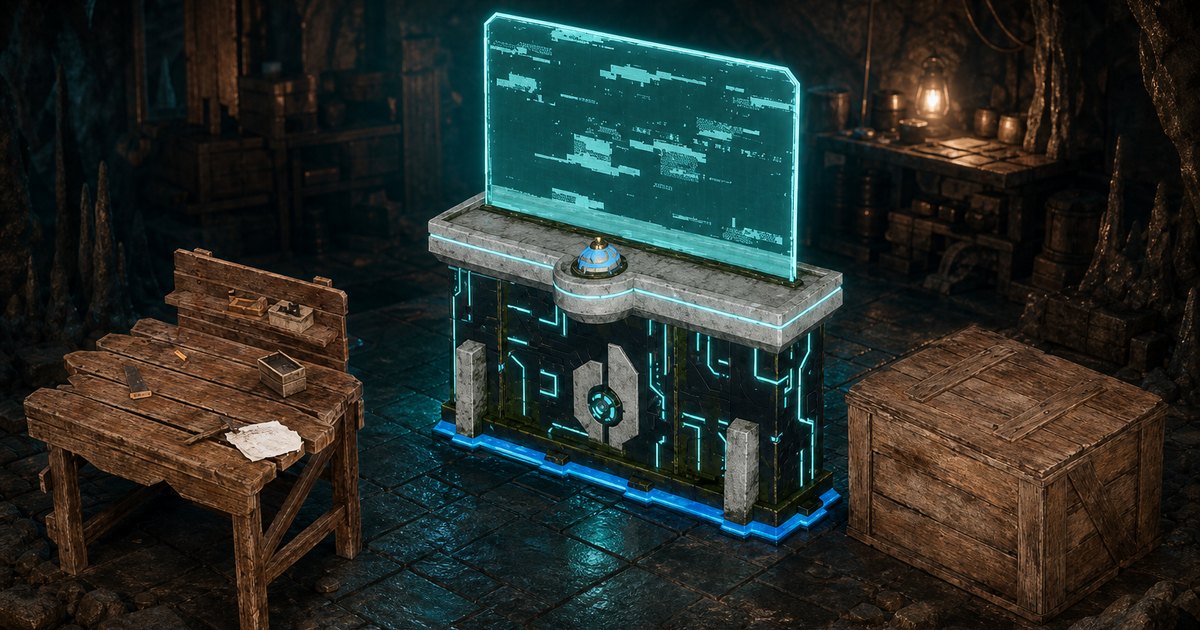
Base Level is the quiet progression track sitting inside your Palbox — every level you clear hands you another deployable work Pal, and four of them hand you a whole extra base. This guide lists all 35 base levels with the exact missions each one asks for, the player level you need to unlock those structures, and the Pal and base caps you get in return.
 Base Level at a Glance
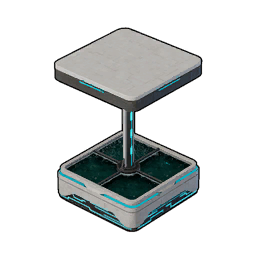
Base Level caps out at 35 in Version 1.0, and the last mission board is just a "complete" stamp. The rewards are dead simple: work Pal slots track your base level one for one up to 15, and the base count steps up at four fixed milestones. What makes the climb awkward is not the missions themselves but the technology levels behind them — the Lv. 34 board wants the Ancient Material Synthesizer, which no character below player level 78 can research.
| What | Detail |
|---|---|
| Maximum base level | Lv. 35 |
| Work Pal cap from levels | 15 (1 per level up to Lv. 15) |
| Base cap from levels | 4 (Lv. 8, Lv. 15, Lv. 24) |
| Where to check | Interact with the Palbox in any base |
| Structures the missions ask for | 60 distinct technologies |
| Research cost of all of them | 172 Technology Points + 12 Ancient Technology Points |
| Player level for the final board | Lv. 78 (Ancient Material Synthesizer and Ancient Farm) |
| Shared across bases | Yes — one level for your whole guild |
| Caps raisable in World Settings | Up to 50 work Pals and 10 bases |
All Base Level Rewards and Requirements
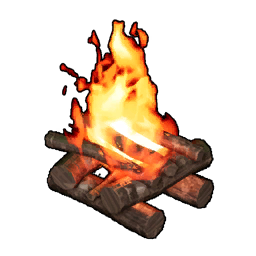
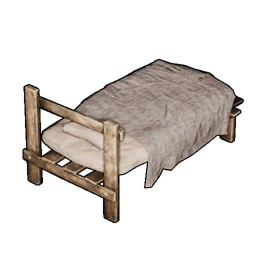
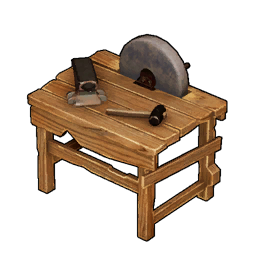
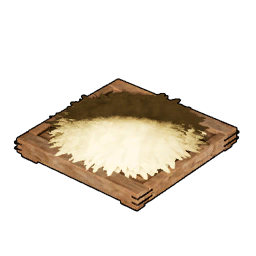
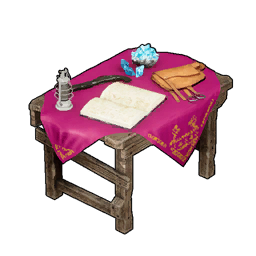
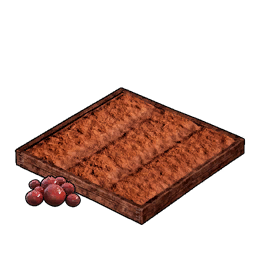
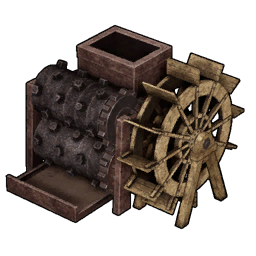
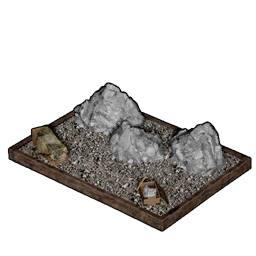
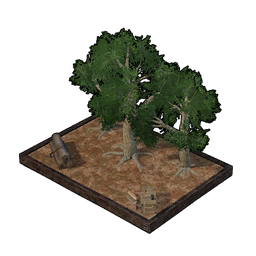
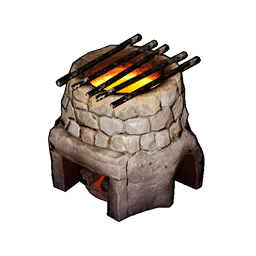
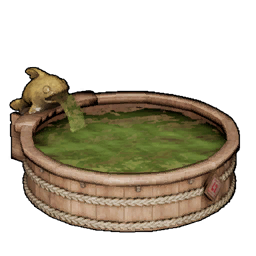
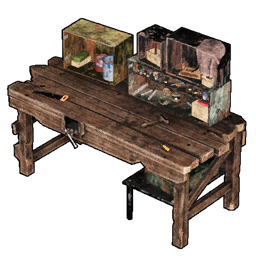
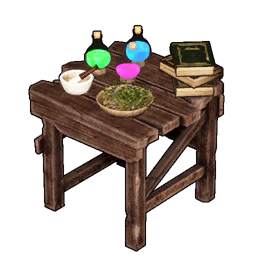
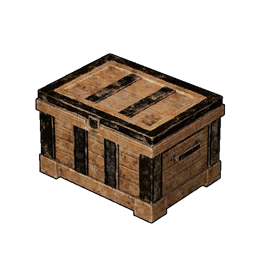
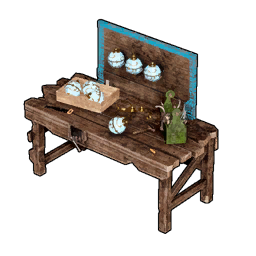
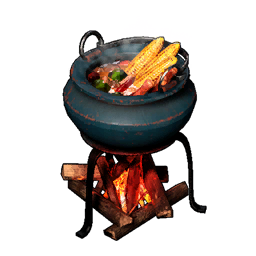
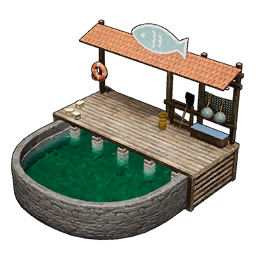
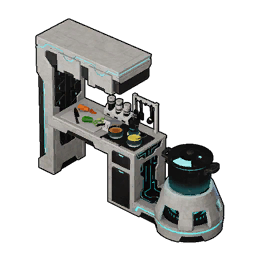
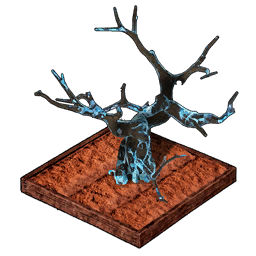
Here is the whole ladder. Missions to Complete is the mission board exactly as the Palbox lists it, Player Lv. Needed is the character level that unlocks the last technology on that board, and the two cap columns are what you are allowed to place once you have reached that base level. Notice how the early boards are pure tutorial — a chest, a campfire, a bed — while everything from Lv. 16 on is a single big structure, usually the top-tier version of a machine you already own.
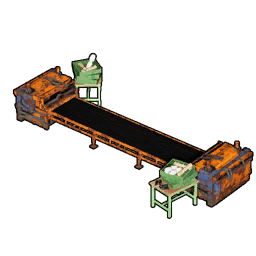
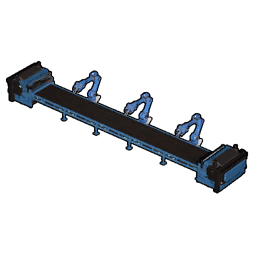
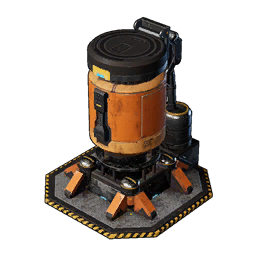
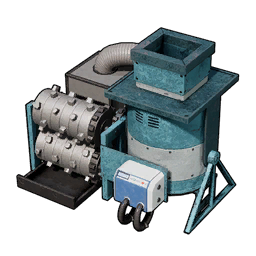
The pinch points are Lv. 10 through Lv. 12: those three boards ask for the Pal Expedition Station, the Sphere Assembly Line and the Weapon Assembly Line, and between them they jump the player-level requirement from 17 to 32. If you are stuck at base Lv. 11 with nothing to build, you are not missing a mission — you are missing character levels.




Every Base Level Reward Threshold
Strip out the missions and the reward table is tiny. Work Pal slots are the reward you feel every single level up to 15, because each slot is another Pal running a Logging Site or standing at an assembly line. The base slots matter more in the long run — a second base at Lv. 8 is what lets you keep an ore camp separate from your crafting hub, and the best base locations in Palworld guide covers where to drop each one.
| Reward | Unlocked at | What it actually means |
|---|---|---|
| +1 work Pal slot | Every level, Lv. 1 to Lv. 15 | Deploy count equals your base level until it stops at 15 |
| 2nd base | Lv. 8 | Board asks for a Metal Chest, a Sphere Workbench, and 8 deployed Pals |
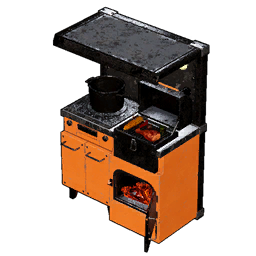
| 3rd base | Lv. 15 | Board asks for a Guild Chest and an Electric Kitchen |
| 4th base | Lv. 24 | Board asks for a Large-Scale Electric Egg Incubator |
| Nothing new | Lv. 16 to Lv. 35 | Levels past 24 only tick off structures — no cap increases at all |
Where the Base Level Ladder Stalls
Six boards raise the required player level by four or more in a single step. These are the ones worth planning around, because the fix is always the same: go earn character levels and Technology Points before you come back. The Lv. 33 board is the nastiest of the set — the Skillfruit Orchard is researchable at Lv. 71 but the Ancient Power Generator sitting next to it on the same board is Lv. 75, so the board sits half-finished for four levels.
| Base Lv. | Player Lv. Needed | The structure that gates it | Jump | Why it stings |
|---|---|---|---|---|
| Lv. 10 | Lv. 22 | 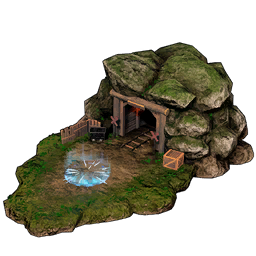 Pal Expedition Station Pal Expedition Station | +5 player levels | Expeditions are the last cheap level for a while — everything after it wants ingots and electricity. |
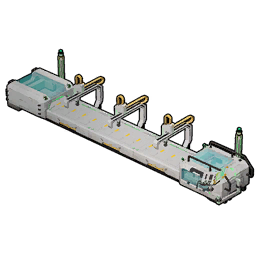
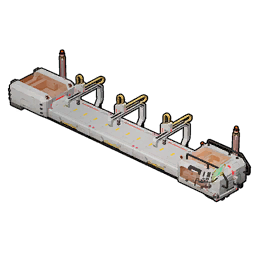
| Lv. 11 | Lv. 27 | 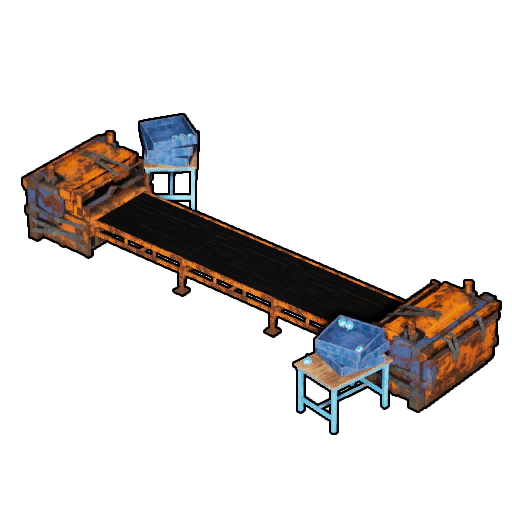 Sphere Assembly Line Sphere Assembly Line | +5 player levels | Your first generator and the assembly line that replaces hand-crafted spheres. |
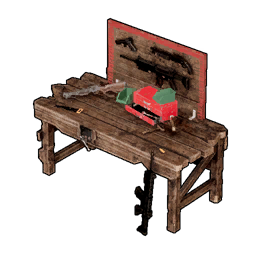
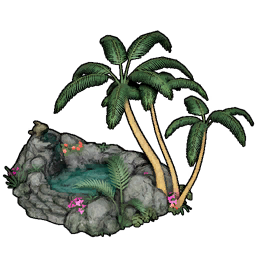
| Lv. 12 | Lv. 32 | 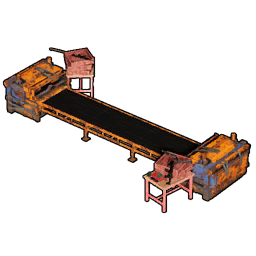 Weapon Assembly Line Weapon Assembly Line | +5 player levels | Two assembly lines plus the upgraded hot spring in one level, all above Lv. 29. |
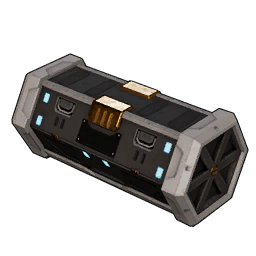
| Lv. 14 | Lv. 39 | 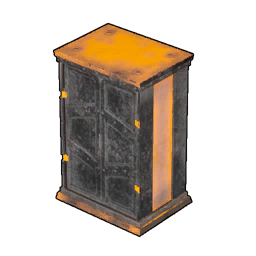 Refined Metal Chest Refined Metal Chest | +4 player levels | Refined Ingot storage arrives right as the ore grind gets serious. |
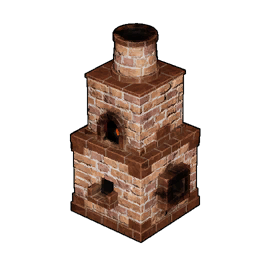
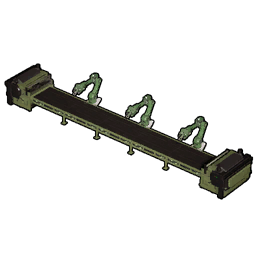
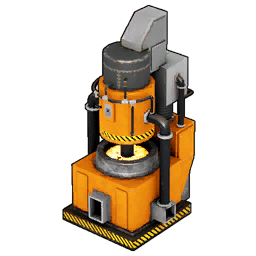
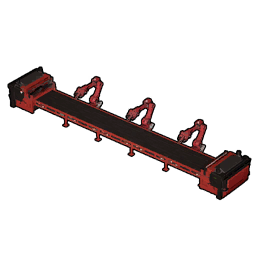
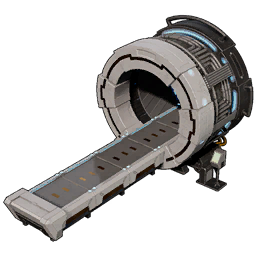
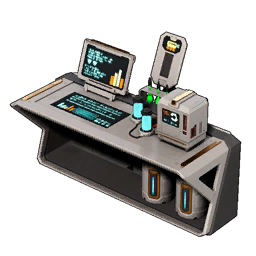
| Lv. 23 | Lv. 58 |  Gigantic Furnace Gigantic Furnace 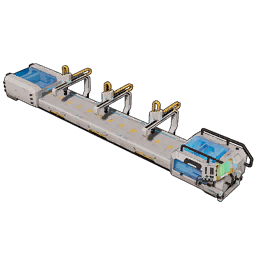 Advanced Sphere Assembly Line Advanced Sphere Assembly Line | +4 player levels | Both structures land on Lv. 58, so one level swallows two endgame unlocks. |
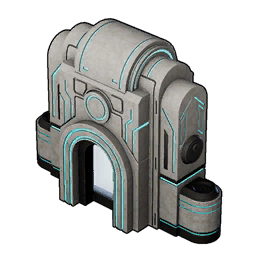
| Lv. 33 | Lv. 75 | 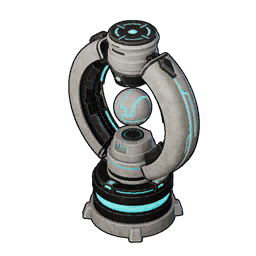 Ancient Power Generator Ancient Power Generator | +5 player levels | The Ancient Power Generator is 4 levels past the orchard it shares a mission with. |
Base Missions That Cost Ancient Technology Points
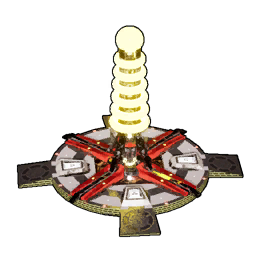
Three mission boards ask for structures that ordinary Technology Points cannot buy. Ancient Technology Points come from beating tower bosses and raid bosses, so these three levels are gated behind combat rather than grinding — 12 points in total across the whole ladder. The Lv. 24 board is the one to plan for: the Large-Scale Electric Egg Incubator is 5 Ancient Technology Points on its own, and it is also the board that unlocks your 4th base.
| Base Lv. | Structure | Cost | Tech level |
|---|---|---|---|
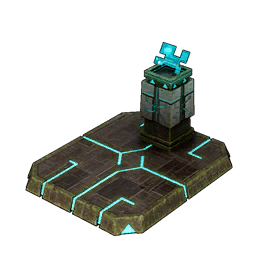
| Lv. 13 | 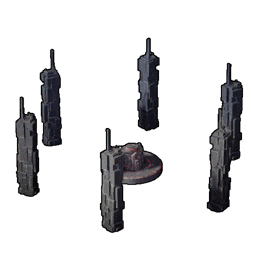 Summoning Altar Summoning Altar | 3 Ancient Technology Points | Lv. 33 |
| Lv. 15 | 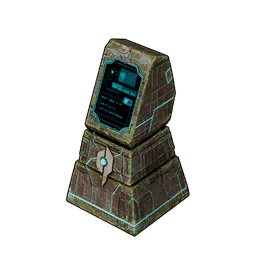 Guild Chest Guild Chest | 4 Ancient Technology Points | Lv. 41 |
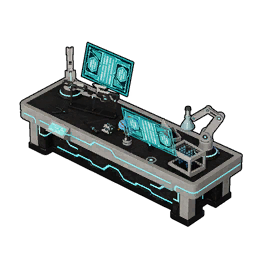
| Lv. 24 | 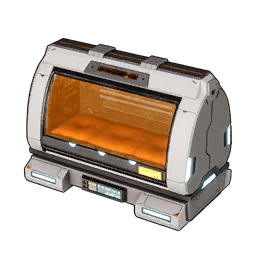 Large-Scale Electric Egg Incubator Large-Scale Electric Egg Incubator | 5 Ancient Technology Points | Lv. 58 |
Work Suitabilities the Missions Demand
Building the structures is half the job — most of them then need a Pal with the right work suitability standing in front of them, and that is what your new deploy slots are for. Handiwork shows up in 16 of the mission structures, which is why a dedicated crafter is the single best use of an early slot. Kindling and Watering come next at 7 each, mostly from furnaces, plantations and the Crusher.
The Top worker column is the highest-suitability Pal in the game for that job, which is an endgame answer, not a Lv. 10 one. Early on, Anubis at Handiwork 6 is the realistic target, Mozzarina and Chikipi cover your ranch, and Dualith doubles as Mining 6 and Transporting 6 in one slot. The Palworld work optimizer will tell you which of your caught Pals covers the most gaps at once.
| Work | Mission structures needing it | Top worker | Lv. | Pals with it | Also good at |
|---|---|---|---|---|---|
| Handiwork | 16 |  Solenne Solenne | Lv. 8 | 109 | Gathering 4, Transporting 2 |
| Kindling | 7 |  Renjishi Renjishi | Lv. 8 | 44 | Handiwork 6, Gathering 5 |
| Watering | 7 |  Shaolong Shaolong | Lv. 8 | 46 | Gathering 5 |
| Planting | 4 |  Dandilord Dandilord | Lv. 8 | 45 | Handiwork 6, Medicine Production 6 |
| Gathering | 4 |  Jetragon Jetragon | Lv. 8 | 109 | nothing else |
| Cooling | 3 |  Bastigor Bastigor | Lv. 8 | 38 | Lumbering 6, Mining 5 |
| Medicine Production | 2 |  Silvance Silvance | Lv. 8 | 43 | Planting 6, Handiwork 6 |
| Generating Electricity | 2 |  Orserk Orserk | Lv. 8 | 25 | Transporting 4, Handiwork 3 |
| Mining | 1 |  Aegidron Aegidron | Lv. 8 | 57 | nothing else |
| Lumbering | 1 |  Celesdir Noct Celesdir Noct | Lv. 8 | 63 | Gathering 4 |
Material Cost of Base Levels 1 to 10
The first ten boards ask you to place 29 structures, and the bill is almost entirely wood, stone and Paldium. Nothing here needs a smelter until the Lv. 6 Primitive Furnace, and the only awkward lines are the 3 Aquatic Pal Fluids for the Hot Spring and the 6 Flame Organs for the furnace — both are drops rather than gathers. Researching those 29 structures also runs you 49 Technology Points, so keep a few in the bank instead of dumping them all into weapons.
Paldium Fragment is the line that stalls new players, at 127 across the ten boards. Mining Paldium Ore is far faster than fishing fragments out of rivers, and there are 711 Paldium Ore nodes marked on the interactive map against 1,632 Copper Ore nodes for the ingots you will need from Lv. 8 onward.
| Material | Total for Lv. 1 to 10 |
|---|---|
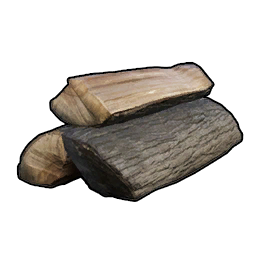 Wood Wood | 432 |
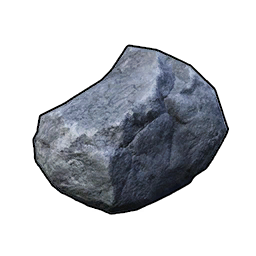 Stone Stone | 365 |
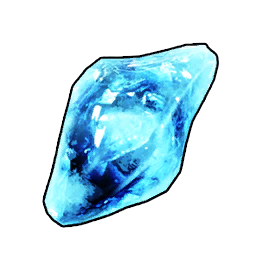 Paldium Fragment Paldium Fragment | 127 |
 Ingot Ingot | 103 |
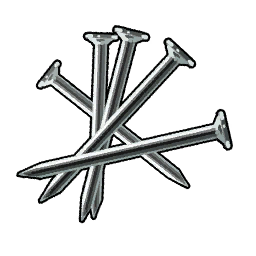 Nail Nail | 35 |
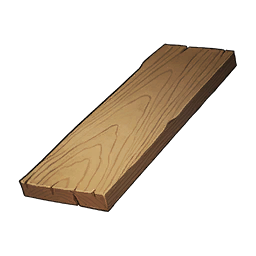 Wooden Board Wooden Board | 35 |
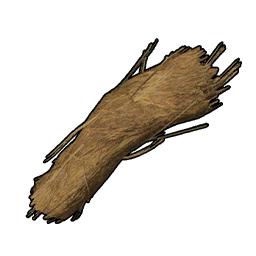 Fiber Fiber | 20 |
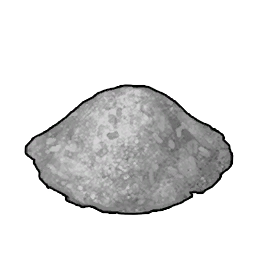 Cement Cement | 20 |
 Berry Seeds Berry Seeds | 9 |
 Flame Organ Flame Organ | 6 |
 Aquatic Pal Fluids Aquatic Pal Fluids | 3 |
 Wheat Seeds Wheat Seeds | 3 |
 Cloth Cloth | 2 |
 Wool Wool | 1 |
How to Raise and Check Your Base Level
There is no progress bar anywhere in the HUD — the Palbox is the only place the game tells you where you stand. Walk up to it, interact, and the panel lists your current base level, the missions left on this board, and the reward for clearing it. The level ticks over the moment the last mission on the board completes, so you can watch a bed finish building and get the level in the same second.
Read the Board on the Palbox
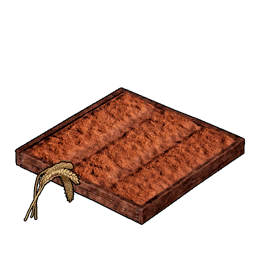
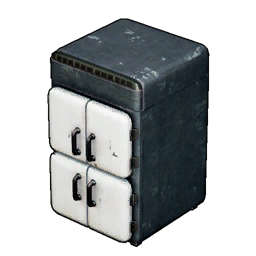
Every requirement on the board is a placement, not a crafting job. Placing the structure counts it — you do not have to use it, feed it, or staff it. That means a board like Lv. 21's Cold Food Box can be cleared with one build and then left empty if you are only after the level.
Keep Multi-Mission Boards in One Base
When a board lists three structures, all three have to stand in the same base to count. Splitting the Lv. 6 board so the Statue of Power is at your main camp and the Hot Spring is at your mining outpost clears nothing. Pick whichever base has room and build the full set there.
All Your Bases Share One Level
The level itself is guild-wide, so you never repeat a board. Once your first base hits Lv. 15, the second and third bases open at Lv. 15 too, with the same next board — and they immediately get the same 15-Pal deploy cap. This is why a fresh base is worth planting the moment the cap goes up rather than saving it.
Rebuilding Does Not Cost You Progress
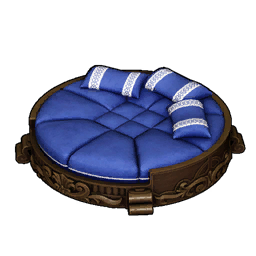
Dismantling a completed structure will not drop your base level back down. Cleared boards stay cleared, so the Shoddy Bed and Straw Pal Beds from the tutorial levels can be recycled into the stacked plantation layout once you have better bedding — the Lv. 2 and Lv. 3 rewards are yours for good.
Raise the Pal and Base Caps in World Settings
The 15-Pal, 4-base ceiling is a difficulty setting, not a hard rule. Open World Settings and both sliders are there to be moved, up to 50 work Pals and 10 bases — the limits the Feybreak update introduced and Version 1.0 kept. Be honest about your hardware before you max them: 50 Pals pathing around a single base is the fastest way to tank your frame rate, and most players find the sweet spot around 20 to 25.
| Setting | Default | Maximum |
|---|---|---|
| Maximum number of work Pals at the base | 15 | 50 |
| Maximum number of bases for each guild | 4 | 10 |
Summary
Base levels 1 to 15 give you a work Pal each, Lv. 8, 15 and 24 give you bases 2, 3 and 4, and everything after Lv. 24 is a completionist checklist that ends at Lv. 35. Clear the boards in whichever base has space, keep multi-structure boards together, and when a board looks impossible check the player level rather than the mission list — the ladder is gated by research levels far more than by building.
Related Guides
More base-building reading:
- Best Base Locations in Palworld 1.0 — coordinates and ore nodes for all four base slots
- Best Base Pals: 7 Workers for Every Job — who to put in your new deploy slots
- How to Stack Plantations — layouts and costs for the Berry and Wheat boards
- Palworld Day One Checklist — the first hours, including base levels 1 to 5
- How to Get the Item Retrieval Machine — the Lv. 19 board's structure
- How to Get the Ancient Workbench — the Lv. 30 board's structure
- Palworld Endgame Checklist — what to chase once the boards run out
- All Palworld Structures and the Technology Tree — every build cost and unlock level
- Palworld Interactive Map — resource nodes for your material bill