How to Get Pal Dressing Facility and Apply Pal Skins
How to unlock the Pal Dressing Facility in Palworld: technology level 2 for 1 point, the 10 Stone and 10 Paldium Fragment it costs, where to farm both, how to apply a skin, and all 16 Pals that have one.
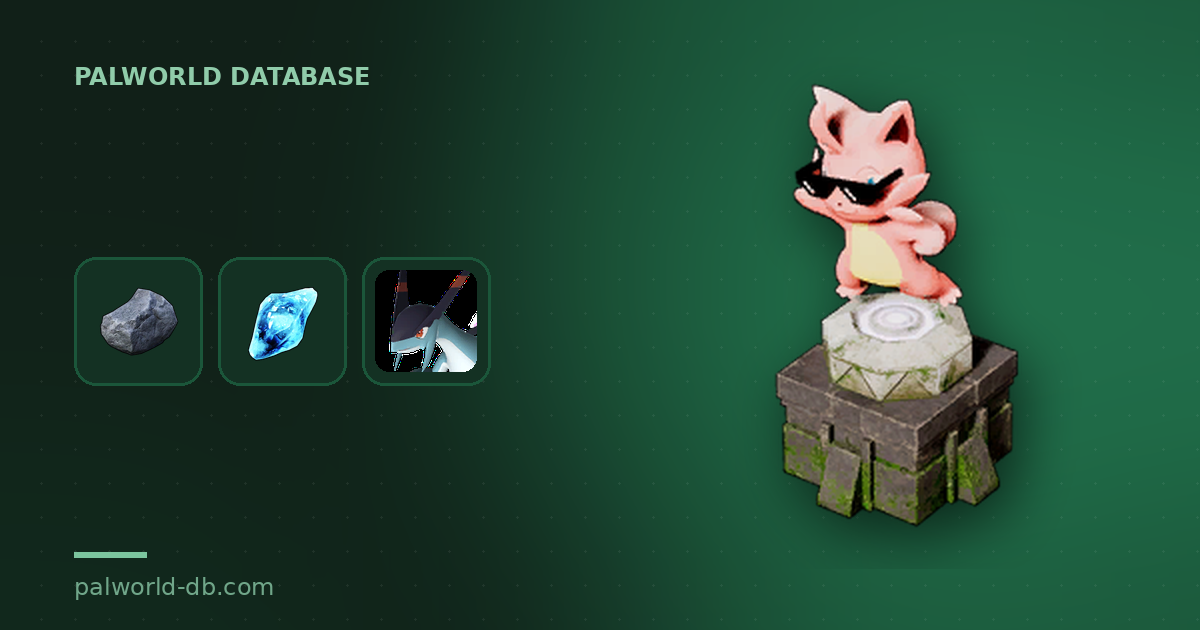
The Pal Dressing Facility is the base structure that lets you put a skin on a Pal and change how it looks without touching a single one of its stats. This guide covers the technology level it unlocks at, the exact build cost, where to farm both materials, how to actually apply a skin once it is placed, and every Pal that has a skin to wear.
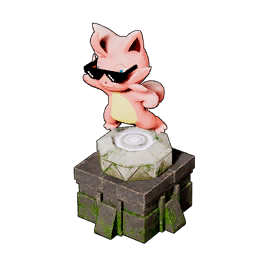 Pal Dressing Facility at a Glance
This is one of the cheapest things you will ever build. It sits at technology level 2 for a single technology point, which is the same rung as the Palbox and the Repair Bench, so you can have it standing before you have finished your first roof. It lives in the Pal tab of the build menu rather than Furniture — that is where most people go looking for it and give up. It draws no power and no Pal gets assigned to it, so once it is down it costs you nothing to keep.
| What | Detail |
|---|---|
| Type | Base structure, filed under the Pal tab in the build menu |
| Technology level | Lv. 2 |
| Technology points | 1 |
| Materials | 10 Stone, 10 Paldium Fragment |
| Build workload | 3,000 — a minute of one Handiwork Pal, or a few seconds of your own hammer |
| Power | None — it never needs a generator |
| Assigned workers | None. It has no work suitability, so no Pal staffs it |
| What it does | Applies a skin to a Pal, changing its appearance only |
| Pals with skins | 16 Pals, 22 skins between them |
The build itself is 3,000 workload, which is the number nobody checks and the reason this thing goes up between two other jobs. Of the 346 structures that carry any workload at all, 118 are lighter and another 57 are exactly this heavy, so it sits in the cheapest quarter of the build menu. For scale on the same Pal tab: the Palbox is 1,000, the Monitoring Stand is 2,000, the Egg Incubator is 5,000, the Breeding Farm is 15,000 and the Pal Essence Condenser is 30,000 — ten times this. One Handiwork Lv. 1 Pal clears it without you noticing, and you can hammer it out yourself if the base is empty.
Nothing about a skin touches the numbers. Stats, element, work suitability, partner skill and moves all stay exactly as they were — it is a cosmetic swap, so a skinned Jetragon flies at the same speed as an unskinned one. If you want the stats to change, that is the Palworld breeding guide and the Pal Essence Condenser, not this.
How to Unlock the Pal Dressing Facility
Two things gate it, and both fall over in the first hour of a save: one technology point spent at level 2, and twenty units of material. Of the 460 structures with a technology requirement, only 23 unlock at level 2 or below, and this is one of them — you genuinely cannot get it much earlier than you already can.
Reach Level 2 and Spend 1 Technology Point
Open the technology tree, scroll to the level 2 row and unlock Pal Dressing Facility for a single point. You get a technology point every character level, so the first level-up after leaving the tutorial beach already pays for it. Level 2 also hands you the Palbox, the Repair Bench, the Wooden Chest and the Campfire, and those are the ones that actually keep you alive — if you are short on points, take the Palbox first and come back for this on your next level. The full unlock order is on the Palworld technology tree.
Gather 10 Stone and 10 Paldium Fragment
Stone is the easy half — any rock you swing a pickaxe at gives it, and there are over twelve thousand rock nodes scattered across Palpagos Islands, so you will never plan a trip for it. Paldium Fragment is the half worth planning. It comes off the pale blue Paldium Ore nodes, and there are only 711 of them on the whole island, which is why they feel scarce when you are new. They are common enough near the starting grasslands that ten fragments is a ten-minute detour, and the same fragments are what your Pal Sphere crafting eats, so grab more than you need while you are out there.
| Material | Qty | Where to get it |
|---|---|---|
 Stone Stone | 10 | Mine any rock. 8,157 Rock and 4,286 Small Rock nodes are marked on the Palworld interactive map |
 Paldium Fragment Paldium Fragment | 10 | Mine Paldium Ore — 711 nodes marked on the Paldium Ore map layer. Also sold by wandering merchants at 70 Gold each |
There is a third route once your base has grown up: expeditions pay out Paldium Fragment in bulk. Verdant Hollow returns 10-30 fragments on a 30-minute Easy run, and Secret Realm of the Forest returns 20-40 on the same timer. That is the better long-term tap, but the Pal Expedition Station sits at technology level 22 — nowhere near level 2 — so for this particular build you are mining. Full payout tables are on the Palworld expeditions list.
How to Use the Pal Dressing Facility
Placement is the only real decision, and it is a small one: the facility takes up a modest footprint and never needs a worker walking to it, so tuck it against a wall near your Palbox rather than burning prime floor space in your production line. Using it takes seconds once it is down.
- Place it inside your base radius from the Pal tab of the build menu.
- Walk up and interact with it to open the dressing menu.
- Pick the Pal you want to change from your party or your Palbox.
- Choose one of the skins that Pal owns, confirm, and the new look applies immediately.
- Come back any time to switch back — the swap is free and reversible, and it never consumes the skin.
The facility only offers skins you already own for the specific Pal standing in front of it, so an empty menu means that Pal has no skin rather than that something is broken. In-game the structure describes skins as things earned both inside and outside the game, which is why the list you see can differ from another player's on the same save file.
Every Pal That Has a Skin
Sixteen Pals have skins, and they share 22 between them — so most of the list is a single alternate look, not a wardrobe. Chillet is the outlier with four, and Cattiva follows with three, which makes those two the only Pals where the facility gives you a real choice rather than a toggle. The rest of the list skews hard toward marquee Pals: Frostallion, Jetragon, Shadowbeak and Anubis all made the cut, so the endgame Pals you actually fly and fight with are covered. Worth noting that the two variant forms count separately — Chillet Ignis and Lyleen Noct carry their own skins rather than sharing with their base forms.
| Pal | Paldeck | Element | Skins |
|---|---|---|---|
 Chillet Chillet | #103 | Ice / Dragon | 4 |
 Cattiva Cattiva | #2 | Neutral | 3 |
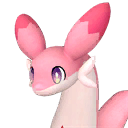 Chillet Ignis Chillet Ignis | #103B | Fire / Dragon | 2 |
 Croajiro Croajiro | #9 | Water | 1 |
 Gumoss Gumoss | #12 | Grass / Ground | 1 |
 Depresso Depresso | #16 | Dark | 1 |
 Pengullet Pengullet | #17 | Water / Ice | 1 |
 Katress Katress | #79 | Dark | 1 |
 Relaxaurus Relaxaurus | #94 | Dragon / Water | 1 |
 Quivern Quivern | #124 | Dragon | 1 |
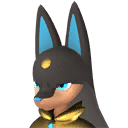 Anubis Anubis | #139 | Ground | 1 |
 Lyleen Lyleen | #186 | Grass | 1 |
 Lyleen Noct Lyleen Noct | #186B | Dark | 1 |
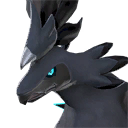 Shadowbeak Shadowbeak | #189 | Dark | 1 |
 Frostallion Frostallion | #200 | Ice | 1 |
 Jetragon Jetragon | #202 | Dragon | 1 |
Every Pal page on this site shows its skin art directly, so if you want to see what a look actually is before you go hunting for it, open Cattiva's stats and location or Frostallion's stats and location and scroll to the Skins & Variants panel. That is the fastest way to decide whether a skin is worth the trouble.
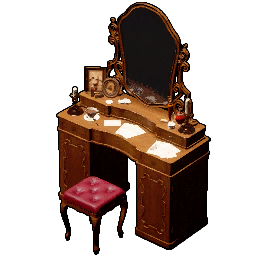 Pal Dressing Facility vs Antique Dresser
These two get mixed up constantly because both are described as changing appearance, but they point at different targets. The Pal Dressing Facility restyles your Pals. The Antique Dresser restyles you — it is the in-base character re-customisation station, so it is the one you build when you regret your face at character creation. The gap between them is huge in progression terms: level 2 and 20 units of material against level 21 and 70 units across three materials, one of which is Wooden Board and needs a workbench chain behind it. Build the dressing facility now; the dresser can wait until your base has a lumber line. The labour is not what separates them — the dresser is actually the lighter build at 2,500 workload against 3,000 — so the only real gate is nineteen character levels and a Wooden Board supply.
| Pal Dressing Facility | Antique Dresser | |
|---|---|---|
| Changes | Your Pals' appearance | Your own character's appearance |
| Build menu tab | Pal | Furniture |
| Technology level | Lv. 2 | Lv. 21 |
| Materials | 10 Stone, 10 Paldium Fragment | 20 Wooden Board, 20 Fiber, 30 Stone |
| Total material units | 20 | 70 |
| Build workload | 3,000 | 2,500 |
| Effect on stats | None | None |
Summary
Unlock Pal Dressing Facility at technology level 2 for 1 point, build it with 10 Stone and 10 Paldium Fragment from the Pal tab of the build menu, then interact with it to apply any skin a Pal owns. Sixteen Pals have skins, 22 in total, led by Chillet with four and Cattiva with three. Nothing you do at this facility changes a stat — it is looks only, it is free to swap back, and at 20 material units it is the cheapest permanent structure worth having in a starter base.
Related Guides
- List of All Structures and Build Costs — every buildable structure with its technology level and materials
- All Palworld guides — the full guide index
- Palworld interactive map — every ore node, chest and spawn on one map
- Best Base Locations in Palworld 1.0 — where to put the base you are building this in
- How to Use the Global Palbox and Transfer Pals — moving Pals between bases before you dress them
- Best Base Pals in Palworld — the workers worth keeping at home
- Monitoring Stand Guide — the other cheap Pal-tab structure worth early points
- How to Get the Japanese-Style Furniture Set — decorating the base once the essentials are up
- Palworld Technology Tree — every unlock and what it costs in points