Rayne Syndicate Test Drilling Rig: Location and Loot
Where the Rayne Syndicate Test Drilling Rig sits, the Syndicate garrison waiting on the deck, all 13 crates and the 75-item pool they roll from, and the mounts that get you there by level 30.
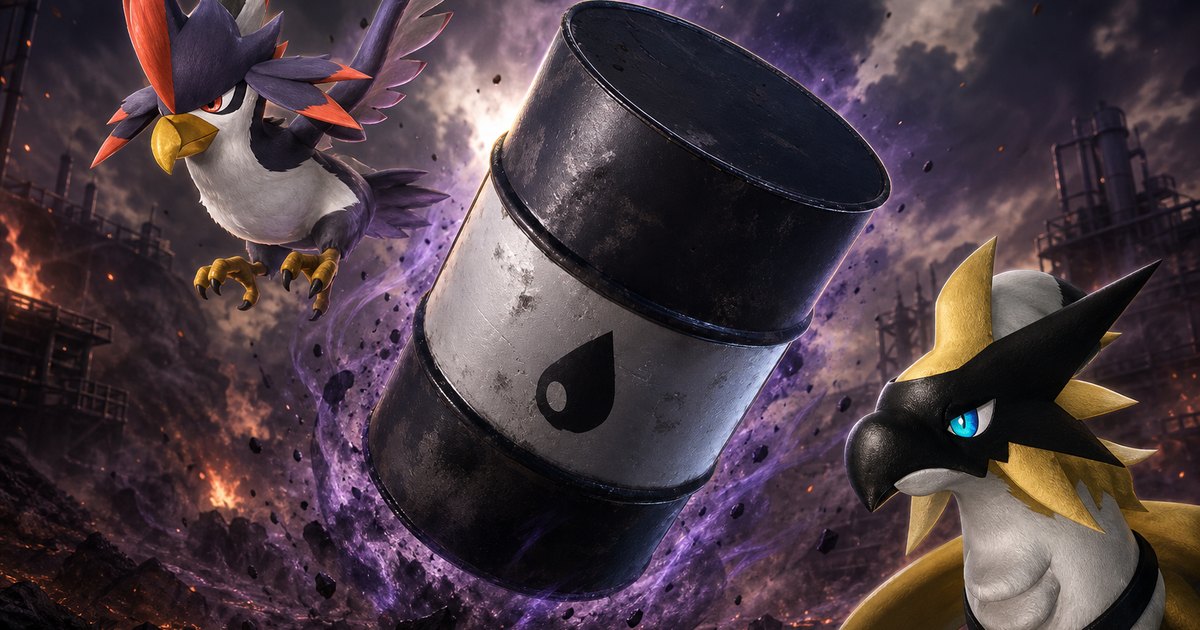
The Rayne Syndicate Test Drilling Rig is the little platform bobbing in the water off the starting island, and it is the one oil rig you can storm long before the endgame — its garrison sits at level 15-20 while the other two rigs field level 55+ Syndicate troops. This guide covers where it is, how to land on it, all 13 crates and the 75-item pool they roll from, the flying mounts that get you there, and the rare fishing spot most players sail straight past.
 Test Drilling Rig at a Glance
Everything on the rig is scaled down from its bigger siblings: fewer guards, four turrets instead of dozens, and crates that pay out mid-game gear rather than endgame materials. That trade is the whole appeal — a character around level 30 can clear the deck, and every single crate hands over Crude Oil with no roll involved, which is a resource you normally have to buy from a wandering merchant or grind out of supply drops at that stage. Bring a flying mount and the round trip is a few minutes.
| Detail | What You're Walking Into |
|---|---|
| Map region name | Rayne Syndicate Test Drilling Rig |
| Where it is | Open water just west of the starting island's east coast |
| Closest warps | Islandhopper Coast, Sealed Realm of the Frozen Wings |
| Syndicate garrison | Level 15-20 |
| Enemy spawn points | 39 fixed guards + 4 endless spawners |
| Crates on the deck | 13 total — 11 standard, 2 hacking crates |
| Turrets | 4 anti-air machine guns, no laser towers |
| Explosives lying around | 28 barrels, 9 gas tanks |
| Crate loot pool | 75 possible items, all top-grade rolls |
| Crude Oil per crate | 5-20, guaranteed |
| Comfortable player level | 30 |
 How to Reach the Rig
There is no fast travel point on the rig itself, so you warp to Islandhopper Coast or the Sealed Realm of the Frozen Wings statue and cross the last stretch of water yourself. Flying is far better than swimming here — the four anti-air machine guns only start tracking once you are close, so a fast approach and an immediate landing beats a slow hover every time. Among flying mounts you can saddle before level 30, Beakon is the quickest, and Nitewing is the one almost everyone already has. Pin the crate layer on the Palworld Interactive Map before you leave so you know which corners of the deck to sweep.
| Mount | Saddle Tech Level | Flight Sprint | Why Bring It |
|---|---|---|---|
| Beakon | 29 | 1,200 | Fastest flyer unlockable by level 30 — least time in turret range |
 Helzephyr Helzephyr | 25 | 1,100 | Nearly as quick and unlocks four levels earlier |
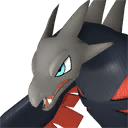 Vanwyrm Vanwyrm | 21 | 850 | The standard mid-game workhorse, cheap to saddle |
 Elphidran Elphidran | 20 | 800 | Dragon typing shrugs off the Syndicate's fire damage |
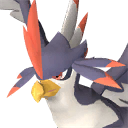 Nitewing Nitewing | 15 | 750 | Earliest saddle in the game — slow, but it gets you there |
Those sprint numbers only mean anything against each other — flying mounts are their own class, and the gap between Beakon and Nitewing is the difference between crossing the water in one stamina bar and two. The full ranking lives on the Palworld Mount Speeds page. Pack a Homeward Thundercloud for the trip home; walking off the rig loaded with loot while respawned guards shoot at your back is how people lose the haul.
What Every Crate Can Drop
All 13 crates draw from one 75-entry table, so there is no "good crate" to prioritise — open everything. The headline is that Crude Oil is a guaranteed roll on every single one, which puts a full clear at roughly 65-260 oil in one visit. That feeds Plasteel, Wing Cells for glider upgrades, and Missile Ammo later on. The two training manual tiers are the sleeper pick: at 84% and 64%, a clear reliably nets a stack of Pal experience you would otherwise farm dungeons for.
| Drop | Chance per Crate | Amount | Why It Matters |
|---|---|---|---|
| Crude Oil | 100% | 5-20 | Guaranteed on every crate — the reason to come at all |
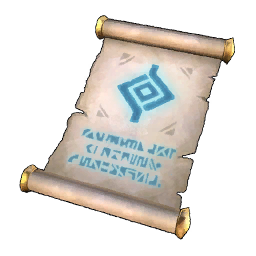 Training Manual (M) Training Manual (M) | 84% | 1-5 | Cheapest reliable Pal EXP at this stage |
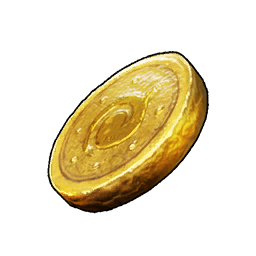 Gold Coin Gold Coin | 76.2% | 2,000-5,000 | A full clear roughly pays for a merchant's stock |
 Giga Sphere Giga Sphere | 70.2% | 2-5 | Free capture spheres, and you'll want them on the way home |
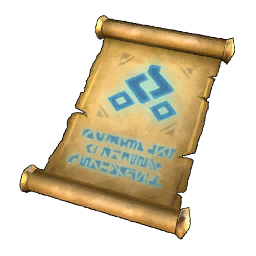 Training Manual (L) Training Manual (L) | 64% | 1-5 | The bigger EXP tier, still at coin-flip odds |
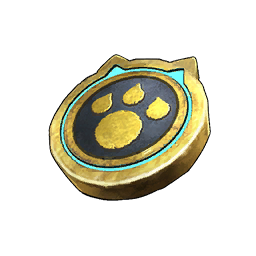 Dog Coin Dog Coin | 25% | 5-10 | Medal-shop currency that is otherwise slow to gather |
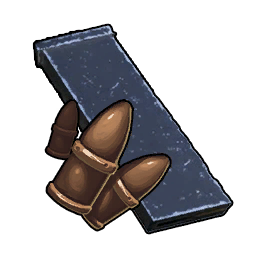 Coarse Ammo Coarse Ammo | 14.5% | 25-50 | Refills whatever you spent clearing the deck |
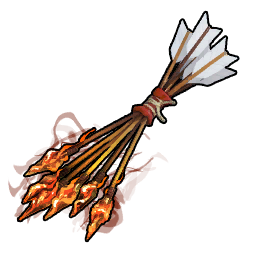 Fire Arrow Fire Arrow | 14.5% | 25-50 | Same slot as the other arrow types |
 Hyper Sphere Hyper Sphere | 10% | 3-6 | The better sphere tier, in smaller numbers |
 Advanced Technical Manual Advanced Technical Manual | 4.2% | 1 | Straight technology points, no strings |
 Ancient Technical Manual Ancient Technical Manual | 2.8% | 1 | Rarest consumable here — ancient tech currency |
 Weapon and Armor Schematics
Twenty-four of the 75 entries are schematics, and they are all tuned to exactly where a level-30 player sits. The Musket Schematic line is the standout: the base Musket unlocks at technology level 21 and hits for 1,000 attack, easily the hardest-hitting thing most players own at that point, and better schematic tiers push it further. Crossbows come off the same slot at identical odds — the base Crossbow is a technology level 13 weapon with 280 attack, a completely different class of weapon, so judge it against other bows rather than against the Musket. Armor schematics are rarer and skew toward the Pelt Armor family, including the heat and cold variants that let you skip a whole crafting detour before the desert and the snowfields.
| Schematic | Chance per Crate | What It Upgrades |
|---|---|---|
| Musket Schematic 1 | 24% | Musket — 1,000 base attack, tech level 21 |
| Crossbow Schematic 1 | 24% | Crossbow — 280 base attack, tech level 13 |
| Musket Schematic 2 | 16% | Second Musket tier |
| Musket Schematic 3 | 8% | Third Musket tier |
| Feathered Hair Band Schematic 1 | 7.02% | Light head armor |
| Pelt Armor Schematic 1 | 5.62% | Core mid-game body armor |
| Heat Resistant Pelt Armor Schematic 1 | 2.81% | Desert-ready body armor |
| Cold Resistant Pelt Armor Schematic 1 | 2.81% | Snowfield-ready body armor |
| Musket Schematic 4 | 2% | Top Musket tier from this rig |
| Pelt Armor Schematic 4 | 0.045% | Rarest roll in the entire pool |
 Skill Fruits from the Crates
Thirty-four different skill fruits share one slot on the table, each at about 2.56%, which means roughly nine crates in ten cough up a skill fruit of some kind even though no specific one is likely. That is the quietest reason to run this rig repeatedly — the same fruits grow on trees scattered across the map, but here they arrive in bulk with no hunting. Every element is represented, so it is a decent way to fill gaps on a team you have already built. The full tree list is on the Palworld Skill Fruit Locations page.
| Notable Skill Fruit | Element | Chance per Crate |
|---|---|---|
| Fire Skill Fruit: Ignis Breath | Fire | 2.56% |
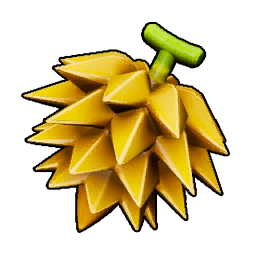 Electric Skill Fruit: Lock-on Laser Electric Skill Fruit: Lock-on Laser | Electric | 2.56% |
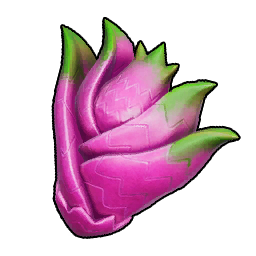 Dragon Skill Fruit: Dragon Cannon Dragon Skill Fruit: Dragon Cannon | Dragon | 2.56% |
 Ice Skill Fruit: Iceberg Ice Skill Fruit: Iceberg | Ice | 2.56% |
 Dark Skill Fruit: Nightmare Ball Dark Skill Fruit: Nightmare Ball | Dark | 2.56% |
 Grass Skill Fruit: Grass Tornado Grass Skill Fruit: Grass Tornado | Grass | 2.56% |
 Water Skill Fruit: Hydro Jet Water Skill Fruit: Hydro Jet | Water | 2.56% |
 Ground Skill Fruit: Sand Tornado Ground Skill Fruit: Sand Tornado | Ground | 2.56% |
Fighting Through the Deck
The rig is not a boss fight — it is a slow firefight against a lot of gunmen on a metal platform with nowhere to hide except the platform's own clutter. The Syndicate here carries the usual mix of assault rifles, shotguns, rocket launchers and flamethrowers, and at level 15-20 none of them individually threaten a level 30 character. What kills people is aggroing half the deck at once. Work one section at a time, keep containers and oil tanks between you and the next group, and let your Pal do the tanking while you pick off shooters.
Use the 37 Explosives Already on Deck
There are 28 explosive barrels and 9 gas tanks scattered around the rig, and they do not care whose side they are on. Shooting one while a knot of guards is standing near it clears the group for a single bullet, which matters when you are trying not to burn your whole ammo stack before the crates. The flip side is that they will happily kill you too — never fight with your back to a barrel, and never melee next to a gas tank.
Four Turrets, and They Only Shoot Up
This rig mounts four anti-air machine guns and, unlike the two late-game rigs, no laser towers at all — the big platforms carry ten and five of those respectively. That is why the approach matters more than the fight: the turrets are dangerous while you are airborne and nearly irrelevant once your boots are on the deck. Land early, dismount, and clear them on foot if they are in the way; they are destructible.
Know Which Guards Come Back
Of the rig's spawn points, 39 are one-and-done and 4 keep producing reinforcements for as long as you stay. If you feel like the deck is never getting quieter, you are standing near one of those four — push past it rather than trying to win the attrition war. Once the fixed guards are down, the rig is effectively yours and you can loot at your own pace with only a trickle of new arrivals.
 The Rig's Rare Fishing Spot
There is one rare fishing spot in the water beside the rig, and it is easy to miss entirely because you are usually being shot at. It runs a level 20-30 pool of eight water Pals, each available in three shadow sizes — the small ones are easy pulls, the largest are difficulty 77-78 and will snap a low-tier rod. Kelpsea is the softest catch on the list at difficulty 41; Croajiro is the toughest of the small shadows at 52. Two entries are time-locked: Jelliette only bites during the day and Jellroy only at night. Every rare spot on the map is on the Palworld Interactive Map.
| Catch | When | Level | Difficulty (Small → Largest) |
|---|---|---|---|
 Kelpsea Kelpsea | Any time | 20-30 | 41 → 77 |
| Celaray | Any time | 20-30 | 44 → 77 |
 Fuack Fuack | Any time | 20-30 | 44 → 77 |
 Jelliette Jelliette | Day only | 20-30 | 45 → 77 |
 Jellroy Jellroy | Night only | 20-30 | 45 → 77 |
 Pengullet Pengullet | Any time | 20-30 | 47 → 78 |
 Turtacle Turtacle | Any time | 20-30 | 48 → 78 |
 Croajiro Croajiro | Any time | 20-30 | 52 → 78 |
How It Compares to the Other Two Rigs
Palworld has three Rayne Syndicate rigs and they are not a difficulty curve so much as a cliff. This one is built for a mid-game character; the other two are level 55+ raids with far denser garrisons, laser towers, and crate tables full of endgame materials. The practical read: come here for Crude Oil, training manuals and Musket schematics in your thirties, and come back to the big rigs once you are geared for the endgame — the loot pools barely overlap, so clearing this one early costs you nothing later.
| Site | Garrison Level | Crates | Crude Oil per Crate | Crates Also Hold |
|---|---|---|---|---|
| Test Drilling Rig (this one) | 15-20 | 13 | 5-20 | Musket and Crossbow schematics, Pelt Armor schematics, skill fruits |
| The two late-game rigs | 55-58 | 16 and 27 | 5-300 | Ancient Civilization Cores, Coralum Ore, Gold Keys, Giant Pal Souls, laser weapon schematics |
One number worth holding onto: the largest rig can drop up to 300 Crude Oil from a single crate against this rig's 20. If raw oil volume is the goal, the small rig is a stopgap — a good one at level 30, but a stopgap. What it uniquely offers is a schematic pool nobody is farming at level 55, because nobody at level 55 wants a Musket.
Related Guides
Start with the hubs: All Palworld Guides and the Palworld Interactive Map. From there — How to Farm Dog Coins: Best Sources and Medal Shop Prices for what to do with the coins the crates hand you, How to Get a Gun Fast and Early: Unlocks, Buys, and Drops if the Musket schematic is your first real firearm, All Legendary Weapon Schematic Locations in Palworld for the tier above these, Palworld Fishing Guide: Best Catches, Rods, and Bait before you try the rig's rare spot, Alpha Pal Hunting Route: Every Field Boss by Level for the rest of your level-30 checklist, and Best Base Locations in Palworld 1.0: Coordinates and Nodes if you want a base close enough to make this a routine run.