How to Farm IV Fruits and Training Crystals Fast
Every IV Fruit and Training Crystal source in Palworld ranked by what one clear pays — the sea base camp loop that drops a crystal and a 4-star map together, the dig tiers that guarantee a fruit, all eight raid boss crystal counts, and the cheapest shop price of the three.
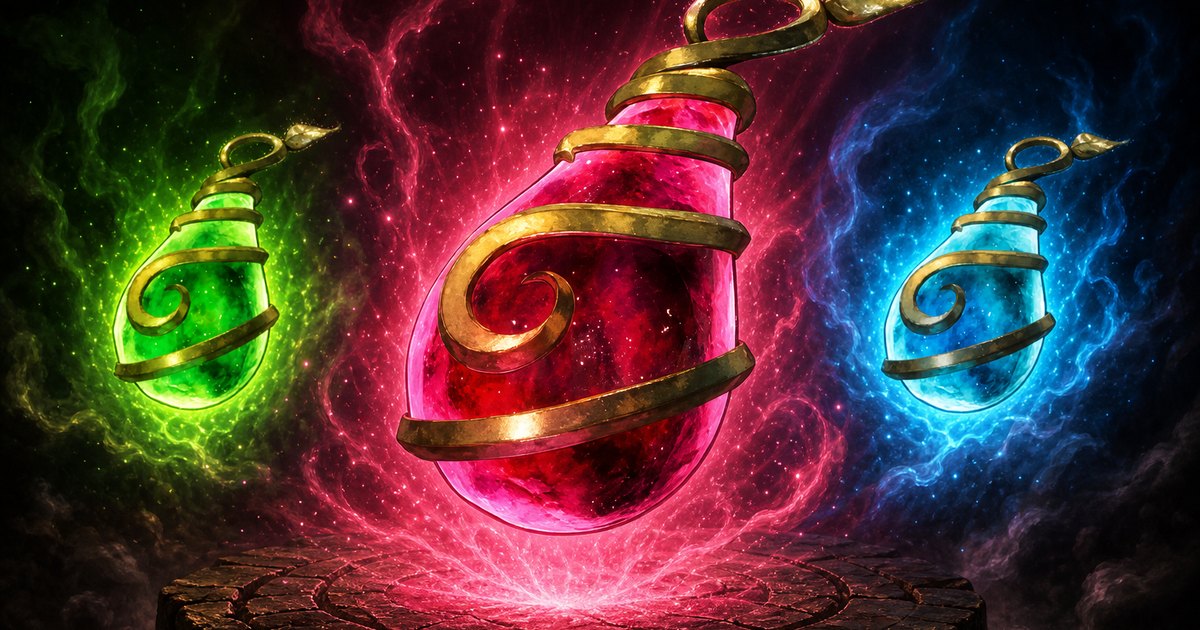
IV Fruits and Training Crystals are the two consumables that finish a Pal off: one pushes a Potential line up by ten points, the other hands over a whole level for nothing. This guide ranks every source by what a single clear actually pays, with the real drop rates, the shop prices at all three counters, and the one loop that produces both at the same time.
 IV Fruits and Training Crystals at a Glance
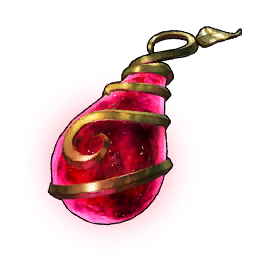
"IV Fruit" is the community name for three separate items — Life Fruit, Power Fruit and Stout Fruit — and each one raises a different Potential line by +10 on the 0-100 scale. That means ten of a single fruit takes one line from a zero roll to capped, and thirty fruits finish a Pal outright. The Training Crystal is a different animal: it skips the XP grind entirely and adds one level on use, which is why it is the drop every endgame boss hands out and the fruits are not.
| Detail | IV Fruits | Training Crystal |
|---|---|---|
| What one use does | +10 to one Potential line | +1 level, instantly |
| Which items | 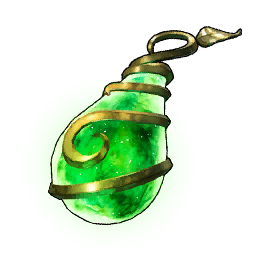 Life Fruit HP · Power Fruit Attack · Life Fruit HP · Power Fruit Attack · 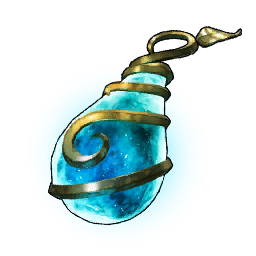 Stout Fruit Defense Stout Fruit Defense |  Training Crystal — one item, works on any Pal Training Crystal — one item, works on any Pal |
| Rarity | 4★ | 4★ |
| Weight | 1.0 each | 0.1 — carry hundreds |
| Max stack | 9,999 | 9,999 |
| Cheapest shop price | 25 Successful Bounty Tokens | 50 Battle Tickets |
| Guaranteed drop | One per 4★ treasure map dig | One per sea base camp boss stash |
| Craftable | Yes — from stat lotuses | No — drops and shops only |
| Needed to finish one Pal | 30 fruits (10 per line) | As many as the levels you're short |
Every Source Ranked by What One Clear Pays
Nothing in the game drops both items from the same body, so the fast approach is a loop rather than a single farm: sea base camps hand you the crystal *and* the map, and the map digs into the fruit. Everything below that is either a boss you can only run when you have a summoning item, or a shop where the real cost is the currency grind in front of it. The relic recycler is on the list only so you know to ignore it — under half a percent per relic is not a farm.
| Source | What one clear gives | Why it ranks here |
|---|---|---|
| Sea base camp boss stash — Sakurajima, Feybreak | 1 Training Crystal + 1 4★ Treasure Map, both 100% | The only source that pays a crystal and the map that digs a guaranteed fruit, on the same clear. 10 pins on the sea base camp map layer |
| 4★ treasure map dig | 1 IV Fruit, guaranteed (33.3% each of the three) | The only 100% fruit source in the game — and 3 Revival Potions ride along on every dig |
| Ultra raid bosses — Lv 80 | 10 Training Crystals, 100% | Biggest crystal payout anywhere, four bosses deep, but each clear costs an Ultra slab |
| Base invasion — Lv 61-80 tier | 1 Training Crystal + 200-300 Dog Coins | Renewable and it comes to you. Those coins are one Medal Shop fruit at 200 apiece — so a wave is worth a crystal *and* a fruit |
| Moon Lord — Lv 50 | 4 Training Crystals, 100% | The cheapest repeatable multi-crystal boss, and no elemental weakness to build around |
| Moon Lord (Master) — Lv 80 | 2-3 crystals + Lotus (L) drops | Carrying Lotus (L) at 100% and four more at 20% each — those are fruit ingredients, not fruits |
| Bounty Shop | 1 fruit per 25 Successful Bounty Tokens | Cheapest fruit price in the game by a mile, but it stocks no crystals |
| Arena Shop | 1 fruit per 100 Battle Tickets · 1 crystal per 50 | The only shop that sells Training Crystals at all |
| Medal Shop | 1 fruit per 200 Dog Coins | Priciest fruit counter, but Dog Coins are the easiest of the three currencies to pile up |
| Recycling Ancient Relics | 0.19-0.39% per fruit · 0.02-0.05% per crystal | Effectively never. Recycle relics for something else and treat these as an accident |
Sea Base Camps: One Clear, One Crystal, One 4★ Map
The boss stash inside a sea base enemy camp in Sakurajima or Feybreak waters is the single best stop on this list, because both of its headline drops are at 100%: a Training Crystal and a 4★ Treasure Map, every time, no rare roll involved. There are 10 sea base camps marked on the map, and clearing one is a straight fight rather than a summon you have to pay for. Land a flier on the deck, cut through the guards to the boss, and take the stash — then dig the map before you go home, because that map is where the fruit is.
| Camp type | Training Crystal | 4★ Treasure Map | Where |
|---|---|---|---|
| Sea base camp boss stash | 100%, x1 | 100%, x1 | Sakurajima and Feybreak waters — all 10 sea base camp pins |
 Land camp boss stash Land camp boss stash | — | 100% in Sunreach Isle, 50% in Sakurajima | 48 enemy camps on land — every enemy camp pin |
Land camps are the fallback when you have cleared the sea route and it has not reset. They pay no crystals, but a Sunreach Isle camp boss stash still hands over a 4★ map at 100%, and a Sakurajima one at 50% — so the fruit half of the loop keeps running even when the crystal half is on cooldown.
Dig 4★ Treasure Maps for a Guaranteed IV Fruit
Treasure maps come in five tiers, and the fruit slot in a dig scales hard with the tier. At the bottom it is a 10% coin flip you will lose nine times out of ten; at the top the three fruits split the slot 33.3% each and add up to a guaranteed fruit on every dig — you just do not get to choose which one. That is the whole reason 4★ maps are worth hoarding instead of digging the low-tier ones you trip over in dungeon chests.
| Map tier | Chance of an IV Fruit | Guaranteed extra in the same dig |
|---|---|---|
 Treasure Map 0★ Treasure Map 0★ | 10.0% | 5 Low Quality Recovery Meds |
| Treasure Map 1★ | 20.0% | 5 Recovery Meds |
| Treasure Map 2★ | 40.0% | 5 High Quality Recovery Meds |
| Treasure Map 3★ | 70.0% | 5 Advanced Recovery Meds |
| Treasure Map 4★ | 100% | 3 Revival Potions |
The fruit you pull is a flat three-way roll, so expect roughly one of each per three digs and plan around the one you actually need — Attack first for a fighter, HP first for anything you intend to keep alive through a raid. Every tier also rolls Applied Handbooks and a schematic on separate slots, which is why a 4★ dig is worth doing even on the trips where the fruit is one you already have stacks of.
 Endgame Base Invasions: A Crystal Plus a Fruit's Worth of Dog Coins
Every base invasion at the Lv 61-80 tier pays a Training Crystal at 100%, and it pays 200-300 Dog Coins alongside it. Since the Medal Shop charges 200 coins for a fruit, one successful defence is a crystal and roughly one fruit in the same breath — the best passive rate in the game, because you did not go anywhere to get it. Every group at this tier also hands over 106,470 Pal XP and 10-20 Deluxe Bait on the win. The catch is the fight, and the wild-Pal herds are the worst of it at up to 72 attackers.
| Invasion group | Region | Waves · attackers | Payout |
|---|---|---|---|
| Herd of Extremely Ferocious Wild Pals | Every region | 5 · 40-72 | 1 crystal · 200-300 coins · 10-20 bait |
| Syndicate Legends | Grasslands, Desert | 3 · 30 | 1 crystal · 200-300 coins · 10-20 bait |
| Free Pal Alliance Task Force | Forest | 3 · 30 | 1 crystal · 200-300 coins · 10-20 bait |
| Eternal Pyre Condemners | Mount Obsidian | 3 · 30 | 1 crystal · 200-300 coins · 10-20 bait |
| PAL Genetic Research Unit: Special Ops | Snowfields | 3 · 30 | 1 crystal · 200-300 coins · 10-20 bait |
| Moonflower Hit Squad | Sakurajima | 3 · 30 | 1 crystal · 200-300 coins · 10-20 bait |
| Feybreak Ravagers | Feybreak | 3 · 30 | 1 crystal · 200-300 coins · 10-20 bait |
| Test of the Covenant: Finale | Sky City | 3 · 30 | 1 crystal · 200-300 coins · 10-20 bait |
| Counterfeit Investigations | Every region, any base level | 3 · 35 | 1 crystal · 200-300 coins · 10-20 bait |
Counterfeit Investigations is the row to notice: it pays the full endgame package regardless of what level your base sits at, so a low-level outpost can bank crystals it has no business owning — if 35 Lv 80 troops do not flatten it first. The named human squads are the softer targets at 30 attackers over 3 waves, while the ferocious herds stack 40 to 72 Pals across 5. Full wave lists for every group are on the Palworld base raids page.
 Raid Bosses: 2 to 10 Training Crystals a Clear
Eight raid bosses drop Training Crystals, all of them at 100%, and the Ultra tiers are where the volume is: ten crystals a clear from any of the four Lv 80 fights. None of them drop IV Fruits, so treat raids as your level pipeline and the map digs as your Potential pipeline. If you only want the crystals and not the fight, Moon Lord at Lv 50 is the cheapest four-crystal clear on the board.
| Raid boss | Level | Training Crystals | Rate |
|---|---|---|---|
 Bellanoir Libero (Ultra) Bellanoir Libero (Ultra) | 80 | 10 | 100% |
 Blazamut Ryu (Ultra) Blazamut Ryu (Ultra) | 80 | 10 | 100% |
| Xenolord (Ultra) | 80 | 10 | 100% |
 Hartalis (Ultra) Hartalis (Ultra) | 80 | 10 | 100% |
| Hartalis | 70 | 4-6 | 100% |
| Xenolord | 65 | 4-5 | 100% |
 Moon Lord Moon Lord | 50 | 4 | 100% |
 Moon Lord (Master) Moon Lord (Master) | 80 | 2-3 | 100% |
Bellanoir Libero and Blazamut Ryu only pay crystals on their Ultra versions — the base fights hand out Training Manuals and skill fruits instead — so check which slab you are burning before you summon. Full fight breakdowns live on the Moon Lord raid guide, the Xenolord raid guide and the Hartalis raid guide, and every altar is pinned on the raid summoning altar map layer.
 Moon Lord (Master) Drops the Lotuses That Become Fruits
The Master version of Moon Lord is the closest thing to a boss that drops IV Fruits, because it drops the flowers they are made of. Carrying Lotus (L) is guaranteed on every clear and the other four large lotuses roll at 20% each — and large lotuses are the expensive half of all three fruit recipes. A clear also hands over 5-10 Diamonds and 10-20 Ancient Civilization Parts, so it doubles as a materials run.
| Moon Lord (Master) drop | Rate | Feeds into |
|---|---|---|
 Carrying Lotus (L) Carrying Lotus (L) | 100% | Stout Fruit |
| Life Lotus (L) | 20% | Life Fruit |
 Power Lotus (L) Power Lotus (L) | 20% | Power Fruit |
 Stamina Lotus (L) Stamina Lotus (L) | 20% | Stout Fruit |
 Speed Lotus (L) Speed Lotus (L) | 20% | Power Fruit |
 Buying Them: Which Currency Is Actually Cheapest
All three fruits cost the same at every counter, so the only question is which currency you are drowning in. The Bounty Shop wins outright on the sticker price — 25 Successful Bounty Tokens against 100 Battle Tickets or 200 Dog Coins — and a single high-value bounty target pays up to 5 tokens, so five kills is a fruit. Finishing one Pal's three lines from zero means 30 fruits: 750 tokens at the bounty counter, 3,000 tickets at the arena, or 6,000 Dog Coins at the Medal Trader for the identical result.
| Shop | IV Fruit | Training Crystal | Currency comes from | Pins |
|---|---|---|---|---|
| Bounty Shop | 25 Successful Bounty Tokens | Not stocked | Bounty targets, 1-5 tokens each — see all bounty targets and payouts | 3 |
| Arena Shop | 100 Battle Tickets | 50 Battle Tickets | Arena wins — Legend rank repeats pay 15-25 a run, so a crystal is 2-4 runs | 1 |
| Medal Shop | 200 Dog Coins | Not stocked | Mimog kills, base invasions, 128 coin nodes — see how to farm Dog Coins | 4 |
There is exactly one Arena Shop pin on the whole map against 3 bounty counters and 4 Medal Traders, which matters if you are chasing crystals: the arena is the only shop that sells them and you have to travel to it. Every counter and its full stock list is on the Palworld merchants and shop stock page, and the pins are on the merchant map layer. Battle Ticket rates by rank are on the Palworld arena guide.
 Craft IV Fruits from Stat Lotuses
If you would rather not touch a shop, all three fruits have recipes built entirely from stat lotuses, which grow wild across the islands — there are 866 lotus pins to pick from. Power Fruit and Stout Fruit are the cheap ones at nine lotuses each; Life Fruit wants twelve. That makes crafting the sensible route for Attack and Defense and the annoying one for HP, so buy your Life Fruits and grow the rest.
| Fruit | Materials | Lotuses |
|---|---|---|
| Power Fruit | 3 Power Lotus (S) · 3 Power Lotus (L) · 3 Speed Lotus (L) | 9 |
| Stout Fruit | 3 Stamina Lotus (S) · 3 Stamina Lotus (L) · 3 Carrying Lotus (L) | 9 |
| Life Fruit | 3 Life Lotus (S) · 3 Life Lotus (L) · 3 Speed Lotus (S) · 3 Carrying Lotus (S) | 12 |
Each recipe carries a heavy work cost, so park your strongest Handiwork Pals on the bench before you queue thirty of them — the best Pals rankings show who is worth the slot. Every lotus node is on the stat lotus map layer, and the large ones also fall out of oil rig crates and Moon Lord (Master) clears.
What One Training Crystal Is Actually Worth
A Training Crystal looks unremarkable until you check what a single Pal level costs at the top of the curve. Early on it saves you a few minutes; at Lv 64 it replaces 6,896,858 Pal XP, which is more than a Pal earns climbing from Lv 1 all the way to Lv 55. The per-level cost stops growing at that point and stays flat, so every crystal past 65 is worth exactly the same enormous amount — which is why the ten-crystal Ultra raids are the real endgame levelling method, not XP farming.
| Level step | Pal XP needed | What a crystal skips |
|---|---|---|
| Lv 39 → 40 | 72,220 | A few minutes of ordinary hunting |
| Lv 49 → 50 | 447,571 | About a sixth of the entire Lv 1-50 climb |
| Lv 59 → 60 | 2,771,646 | Four full base invasions' worth of XP |
| Lv 64 → 65 | 6,896,858 | More than the whole Lv 1-55 grind (6,678,888) |
| Every level past 65 | 6,896,858 | The curve flattens — the crystal never gets less valuable |
The Fastest Loop, Start to Finish
Run it in this order and both items pile up at once:
- Clear the sea base camps. 10 pins, each one a guaranteed crystal and a guaranteed 4★ map.
- Dig every 4★ map you banked. One IV Fruit per dig, no exceptions, plus 3 Revival Potions each.
- Stop skipping base invasions. The Lv 61-80 tier pays a crystal and 200-300 Dog Coins — one fruit at the Medal Shop, on top.
- Spend bounty tokens, not Dog Coins, on fruits. 25 tokens versus 200 coins for the same item; save the coins for things the Medal Shop sells exclusively.
- Run Ultra raids for the levels. Ten crystals a clear, and at Lv 65-plus each one is worth 6,896,858 Pal XP.
- Craft what you still need. Power and Stout Fruit are nine lotuses each, and there are 866 lotus nodes on the map.
Related Guides
What to do with them:
- How to Min-Max Pals: IVs, Passives, Souls, and Condensing
- How to Rank Up Pals: Condenser, Ripe Starfruit, and Handbooks
- Best Team Comps: Boss Killer, Explorer, and Farming Teams
- Palworld 1.0 Endgame Checklist: What to Do at Level 60+ Where the drops come from:
- How to Beat Moon Lord Raid Boss: Weak Points and Drops
- How to Get Xenolord: Slab Locations and Raid Fight
- How to Get Hartalis: Slab Locations and Raid Fight
- All Bounty Targets: Token Payouts and Every Bounty Reward
- How to Farm Dog Coins: Best Sources and Medal Shop Prices
- How to Get and Use the Ancient Relic Recycler Hubs: the interactive Palpagos map · every Palworld raid boss · every merchant and shop stock list · all Palworld guides