Best Pals for Handiwork: Ranks, Spawns, and Workbenches
Handiwork ranked for all 109 Pals that have it — Solenne's lone rank 8, the 13 Pals at rank 6 or better with exact spawn counts and food costs, why every workbench in the game only asks for rank 1, the cheapest rank 6 body, and the passives that add +245% Work Speed.
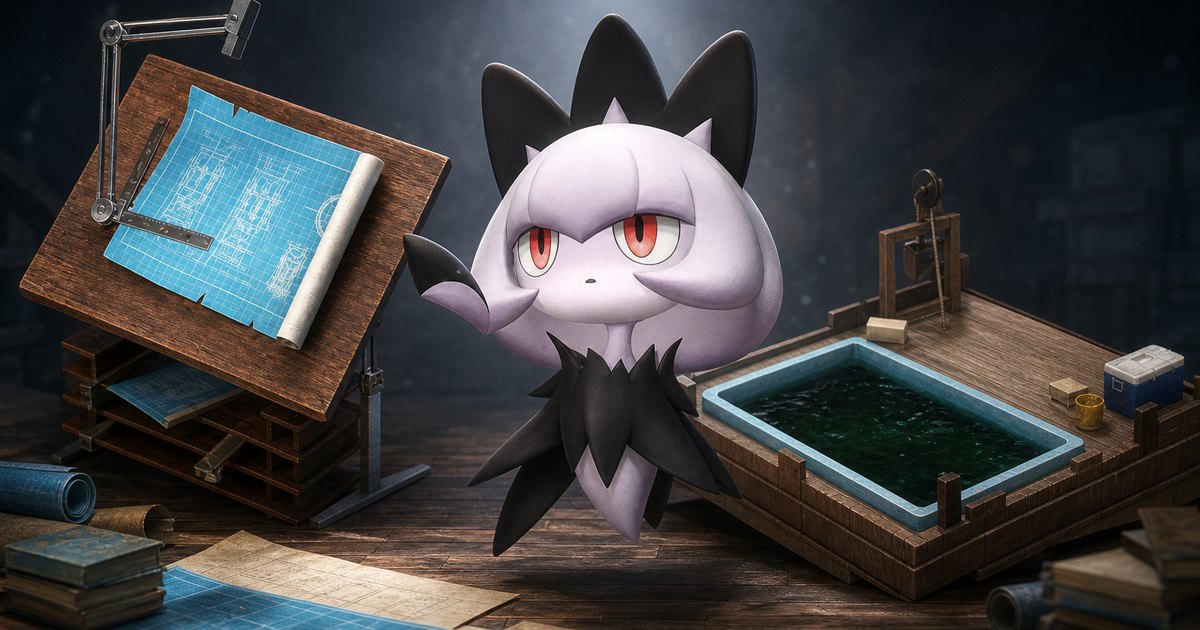
Handiwork is the job that builds your structures and empties every crafting queue you leave behind, and 109 of the game's 288 Pals can do it — the widest job in the game after Transporting. This guide ranks every Handiwork Pal worth a base slot, lists the exact spawn counts and food costs, explains why the rank never actually locks you out of a workbench, and covers the passives and the handbook that turn a decent crafter into a fast one.
 Handiwork at a Glance
The important thing about Handiwork is the thing nobody tells you: every single structure that uses it only requires rank 1. All 23 of them, from the Primitive Workbench you build in the first ten minutes to the Advanced Workshop at Tech Lv. 62. There is no rank 6 gate the way the Ancient Farm gates Gathering. Rank buys you speed and nothing else, which changes the whole calculus — a common Pal you can catch fifty of beats a legendary you have to breed twice for, as long as it does the job overnight.
| What | Detail |
|---|---|
| Pals with Handiwork | 109 of 288 — second only to Transporting's 140 |
| Rank ceiling | 8 — held by one Pal,  Solenne Solenne |
| Rank spread | 8×1 · 7×1 · 6×11 · 5×8 · 4×12 · 3×25 · 2×29 · 1×22 |
| Rank a station needs | Lv. 1 — all 23 of them. Rank only sets how fast the job finishes |
| What it runs | Every workbench and assembly line, plus 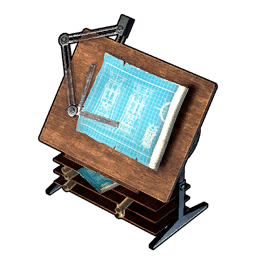 Drafting Table, Drafting Table, 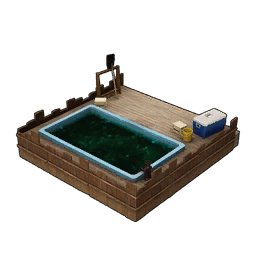 Fishing Pond, Fishing Pond, 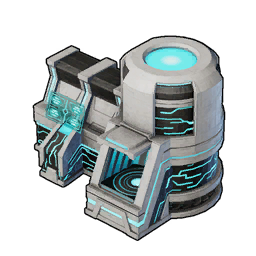 Ancient Relic Recycler and the three mounted turrets Ancient Relic Recycler and the three mounted turrets |
| It also builds | Anything you place — Pals with Handiwork finish blueprints while you're off doing something else |
| Base Work Speed | 100 on all 288 Pals — nobody starts with an edge, so the rank and the passives are the whole story |
| Permanent +1 |  Applied Handiwork Handbook I — 300 Dog Coins at the Medal Shop Applied Handiwork Handbook I — 300 Dog Coins at the Medal Shop |
| Biggest passive | Demon's Hand at +90% Work Speed, and four passive slots to fill |
| First unlock | The Primitive Workbench at Tech Lv. 1 for 1 Technology Point |
Best Handiwork Pals in Palworld
These 13 are every Pal at Handiwork 6 or better. Four of them have no wild spawn points at all, so the practical shortlist is shorter than it looks. If you want the fastest crafter and don't mind a 9-food appetite, Solenne is the answer and there is no second place. If you want a rank 6 crew tonight without breeding anything, Sekhmet and Splatterina between them cover 1,129 spawn points and neither one needs an alpha kill. And if you're feeding a big base, look at the Food column before the rank column — Wistella does the same rank 6 work on 5 food that Silvance does on 9.
| Pal | Handiwork | Other jobs it does | Food | Night shift | How to get it |
|---|---|---|---|---|---|
| Solenne | 8 | Gathering 4 · Transporting 2 | 9 | Yes | 47 spawn points, no alpha needed — Solenne spawn map · also 46 breeding pairs |
 Selyne Selyne | 7 | Medicine Production 6 · Transporting 3 | 9 | Yes | 40 spawn points — Selyne spawn map · breeds only from a Selyne pair |
 Anubis Anubis | 6 | Mining 6 · Transporting 4 | 8 | No | 35 spawn points plus a level 55 alpha — Anubis spawn map |
 Sekhmet Sekhmet | 6 | Mining 3 · Transporting 2 | 7 | No | 360 spawn points, no alpha needed — heaviest presence of any rank 6 · Sekhmet spawn map |
 Splatterina Splatterina | 6 | Medicine Production 5 · Lumbering 3 · Transporting 2 | 7 | Yes | 769 spawn points, night only plus a level 65 alpha, and it spawns inside Feybreak Cavern — Splatterina spawn map |
 Wistella Wistella | 6 | Medicine Production 6 · Transporting 1 | 5 | Yes | 40 spawn points plus a level 66 alpha — Wistella spawn map |
 Venusa Venusa | 6 | Gathering 6 · Medicine Production 5 · Transporting 2 | 6 | Yes | 26 spawn points, no alpha needed — Venusa spawn map |
 Lapure Lapure | 6 | Gathering 5 | 7 | No | 29 spawn points, no alpha needed — Lapure spawn map |
 Flaracle Flaracle | 6 | Kindling 7 · Transporting 2 | 8 | No | 26 spawn points plus a level 68 alpha — Flaracle spawn map |
 Renjishi Renjishi | 6 | Kindling 8 · Gathering 5 · Transporting 5 | 8 | No | No field spawns — a level 78 alpha, or any of 48 breeding pairs |
 Silvance Silvance | 6 | Medicine Production 8 · Planting 6 · Gathering 4 · Transporting 2 | 9 | No | No spawns and no alpha — only breeds from a Silvance pair |
 Dandilord Dandilord | 6 | Planting 8 · Medicine Production 6 · Gathering 5 · Transporting 3 | 9 | Yes | No spawns and no alpha — only breeds from a Dandilord pair |
 Bellanoir Libero Bellanoir Libero | 6 | Medicine Production 7 · Transporting 4 | 7 | Yes | Summoned raid boss — see how to beat the Bellanoir raid boss |
Solenne — the Only Handiwork 8 Pal
Solenne holds the ceiling by itself and is one of the few top-rank workers you can walk up to and catch — 47 spawn points, no alpha fight required. It is Dark/Neutral and nocturnal, so it keeps hammering the assembly line while the rest of your base sleeps, which in practice is worth more than the single rank it has over the next tier. The costs are real though: it eats 9 food per meal, the highest figure on this page, and its side jobs are thin at Gathering 4 and Transporting 2, so it won't cover a second station for you. Put it on your longest queue — the Advanced Workshop or the Weapon Assembly Line — and let something cheaper handle the small stuff.
Selyne — Rank 7 With a Medic Attached
Selyne is the only Pal at Handiwork 7, and unlike Solenne it earns its slot twice: Medicine Production 6 means it also runs your Advanced Medicine Workbench and patches up injured workers without a second body in the base. It's nocturnal too, and it sits on 40 spawn points. The catch is breeding — Selyne is a self-only combo, meaning a Selyne pair is the only pairing in the entire breeding table that produces one, so if you want a second you catch a second. Nine food per meal, same as Solenne.
Sekhmet and Splatterina — the Rank 6 Pals You Can Just Catch
This pair is the honest recommendation for most players. Sekhmet has 360 spawn points and no alpha requirement, concentrated heavily around Duneshelter — 93 of them sit there, another 40 in the Deep Sand Dunes. It's rarity 5, eats 7, and brings Mining 3 along. Splatterina is even more common at 769 spawn points, but every one of them is night-only, so plan the trip after dark; the densest clusters are the Scarlet Outlook at 99 and the Crimson Labyrinth and Scorched Hill at 78 each, and it also turns up inside Feybreak Cavern. Splatterina is nocturnal, which means it works your night shift, and Medicine Production 5 makes it a dual-station body. Between the two you can staff an entire crafting base at rank 6 without touching the breeding farm.
Wistella — the Cheapest Rank 6 in the Game
Wistella is the value pick and it isn't close. It is rarity 2 — one of the least rare Pals on this entire page — and eats 5 food per meal, the lowest figure of any Handiwork 6 Pal, against 9 for Solenne and Silvance. It's nocturnal, it carries Medicine Production 6 as a second job, and it sits on 40 spawn points with a level 66 alpha available if you want a strong one. A base staffed with Wistellas costs nearly half the food of a base staffed with legendaries and crafts at the same rank 6 speed. If your food box keeps emptying overnight, this is the fix.
Renjishi, Silvance, Dandilord, and Bellanoir Libero
These four are rank 6 with no field spawns, and they are only worth the trouble for their second jobs. Renjishi is the best of them on paper — Kindling 8 and Transporting 5 on top of Handiwork 6 makes it a three-station body — but it means a level 78 alpha or one of 48 breeding pairs. Silvance and Dandilord are both self-only combos, so you breed one from a pair you already own or you don't get one; Silvance's Medicine Production 8 and Dandilord's Planting 8 are the actual reasons to bother. Bellanoir Libero only comes out of a summoned raid, and parking a raid boss on a workbench is a flex, not a plan.
 Rank 4 and 5 Handiwork Pals Worth Using
Twenty Pals sit at Handiwork 4 or 5, and because no station requires more than rank 1, these are perfectly good workers — the only thing you lose against a rank 6 is a bit of queue time. The standout is Loupmoon Cryst: 461 spawn points, only 3 food per meal, and Cooling 4 so it doubles on your food box. Gildra is the rank 5 version of the same argument at 325 spawn points and 6 food. Lunaris and Nyafia are the easy mid-game catches, and Elizabee is here for players who already run a Beegarde base.
| Pal | Handiwork | Other jobs it does | Food | Night shift | Spawn points |
|---|---|---|---|---|---|
 Gildra Gildra | 5 | Medicine Production 4 · Transporting 2 | 6 | Yes | 325 — Gildra spawn map |
 Verdash Verdash | 5 | Gathering 5 · Planting 4 · Lumbering 3 · Transporting 3 | 6 | No | 83 plus a level 35 alpha |
 Dupin Dupin | 5 | Kindling 7 · Medicine Production 4 · Transporting 2 | 8 | No | 81 |
 Lyleen Lyleen | 5 | Planting 7 · Gathering 6 · Medicine Production 5 | 8 | No | 42 plus a level 58 alpha |
 Lyleen Noct Lyleen Noct | 5 | Medicine Production 7 · Gathering 6 | 8 | Yes | 42 plus a level 58 alpha |
 Icelyn Icelyn | 5 | Cooling 5 · Medicine Production 4 · Transporting 2 | 5 | No | 38 |
 Majex Majex | 5 | Kindling 4 · Medicine Production 3 · Transporting 2 | 8 | Yes | 36 |
| Loupmoon Cryst | 4 | Cooling 4 | 3 | No | 461 plus a level 66 alpha — Loupmoon Cryst spawn map |
 Nyafia Nyafia | 4 | Gathering 4 · Transporting 3 · Lumbering 2 | 6 | Yes | 259 plus a level 55 alpha |
 Wixen Noct Wixen Noct | 4 | Kindling 4 · Transporting 2 | 4 | Yes | 184 |
 Nitemary Nitemary | 4 | Transporting 2 | 6 | Yes | 106 |
 Lunaris Lunaris | 4 | Gathering 2 · Transporting 2 | 4 | No | 63 |
 Dogen Dogen | 4 | Gathering 3 · Lumbering 3 · Transporting 3 · Medicine Production 2 | 5 | No | 52 |
 Elizabee Elizabee | 4 | Planting 4 · Gathering 4 · Medicine Production 4 · Lumbering 3 | 5 | No | 42 plus a level 45 alpha |
 Grizzbolt Grizzbolt | 4 | Generating Electricity 5 · Transporting 5 · Lumbering 3 | 6 | No | 40 plus an alpha |
 Best Early Handiwork Pals
Early on you have no handbooks, no rank 6 catches and a food box that empties in an afternoon, so the right move is volume: cheap Pals with Handiwork on the sheet, parked on the Primitive Workbench and the 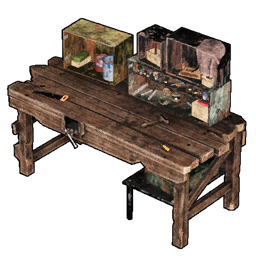 High-Quality Workbench. Hangyu Cryst is the one to look for — Handiwork 3 on a 1 food appetite, which is the best ratio in the game and the reason it stays useful long after you've outgrown the rest of this table. Bushi Noct is the most common Handiwork Pal anywhere at 1,990 spawn points, works nights, and brings Lumbering 5 so it can swap to the logging site when the queue empties. Below that, the starter trio of Cattiva, Lamball and Pengullet all eat 1 food and all do Handiwork 1 — not fast, but three of them on a bench beats one of them.
| Pal | Handiwork | Other jobs it does | Food | Night shift | Spawn points |
|---|---|---|---|---|---|
| Hangyu Cryst | 3 | Transporting 3 · Gathering 2 · Cooling 2 | 1 | No | 335, night only |
 Lovander Lovander | 3 | Medicine Production 3 · Mining 2 · Transporting 2 | 4 | Yes | 768, night only |
 Katress Katress | 3 | Medicine Production 3 · Transporting 2 | 4 | Yes | 605 — Katress spawn map |
 Sootseer Sootseer | 3 | Kindling 3 · Mining 3 · Gathering 2 · Farming 2 | 7 | Yes | 649 |
 Robinquill Terra Robinquill Terra | 3 | Gathering 3 · Lumbering 2 · Medicine Production 2 · Transporting 2 | 3 | No | 545 |
 Bushi Noct Bushi Noct | 2 | Lumbering 5 · Kindling 2 · Transporting 2 · Gathering 1 | 5 | Yes | 1,990 — the most common Handiwork Pal in the game |
 Bushi Bushi | 2 | Lumbering 3 · Kindling 2 · Transporting 2 · Gathering 1 | 5 | No | 1,838 |
 Loupmoon Loupmoon | 2 | — (nothing else) | 3 | Yes | 1,109 |
 Leezpunk Leezpunk | 2 | Gathering 1 · Transporting 1 | 2 | Yes | 836 |
 Pengullet Pengullet | 1 | Watering 1 · Cooling 1 · Transporting 1 | 1 | No | 1,125 |
 Cattiva Cattiva | 1 | Gathering 1 · Mining 1 · Transporting 1 | 1 | No | 367 |
 Lamball Lamball | 1 | Transporting 1 · Farming 1 | 1 | No | 351 |
 Every Structure That Needs Handiwork
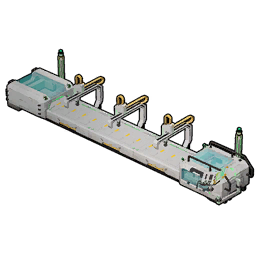
Twenty-three structures assign a Handiwork worker, and every one of them asks for rank 1 — that's the whole reason a Cattiva can technically staff the Advanced Workshop. The four crafting families run in parallel tiers: general production (workbenches → Production Assembly Line → Advanced Workshop), spheres, weapons, and the odd one-offs. Walking the general chain from the Primitive Workbench to the Advanced Workshop costs 17 Technology Points across five unlocks, and the three top-tier lines each draw 1,000 power, so a Large Power Generator has to be online before any of them will run. Note the ones people miss: the Drafting Table, both Fishing Ponds and all three mounted turrets pull a Handiwork Pal off your crafting queue when they need work.
| Structure | Tech Lv. | Points | Power | Rank needed |
|---|---|---|---|---|
| Primitive Workbench | 1 | 1 | — | 1 |
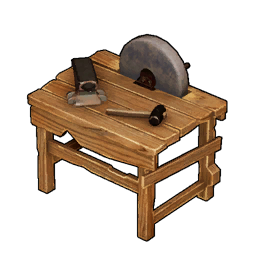 Repair Bench Repair Bench | 2 | 1 | — | 1 |
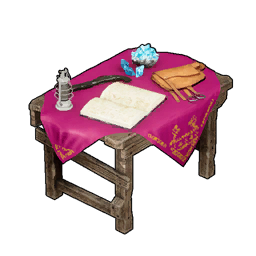 Pal Gear Workbench Pal Gear Workbench | 6 | 2 | — | 1 |
| High-Quality Workbench | 11 | 3 | — | 1 |
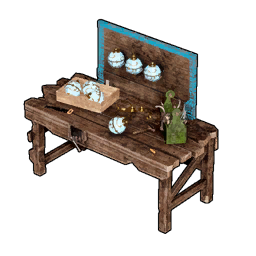 Sphere Workbench Sphere Workbench | 14 | 3 | — | 1 |
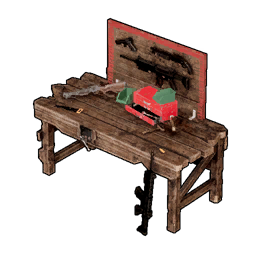 Weapon Workbench Weapon Workbench | 20 | 3 | — | 1 |
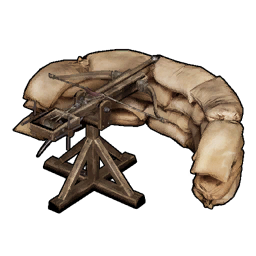 Mounted Crossbow Mounted Crossbow | 26 | — | — | 1 |
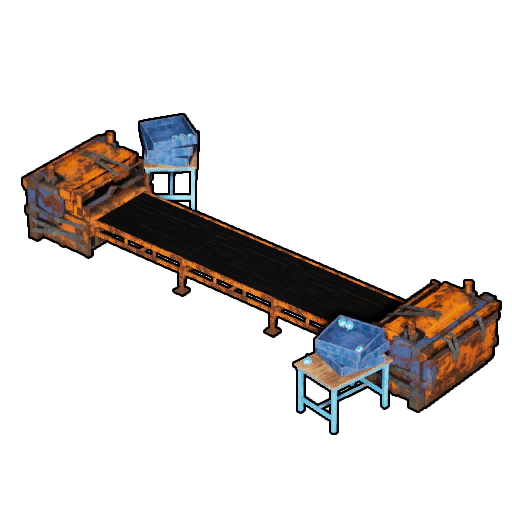 Sphere Assembly Line Sphere Assembly Line | 27 | 3 | 200 | 1 |
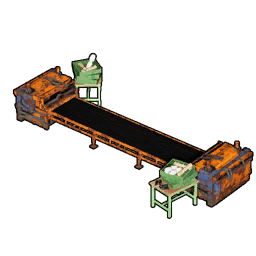 Production Assembly Line Production Assembly Line | 29 | 3 | 200 | 1 |
| Fishing Pond | 31 | — | — | 1 |
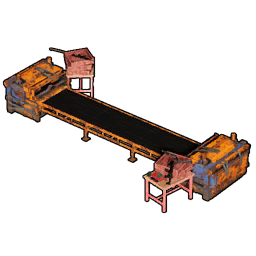 Weapon Assembly Line Weapon Assembly Line | 32 | 3 | 200 | 1 |
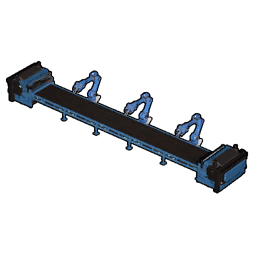 Sphere Assembly Line II Sphere Assembly Line II | 35 | 5 | 400 | 1 |
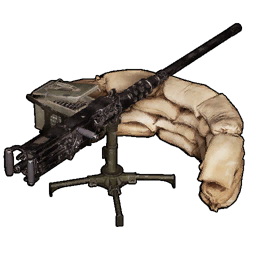 Mounted Machine Gun Mounted Machine Gun | 40 | — | — | 1 |
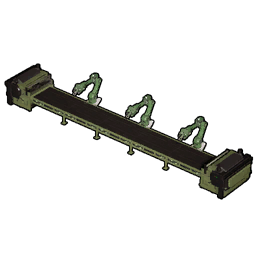 Production Assembly Line II Production Assembly Line II | 42 | 5 | 400 | 1 |
| Drafting Table | 45 | 4 | — | 1 |
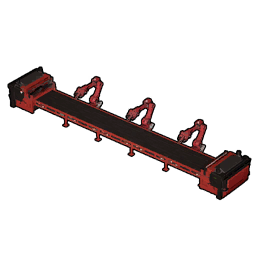 Weapon Assembly Line II Weapon Assembly Line II | 47 | 5 | 400 | 1 |
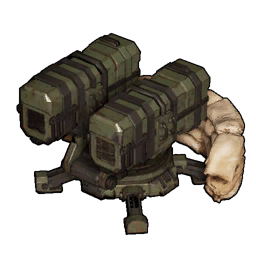 Mounted Missile Launcher Mounted Missile Launcher | 50 | — | 1000 | 1 |
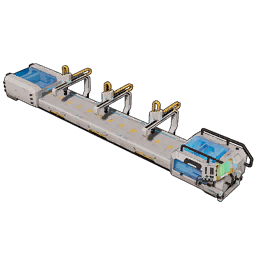 Advanced Sphere Assembly Line Advanced Sphere Assembly Line | 58 | 5 | 1000 | 1 |
| Advanced Workshop | 62 | 5 | 1000 | 1 |
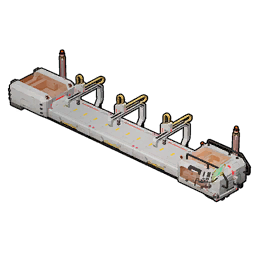 Advanced Weapon Assembly Line Advanced Weapon Assembly Line | 63 | 5 | 1000 | 1 |
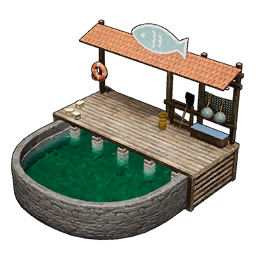 Large Fishing Pond Large Fishing Pond | 69 | — | — | 1 |
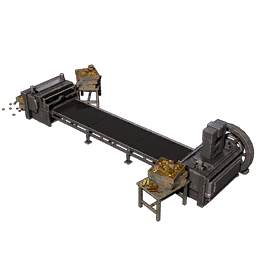 Gold Coin Assembly Line Gold Coin Assembly Line | 73 | 4 | 200 | 1 |
| Ancient Relic Recycler | 74 | 3 | 800 | 1 |
Passives That Change Handiwork Speed
Because every Pal starts at the same base Work Speed of 100, passives do more for your crafting output than the rank does. A Pal carries four, and the three big craft-speed passives plus Lucky come to +235% — swap Lucky for Work Slave and it's +245%, paid for with 30% of its Shot Attack, which a base Pal never uses anyway. The trap is the negative rolls: a wild catch with Slacker and Musclehead is at −80% before you've done anything, and that Pal will look busy at a bench for hours while producing nothing. Check the passive list on anything you intend to keep, and re-roll the bad ones — the min-maxing guide covers how. Insomnia is the sleeper pick here: it makes a day-shift Pal work through the night, which effectively doubles its output without touching Work Speed at all.
| Passive | Work Speed | Rank | The catch |
|---|---|---|---|
| Demon's Hand | +90% | 5 | Sanity drains 15% faster — a hot spring at base covers it |
| Remarkable Craftsmanship | +75% | 4 | None |
| Artisan | +50% | 3 | None |
| Work Slave | +30% | 1 | Shot Attack −30%, irrelevant on a base worker |
| Serious | +20% | 1 | None |
| Lucky | +20% | 4 | None — it also adds 15% Shot Attack |
| Conceited | +10% | 1 | Defense −10% |
| Insomnia | — | 1 | No speed at all; it stops the Pal sleeping so it works nights |
| Clumsy | −10% | −1 | Re-roll it |
| Mentally unstable | −10% | −1 | Defense −10% on top |
| Hermit Sage | −20% | 5 | Halves sanity drain, so it's a deliberate trade, not a bad roll |
| Slacker | −30% | −3 | Re-roll it |
| Musclehead | −50% | 2 | Great on a combat Pal, disastrous on a crafter |
Applied Handiwork Handbook: A Permanent +1
The Applied Handiwork Handbook I permanently raises a Pal's Handiwork affinity by one rank when you let it read the book, and it is the only thing in the game that moves the rank itself — star-ranking a Pal at the Pal Essence Condenser raises its combat stats, not its job. That means a Solenne that has read one sits a full rank above anything else in the world. The smarter use is on a Pal you already have a lot of: feeding one to a 5-food Wistella gets you rank 7 crafting on the cheapest appetite of any top-tier worker. At 300 Dog Coins it's also one of the better things to spend Medal Shop currency on.
| Source | Detail |
|---|---|
| Medal Shop | 300 Dog Coins each, unlimited restock — the reliable route |
| Supply drops | Best odds in Feybreak and Sunreach Isle at 8.33% per drop, then Sakurajima 4.17% and the Snowfields 3.33% |
| Chests | Rare roll from graded chests in every region, roughly 0.8% per chest |
| Rarity | 4 — it will not show up in ordinary loot in bulk, so budget the coins |
How to Staff a Crafting Base
A crafting base is a queue problem, not a rank problem. Assign more Handiwork bodies than you think you need, because a Pal that is transporting, eating, or asleep is not at the bench, and a 15-slot base running four assembly lines will still bottleneck if only two workers actually have Handiwork on the sheet. The practical setup:
- Half your roster nocturnal. Seven of the 13 rank 6+ Pals work nights — Solenne, Selyne, Splatterina, Venusa, Wistella, Dandilord and Bellanoir Libero — and 37 Handiwork Pals are nocturnal in total. A night crew is free production.
- Watch sanity, not speed. Crafting drains SAN, and a depressed Pal works at a crawl or wanders off. A hot spring and decent food in the box keep the line moving; see the best food for SAN.
- Don't stack side jobs on your fastest crafter. A Pal with Transporting will leave the bench to haul boxes. Solenne's thin job sheet is a feature — it stays put.
- Keep the low ranks. With every station at rank 1, a pile of Handiwork 2 and 3 Pals clears a long queue faster than one rank 8 working alone.
- Use the work optimizer to see which of the Pals you actually own covers the most jobs before you go catching.
Related Guides
Work suitability and base workers:
Ranks, passives and crafting stations:
- How to Rank Up Pals: Condenser, Ripe Starfruit, and Handbooks
- All Handbooks and the Best Pals to Use Them On
- Best Pal Builds: Top Passives, Skills, and Loadouts
- How to Get the Advanced Workshop and Craft AI Core
- How to Get the Ancient Workbench and All It Crafts
- How to Get Technology Points
- Palworld Passive Skills List