Feed Box Placement: Best Spots and What to Stock
Where to put the Feed Box in your Palworld base so workers stop wasting time walking to it, plus the 10 work speed foods and the highest-nutrition dishes worth stocking.
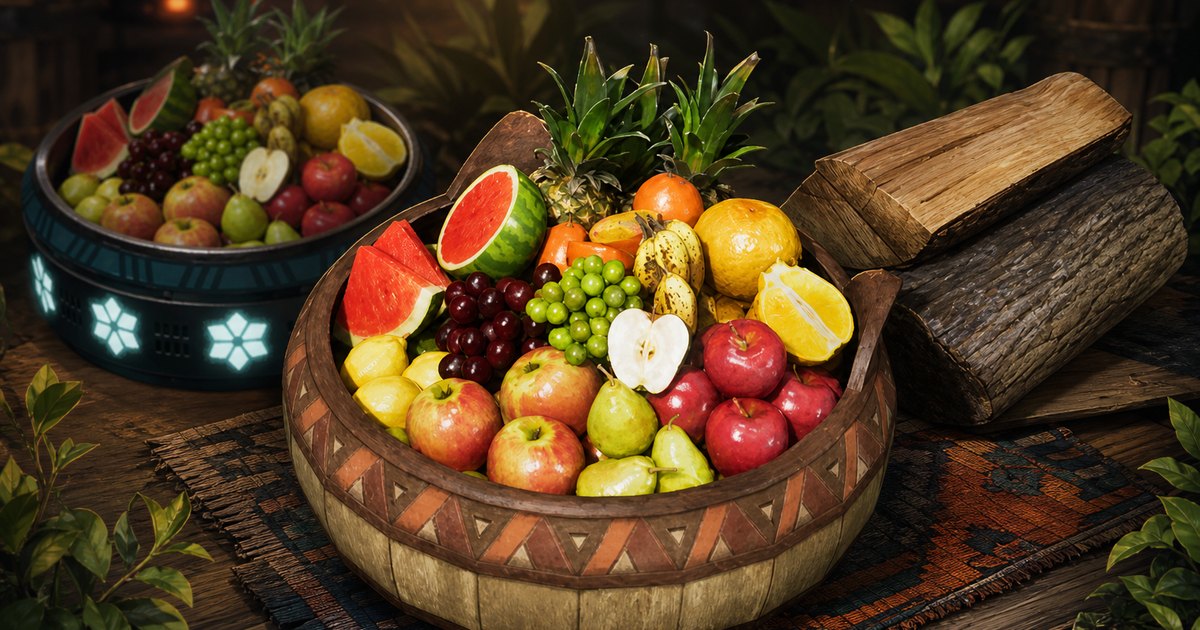
A badly placed Feed Box is one of the quietest ways to lose base output in Palworld — every hungry worker walks to it, eats, and walks back, and that round trip comes straight out of your production. This guide covers where to put the box, why the walk matters more the bigger your Pals are, the 10 dishes that boost work speed, and how to keep the thing stocked without touching it.
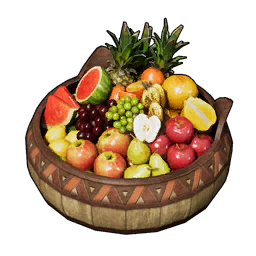 Feed Box at a Glance
The Feed Box is one of the cheapest structures in the game and you unlock it almost immediately — Lv. 4, two technology points, and 20 Wood. That price is the whole argument for planning your layout around it: a second or third box costs less than a single wall panel, so there is never a reason to make a Pal cross the base for food. The only real upgrade is the Cold Food Box at Lv. 51, which slows spoilage when you staff it with an Ice Pal.
| Detail | Value |
|---|---|
| Structure | Feed Box |
| Category | Food |
| Unlock level | Lv. 4 |
| Technology cost | 2 points |
| Materials |  Wood x20 Wood x20 |
| What it does | Base Pals walk to it and eat when their hunger bar drops |
| Upgrade | 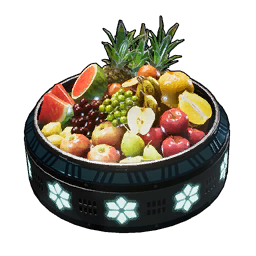 Cold Food Box — Lv. 51, food spoils slower Cold Food Box — Lv. 51, food spoils slower |
| Workers it has to feed | Up to 15 deployed Pals per base |
Fifteen is the number that makes placement matter. A base at the deploy cap has fifteen Pals independently deciding to stop working and go eat, and if the box sits in a far corner you are paying that walk fifteen times over, repeatedly, forever. Sorting it out costs 20 Wood.
Best Places to Put a Feed Box
There is no single correct spot — it depends on whether your base is one dense production block or several scattered work zones. The three placements below cover almost every layout, and the fourth is a comfort pick that pairs food with the rest of your Pals' recovery loop. If you are torn between two of them, build both boxes; the material cost is a rounding error.
| Placement | Why it works | Best for |
|---|---|---|
| Beside the work cluster | Cuts the walk from workbench to food down to a few steps | Dense bases where everything is packed together |
| Center of the base | Keeps the worst-case walk short from every direction at once | Spread-out bases with several separate work zones |
| Open ground with a clear path | Pals path badly around tight clusters of structures and get stuck | Every base, no exceptions |
| Next to the Pal Beds and Hot Spring | Puts eating, bathing and sleeping in one corner | Bases where SAN and sickness are the bottleneck |
| A second box on the far spur | Covers an outlying mining or logging area for 20 Wood | Large bases with a detached ore or tree camp |
Right Next to the Work Cluster
If your assembly lines, furnaces and workbenches are all sitting in one block, drop the Feed Box on the edge of that block. You do not need one box per station — you need the food to be inside the same area the Pals are already standing in, so that a hunger interrupt costs a couple of seconds instead of a full lap. This is the default answer for a compact base, and it is the layout most people should be building anyway, because tight work clusters also make it easier for Pals to pick up the next job.
Dead Center in a Spread-Out Base
Once you have a plantation on one side, a mining spur on the other and the crafting benches somewhere in between, no single work area deserves the box. Put it in the middle instead. Centering does not make any one trip fast — it makes the *slowest* trip tolerable, which is what you actually care about when fifteen Pals are pulling from the same box. Bases built on a slope benefit the most here, because a central box on flat ground beats a closer box that forces Pals up a cliff face.
In the Open, Not Boxed In
Whatever you pick, leave clear ground around the box. Pals in Palworld navigate badly through dense clusters of foundations, walls and workstations — a box wedged between three benches and a chest wall makes them take long detours or stall out entirely, which reads as "my Pals are starving next to a full Feed Box". If your workers keep getting hungry despite a stocked box, the cause is usually pathing rather than food, and the same clutter is often behind Pals not working at all. Give it a clear approach from at least two sides and the problem tends to disappear.
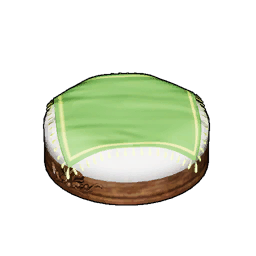 Beside the Pal Beds and Hot Spring
The recovery corner is the layout most veteran bases converge on: Pal Beds, a 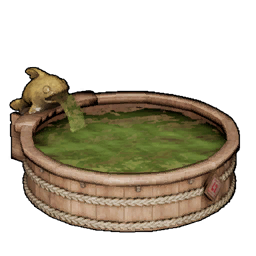 Hot Spring and the Feed Box grouped together, away from the noise of the production block. A Pal that finishes eating is usually about to sleep or bathe next, and clustering the three means one short walk covers all of it. It also makes low SAN much easier to manage, because the food that slows SAN loss and the spring that restores it are in the same square of ground — worth doing before you start curing depressed Pals one by one.
Why the Walk Costs More Than You Think
Hunger drains at the same rate for every Pal in the game — the number that changes is capacity, and it swings hard. A Lamball holds 100 hunger and takes one food item per meal; Solenne holds 680 and takes nine. Big Pals therefore eat far less often but empty your box nine items at a time, while a bench full of XS workers makes constant short trips. That is the practical split: small-Pal bases lose time to trip *frequency*, so the box has to be close; large-Pal bases lose stock to *volume*, so the box has to be deep. Neither problem is solved by putting it in a corner.
| Pal | Food per Meal | Hunger Capacity | What it means for your box |
|---|---|---|---|
 Solenne Solenne | 9 | 680 | Rare trips, but clears nine items each time |
 Orserk Orserk | 9 | 620 | Same — stock deep or it runs dry overnight |
 Blazamut Blazamut | 9 | 600 | One of the hungriest workers you can deploy |
 Anubis Anubis | 8 | 540 | The standard handiwork pick, and a heavy eater |
 Grizzbolt Grizzbolt | 6 | 410 | Mid-size worker, six items a sitting |
 Dumud Dumud | 3 | 230 | Cheap to feed, common ranch and mining Pal |
 Mozzarina Mozzarina | 2 | 150 | Ranch staple, barely touches your stock |
 Chikipi Chikipi | 1 | 100 | Eats constantly, but one item at a time |
The full per-Pal breakdown lives in the hunger and Feed Box guide if you want to plan a specific roster. For layout purposes the rule of thumb is enough: the heavier your workers, the more the box needs to be both central and full.
Best Foods to Keep in the Feed Box
Placement decides how long the trip takes; what is in the box decides how often they make it and what they get out of it. Red Berries restore 15 hunger — a cooked Grilled Lamball restores 147, nearly ten times as much, from a single crafting slot. Berries are fine at Lv. 4 and a waste of a box by Lv. 30. Below are the three categories worth cooking for, all restore values compared within food only.
 Foods That Boost Work Speed
Ten dishes carry a work speed buff, and they are the single best thing you can leave in a production base's Feed Box — a worker that eats one goes back to the line faster than it left. Mushroom Stew tops the list on raw nutrition at 212, but Grilled Lamball is the realistic pick for most bases: it needs only Lamball Mutton and two Lettuce, unlocks far earlier, and still lands 147 hunger with a SAN rider attached. Salad is the earliest entry that is worth cooking in bulk, since Lettuce and Tomato both come off your own plantations. The Attack and Defense lines on a few of these are for you, not your workers — a base Pal only cares about the work speed and SAN parts.
| Food | Nutrition | SAN | Effect | Ingredients |
|---|---|---|---|---|
| Mushroom Stew | 212 | 11 | Work speed, Attack +10% | — |
 Pizza Pizza | 184 | 23 | Work speed (small), stays full longer | Flour x1, Red Berries x2, Tomato x2, Milk x2 |
 Dumud Chowder Dumud Chowder | 170 | 21 | Work speed, stays full longer | Raw Dumud x1, Lettuce x2, Tomato x2 |
 Mozzarina Hamburger Mozzarina Hamburger | 162 | 20 | Work speed, slower SAN loss | Mozzarina Meat x1, Flour x1, Lettuce x2 |
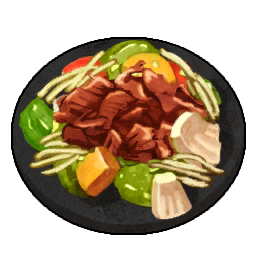 Grilled Lamball Grilled Lamball | 147 | 18 | Work speed (small), slower SAN loss | Lamball Mutton x1, Lettuce x2 |
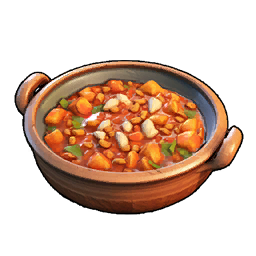 Minestrone Minestrone | 146 | 18 | Work speed | Tomato x3, Carrot x2, Onion x2, Potato x1 |
 Fried Chikipi Fried Chikipi | 108 | 14 | Work speed (small), slower SAN loss | Chikipi Poultry x1, Flour x1, Egg x1, HQ Pal Oil x1 |
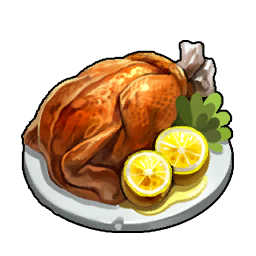 Chikipi Sauté Chikipi Sauté | 92 | 12 | Work speed (small) | Chikipi Poultry x1, Red Berries x2 |
 Salad Salad | 84 | 11 | Work speed (small) | Lettuce x2, Tomato x2 |
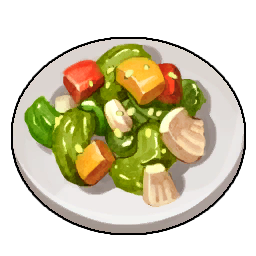 Stir-Fried Vegetables Stir-Fried Vegetables | 54 | 7 | Work speed (small), Defense +10% | Onion x2, Carrot x2 |
Stacking food on top of your other bonuses is covered properly in work speed explained — the short version is that a buff food in the box is free throughput you are otherwise leaving on the table.
 Foods That Slow SAN Loss
SAN is what turns a productive base into a base full of sick, depressed Pals, and ten dishes slow the bleed. Mushroom Quiche is the standout at 184 nutrition and 23 SAN restore, and it also keeps Pals fuller for longer, so it does double duty in a box you do not want to refill often. Mozzarina Hamburger and Grilled Lamball appear on both lists — if you only want to cook one dish for the whole base, cook one of those two. Skip French Fries and Pancake here: they carry the SAN effect but restore 35 and 42 hunger respectively, so your Pals just come back sooner.
| Food | Nutrition | SAN | Effect | Ingredients |
|---|---|---|---|---|
 Bolognese Sauce Bolognese Sauce | 190 | 13 | Slower SAN loss, Attack +10% | — |
| Mushroom Quiche | 184 | 23 | Slower SAN loss, stays full longer | Flour x1, Mushroom x2, Onion x2, Egg x2, Milk x2 |
| Mozzarina Hamburger | 162 | 20 | Slower SAN loss, work speed | Mozzarina Meat x1, Flour x1, Lettuce x2 |
| Grilled Lamball | 147 | 18 | Slower SAN loss, work speed (small) | Lamball Mutton x1, Lettuce x2 |
 Spring Rolls Spring Rolls | 115 | 14 | Slower SAN loss, Attack +10% | Onion x2, Mushroom x2, Flour x1 |
| Fried Chikipi | 108 | 14 | Slower SAN loss, work speed (small) | Chikipi Poultry x1, Flour x1, Egg x1, HQ Pal Oil x1 |
 Fried Kelpsea Fried Kelpsea | 108 | 14 | Slower SAN loss, Defense +10% | Raw Kelpsea x1, Flour x1, Egg x1, HQ Pal Oil x1 |
 Stewed Galeclaw Stewed Galeclaw | 92 | 12 | Slower SAN loss (small) | Galeclaw Poultry x1, Red Berries x2 |
 Pancake Pancake | 42 | 5 | Slower SAN loss | Flour x1, Milk x1 |
 French Fries French Fries | 35 | 10 | Slower SAN loss | Potato x2, HQ Pal Oil x1 |
 Highest-Nutrition Foods for the Fewest Trips
If your goal is purely to stop Pals leaving their stations, stock the biggest numbers you can afford. The cakes dominate this list outright — Special Cake restores 738 hunger, enough to fill even a 680-capacity Pal from empty in one sitting — but they are breeding-farm currency and cost a fortune in Flour, Eggs and Milk, so putting them in a Feed Box is a genuine waste. The practical ceiling is Mammorest Curry at 418, or Broncherry Fried Noodles at 321 if you have a steady meat supply. Note that none of these carry a work speed buff — you are trading the throughput bonus for fewer interruptions, which is the right call only in bases where the walk is long and you cannot fix the layout.
| Food | Nutrition | SAN | Effect | Worth boxing? |
|---|---|---|---|---|
 Special Cake Special Cake | 738 | 92 | None | No — breeding farm only |
 Extravagant Vegetable Cake Extravagant Vegetable Cake | 717 | 90 | None | No — breeding farm only |
 Vegetable Cake Vegetable Cake | 696 | 87 | None | No — breeding farm only |
 Cake Cake | 656 | 82 | None | No — breeding farm only |
| Mammorest Curry | 418 | 52 | Attack +25% | Yes — the real high-end pick |
 Cheeseburger Cheeseburger | 338 | 22 | Defense +10%, stays full longer | Yes |
 Broncherry Fried Noodles Broncherry Fried Noodles | 321 | 40 | Ranged Attack +20% | Yes |
 BLT BLT | 316 | 22 | Attack +15% | Yes |
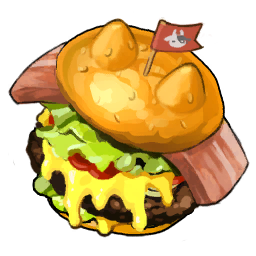 Mozzarina Cheeseburger Mozzarina Cheeseburger | 288 | 36 | Attack +20%, stays full longer | Yes |
Every cooked dish in the game, with recipes and where the ingredients come from, is in the full food list.
Keep the Box Stocked Without Touching It
The other half of good positioning is putting the supply chain next to the box. A Ranch with the right Pals on it plus a couple of plantations feeds a 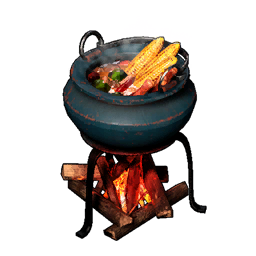 Cooking Pot that sits within a few steps of the Feed Box, and the whole loop runs itself — Pals haul the produce, a Kindling Pal cooks it, and the box never empties. Build that chain in a line rather than scattering it, because every hop your transporters make is another walk you are paying for.
| Ranch Pal | Produces | Feeds into |
|---|---|---|
| Chikipi |  Egg Egg | Fried Chikipi, Mushroom Quiche, Pizza-tier baking |
| Mozzarina |  Milk Milk | Pizza, Mushroom Quiche, Pancake |
 Caprity Caprity |  Red Berries Red Berries | Chikipi Sauté, Stewed Galeclaw, Pizza |
 Shroomer Shroomer |  Mushroom Mushroom | Mushroom Stew, Mushroom Quiche, Spring Rolls |
| Dumud |  High Quality Pal Oil High Quality Pal Oil | Fried Chikipi, Fried Kelpsea, French Fries |
Shroomer is the quiet MVP of that table — Mushroom feeds three of the buff dishes and is otherwise annoying to gather by hand. Full ranch output rankings are on the Ranch page, and the workers you should be deploying alongside them are covered in best base Pals.
Upgrading to the Cold Food Box
Cooked food spoils, and a well-stocked Feed Box full of high-end dishes is exactly the thing you do not want rotting. The Cold Food Box unlocks at Lv. 51 and costs 20 Pal Metal Ingot, 20 Plasteel and 15 Cryogenic Coolant — a real bill, but it is the same footprint in your layout, so slot it into the spot you already picked rather than rebuilding around it. It needs a Cooling worker assigned to actually chill anything.
| Cooling Pal | Cooling Rank | Notes |
|---|---|---|
 Bastigor Bastigor | 8 | Highest Cooling rank in the game |
 Frostallion Frostallion | 7 | Tower boss, doubles as a top-tier mount |
 Univolt Cryst Univolt Cryst | 6 | Far easier to get than the two above |
 Whalaska Whalaska | 6 | Big body, big appetite — feed it well |
 Icelyn Icelyn | 5 | Cheap, common, perfectly adequate here |
Any of the 38 Pals with a Cooling suitability will run the box; the ranks above just decide how much preservation you get out of the slot. Icelyn at rank 5 is the sensible pick for a base that has better jobs for its legendaries. Full build cost and unlock details are in the Cold Food Box guide.
Summary
Put the Feed Box where your Pals already are: inside the work cluster for a compact base, dead center for a spread-out one, and always on open ground with a clear approach. Fill it with work speed dishes — Grilled Lamball for the early and mid game, Mushroom Stew or Mushroom Quiche once your ranches are running — and keep the plantations, Cooking Pot and box in one short line so the supply chain feeds itself. Upgrade to the Cold Food Box at Lv. 51 when spoilage starts eating your stock, not before.
Related Guides
Hubs: All Palworld Guides · List of All Base Structures · Ranch Pals and Drops
Base and layout: Palworld Base Building Guide · Best Base Locations · Best Base Pals · Pals Not Working: 9 Causes · Best Passives for Base Pals
Food and upkeep: How to Eat Food and Feed Pals · List of All Food · Best Food for SAN and Hunger · How to Get the Cold Food Box · Food Expiration and How to Stop Spoilage
Output and recovery: Work Speed Explained · How to Cure Depressed Pals · List of All Sicknesses and Injuries · How to Get the Japanese-Style Hot Spring