How to Cure Depressed Pals: Medicine, SAN, and Prevention
Depressed costs a base Pal 20% of its work speed. Here is the one medicine that cures it, the exact SAN thresholds that cause it, where to farm the materials, and the buildings that stop it coming back.
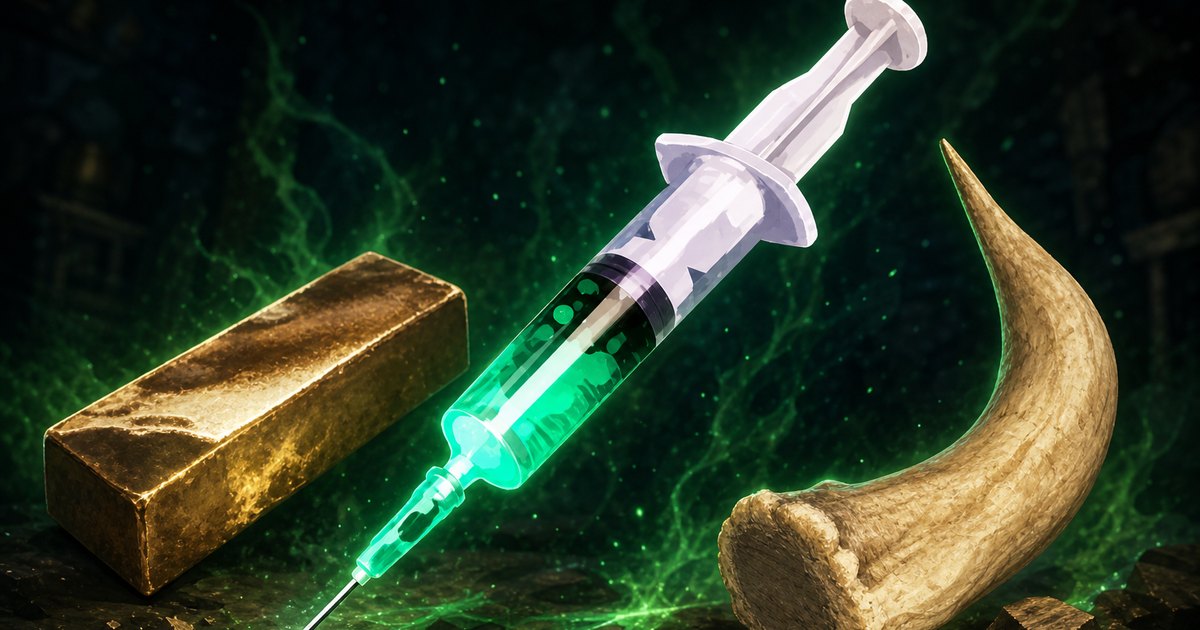
Depressed is the tier-3 sickness that takes the biggest bite out of a base Pal's output of anything you can actually cure — −20% work speed on top of −10% movement speed, and it does not wear off on its own while the Pal is working. This guide covers the one medicine that fixes it, the exact SAN numbers that cause it, where to farm the materials, and the buildings that keep it from happening again.
 Depressed at a Glance
| Detail | Value |
|---|---|
| Severity tier | 3 — the worst curable sickness in the game |
| Work speed | −20% (the largest work penalty of any curable condition) |
| Movement speed | −10% |
| Cured by | High Grade Medical Supplies |
| Same medicine also cures | Weakened |
| Triggers when | The Pal's SAN falls to 40 or below |
| Clears on its own? | 10% chance while stored in the Palbox |
| Craft cost | Ingot x5, Horn x5, Bone x2 |
| Merchant price | 3,120 Gold |
The important line in that table is the work-speed figure. Weakened is often treated as the scarier condition because it strips −20% movement, but Depressed is the one that actually costs you production: a Depressed Pal on an Ore Mining Site II is mining a fifth slower until you dose it, and because low SAN is what caused it in the first place, an untreated base tends to produce a second and third case shortly after the first. Treat it as a production emergency, not cosmetic flavour.
How to Cure Depressed Pals
There is exactly one item that removes Depressed, and there are four ways to get it into the Pal: hand it over yourself, let the Pal help itself from a Medicine Rack, craft it at a medicine workbench, or buy it outright. Medicine tiers are locked to their own conditions, so a Depressed Pal will not respond to the cheaper medicines at all — check the status tag before you spend anything.
Give It High Grade Medical Supplies
Open your inventory, select the affected Pal and administer High Grade Medical Supplies directly. It is the tier-3 medicine, which means it covers Depressed and Weakened and nothing else, and it restores no Health — an injured *and* Depressed Pal needs medicine for the condition plus a bed or a healing item for the HP. Keep two or three in your pack once you have a mid-game base running, because the trip home to craft one costs you more production than the materials do.
| Medicine | Cures | Craft Cost | Merchant Price |
|---|---|---|---|
 Low Grade Medical Supplies Low Grade Medical Supplies | Sick, Sprain, Overfull | Red Berries x5, Horn x2 | 780 Gold |
 Medical Supplies Medical Supplies | Ulcer, Fracture | Ingot x3, Horn x3, Bone x1 | 1,820 Gold |
| High Grade Medical Supplies | Depressed, Weakened | Ingot x5, Horn x5, Bone x2 | 3,120 Gold |
Nothing on that table overlaps: giving a Depressed Pal the Low Grade or standard version is a wasted item and a wasted trip. The full breakdown of which condition maps to which tier lives in the List of All Sicknesses and Injuries, and it is worth a look because two of the eight conditions look almost identical in the Pal list.
 Craft It at a Medicine Workbench
Medicine is made at a dedicated workbench and nowhere else. The Medieval Medicine Workbench at Tech Level 12 already produces the tier-3 medicine, so you never need the later benches just to cure Depressed — the upgrades buy crafting speed and, at the top tier, recipes you cannot make anywhere else. One batch of High Grade Medical Supplies takes roughly ten times the work of a Low Grade batch and about three times a standard one, so staff the bench with a Pal that has Medicine Production suitability rather than grinding it out by hand.
| Workbench | Unlock | Build Cost |
|---|---|---|
| Medieval Medicine Workbench | Tech Lv 12 | Wood x30, Nail x5, Paldium Fragment x10 |
 Electric Medicine Workbench Electric Medicine Workbench | Tech Lv 43 | Refined Ingot x40, Circuit Board x10, Carbon Fiber x10 |
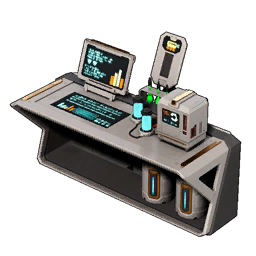 Advanced Medicine Workbench Advanced Medicine Workbench | Tech Lv 61 | Hexolite x50, Plasteel x50, Circuit Board x30 |
One catch worth planning around: the Advanced bench is itself a −0.15 SAN job for whoever runs it, and the Medieval bench is a gentler −0.11. If your medicine worker keeps getting sick, that is why. The Advanced Medicine Workbench guide covers what the top tier adds, and Best Pals for Medicine Production ranks who should be standing at it.
 Farm the Three Materials
The recipe is cheap by late-game standards but awkward early, because Horn and Bone come off specific Pals rather than the ground. Both drop at a 100% rate from the Pals below whether you catch them or defeat them, so a single sweep through one spawn pocket usually stocks you for a dozen doses.
| Material | Qty | Best Source |
|---|---|---|
 Ingot Ingot | x5 | Smelt 2 Ore each in any furnace —  Bushi also drops 2–3 finished Ingots (spawn map) Bushi also drops 2–3 finished Ingots (spawn map) |
| Horn | x5 |  Eikthyrdeer drops 2 every single time, across 227 spawn points (spawn map) Eikthyrdeer drops 2 every single time, across 227 spawn points (spawn map) |
 Bone Bone | x2 |  Anubis drops 3–5, the highest per-kill Bone yield (spawn map) Anubis drops 3–5, the highest per-kill Bone yield (spawn map) |
For Horn, Eikthyrdeer is the pick over the higher-yield options — Elgrove drops 2–3 but is far rarer, and Eikthyrdeer's 227 spawn points cluster hard around Islandhopper Coast. For Bone, Anubis is the best single stop but it only appears at one place on the map, so if you just want volume, Cawgnito drops 2–4 and has 1,463 spawn points, the widest spread of any Bone source in the game.
 Buy It for 3,120 Gold
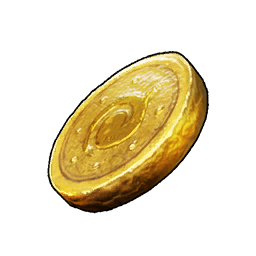
If you need a cure right now and your Horn stock is empty, every general merchant carries it. High Grade Medical Supplies sit in the permanent stock of the Village, Desert and Volcano shops, the roaming Wandering Merchant, and the caravan traders, all at the same 3,120 Gold. That is expensive per unit next to crafting, but it is the difference between fixing a Depressed miner in one minute and losing an evening's output — see What to Buy from Merchants for how it stacks up against the rest of their shelf.
 Stock a Medicine Rack So Pals Self-Treat
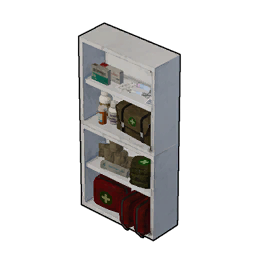
This is the fix you actually want long term. The Medicine Rack unlocks at Tech Level 24 for Ingot x20, Cloth x5 and Wooden Board x3, and a sick Pal will walk over and dose itself from whatever is inside. Fill it with High Grade Medical Supplies and Depressed stops being something you have to notice — but only if the rack is stocked with the right tier, since the Pal cannot substitute a cheaper medicine. Put it near the middle of your workspace, not out at the edge of the base; a rack the Pal has to cross the whole base to reach gets used late or not at all.
 Free Fix: Park It in the Palbox
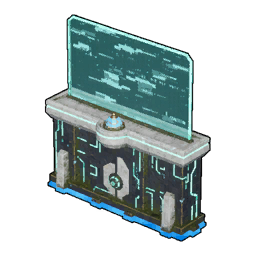
Storing a sick Pal in the Palbox gives its condition a chance to resolve for nothing, and the odds scale inversely with severity — which puts Depressed near the bottom of the table at 10%. It is a real option when you are out of materials and gold, and it costs you nothing but the Pal's labour while it sits there, but do not count on it for a Pal you need working.
| Tier | Conditions | Recovery Chance in Palbox |
|---|---|---|
| 1 | Sick, Sprain, Overfull | 20% |
| 2 | Ulcer, Fracture | 15% |
| 3 | Depressed, Weakened | 10% |
| — | Troublemaker | 3% |
Why Pals Get Depressed: The SAN Ladder
SAN is the stat behind every sickness in the game. It drops while a Pal works, recovers when it sleeps or slacks off, and recovers faster with hot springs and good food. What almost nobody realises is that the game gives you four separate warnings before a sickness lands, and each one fires at a fixed SAN number — so the behaviour you are already seeing in the activity log tells you precisely how close a Pal is to going Depressed.
| SAN | What the Pal Does | The Line in Your Log |
|---|---|---|
| 85 | Takes a short break — status reads *Resting…* | "X is taking a break." |
| 65 | Refuses work outright — status reads *Slacking off…* | "X is slacking off." |
| 60 | Shuts itself away and idles — status reads *Idling…* | "X is slacking off." |
| 50 | Stress-eats into Overfull, or knocks the Feed Box over | "X seems to be stress eating." / "X seems to have knocked over the feed box!" |
| 40 | Falls ill — this is where Depressed rolls | "X has fallen ill…" |
| 0 | Riots — status reads *Rioting!* | "X is in a fit of rage!" |
Read that from the top down and the practical rule falls out: a Pal that is taking breaks is already under 85 SAN, and one that is openly slacking off is 25 points from a sickness roll. Slacking is not laziness to be worked around, it is the last cheap warning you get. The Pal's own comment line escalates in step — "Feeling down because of bad working conditions…" at the halfway mark, "Quite stressed out…" as it approaches the illness threshold, and "Its eyes are bloodshot! Something's wrong…" right at the bottom. Hover a worker showing the second or third of those and you have found your next Depressed case before it happens.
Three things people worry about are not on that ladder at all, because Palworld leaves them switched off: base Pals never run away, never pick fights with each other, and cannot work themselves to death. The worst that a fully drained Pal does is riot, and Troublemaker — the one condition no medicine touches — is where that road ends.
 Blocked Paths Are the Quiet Cause
A Pal only regains SAN if it can physically reach the thing that restores it. Wall a hot spring off behind your production line, ring the Feed Box with crafting benches, or stack furniture so tightly that a large Pal cannot path through, and you get a base full of Depressed workers with every facility technically present. Leave real walking room around beds, feed boxes and springs, and check that the Pals you actually see using them are the big ones as well as the small ones — pathing failures almost always hit large Pals first.
 Audit Which Jobs You Assign
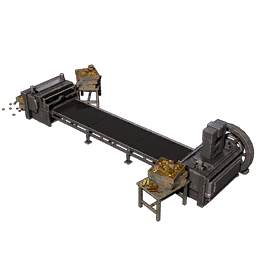
Every workstation carries its own SAN cost, and the spread is enormous — the worst job in the game drains SAN 25 times faster than the gentlest, and roughly 4½ times faster than an ore mine. If one base of yours produces a constant trickle of Depressed and Weakened Pals while another never does, this table is almost always the reason.
| SAN Cost | Stations |
|---|---|
| −0.50 | Gold Coin Assembly Line — the single most draining job in the game |
| −0.30 | 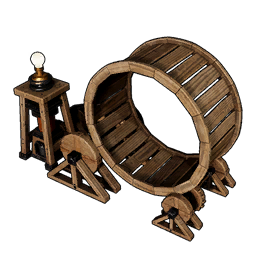 Human-Powered Generator Human-Powered Generator |
| −0.20 | Production Assembly Line II, Weapon Assembly Line II, Advanced Weapon Assembly Line, Advanced Workshop |
| −0.15 | All 32 mining, quarrying and logging sites, every furnace, power generators, coolers and heaters, both Clinics |
| −0.11 | All 36 plantations, kitchens, cooking pots, incubators and standard workbenches |
| 0.00 | 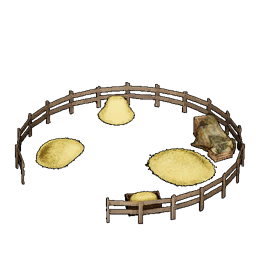 Ranch, Breeding Farm, fishing ponds, oil extractors, cold storage, flea markets Ranch, Breeding Farm, fishing ponds, oil extractors, cold storage, flea markets |
The reading is blunt: mining, smelting and money-printing bases get sick, and ranch and breeding bases do not. If you run a Gold Coin Assembly Line, treat it as a rotating post rather than a permanent assignment, and never pair it with a base that has no hot spring.
How to Prevent Depression
Curing Depressed costs 3,120 Gold or a materials run every time it happens. Preventing it costs a handful of buildings, once. Everything below either slows the rate SAN falls or speeds the rate it comes back, and the cheapest three of them are all unlocked by Tech Level 24.
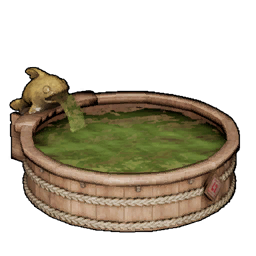 Hot Springs Are the Main SAN Refill
Hot springs exist purely to push SAN back up, and each tier restores more per soak than the last. The base Hot Spring at Tech Level 9 arrives before you can even build a medicine bench, which makes it the single best anti-Depressed purchase in the early game — and the top tier restores Health as well, so it doubles as injury care.
| Hot Spring | Unlock | Build Cost |
|---|---|---|
| Hot Spring | Tech Lv 9 | Wood x20, Stone x15, Paldium Fragment x7, Aquatic Pal Fluids x3 |
 High Quality Hot Spring High Quality Hot Spring | Tech Lv 31 | Stone x50, Wood x50, Cement x10, Cryogenic Coolant x3 |
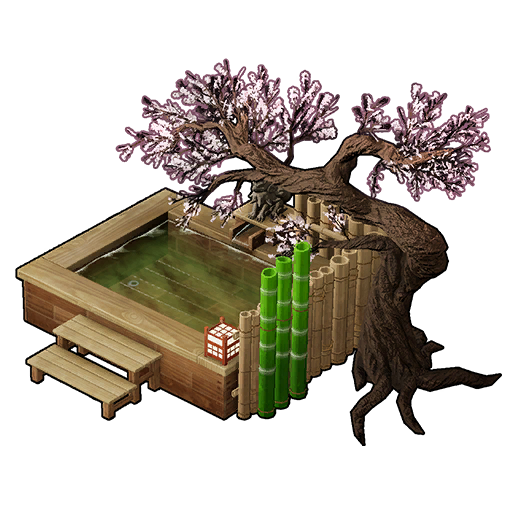 Japanese-Style Hot Spring Japanese-Style Hot Spring | Tech Lv 64 | Coralum Ingot x30, Thermal Core x10, Paldium Fragment x20, Hardwood x20 |
 Ancient Hot Spring Ancient Hot Spring | Tech Lv 76 | Paloxite Ingot x100, World Tree Holy Water x10, Thermal Core x20, Cryogenic Coolant x20 |
Build springs where Pals already walk, and build more than one in a busy base — a single spring becomes a queue, and a queuing Pal is not recovering. The Japanese-Style Hot Spring is the practical endgame pick since the Ancient version's material bill lands at Tech Level 76.
 One Bed per Pal, Sized Correctly
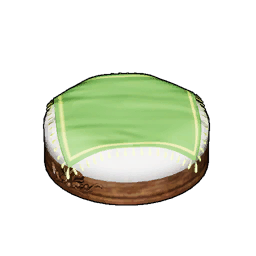
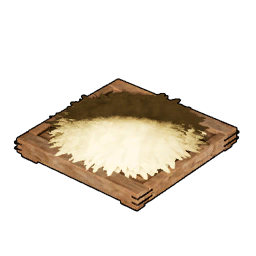
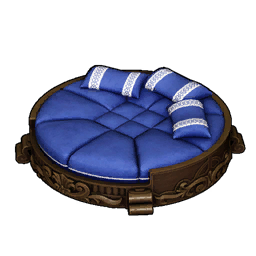
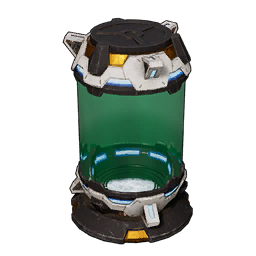
Beds restore SAN overnight, which means an under-bedded base is manufacturing sicknesses while you sleep. One bed per base Pal is the whole rule, and the sizing matters — only the Large Pal Bed, the Pal Pod and the Ancient Pal Bed comfortably fit large Pals, so a base of big workers on Straw beds will keep going Depressed no matter how many springs you add.
| Bed | Unlock | Build Cost |
|---|---|---|
 Straw Pal Bed Straw Pal Bed | Tech Lv 3 | Wood x10, Fiber x5 |
| Fluffy Pal Bed | Tech Lv 24 | Cloth x5, Wooden Board x3, Nail x5, Fiber x10 |
 Large Pal Bed Large Pal Bed | Tech Lv 36 | High Quality Cloth x5, Hardwood x5, Nail x20, Fiber x20 |
 Pal Pod Pal Pod | Tech Lv 56 | Pal Metal Ingot x10, Cryogenic Coolant x6, Computer x3 |
 Ancient Pal Bed Ancient Pal Bed | Tech Lv 73 | Soralite Ingot x10, World Tree Holy Water x2, Mythical Wood x3 |
 The Clinic Attacks the Cause
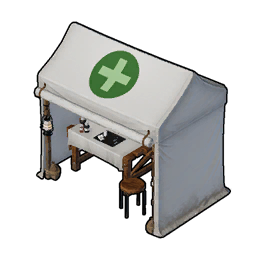
The Clinic is the only building that stops illness rather than treating it. Put a Pal with Medicine Production suitability on it and it slows SAN loss across the whole base while actively preventing sickness and injury — the panel tracks it as a Sanitation Level, and a higher-ranked worker pushes that further. It unlocks at Tech Level 24 for Wooden Board x10, Cloth x20 and Nail x15, which is nothing, and the 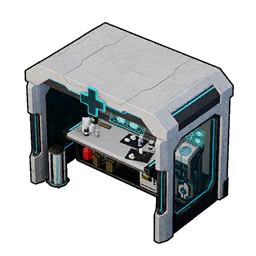 Ancient Clinic at Tech Level 73 does the same job considerably harder. The one wrinkle: staffing the Clinic is itself a −0.15 SAN job, the same tier as mining, so rotate whoever works it. Full costs are in the Clinic guide.
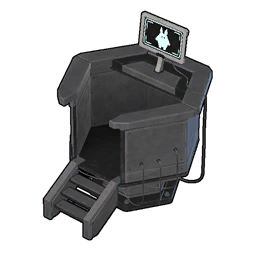 Dial Back the Monitoring Stand
The Monitoring Stand sets how hard your base pushes, and pushing harder spends SAN faster. If Depressed keeps recurring, drop the work setting back to normal until your springs, beds and food can carry the load — high intensity belongs to a base that is already well supplied, not to one that is producing sick Pals. Both upgrades also cut the SAN cost of working outright, and the Alpha Wave Generator does the same passively with no worker assigned.
| Structure | Unlock | Build Cost | What It Does |
|---|---|---|---|
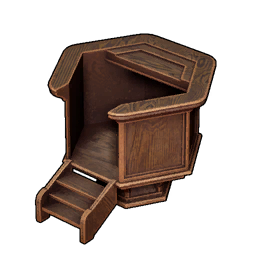 Monitoring Stand Monitoring Stand | Tech Lv 7 | Wood x30, Stone x10 | Sets work intensity and per-Pal job permissions |
| High Quality Monitoring Stand | Tech Lv 28 | Ingot x100, Cement x30 | Lowers the SAN cost of working base-wide |
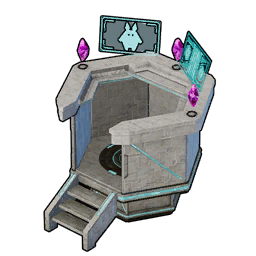 Ancient Monitoring Stand Ancient Monitoring Stand | Tech Lv 71 | Soralite Ingot x100, Ancient Civilization Core x5 | Strongest SAN reduction — lets a max-output base run hot |
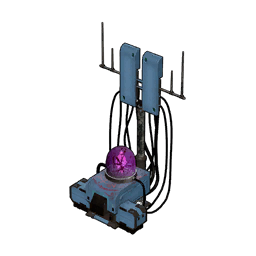 Alpha Wave Generator Alpha Wave Generator | Tech Lv 41 | Refined Ingot x40, Circuit Board x20, Corrosive Solvent x10, Paldium Fragment x20 | Slows SAN loss passively — a second one adds nothing |
Build exactly one Alpha Wave Generator per base; duplicates are dead materials. Note that its counterpart, the Beta Wave Generator, raises work speed instead and does nothing for SAN — if you have been building Betas to fix sickness, that is the mix-up.
 Put SAN Food in the Feed Box
Good meals restore far more SAN than raw berries do, and base Pals eat whatever is in the Feed Box. Cooked dishes are the lever here, and the practical winner is Mammorest Curry — it lands 52 SAN per serving without touching your breeding-cake stock.
| Dish | SAN Restored | Hunger Restored |
|---|---|---|
 Special Cake Special Cake | 92 | 738 |
 Cake Cake | 82 | 656 |
| Mammorest Curry | 52 | 418 |
 Broncherry Fried Noodles Broncherry Fried Noodles | 40 | 321 |
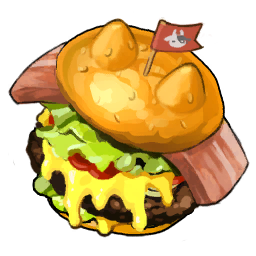 Mozzarina Cheeseburger Mozzarina Cheeseburger | 36 | 288 |
The cakes top the chart but they are the wrong answer in practice: every cake you feed a worker is a cake you are not putting in the Breeding Farm chest, and they cost five ingredient lines each. Curry and Fried Noodles are the two to mass-produce. One trap to avoid entirely — the Mysterious Mushroom Juice family of drinks looks like SAN food and is the opposite: they spike work speed and then tank SAN hard, which is a fast way to manufacture the exact problem this page is about. More options in Best Food for SAN and Hunger.
 Shroomer Noct Slows SAN Loss Base-Wide
Shroomer Noct's Roiling Spores partner skill slows how fast allied base Pals lose SAN, and it is the only Pal-side answer to Depressed in the game. The scaling is heavily front-loaded, so the first condense star does most of the work and chasing five stars is a poor use of duplicates.
| Condense Level | SAN Loss Reduction |
|---|---|
| ★ | −10% |
| ★★ | −11.5% |
| ★★★ | −13% |
| ★★★★ | −14% |
| ★★★★★ | −15% |
It has 189 spawn points, weighted towards Silent Lake at 29.8% and the Sakurajima Mushroom Wetlands at 21.8% — check the spawn map before you go. It is also a mount with a saddle at Tech Level 39, so it is not a slot you waste.
Depressed vs Weakened vs Troublemaker
These three get confused constantly because all of them look severe in the Pal list. Two share a medicine; the third has no cure at all.
| Condition | Work Speed | Move Speed | Cure |
|---|---|---|---|
| Depressed | −20% | −10% | High Grade Medical Supplies |
| Weakened | −10% | −20% | High Grade Medical Supplies |
| Troublemaker | −50% | −50% | No medicine works |
Depressed and Weakened are mirror images — same medicine, penalties swapped — so if you are only tracking one number, watch work speed for Depressed and travel time for Weakened. Troublemaker is a different animal: double the penalty of anything else in the game, only a 3% chance of resolving in the Palbox, and nothing in your medicine rack will touch it. Fixing Depressed early is how you avoid ever meeting it.
Hot Spring, a bed per Pal, and a Medicine Rack stocked with High Grade Medical Supplies. All four unlock by Tech Level 24 and cost only Wood, Stone, Cloth, Nails and Ingots — after that, Depressed becomes something your base handles without you. Depresso Is a Pal, Not a Status
Worth clearing up because the search results blur them: Depresso is an actual Pal — rarity 1, a solid early Handiwork and Gathering worker — and it has nothing to do with the Depressed condition. Depresso can catch Depressed like any other Pal, and a Depresso with a normal status tag is not sick, it just looks like that. If you were after the Pal, its stats and spawns are on the Depresso page.
Summary
If you scrolled to the bottom: High Grade Medical Supplies cure Depressed, crafted at a Medicine Workbench from Ingot x5, Horn x5 and Bone x2, or bought for 3,120 Gold from any general merchant. The condition costs −20% work speed and −10% movement speed, and it rolls when a Pal's SAN reaches 40 — which the game warns you about at 85, 65, 60 and 50 first. Stock a Medicine Rack so Pals treat themselves, build a Clinic, a hot spring and a bed per Pal, keep cooked food in the Feed Box, and leave clear paths to all of it.
Related Guides
Sickness and SAN:
Buildings that fix it: