How to Heal Pals and Player HP: Items, Pals, and Beds
Every way to heal in Palworld: all four Recovery Meds tiers with materials and prices, the Pal Recovery Grenade and Revival Potion for downed Pals, the beds and Palbox that heal for free, and the 10 healer Pals ranked by exact percentage and cooldown.
Your Health bar in Palworld only moves for two things — Recovery Meds and a handful of Pals — and the food you keep eating does absolutely nothing for it. This guide covers all four Recovery Meds tiers and what each one costs, how to patch up and revive downed Pals, the base structures that heal your team for free while you're out, and the 10 Pals whose partner skills heal you, with the exact percentages and cooldowns.
Every Way to Heal in Palworld
Healing splits cleanly into two systems that barely touch each other. You get healed by drinking Recovery Meds or by a Pal's partner skill — that's the whole list. Your Pals get healed by grenades, beds, the Palbox and a Revival Potion when they go down, and none of those work on you. The single most useful thing on this table is the free one: the Palbox you place at technology level 2 quietly heals every Pal sitting inside it, so swapping a beaten-up Pal into storage and pulling a fresh one is the zero-cost heal that carries the entire early game.
| Method | Heals | First available at |
|---|---|---|
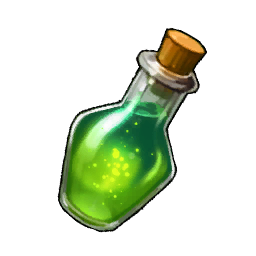 Recovery Meds (4 tiers) Recovery Meds (4 tiers) | You only — heals over time | Medicine Workbench, technology Lv. 12 |
| Healer partner skills | You, and often the whole party | As early as you catch Teafant |
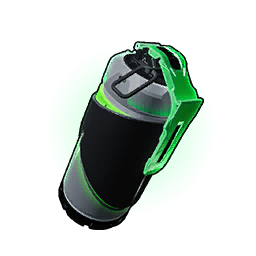 Pal Recovery Grenade Pal Recovery Grenade | Allied Pals in the blast | Technology Lv. 32, 3 points |
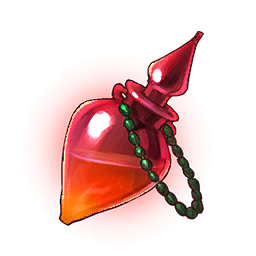 Revival Potion Revival Potion | Brings a downed Pal back on the spot | Technology Lv. 61, 3 points |
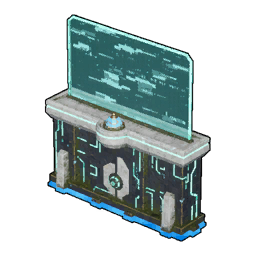 Palbox Palbox | Pals stored inside, gradually, for free | Technology Lv. 2 |
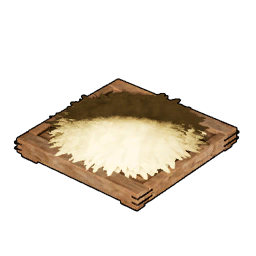 Pal beds and the Pal beds and the 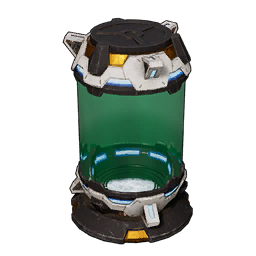 Pal Pod Pal Pod | Injured base Pals, for free | Technology Lv. 3 |
 Ancient Hot Spring Ancient Hot Spring | Fully heals injured Pals | Technology Lv. 76 |
 Medical Supplies (3 grades) Medical Supplies (3 grades) | Nothing — these cure conditions only | Medicine Workbench, technology Lv. 12 |
 All 4 Recovery Meds and What They Cost
The Recovery Meds line is the only consumable in the game that touches your Health bar, and it heals over time rather than in one hit — you drink and the bar climbs for a few seconds, so cracking one mid-melee usually gets you killed anyway. The important thing about the first three tiers is that none of them cost a technology point: build the Medieval Medicine Workbench at technology level 12 for 2 points and all three recipes appear at once, so there is never a reason to run Low Quality Recovery Meds past the point where you can afford the ingredients for the better ones. Only Advanced Recovery Meds is gated, at level 61 for 2 points alongside the Advanced Medicine Workbench, and it is a genuinely different item — four times the crafting workload of the High Quality version. Pocketpair has never published the exact amount each tier restores, so judge them by rarity and by what they cost to make.
| Recovery Meds | Rarity | Materials | Workload | Value | Unlock |
|---|---|---|---|---|---|
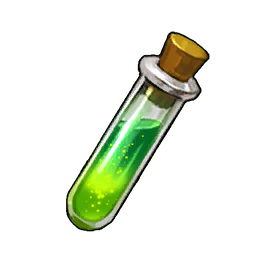 Low Quality Recovery Meds Low Quality Recovery Meds | Common | 3 Cavern Mushroom, 5 Red Berries, 2 Aquatic Pal Fluids | 2,500 | 2,820 | Free with the bench |
| Recovery Meds | Uncommon | 5 Cavern Mushroom, 5 Red Berries, 5 Aquatic Pal Fluids, 3 Cotton Candy | 7,500 | 6,180 | Free with the bench |
| High Quality Recovery Meds | Rare | 10 Cavern Mushroom, 20 Red Berries, 5 High Quality Pal Oil, 5 Cotton Candy, 5 Sulfur | 25,000 | 12,600 | Free with the bench |
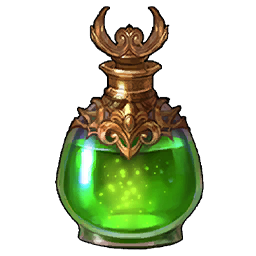 Advanced Recovery Meds Advanced Recovery Meds | Epic | 15 Cavern Mushroom, 30 Red Berries, 10 High Quality Pal Oil, 7 Cotton Candy, 10 Sulfur | 100,000 | 20,520 | Lv. 61, 2 points |
Cavern Mushroom is the ingredient that decides how many meds you actually end up with, and it's the one you can't farm at home — there are 1,445 grotto mushroom nodes scattered across the island, nearly all of them inside caves, and you can see the lot on the Palworld interactive map. Everything else on the list automates: Red Berries off a plantation, Aquatic Pal Fluids from Kelpsea on a ranch, Cotton Candy from Woolipop, High Quality Pal Oil from Dumud. Set those four ranches up once and the only healing run you ever make again is a mushroom cave sweep.
Where to Buy and Find Recovery Meds
You can skip crafting entirely for the bottom three tiers. Every wandering merchant stocks Recovery Meds at flat gold prices, and there are 12 merchant pins on the map — buying High Quality Recovery Meds at 12,600 gold each is a perfectly reasonable trade if your base is short on Sulfur. The top tier is different: Advanced Recovery Meds is sold by nobody. It comes out of large oil rig crates at about a 4.7% share, or from a tier 4 treasure map dig, which is the reliable route because those digs hand it over every single time.
| Recovery Meds | Shops that stock it | Price | Other sources |
|---|---|---|---|
| Low Quality Recovery Meds | Caravan Shop, Dungeon Shop | 2,820 | Grassland and forest cavern chests |
| Recovery Meds | Caravan Shop | 6,180 | Forest cavern chests, ~37.5% share |
| High Quality Recovery Meds | Caravan Shop | 12,600 | Oil rig crates, Sakurajima chests |
| Advanced Recovery Meds | None — not sold anywhere | — | Large oil rig crates (~4.7%), tier 4 treasure map digs (100%) |
 Food Does Not Restore Health
This trips up almost everyone coming from other survival games. Eating in Palworld fills the hunger meter and nothing else — Red Berries restore 15 satiety, a cooked Caprity Meat restores 57, and neither moves your Health bar by a single point. Letting hunger bottom out still hurts you indirectly, because a starving character loses stamina and picks up conditions, but a full belly will never heal a wound. The joke of it is that the Recovery Meds are technically food too: every tier restores exactly 1 satiety on the side, which is the game's way of telling you these go in the same slot as a sandwich and do a completely different job. Keep meds and meals in separate hotbar slots and you'll stop reaching for the wrong one at 10% HP.
How to Heal and Revive Your Pals
Recovery Meds do nothing for a Pal in the field, so your combat options are two items and they sit 29 technology levels apart. The Pal Recovery Grenade is the practical one — it's a frag grenade with the damage swapped for healing, it bursts on impact and tops up every allied Pal caught in the radius, and at 1 Gunpowder, 10 Stone and 5 Cavern Mushroom apiece you can stack hundreds of them cheaply. Carry a dozen into any raid boss fight and lob one the moment your active Pal starts flashing. The Revival Potion is the emergency button for after that fails: it brings a Pal that's already down and immobile straight back up, which is otherwise impossible outside your base. It is also one of the most expensive things in the game to manufacture at 1,000,000 crafting workload for a single bottle — an entire Medicine Production shift for one. Tier 5 treasure map digs hand one over every time, and that's a far better deal than brewing them.
| Item | What it does | Technology | Materials | Workload |
|---|---|---|---|---|
| Pal Recovery Grenade | Bursts on impact, restores HP to all allied Pals nearby | Lv. 32, 3 points | 1 Gunpowder, 10 Stone, 5 Cavern Mushroom | 13,000 |
| Revival Potion | Revives a downed Pal on the spot | Lv. 61, 3 points | 30 Cavern Mushroom, 50 Red Berries, 20 High Quality Pal Oil, 10 Cotton Candy, 20 Sulfur | 1,000,000 |
Beds, the Pal Pod and the Palbox Heal Pals for Free
Back at base, healing is a building problem rather than an item problem, and the whole chain is cheap. Pal beds are where injured Pals go to recover, and every tier heals faster than the last — the Pal Pod at level 56 is the big jump, since it's a proper recovery pod rather than a mattress. The odd one out is the Ancient Hot Spring at level 76: the three earlier hot springs only restore SAN, but the ancient version restores Health as well and will fully heal an injured Pal, which makes it the only structure in the game that finishes the job by itself. Note the two clinics do something different again — a Clinic staffed with a Medicine Production Pal stops your workers getting sick and injured in the first place rather than healing them afterwards.
| Structure | Technology | What it does |
|---|---|---|
| Palbox | Lv. 2 | Pals stored inside gradually recover Health — the free early-game heal |
| Straw Pal Bed | Lv. 3 | Injured Pals rest here; the cheapest option and it works |
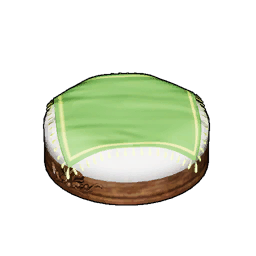 Fluffy Pal Bed Fluffy Pal Bed | Lv. 24 | Faster rest, and Pals prefer it |
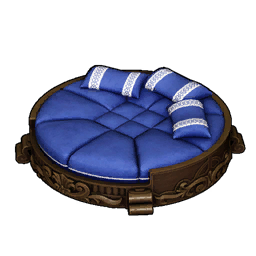 Large Pal Bed Large Pal Bed | Lv. 36 | Same job, sized so large Pals can actually use it |
| Pal Pod | Lv. 56 | A healing pod — the biggest increase in healing amount of any bed |
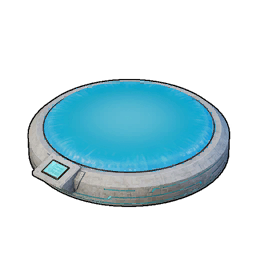 Ancient Pal Bed Ancient Pal Bed | Lv. 73 | Large-size, top-tier SAN recovery for the fatigue side |
| Ancient Hot Spring | Lv. 76 | The only hot spring that restores Health — fully heals injured Pals |
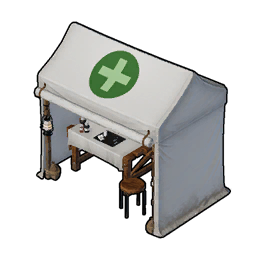 Clinic Clinic | Lv. 24 | Prevention, not healing: cuts SAN loss and stops illness and injury |
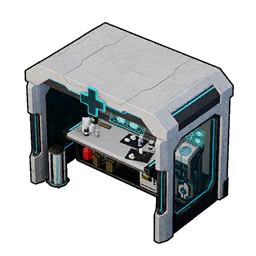 Ancient Clinic Ancient Clinic | Lv. 73 | The same job with much stronger protection |
 The 10 Best Healing Pals
This is where the real healing lives. Ten Pals carry a partner skill that restores Health, and every value below moves along the Pal's own five-step rank ladder, from an unranked catch up to ☆4. Lyleen Noct is the ceiling — a button press that heals you and all five party Pals for 95% of max Health at full rank, with no gear needed — but read the cooldown column before you decide. The Lyleen pair sit on a 300-second cooldown, double the Petallia pair's 150 seconds, so a maxed Petallia Ignis at 90% every two and a half minutes actually out-heals a base Lyleen over a long fight. Compare like with like, though: a burst heal and a per-second regen aren't the same currency. Celesdir's 0.75% per second only ticks outside combat, so it's a travel-and-exploration skill that saves you meds between fights, not something that saves you during one.
| Pal | Partner skill | What it heals | Rank 1 → ☆4 | Cooldown |
|---|---|---|---|---|
| Lyleen Noct | Goddess of the Tranquil Light | Activate: you and all party Pals | 85% → 95% | 300s |
 Lyleen Lyleen | Harvest Goddess | Activate: you and all party Pals | 80% → 90% | 300s |
 Petallia Ignis Petallia Ignis | Passion of the Flower Spirit | Activate: you and all party Pals | 80% → 90% | 150s |
 Petallia Petallia | Blessing of the Flower Spirit | Activate: you and all party Pals | 75% → 85% | 150s |
 Herbil Herbil | Herbil Pulse | Revives you when incapacitated | 30% → 60% HP back | 700s → 520s |
 Gildra Gildra | Resurrection | Revives a downed party Pal | Full revive | 600s → 280s |
 Teafant Teafant | Soothing Shower | Auto-heals you when Health drops under 30% | 20% → 40% | 120s |
 Celesdir Celesdir | Blessing of Purification | Regenerates you and itself out of combat | 0.15% → 0.75% per second | Always on |
 Flambelle Flambelle | Magma Tears | Regenerates you and itself out of combat | 0.10% → 0.50% per second | Always on |
 Felbat / Felbat /  Lovander Lovander | Life Steal / Heart Drain | Returns a cut of damage dealt as Health | 5% → 9% life steal | Always on |
Three of these need gear before the skill does anything, and it's worth knowing which. Herbil's Harness is one of the 16 Pal Gear pieces that never appear in the technology tree at all — 20 Leather, 40 Fiber, 20 Ingot and 25 Paldium Fragment at a Pal Gear Workbench, zero technology points, and it turns Herbil into a free extra life. Do that early; being revived on the spot beats every heal on this list when the alternative is a corpse run. Celesdir Saddle costs technology level 54 and 4 points, which is a real investment for a regen tick. The Lyleen and Petallia pair need nothing but the catch.
Where to Catch Every Healer
Availability varies wildly across this roster, and it doesn't track power the way you'd expect. Celesdir has 1,613 spawn points — more than any other healer by a factor of two — while Petallia Ignis, which out-heals it comfortably in a boss fight, has just 22. The Lyleen pair share the same 42-point spawn pool and both have a level 58 alpha, so a single trip covers your shot at either. If you only have time to grab one Pal off this table today, make it Teafant: 169 spawn points, an early-game catch, and its heal fires automatically the moment you drop below 30% without you touching a button.
| Pal | Spawn points | Alpha | Find it |
|---|---|---|---|
| Lyleen Noct | 42 | Lv. 58 | Lyleen Noct spawn locations |
| Lyleen | 42 | Lv. 58 | Lyleen spawn locations |
| Petallia | 106 | — | Petallia spawn locations |
| Petallia Ignis | 22 | — | Petallia Ignis spawn locations |
| Herbil | 208 | — | Herbil spawn locations |
| Gildra | 325 | — | Gildra spawn locations |
| Teafant | 169 | — | Teafant spawn locations |
| Celesdir | 1,613 | Lv. 65 | Celesdir spawn locations |
| Flambelle | 232 | — | Flambelle spawn locations |
| Felbat | 121 | — | Felbat spawn locations |
| Lovander | 768, night only | — | Lovander spawn locations |
 Passives That Heal You Automatically
Underneath all of that sits your natural regeneration, which ticks constantly and which a handful of passive skills can multiply. The two mutation passives are the ones worth hunting: Idiosyncratic lifts auto-regeneration by 50% for the Pal *and* for you, and stacks 25% Defense plus flat immunity to Burn and Poison damage on top — easily the best defensive passive a party Pal can roll. Immortality doubles a Pal's own regeneration outright at +100% and hands you 5% life steal with it, but the regeneration half never reaches you. If you just want the effect on yourself and don't fancy breeding for mutations, Implant: Healing Coach writes a flat +5% player regeneration onto a Pal, which is small but permanent and needs no luck at all.
| Passive | Effect | Who it helps |
|---|---|---|
| Idiosyncratic | Auto Health regeneration +50%, Defense +25%, immune to Poison and Burn damage | The Pal and you |
| Immortality | Auto Health regeneration +100%, Life Steal +5%, Attack +15% | Regeneration on the Pal only; the life steal reaches you |
| Vampiric | Life Steal +5% — absorbs a cut of damage dealt as Health | The Pal (it also works nights without sleeping) |
| Healing Coach | Player Auto Health regeneration +5% | You |
| Blood Is Fuel | Life Steal +1% | The Pal |
Two passives cut the other way and belong on the same list as a warning. God of Destruction trades 40% Attack and 20% Defense for -50% max Health, and World Tree Seedbed shaves 20% off your Health for slower hunger drain. Both are tempting on a damage build and both make every heal in this guide worth proportionally less, because a percentage heal on a halved Health pool returns half as many points. Check any Pal's roll on the full passive skill list before you commit condenser fodder to it.
 Medical Supplies Cure Conditions, Not Health
The three Medical Supplies grades look like healing items, share a shelf with the Recovery Meds and restore exactly zero Health — their whole job is clearing the conditions your base Pals pick up. Each grade covers a different pair or trio of conditions and none of them overlaps, so stocking only the expensive one leaves half your problems untreated: Low Grade handles Sick, Sprain and Overfull, the middle grade covers Ulcer and Fracture, and High Grade is the only cure for Weakened and Depressed. All three come free with the Medicine Workbench and all three are sold across five or six merchant families at flat prices, which for the 780-gold Low Grade version is cheaper than the Horn farming it would take to craft them. Drop a stack of each into a Medicine Rack and sick Pals walk over and dose themselves without you opening a single menu.
| Medical Supplies | Treats | Materials | Value | Sold at |
|---|---|---|---|---|
| Low Grade Medical Supplies | Sick, Sprain, Overfull | 5 Red Berries, 2 Horn | 780 | Caravan, Desert, Dungeon, Village, Volcano, Wander |
| Medical Supplies | Ulcer, Fracture | 3 Ingot, 3 Horn, 1 Bone | 1,820 | Caravan, Desert, Village, Volcano, Wander |
 High Grade Medical Supplies High Grade Medical Supplies | Weakened, Depressed | 5 Ingot, 5 Horn, 2 Bone | 3,120 | Caravan, Desert, Village, Volcano, Wander |
Related Guides
Go deeper on the healing side of your build:
- All Palworld guides and the Palworld interactive map
- Best Support Pals: Healers, Party Buffs, and Drop Rate Boosters
- The 7 Most Helpful Partner Skills
- All Status Effects and Which Elements Inflict Them
- How to Get the Medicine Rack and What to Stock in It
- How to Get the Clinic: Level 24 Cost and Materials
- How to Get the Advanced Medicine Workbench and Its Recipes
- Best Pals for Medicine Production: Ranks and Spawns
- How to Get the Pal Pod: Level 56 and Materials
- Best Team Comps: Boss Killer, Explorer, and Farming Teams