List of All 485 Base Structures: Levels and Costs
Every base structure in Palworld by category — the player level and Technology Points each one needs, the exact materials, the Pal work suitability that runs it, and the power draw for the 42 that need electricity.
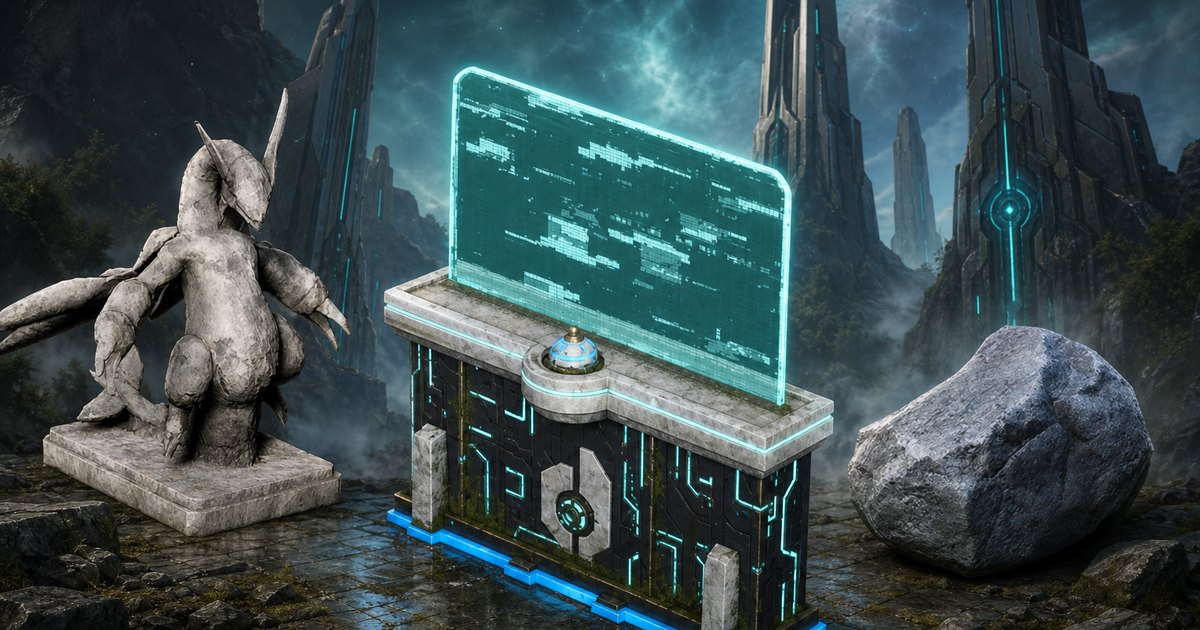
Palworld's build menu carries 485 placeable structures, and nearly all of them stay greyed out until you hit a player level and spend Technology Points on them. This page lists them by category with the unlock level, the point cost, the exact materials, the Pal work suitability that runs each one, and the power draw for the 42 that need electricity.
 Base Structures at a Glance
Two thirds of that 485 is scenery. Foundations (132 pieces across seven building sets) and Furniture (157 pieces) exist to make a base look like something, which leaves 196 functional structures — the stations, farms, chests, beds, generators, and turrets that actually change how your base runs. Everything you place has to sit inside a Palbox radius, and the Palbox itself is one of the five things you can build at Lv. 2.
| What | Detail |
|---|---|
| Structures in the build menu | 485, split across 10 categories |
| Functional (non-decorative) structures | 196 — everything outside Foundations and Furniture |
| First structures unlocked | Lv. 2 — Palbox, Campfire, Wooden Chest, Repair Bench, Pal Dressing Facility, and the 19-piece Wooden set |
| Last structure unlocked | Lv. 79 —  Jetragon Statue, 100 Stone Jetragon Statue, 100 Stone |
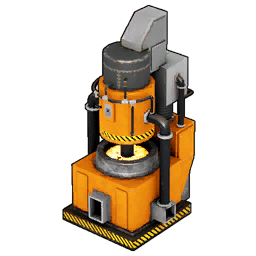
| Last functional structure | Lv. 78 —  Ancient Farm and Ancient Farm and  Ancient Material Synthesizer Ancient Material Synthesizer |
| Technology Points behind them | 423 Technology Points + 81 Ancient Technology Points across the tree entries that unlock structures |
| Structures behind Ancient Technology | 21, starting with the Egg Incubator at Lv. 10 |
| Structures Pals can work at | 82 — 11 work suitabilities, plus 6 that accept any Pal |
| Structures that draw power | 42, from 7 up to 3,000 |
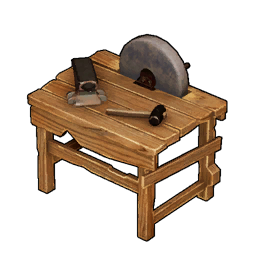
| Cheapest build in the game |  Primitive Workbench — 2 Wood, no tech needed Primitive Workbench — 2 Wood, no tech needed |
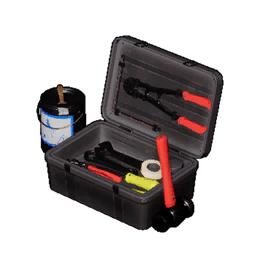
| Not gated behind a Technology entry | 20 structures, including the Primitive Workbench and the  Great Eagle Statue Great Eagle Statue |
 All 10 Structure Categories
The build wheel sorts everything into ten tabs. Production is the tab you live in — 45 stations that turn raw nodes into ingots, spheres, weapons, and medicine — while Pal covers the 23 structures that catch, hatch, breed, condense, and store your team. Food, Infrastructure, and Defenses are small tabs with outsized effect: 16 food structures feed the base, 25 infrastructure pieces keep SAN and temperature under control, and 17 defense pieces decide whether a raid costs you a wall or a whole wing.
| Category | Structures | First Tech Unlock | What's In It |
|---|---|---|---|
| Furniture | 157 | Lv. 5 | Chairs, tables, carpets, statues, faction banners, fake plants |
| Foundations | 132 | Lv. 2 | Walls, floors, roofs, stairs, pillars, fences, doors — seven full sets |
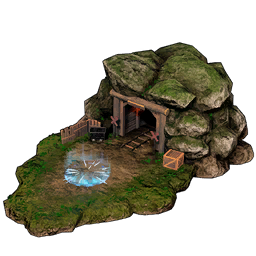
| Production | 45 | Lv. 2 | Workbenches, furnaces, assembly lines, mining and quarry sites |
| Storage | 30 | Lv. 2 | Chests, shelves, containers, the Refrigerator, the Guild Chest |
| Infrastructure | 25 | Lv. 3 | Beds, hot springs, heaters, coolers, clinics, power generators |
| Pal | 23 | Lv. 2 | Palbox, Ranch, incubators, Breeding Farm, Condenser, Summoning Altar |
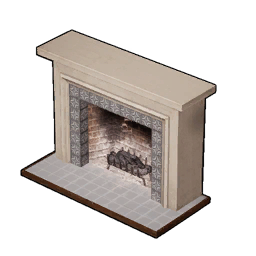
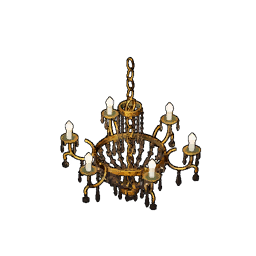
| Lighting | 22 | Lv. 6 | Torches, fireplaces, lamps, chandeliers, street lamps |
| Other | 18 | Lv. 6 | Silo, Mining Cart, flea markets, wave generators, Electric Pylon |
| Defenses | 17 | Lv. 7 | Defensive walls, gates, traps, mines, mounted weapons |
| Food | 16 | Lv. 2 | Campfire, Cooking Pot, Feed Box, plantations, Ancient Kitchen |
 Production Structures (45)
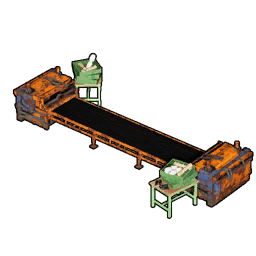
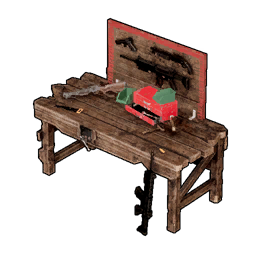
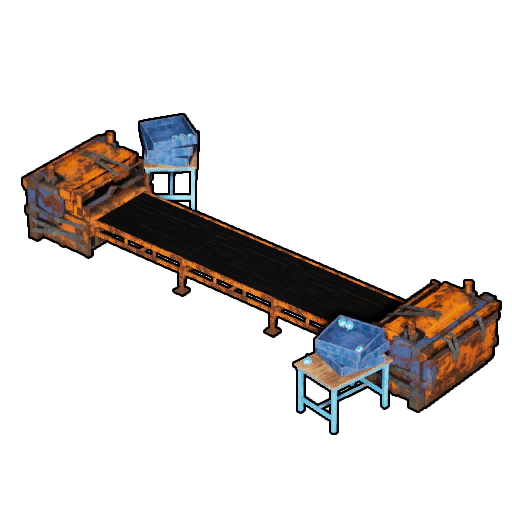
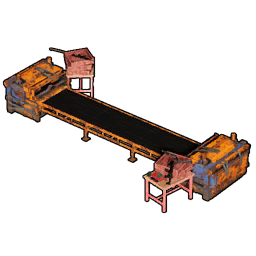
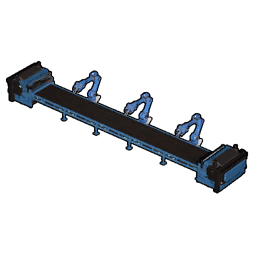
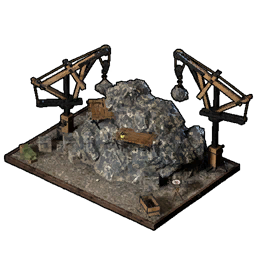
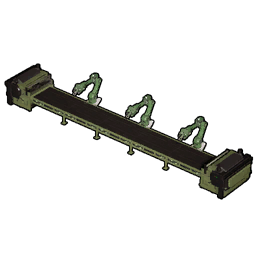
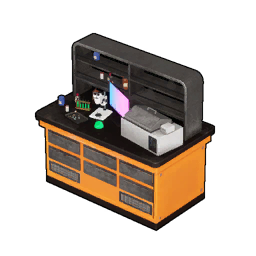
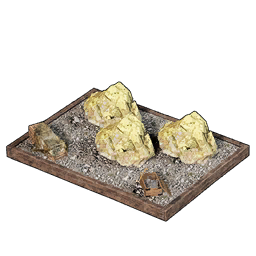
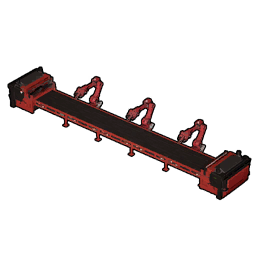
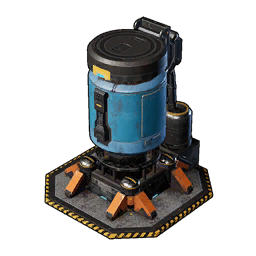
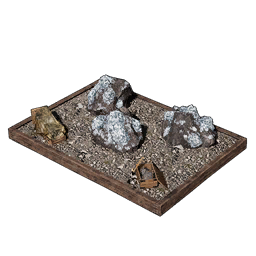
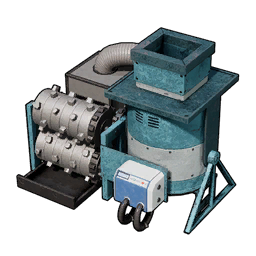
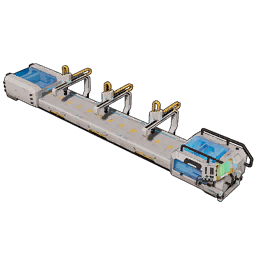
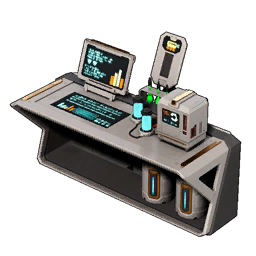
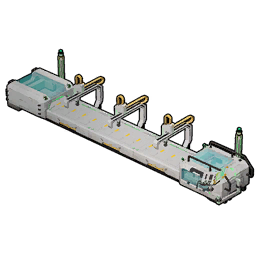
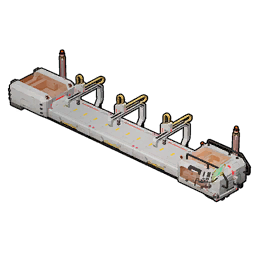
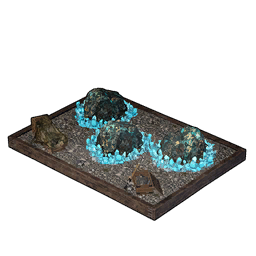
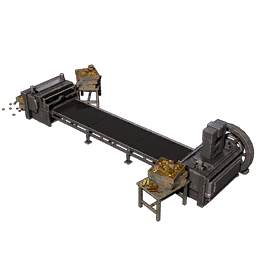
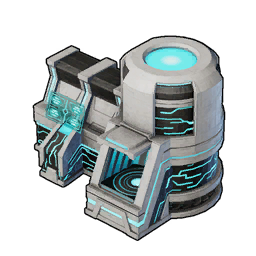
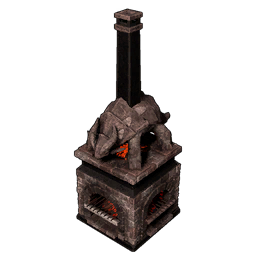
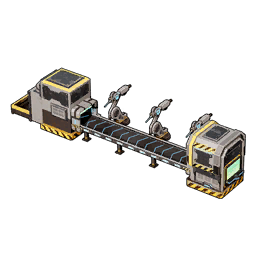
This is the tab that gates your progress. The core chain is short — Primitive Workbench into High-Quality Workbench into Production Assembly Line — but everything hangs off it, and each assembly-line tier from Lv. 27 onward wants power on top of materials. The five quarries (Coal, Sulfur, Pure Quartz, Hexolite Quartz, Soralite) are the odd ones out: each one costs 100 of the exact resource it produces plus 70 Stone, so you have to hand-farm the first hundred before the base will farm the rest for you.
If you only build three things here, make them the Ore Mining Site at Lv. 24, the Improved Furnace at Lv. 34, and the Sphere Assembly Line at Lv. 27 — ore, ingots, and spheres are the three inputs every other station eventually asks for. Handiwork is the suitability that matters most here, running 23 of the 45.
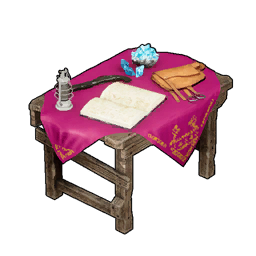
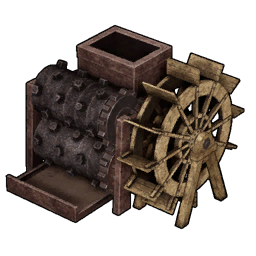
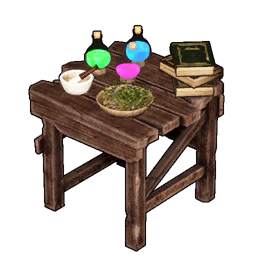
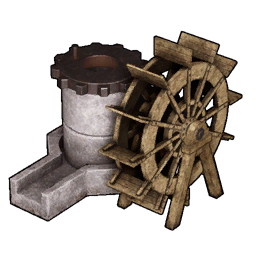
 Food Structures (16)
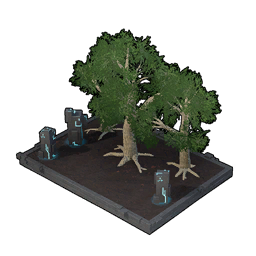
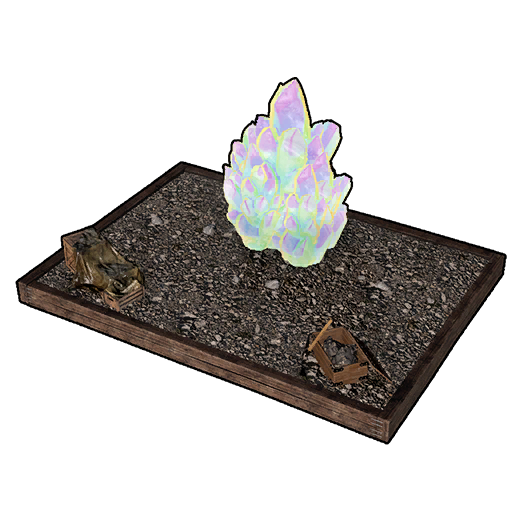
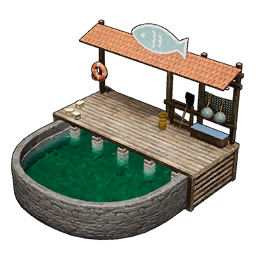
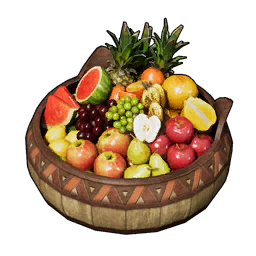
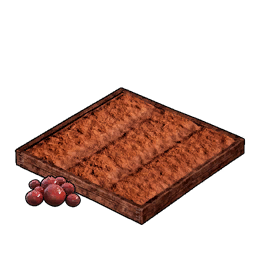
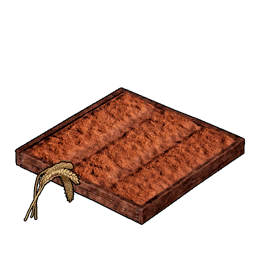
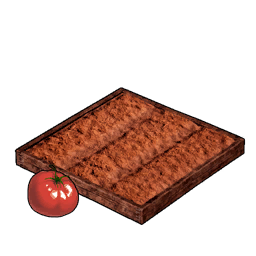
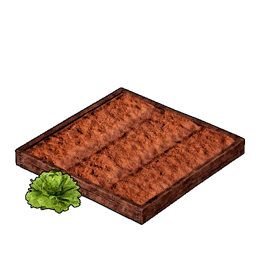
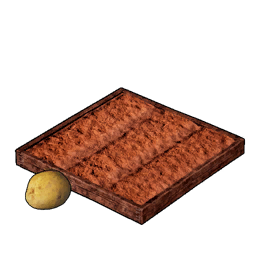
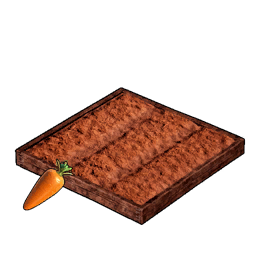
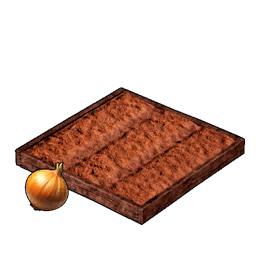
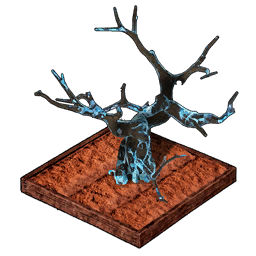
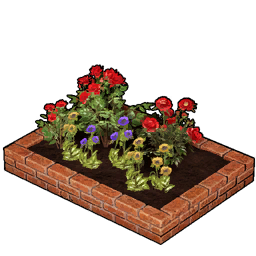
Seven of the sixteen are plantations, and they all work the same way: 2 Technology Points, three seeds, and a Pal team with Planting, Watering, and Gathering to run the cycle. Berry at Lv. 5 is the one you build first and never remove; Wheat at Lv. 15 unlocks bread and cake, which is what Palworld breeding actually runs on. Note the Ancient Farm at Lv. 78 — it demands rank 6 in all three work types, so it only accepts genuinely top-tier workers.
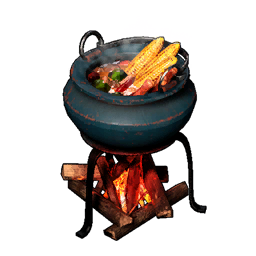
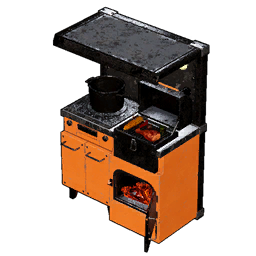
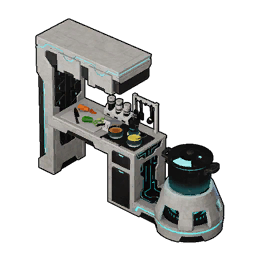
On the cooking side the ladder is Campfire to Cooking Pot at Lv. 17 to Electric Kitchen at Lv. 41, and the Cold Food Box at Lv. 51 is the quality-of-life pick that stops your Feed Box contents from spoiling.

 Pal Structures (23)
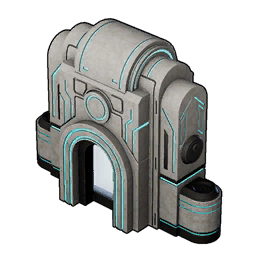
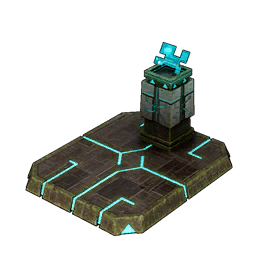
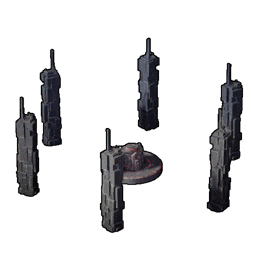
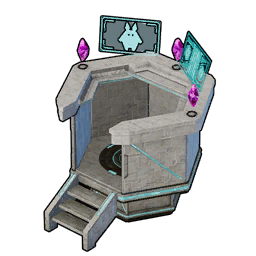
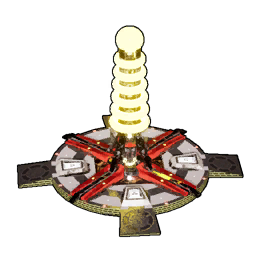
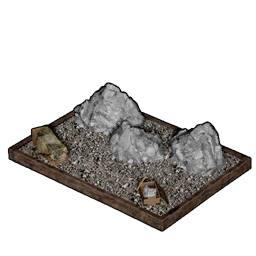
Every Palworld save starts here — the Palbox costs 1 Paldium Fragment, 8 Wood, and 3 Stone, and it defines your build radius and your worker cap. The rest of the tab splits into hatching (four incubator tiers ending in the Lv. 76 Ancient Hatchery), breeding (Breeding Farm at Lv. 19), and power-ups (Pal Essence Condenser at Lv. 14, Statue of Power at Lv. 9).
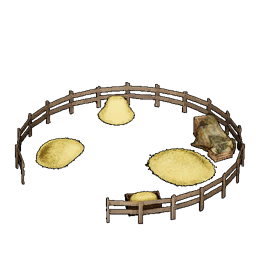
Seven of these sit behind Ancient Technology Points, which is why the incubator line feels slow to unlock — see how to get more Technology Points if you're short. The Ranch at Lv. 5 is the single best early build in the tab: 30 Wood, 20 Stone, 30 Fiber, and it turns Farming Pals into a passive supply of wool, eggs, milk, and honey.




 Infrastructure Structures (25)
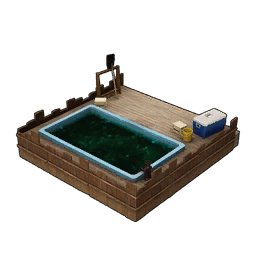
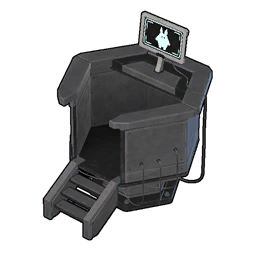
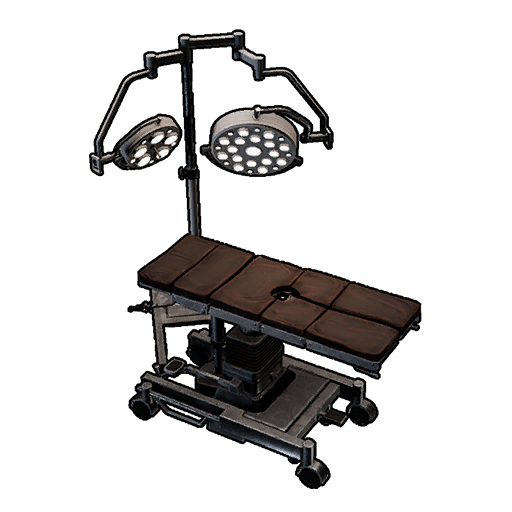
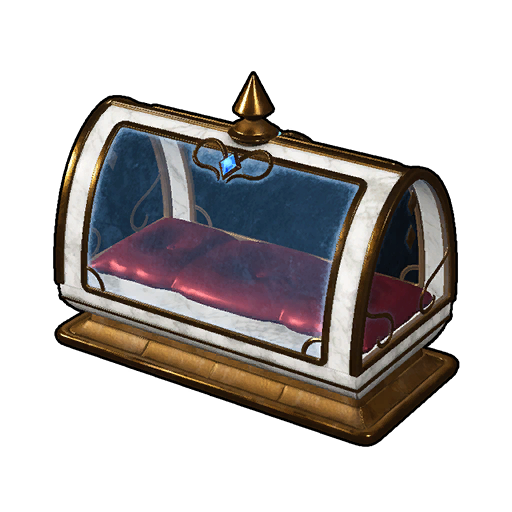
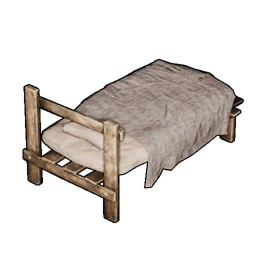
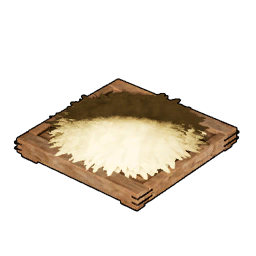
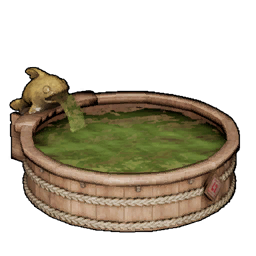
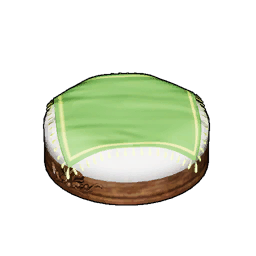
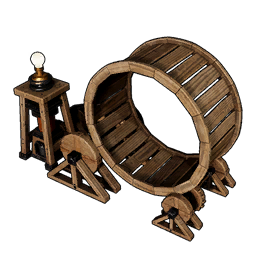
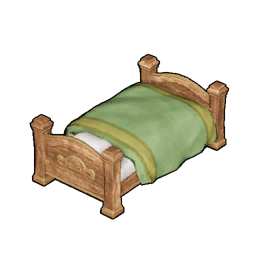
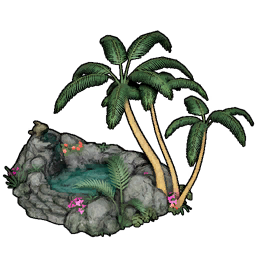
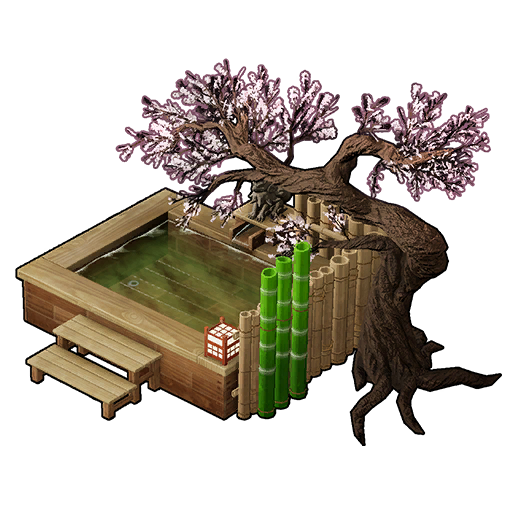
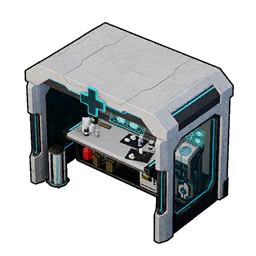
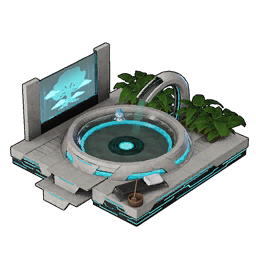
Infrastructure is what stops your workers from breaking down. Pal beds, the Hot Spring at Lv. 9, and the Clinic at Lv. 24 handle SAN and injuries, while Heater and Cooler keep a base habitable in the snow fields and the desert. Skipping beds is the most common reason a base quietly stops producing.
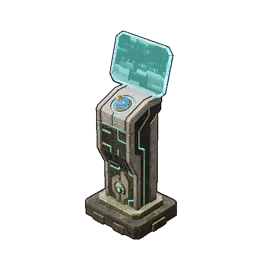
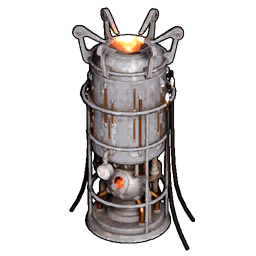
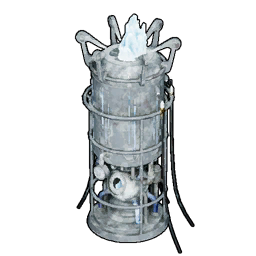
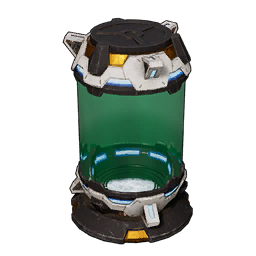
The power half of the tab starts at Lv. 26 with the Power Generator (50 Ingot, 20 Electric Organ) and an Electricity Pal parked on it. The Large Power Generator at Lv. 50 is the real milestone — by then you'll be running assembly lines that pull 400 apiece — and the Accumulator at Lv. 37 buffers the gap when your generator Pal wanders off.




 Storage Structures (30)
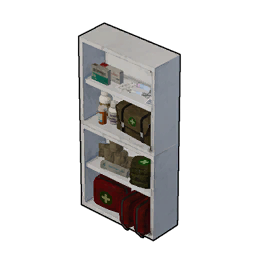
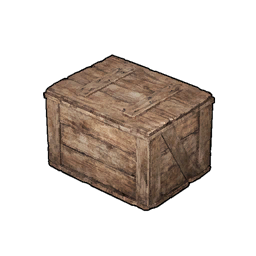
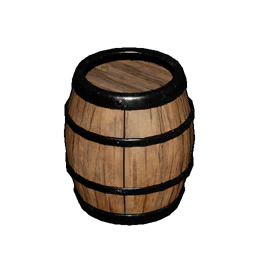
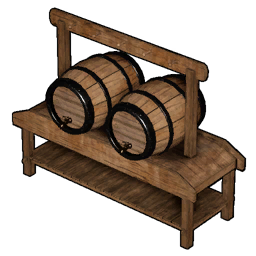
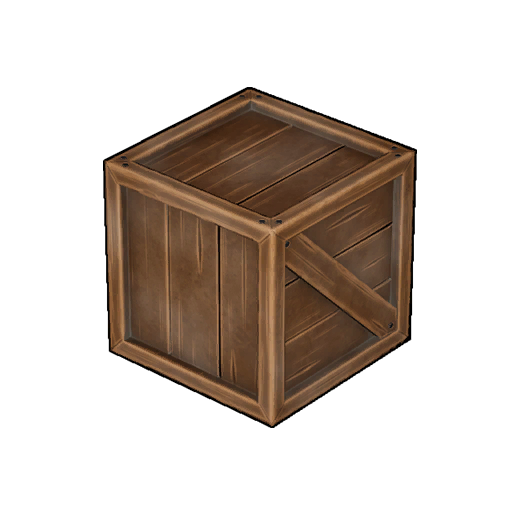
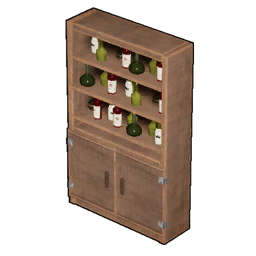
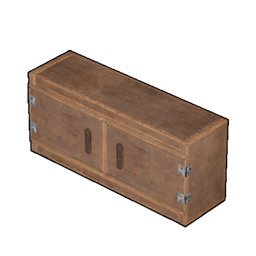
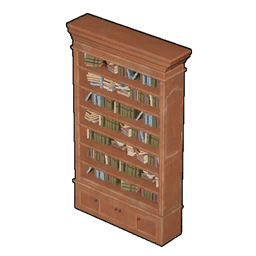
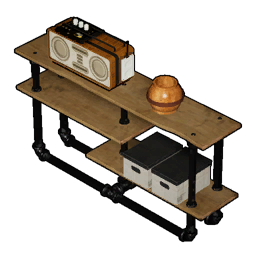
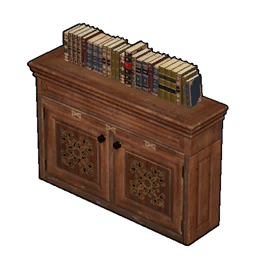
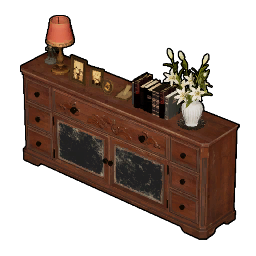
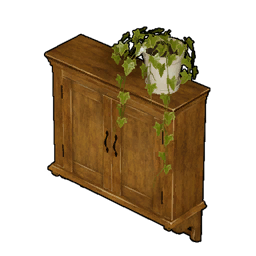
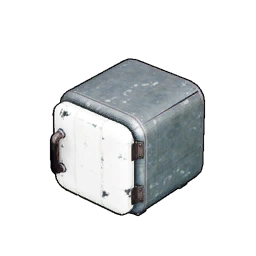
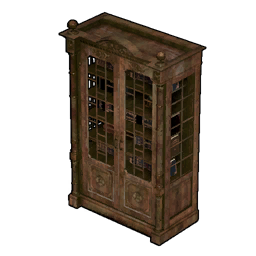
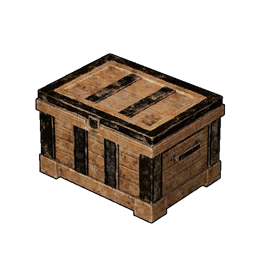
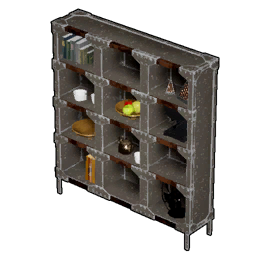
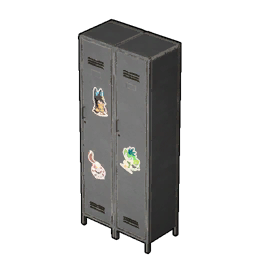
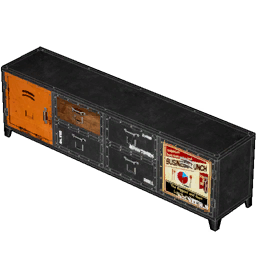
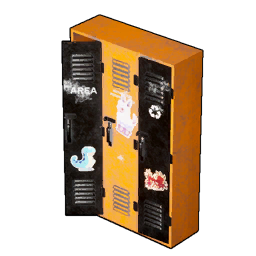
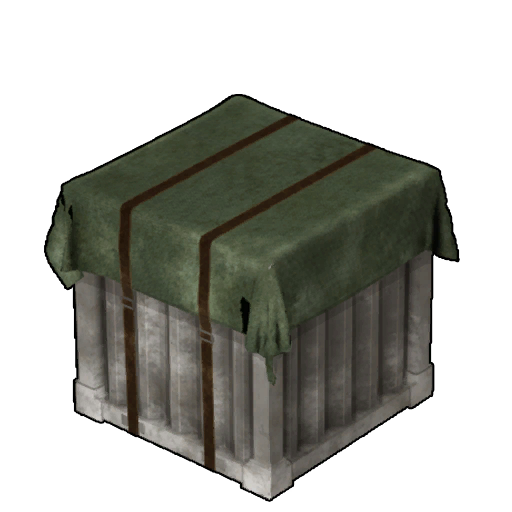
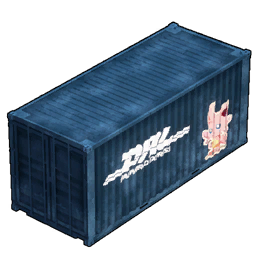
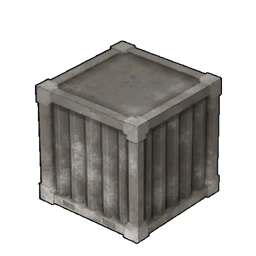
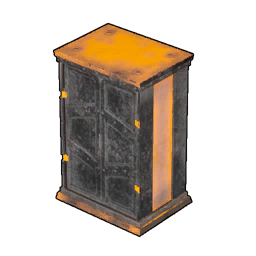
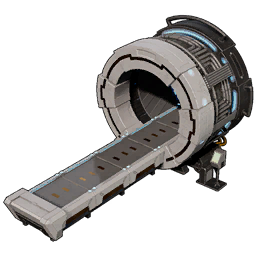
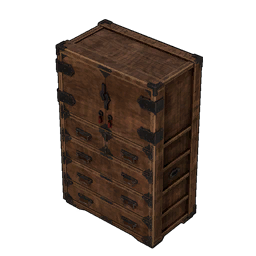
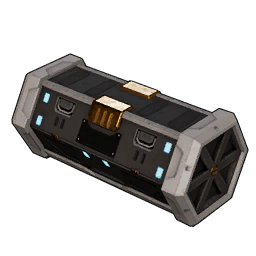
Most of this tab is furniture that happens to hold items — the Antique and Iron shelf families are cheap wood-and-ingot pieces that double as decoration. The ones worth planning around are the chest line (Wooden Chest at Lv. 2, Metal Chest at Lv. 13, Refined Metal Chest at Lv. 39, Advanced Chest at Lv. 59) and two specialists: the Guild Chest at Lv. 41 for shared guild storage and the Item Retrieval Machine at Lv. 49.
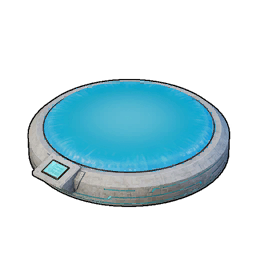
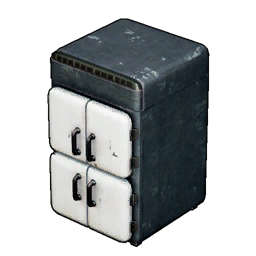
The Refrigerator at Lv. 38 and the Cooler Box at Lv. 13 are the only storage pieces that need a Cooling Pal assigned, and both exist for one job: keeping cooked food and Pal Fluids from rotting. Everything else in the tab stores at room temperature.
 Defense Structures (17)
Defenses come in three flavours: walls and gates in three material tiers, four traps, and three mounted weapons. The Alarm Bell at Lv. 7 is the one nobody should skip — 5 Paldium Fragment and 20 Stone to flip your whole base between 'fight the raiders' and 'ignore them and keep working'.
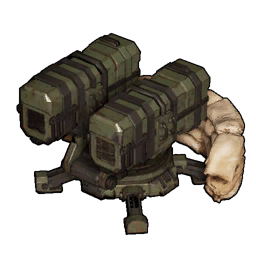
The turrets are the only defenses that need staffing: Mounted Crossbow, Mounted Machine Gun, and Mounted Missile Launcher all want a Handiwork Pal, and the missile launcher additionally pulls 1,000 power, which is more than most mid-game bases generate. Mines are the cheap answer — 5 Ingot plus an elemental organ each, in fire, electric, and ice flavours.
| Structure | Player Lv. | Tech Points | Pal Work | Materials |
|---|---|---|---|---|
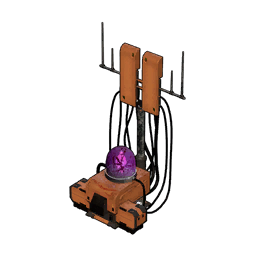
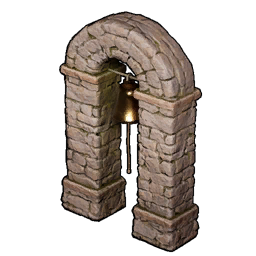 Alarm Bell Alarm Bell | Lv. 7 | 1 | — | 5 Paldium Fragment + 20 Stone |
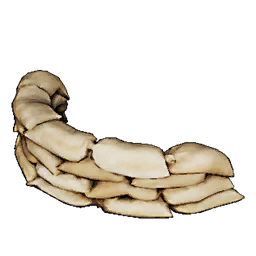 Sandbag Sandbag | Lv. 7 | 2 | Anyone | 10 Wood + 10 Stone |
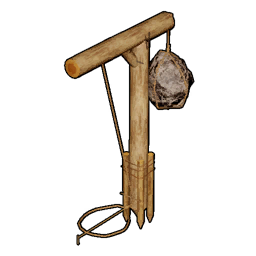 Hanging Trap Hanging Trap | Lv. 8 | 1 | — | 10 Wood + 5 Stone |
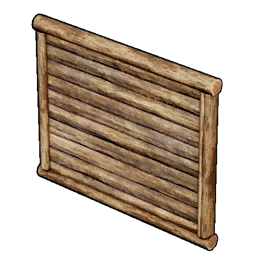
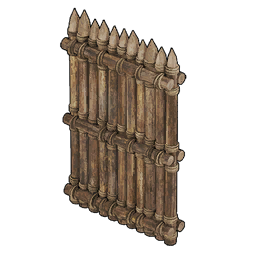 Wooden Defensive Wall Wooden Defensive Wall | Lv. 8 | 1 | — | 10 Wood |
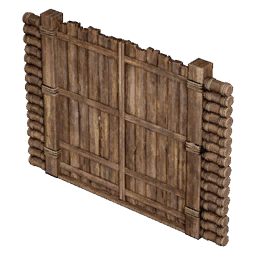 Wooden Gate Wooden Gate | Lv. 8 | 2 | — | 10 Wood |
 Bear Trap (Small) Bear Trap (Small) | Lv. 10 | 1 | — | 5 Ingot |
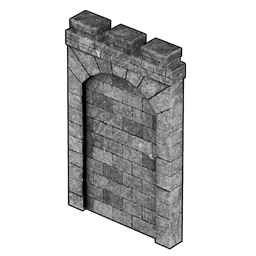 Stone Defensive Wall Stone Defensive Wall | Lv. 19 | 2 | — | 10 Stone |
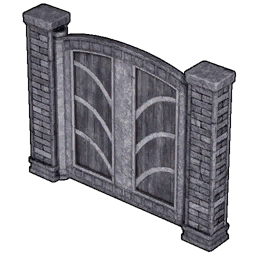 Stone Gate Stone Gate | Lv. 19 | 2 | — | 10 Stone |
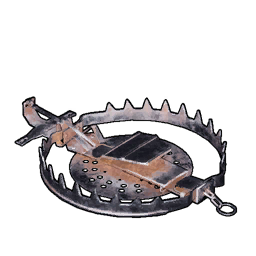 Bear Trap (Large) Bear Trap (Large) | Lv. 21 | 2 | — | 20 Ingot |
 Mounted Crossbow Mounted Crossbow | Lv. 26 | 2 | Handiwork | 10 Ingot + 3 Wooden Board + 15 Stone + 5 Nail |
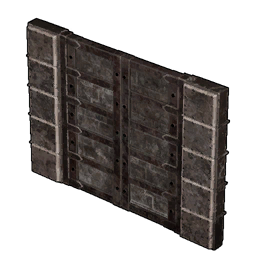 Iron Gate Iron Gate | Lv. 30 | 2 | — | 10 Ingot + 1 Cement |
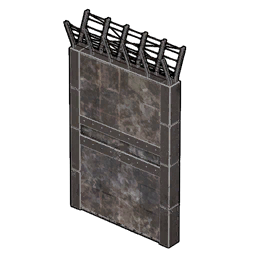 Metal Defensive Wall Metal Defensive Wall | Lv. 30 | 1 | — | 10 Ingot + 1 Cement |
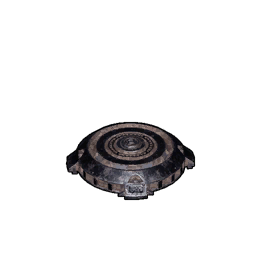 Mine Mine | Lv. 30 | 2 | — | 5 Ingot + 2 Flame Organ |
 Electric Mine Electric Mine | Lv. 33 | 2 | — | 5 Ingot + 2 Electric Organ |
 Ice Mine Ice Mine | Lv. 38 | 2 | — | 5 Ingot + 2 Ice Organ |
 Mounted Machine Gun Mounted Machine Gun | Lv. 40 | 3 | Handiwork | 15 Ingot + 10 Nail + 15 Cement |
| Mounted Missile Launcher | Lv. 50 | 3 | Handiwork | 20 Refined Ingot + 5 Computer + 3 Bio Battery + 30 Cement |
 Lighting Structures (22)
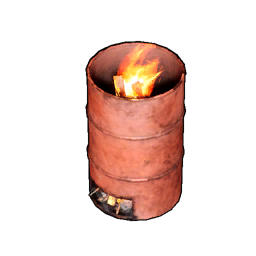
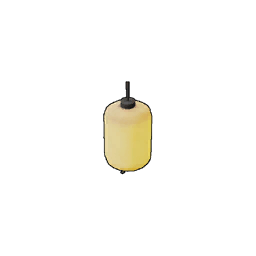
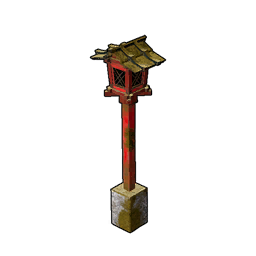
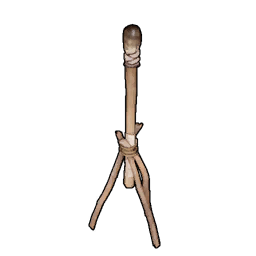
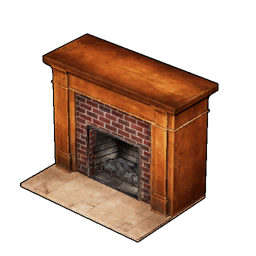
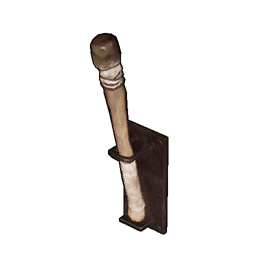
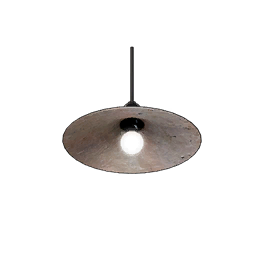
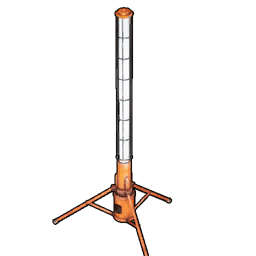
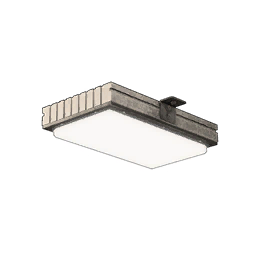
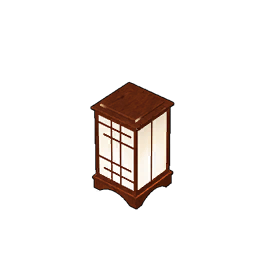
Lighting splits cleanly at Lv. 26. Everything before it burns fuel and needs a Kindling Pal to stay lit — torches, wall torches, and the two fireplaces. Everything after it is electric, drawing between 7 and 20 power apiece, which is small enough that a single Power Generator can light an entire base.
The five street lamps at Lv. 46 are identical in cost (20 Ingot, 3 Electric Organ, 3 Nail, 10 power) and differ only in looks, so pick by style. Five lighting pieces — the candlesticks, the Majestic Wall Torch, and the two lanterns — need no Technology Points at all.










 Utility Structures (18)
The Other tab is a grab bag, but it hides three of the strongest base upgrades in the game. The Alpha Wave Generator at Lv. 41 slows SAN loss across the base, the Beta Wave Generator at Lv. 46 raises work speed, and the Electric Pylon at Lv. 48 extends your power grid to structures parked away from the generator.
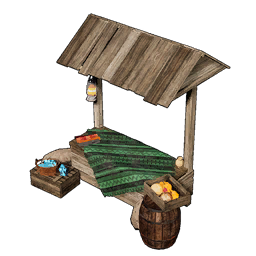
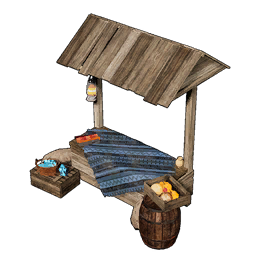
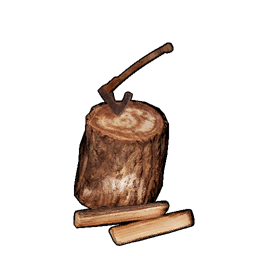
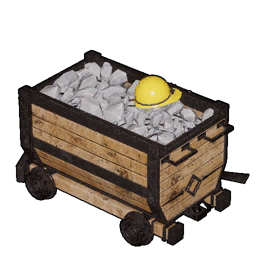
The rest are conveniences: the Silo at Lv. 25 stockpiles seeds, the Mining Cart and Stump and Axe give Pals a place to work ore and wood, and the two flea market stalls at Lv. 22 let guildmates trade items and Pals inside your base. The Training Dummy at Lv. 13 is 20 Wood and the cheapest way to sanity-check a weapon's damage before you commit ammo to a boss.





 Foundations: The 7 Building Sets
All 132 foundation pieces belong to seven complete sets plus a standalone Ladder, and inside a set every piece costs the same — a wall, a roof, a floor, and a staircase in the Wooden set are all 2 Wood. That makes pricing a build pure arithmetic once you know your piece count. Pocketpair hasn't published durability values per set, so treat the later sets as looks and material availability rather than upgrades.
Wooden at Lv. 2 and Stone at Lv. 19 carry most players through the whole game. Glass at Lv. 45 is the sleeper pick for a big project because Paldium Fragment is farmable inside your own base, and the Japanese-Style set has the widest parts list at 23 pieces if you care about roofline detail. Full per-piece pricing and a worked material bill live in the Palworld base building guide.
| Structure Set | Pieces | Player Lv. | Cost per Piece |
|---|---|---|---|
| Wooden | 19 | Lv. 2 | 2 Wood |
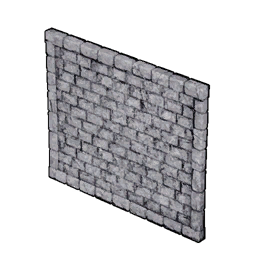 Stone Stone | 16 | Lv. 19 | 3 Stone |
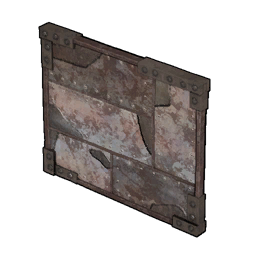 Metal Metal | 16 | Lv. 30 | 1 Ingot + 2 Stone |
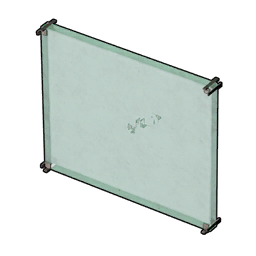 Glass Glass | 19 | Lv. 45 | 1 Stone + 2 Paldium Fragment |
 Japanese-Style Japanese-Style | 23 | Lv. 49 | 4 Hardwood |
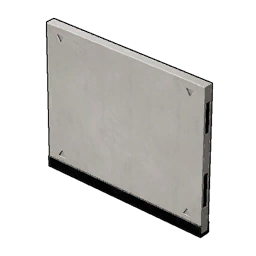 Clean (Futuristic) Clean (Futuristic) | 19 | Lv. 62 | 1 Polymer |
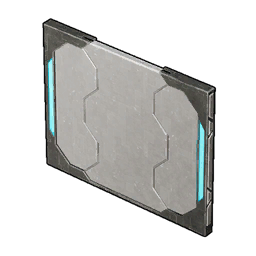 Ancient Ancient | 19 | Lv. 67 | 2 Soralite Ingot |
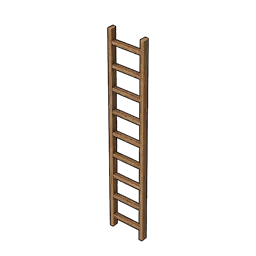 Ladder Ladder | 1 | Lv. 10 | 10 Wood |
Furniture (157)
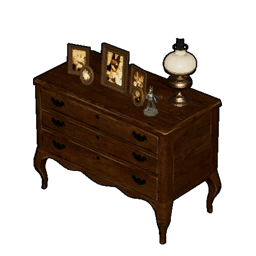
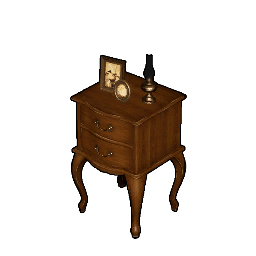
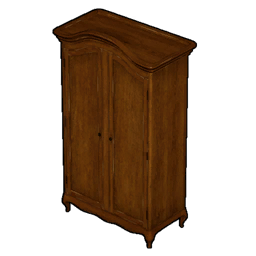
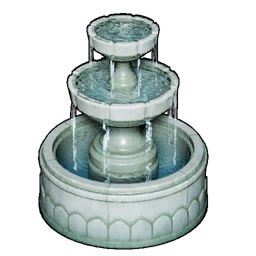
Furniture is the biggest single category and none of it changes how your base performs — it's there so a base reads as a home instead of a warehouse. It groups into a handful of families, and the useful thing to know is where each family sits on the level curve: the wooden basics land at Lv. 5, the 27-piece Antique set fills out between Lv. 9 and Lv. 22, and the fake greenery unlocks in waves up to Lv. 56 as you reach new biomes.
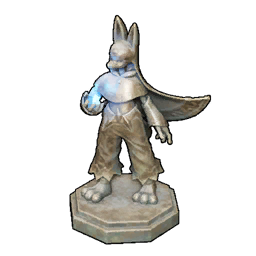
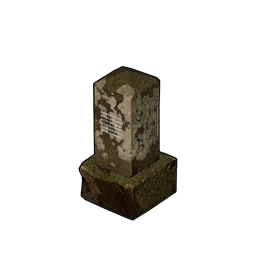
The five Pal statues are the trophies of the category. Jetragon Statue at Lv. 79 is the highest-level unlock of any structure in the game, and like the Frostallion, Lyleen, and Yakumo statues it costs nothing but Stone — the gate is purely the level. Faction banners cover all seven in-world groups if you want to theme a base.
| Furniture Family | Pieces | Player Lv. | What's In It |
|---|---|---|---|
| Antique set | 27 | Lv. 9 – 22 | Couches, dressers, mirrors, clocks, bathroom fittings |
| Faux plants and greenery | 31 | Lv. 12 – 56 | Fake bushes, bamboo, cherry blossoms, biome-themed foliage |
| Faction banners and flags | 19 | Lv. 11 – 71 | Free Pal Alliance, Rayne Syndicate, PIDF, Moonflower, Feybreak, Azure Covenant, Brothers of the Eternal Pyre |
| Wooden basics | 9 | Lv. 5 | Tables, chairs, stools, benches, counters |
| Pal statues | 5 | Lv. 64 – 79 | Frostallion, Lyleen, Moon Lord, Yakumo, Jetragon |
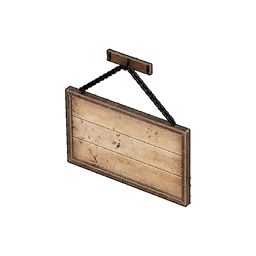
| Everything else | 66 | Lv. 6 – 71 | Japanese pieces, urban clutter, arcade machines, pianos, signs, ivy |
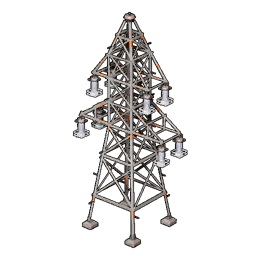 Structures That Need Electricity (42)
Power stops being optional around Lv. 27, when the first assembly line asks for 200. The table below lists the 24 heaviest draws; the other 18 powered structures are the Electric Heater and Cooler (100 each), the Refrigerator, Electric Medicine Workbench and Electric Kitchen (50 each), and 13 lamps at 7 to 20. Add up what you plan to run at once before you place a generator — two Ancient-tier stations alone want 5,000.
 The Pals That Run These Structures
82 structures accept an assigned Pal, and the work suitability printed on the structure is the only thing that matters — a Lv. 8 Kindling Pal smelts faster at a furnace than a Lv. 3 one, and a Pal without the suitability simply won't touch it. Handiwork is the busiest suitability in the base by a wide margin, covering 23 structures, and it's the one to prioritise when you're deciding what to breed or condense first.
Six structures are marked Anyone, meaning any Pal in the base will pitch in: the Sandbag, Breeding Farm, Human-Powered Generator, Ancient Hatchery, and the two flea market stalls. The table shows the highest-ranked worker for each suitability — rank ceilings differ by job, so a rank 4 Farming Pal is the top of its class even though Handiwork goes to 8.
| Work Suitability | Structures | Top Worker | Max Rank |
|---|---|---|---|
| Handiwork | 23 | Solenne | 8 |
| Kindling | 17 |  Renjishi Renjishi | 8 |
| Watering | 11 |  Shaolong Shaolong | 8 |
| Planting | 8 |  Dandilord Dandilord | 8 |
| Gathering | 8 |  Jetragon Jetragon | 8 |
| Mining | 8 |  Aegidron Aegidron | 8 |
| Cooling | 6 |  Bastigor Bastigor | 8 |
| Medicine Production | 5 |  Silvance Silvance | 8 |
| Generating Electricity | 3 |  Orserk Orserk | 8 |
| Lumbering | 2 |  Celesdir Noct Celesdir Noct | 8 |
| Farming | 1 (the Ranch) |  Dumud Gild Dumud Gild | 4 |
 What to Build First
Technology Points are the real currency of base building, and the early ones are the most valuable because they unlock the loops that pay for everything after. The order below is the one that gets a base self-sufficient fastest: shelter and a Palbox, then the Ranch and a Berry Plantation so food stops being a chore, then the Logging Site and Stone Pit so materials arrive without you swinging an axe.
Past Lv. 24 the priorities shift to refinement — ore, furnaces, and assembly lines — and past Lv. 40 it's all about power and throughput. Everything cosmetic can wait; a Furniture point spent at Lv. 10 is a Sphere Workbench you don't have.
| Player Lv. | Build These | Why |
|---|---|---|
| Lv. 2 – 5 | Palbox, Primitive Workbench, 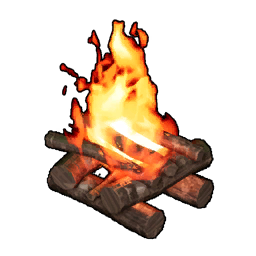 Campfire, Wooden Chest, Ranch Campfire, Wooden Chest, Ranch | The Ranch at Lv. 5 turns Farming Pals into passive wool, eggs, and milk |
| Lv. 6 – 10 | 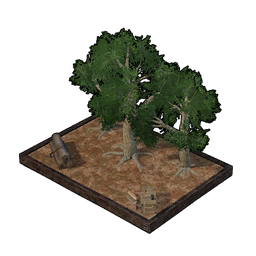 Logging Site, Stone Pit, Alarm Bell, Logging Site, Stone Pit, Alarm Bell, 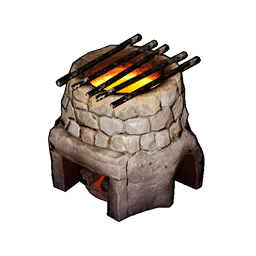 Primitive Furnace, Primitive Furnace,  Egg Incubator Egg Incubator | Wood and Stone start arriving on their own; the furnace opens Ingot |
| Lv. 11 – 20 | 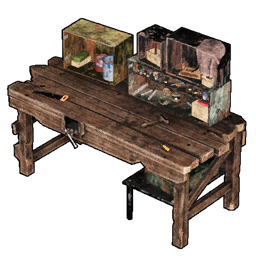 High-Quality Workbench, High-Quality Workbench, 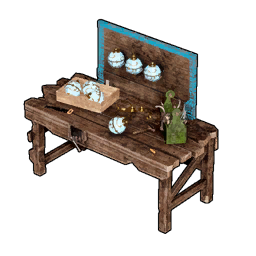 Sphere Workbench, Cooking Pot, Sphere Workbench, Cooking Pot, 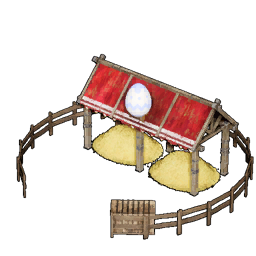 Breeding Farm, Breeding Farm, 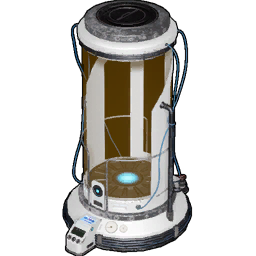 Pal Essence Condenser Pal Essence Condenser | Spheres and breeding are what scale your team from here |
| Lv. 21 – 35 | 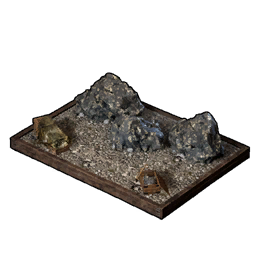 Ore Mining Site, Ore Mining Site, 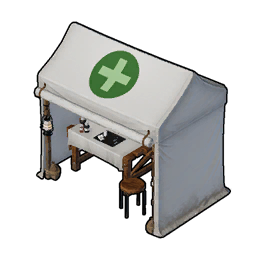 Clinic, Power Generator, Production Assembly Line, Clinic, Power Generator, Production Assembly Line, 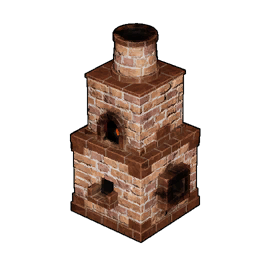 Improved Furnace Improved Furnace | Self-farmed ore plus power is the mid-game unlock that changes everything |
| Lv. 36 – 50 | 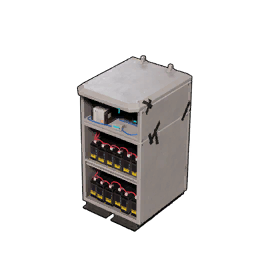 Accumulator, Accumulator, 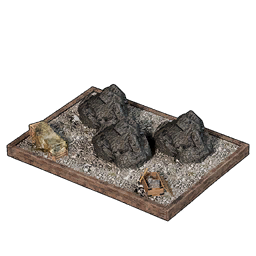 Coal Quarry, Coal Quarry, 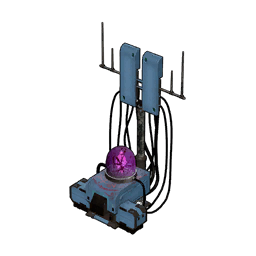 Alpha Wave Generator, Alpha Wave Generator, 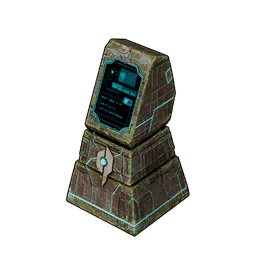 Guild Chest, Guild Chest, 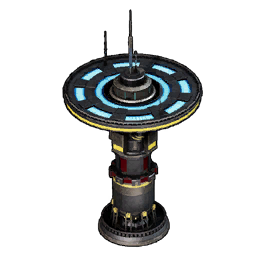 Large Power Generator Large Power Generator | SAN control and a bigger grid keep a large base from grinding to a halt |
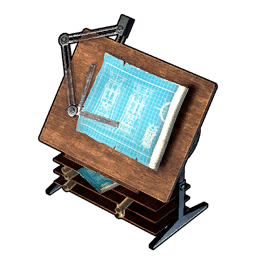
| Lv. 51 – 79 | 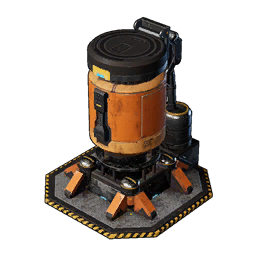 Crude Oil Extractor, Crude Oil Extractor,  Gigantic Furnace, Gigantic Furnace, 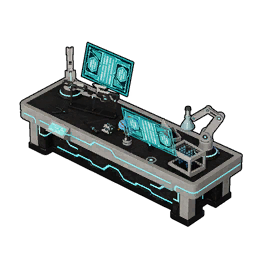 Ancient Workbench, Ancient Farm, Ancient Workbench, Ancient Farm, 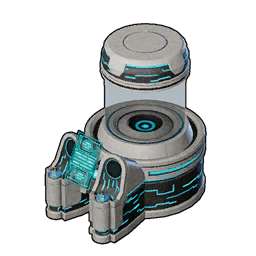 Ancient Hatchery Ancient Hatchery | Endgame throughput — expect to feed these 800 to 3,000 power apiece |
The Short Version
485 structures, but 196 of them do anything, and maybe 30 decide how fast your save moves. Palbox and Ranch by Lv. 5, Logging Site and Stone Pit by Lv. 7, Ore Mining Site and a Power Generator by Lv. 26, and an Accumulator behind the generator by Lv. 37 — that spine covers the first sixty levels. Foundations and Furniture are 289 of the total and cost you nothing but time, so build them once the production loops are running, not before.
Related Guides
Deeper dives on the structures and Pals in this list:
- List of All Structures and Build Costs — the full searchable database with every material
- Palworld Base Building Guide — per-piece costs and a worked material bill for all seven sets
- Best Base Pals in Palworld — the seven workers worth a slot in every base
- Best Base Locations in Palworld 1.0 — coordinates and the nodes each spot covers
- All Base Level Rewards and Requirements — what raising base level actually gives you
- How to Get More Technology Points — the fastest way to afford these unlocks
- Best Passives for Base Pals — work speed, SAN, and implant priorities
- Palworld Technology Tree — every unlock in level order, structures and items together
- Palworld Interactive Map — plan a base around the ore, coal, and sulfur nodes you need