How to Stack Plantations: Layout, Costs and Best Pals
Stacking plantations is how you fit a full farm into one small base in Palworld 1.0 — the foundation-and-floor layout, every plantation's tech level and build cost, all nine crop growth times, and the Pals that clear the Ancient Farm's rank 6 gate.
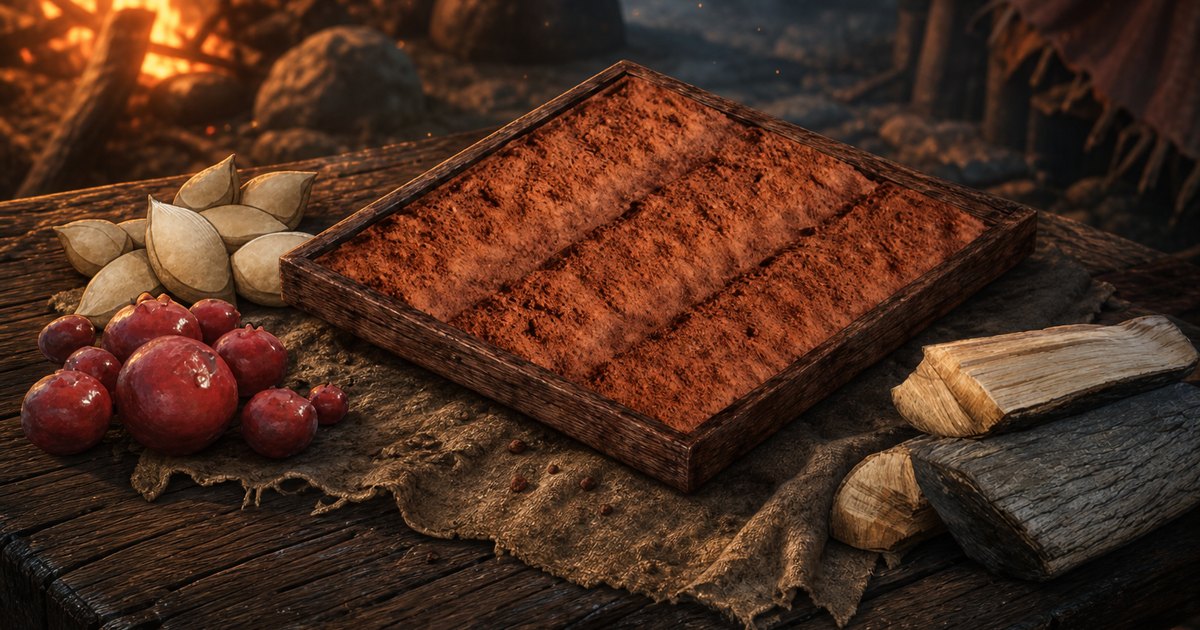
Base space runs out long before your crop list does — seven plantations laid flat will swallow a camp before you have even placed a kitchen. Stacking them onto floors is how you keep every crop in production without founding a second base, and this guide covers the layout itself, every plantation's tech level and build cost, how long each crop takes to ripen, and which Pals can actually work the plots once they are stacked.
 Plantation Basics Before You Stack Anything
A plantation is not one job, it is three. Somebody has to sow the seed, somebody has to water it, and somebody has to pull the crop out of the ground — Planting, Watering and Gathering are separate work suitabilities, and a plot missing any one of them stalls forever. The good news for stacking is that all seven standard plots only ask for rank 1 in each, so the same starter workers who run one plantation can run six of them. Every plot also pays exactly the same ×10 per harvest regardless of crop, which means the only things that change between plots are the wait, the work cost and the floor space — and floor space is the one you can fix.
| Rule | What it means for a stacked farm |
|---|---|
| Jobs every plot needs | Planting, Watering and Gathering — three separate suitabilities, all three assigned at the base |
| Worker rank needed | Rank 1 for all seven standard plantations, so early Pals qualify |
| Yield per harvest | ×10 of the crop, on every plot from berries to onions |
| Cheapest entry | Berry Plantation at Technology 5 for 2 points — 3 Berry Seeds, 10 Wood, 10 Stone |
| Fastest cycle | Red Berries at 3 minutes a harvest |
| Slowest cycle | Onion at 6.5 minutes a harvest |
| The exception | 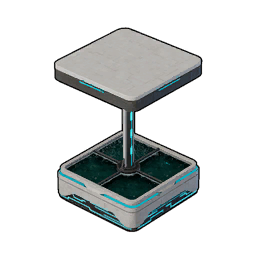 Ancient Farm at Technology 78 — a smaller plot that is safe to place indoors, but it demands rank 6 workers Ancient Farm at Technology 78 — a smaller plot that is safe to place indoors, but it demands rank 6 workers |
How to Stack Plantations Step by Step
The trick is that plantations do not have to sit on dirt. They snap to a building floor exactly like a chest or a workbench does, so once you can pour foundations you can lift a whole farm off the ground and put a second one directly above it. The build pieces involved are the cheapest in the game — a foundation and a flight of stairs cost 2 Wood each — so the real cost of a stacked farm is patience during placement, not materials.
 Step 1: Pour a Flat Foundation Floor
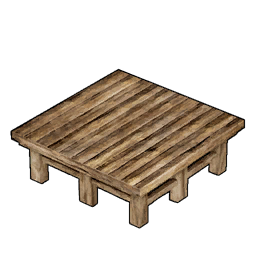
Start with the Wooden Foundation, unlocked at Technology 2 for 2 Wood a piece. Lay a solid rectangle rather than a ring — plantations are wide, and a plot that overhangs the edge of your floor will refuse to place or will drop half its footprint onto uneven terrain. Pick the flattest ground in the base circle before you start, because every crooked foundation you correct later is a storey you have to rebuild above it.
Step 2: Snap the Plot to the Floor, Not the Dirt
Place the plantation on the foundation and let it take the snap — the ghost preview turns solid when it has a full floor under it. This is the whole point of the exercise: a plot sitting on a floor is a plot whose ground level you control, and controlled ground level is what lets you put the next one above it. Start with the Berry Plantation on the bottom layer, since red berries run the fastest cycle in the game and the ground floor is the layer your Pals reach most reliably.
 Step 3: Build the Storey Above and Repeat
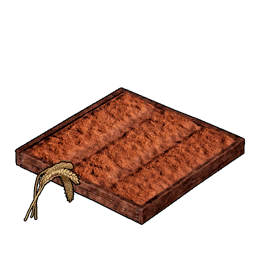
Ring the first plot with pillars or walls, cap them with another foundation layer, and you have a fresh flat surface directly over the first plantation. Drop the next plot onto it — the Wheat Plantation is the natural second layer, because wheat is the second-fastest crop at 4.5 minutes and it feeds the Flour and Cake chain. Leave the upper storey open to the sky rather than roofing it; a low ceiling blocks the placement preview and you will spend ten minutes wondering why the plot will not go down.
 Step 4: Give Every Layer a Route Up
This is the step people skip, and it is the one that kills stacked farms. Your workers walk — they do not teleport to a job. If a plot on the second floor has no continuous path from the ground, the seeds go in and nothing ever waters them. Build Wooden Stairs from each layer to the next, unlocked at Technology 2 for 2 Wood. A Ladder is available at Technology 10 for 10 Wood, but Pal pathing handles a staircase far more dependably than a ladder, so spend the extra footprint on stairs and keep the run wide.
| Build piece | Tech Lv | Cost each | Role in the stack |
|---|---|---|---|
| Wooden Foundation | 2 | 2 Wood | The floor every plot snaps to — one layer per storey |
| Wooden Stairs | 2 | 2 Wood | The walkable route your Planting, Watering and Gathering Pals actually use |
 Ladder Ladder | 10 | 10 Wood | Saves space, but far less reliable for Pal pathing than stairs |
The Ancient Farm Is the Game's Own Stacking Answer
Pocketpair clearly knew people were cramming farms into tight bases, because the Ancient Farm is built for it. It takes up less room than a berry plantation, it is meant to be placed indoors rather than on open dirt, and it still runs the same sow-water-harvest cycle as a standard plot. Put one on each floor of a building and you have a vertical farm with none of the placement fights. It unlocks at Technology 78 for 4 Technology Points — worth noting that despite the name it sits on the normal tech track, not the Ancient Technology one, so no relic-hunting is required to buy it.
| Material | Qty |
|---|---|
 Mythical Wood Mythical Wood | 100 |
 Paloxite Ingot Paloxite Ingot | 50 |
 World Tree Holy Water World Tree Holy Water | 50 |
 Ancient Civilization Core Ancient Civilization Core | 10 |
The catch is the staffing. Where a wooden plot is happy with a rank 1 worker, the Ancient Farm demands rank 6 in Planting, Watering and Gathering — and that shrinks the eligible roster to 6 Pals for planting, 5 for watering and 7 for gathering out of the whole Paldeck. If your box cannot cover all three at rank 6, the plot is dead furniture, so check the lists below before you spend 10 Ancient Civilization Cores on it. Feeding a book from our Applied Handbooks guide to a rank 5 worker is often the cheapest way over the line.
Best Pals for a Stacked Farm
The denser the farm, the fewer bodies you can spare for it — a base slot spent on a mediocre waterer is a slot not spent on transport or crafting. That makes double-duty Pals the real prize here: anything that covers two of the three farm jobs halves the headcount your stack needs. Ranks below are the base work suitability levels, before any handbook or condenser rank-up raises them.
 Planting: Getting the Seed in the Ground
45 Pals can plant and the ceiling is rank 8, held alone by Dandilord — which also gathers at rank 5, so a single slot covers two thirds of the cycle. Ophydia is the one to hunt if you are tight on slots: rank 7 planting plus rank 5 watering is the only pairing of those two jobs near the top of the charts, and it turns a three-Pal farm into a two-Pal farm. Neither of them shows up as a normal wild spawn, though, so the practical early pick is Broncherry — rank 5 planting and 482 spawn points, which is more than any other planter on the list.
| Pal | Planting | Other farm job | Where to find it |
|---|---|---|---|
| Dandilord | 8 | Gathering 5 | No wild spawn points — not on the spawn map |
 Lyleen Lyleen | 7 | Gathering 6 | 42 spawn points · alpha at Lv 58 |
 Ophydia Ophydia | 7 | Watering 5 | No wild spawn points · alpha at Lv 69 |
 Carnibora Carnibora | 6 | Gathering 4 | 11 spawn points |
 Mycora Mycora | 6 | Gathering 4 | 42 spawn points · alpha at Lv 78 |
 Silvance Silvance | 6 | Gathering 4 | No wild spawn points |
 Broncherry Broncherry | 5 | — | 482 spawn points · alpha at Lv 23 |
 Braloha Braloha | 5 | Gathering 5 | 247 spawn points |
 Tropicaw Tropicaw | 5 | Gathering 5 | 50 spawn points |
 Quivern Botan Quivern Botan | 5 | Gathering 4 | 59 spawn points |
 Watering: Keeping the Plot Alive
Watering is the thinnest of the three jobs — only 46 Pals do it at all, and just five reach the rank 6 the Ancient Farm asks for. Shaolong is the outright pick at rank 8 with rank 5 gathering stapled on, and with 63 spawn points it is genuinely catchable rather than a breeding project. If you want the same job done without an endgame catch, Faleris Aqua hits rank 6 across 197 spawn points, which is the most common rank 6 waterer on the map by a wide margin.
| Pal | Watering | Other useful job | Where to find it |
|---|---|---|---|
| Shaolong | 8 | Gathering 5 | 63 spawn points |
 Jormuntide Jormuntide | 7 | — | No wild spawn points · alpha at Lv 55 |
 Neptilius Neptilius | 7 | — | No wild spawn points · alpha at Lv 60 |
 Faleris Aqua Faleris Aqua | 6 | Transporting 5 | 197 spawn points · alpha at Lv 66 |
 Suzaku Aqua Suzaku Aqua | 6 | — | 50 spawn points |
| Ophydia | 5 | Planting 7 | No wild spawn points · alpha at Lv 69 |
 Broncherry Aqua Broncherry Aqua | 5 | — | 7 spawn points |
 Whalaska Whalaska | 5 | Cooling 6 | 187 spawn points · alpha at Lv 55 |
Gathering: Bringing the Harvest In
Gathering is the easy one to staff — 109 Pals can do it, so you will almost certainly already own a passable harvester. The interesting entries are the ones that double up: Lyleen gathers at 6 and plants at 7, which makes it the single best body you can put on a stacked farm, and Lyleen Noct matches the gathering while bringing rank 7 medicine production for the rest of the base. The rank 8 crown belongs to Jetragon, but parking the fastest mount in the game on harvest duty is a decision you should make with your eyes open.
| Pal | Gathering | Other useful job | Where to find it |
|---|---|---|---|
 Jetragon Jetragon | 8 | — | No wild spawn points · alpha at Lv 70 |
 Frostallion Noct Frostallion Noct | 7 | — | No wild spawn points · alpha at Lv 65 |
 Hartalis Hartalis | 7 | Lumbering 7 | No wild spawn points |
 Starryon Primo Starryon Primo | 7 | — | 63 spawn points |
| Lyleen | 6 | Planting 7 | 42 spawn points · alpha at Lv 58 |
 Lyleen Noct Lyleen Noct | 6 | Medicine Production 7 | 42 spawn points · alpha at Lv 58 |
 Venusa Venusa | 6 | Handiwork 6 | 26 spawn points |
 Every Plantation, Tech Level and Build Cost
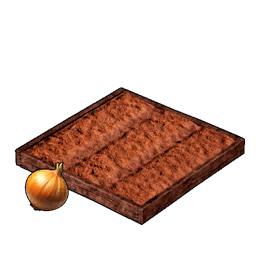
Seven standard plots unlock across the run, every one of them costing 2 Technology Points, and the material bill climbs sharply with the tier — berries want 10 Wood and 10 Stone, lettuce wants ten times the wood and 10 Aquatic Pal Fluids on top. Note that the order in the tech tree does not match the order of the build costs: Lettuce unlocks at Technology 25 but is by far the most expensive plot to put down, while Onion arrives eleven levels later for a third of the timber. If you are stacking on a budget, build the cheap plots first and backfill the expensive ones once your Wood pipeline is running.
| Plantation | Tech Lv | Build materials |
|---|---|---|
| Berry Plantation | 5 | 3 Berry Seeds · 10 Wood · 10 Stone |
| Wheat Plantation | 15 | 3 Wheat Seeds · 15 Wood · 15 Stone |
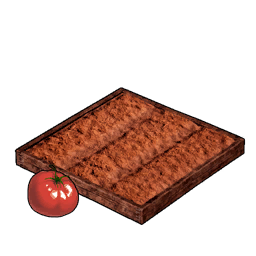 Tomato Plantation Tomato Plantation | 21 | 3 Tomato Seeds · 70 Wood · 50 Stone · 5 Aquatic Pal Fluids |
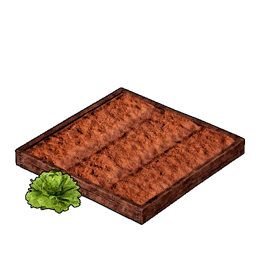 Lettuce Plantation Lettuce Plantation | 25 | 3 Lettuce Seeds · 100 Wood · 70 Stone · 10 Aquatic Pal Fluids |
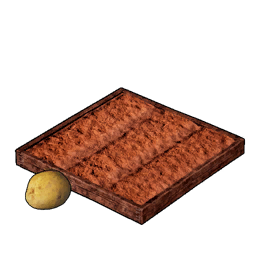 Potato Plantation Potato Plantation | 29 | 3 Potato Seeds · 30 Wood · 20 Stone · 3 Aquatic Pal Fluids |
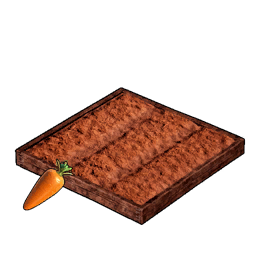 Carrot Plantation Carrot Plantation | 32 | 3 Carrot Seeds · 30 Wood · 20 Stone · 1 Aquatic Pal Fluid |
| Onion Plantation | 36 | 3 Onion Seeds · 30 Wood · 20 Stone · 2 Aquatic Pal Fluids |
| Ancient Farm | 78 | 100 Mythical Wood · 50 Paloxite Ingot · 50 World Tree Holy Water · 10 Ancient Civilization Core |
 Crop Growth Times, Yields and Work
Growth time is only half the story — the work column is the total sowing, watering and harvesting effort your Pals pour into one cycle, and it does not scale with the wait at all. Red Berries finish in 3 minutes for 13,500 work; Onion takes barely twice as long but costs 63,000, so an onion plot ties up your farm crew almost five times as hard for the same ×10 payout. That matters enormously in a stack, because every layer you add is another plot competing for the same handful of Planting and Watering Pals. Build your fast, cheap layers first and treat the late-tier vegetables as a single plot each rather than a wall of them.
| Crop | Growth | Yield | Work per cycle | Food restored |
|---|---|---|---|---|
| Red Berries | 3.0 min | ×10 | 13,500 | 15 |
 Wheat Wheat | 4.5 min | ×10 | 22,500 | 6 |
 Tomato Tomato | 5.0 min | ×10 | 33,000 | 15 |
 Lettuce Lettuce | 5.5 min | ×10 | 45,000 | 15 |
 Potato Potato | 5.8 min | ×10 | 51,000 | 11 |
 Corn Corn | 6.0 min | ×10 | 7,500 | 40 |
 Pumpkin Pumpkin | 6.0 min | ×10 | 7,500 | 50 |
 Carrot Carrot | 6.2 min | ×10 | 57,000 | 10 |
 Onion Onion | 6.5 min | ×10 | 63,000 | 9 |
Corn and Pumpkin are the odd pair in that list. They take the same six minutes as a carrot but cost 7,500 work a cycle — the lightest load of any crop — and they restore the most hunger raw at 40 and 50. There is no standalone corn or pumpkin plot in the build menu either, which fits the Ancient Farm description: it grows all kinds of plants rather than one fixed crop.
 The Farm Plot That Breaks the Three-Job Rule
One more plot deserves a floor in the stack. The Skillfruit Orchard unlocks at Technology 71 for 3 points and only asks for Watering — no planting, no gathering, one job instead of three. That makes it the cheapest layer in the whole building to staff, and it is worth putting on the top floor where pathing is least reliable, because a single waterer failing to reach it costs you far less than a three-Pal cycle stalling. It is expensive to put up, mind: 200 Mythical Wood, 500 Paldium Fragment and 150 Soralite.
Mistakes That Break a Stacked Farm
Most stacked farms fail for one of five reasons, and all five are fixable before you build:
- No route up. Assigning a worker does not give it a path. Every layer needs continuous stairs from the ground or the plot never gets watered.
- Only two of the three jobs covered. A base full of rank 8 planters with nobody watering produces nothing at all. Check all three suitabilities are present before adding layers.
- Roofing the storey. A ceiling above a plot blocks the placement preview. Leave each farming floor open and put the roof on the top layer only.
- Overhanging the foundation. A plot that hangs off the edge of the floor will not snap cleanly. Pour a full rectangle, not a ring of edge pieces.
- Stacking expensive crops. Four onion plots is 252,000 work a cycle against your farm crew. Mix fast, cheap layers with the slow ones.
The Short Answer
Pour a solid Wooden Foundation floor, snap the plantation onto it instead of onto dirt, build the next foundation layer directly above and repeat, then run stairs between every level so your Planting, Watering and Gathering Pals can walk the whole stack. Put berries and wheat on the reachable lower floors, save the slow high-work vegetables for a single plot each, and once you hit Technology 78 switch to Ancient Farms indoors — provided you own the rank 6 workers they demand.
Related Guides
Go deeper on the farm and the base around it:
- Palworld farming page — every crop's growth time and yield alongside the full drop finder
- List of All Structures and Build Costs — all 480 buildables with tech levels and worker requirements
- Best Pals for every work suitability and the base work optimiser for staffing the whole camp at once
- All Handbooks and the Best Pals to Use Them On — the fastest route to rank 6 farm workers
- How to Rank Up Pals — the condenser, Ripe Starfruit and handbook tracks explained
- How to Make Cake: All Recipes and Effects — what your wheat and berry layers are really feeding
- Best Food for SAN and Hunger — which crops are worth cooking once the harvests pile up
- How to Farm Honey and All Honey Sources — the Ranch side of base food production
- Best Early Game Pals — the first workers worth catching for a new base
- All Palworld guides