Palworld Base Building Guide: All 7 Structure Sets and Costs
Every Palworld structure set from Wooden at Lv. 2 to Ancient at Lv. 67 — the exact per-piece cost of each one, the full material bill for a three-storey tower in all seven styles, what the shell weighs to haul, and the Pal setups that keep Wood, Stone, and Ingot flowing while you build.
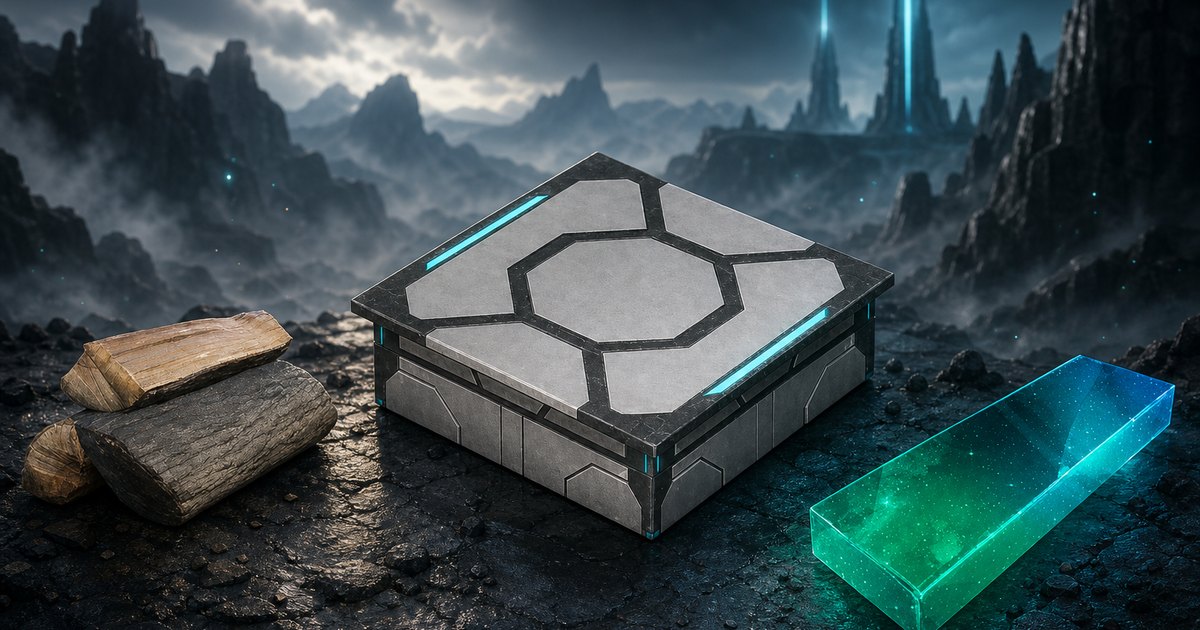
Palworld's build menu holds seven complete structure sets, and the distance between the first and the last is 65 player levels, 18 Technology Points, and a jump from raw Wood to refined Soralite Ingot. This guide gives you every set's unlock level and exact per-piece cost, the full material bill for a three-storey tower in each style, what that shell weighs to carry, and the base setups that keep the materials coming while you build.
 Base Building at a Glance
Everything you place has to sit inside the radius of a Palbox, and the Palbox itself is almost free — 8 Wood, 3 Stone, and 1 Paldium Fragment at Lv. 2. From there the only real gates are technology levels. The two build sets that carry most players from start to finish, Wooden and Stone, are both unlocked before Lv. 20, and the four late sets are cosmetic swaps rather than upgrades — Pocketpair hasn't published structure durability values, so pick a set for the look and the material you can actually farm.
| What | Detail |
|---|---|
| Structure sets in the build menu | 7 — Wooden, Stone, Metal, Glass, Japanese-Style, Futuristic, Ancient |
| First set unlocked | Wooden Structure Set at Lv. 2 |
| Last set unlocked | Ancient Structure Set at Lv. 67 |
| Technology Points for all seven | 18 (no Ancient Technology Points needed) |
| What defines your build area | The Palbox — 8 Wood, 3 Stone, 1 Paldium Fragment at Lv. 2 |
| Cheapest piece in the game | Clean (Futuristic) — 1 Polymer each |
| Cheapest to gather by hand | Wooden — 2 Wood each |
| Heaviest set to haul | Japanese-Style — 4 Hardwood per piece at 5.0 weight each |
| Vertical movement | Ladder at Lv. 10 for 10 Wood; stairs ship with every set |
| Renewable Wood and Stone | Logging Site and Stone Pit, both Lv. 7 |
| Buildable fast travel | Great Eagle Statue — 5 Paldium Fragment, 10 Stone |
 All 7 Structure Sets and What They Cost
Here is the part nobody tells you up front: every piece inside a set costs the same. A wall, a foundation, a roof, a pillar, a set of stairs — a Wooden one is 2 Wood, an Ancient one is 2 Soralite Ingot, no matter what it is. The only exception in most sets is the fence, which is priced separately. That makes the cost of a build purely a piece count, and it means the set you choose is the single biggest lever on how long the project takes.
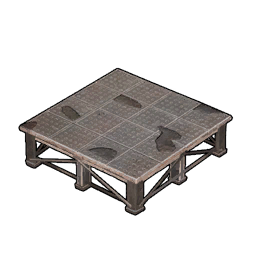
The Metal set is the outlier worth flagging: at 1 Ingot plus 2 Stone per piece, it's the only set that spends a refined material *and* a raw one, so a Metal build needs both a smelting chain and a stone supply running at once. Glass is the sleeper pick for a big project — 1 Stone and 2 Paldium Fragment is cheap by Lv. 45 standards, and Paldium is a base-farmable node. The Futuristic set is listed in the tech tree as "Futuristic Structure Set" but every piece it unlocks is named Clean, which is why people search for it and can't find it.
| Structure Set | Player Lv. | Tech Points | Cost per Piece | Fence Cost |
|---|---|---|---|---|
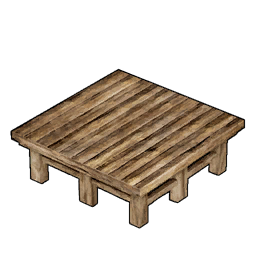
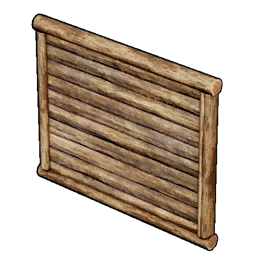 Wooden Wooden | Lv. 2 | 2 | 2 Wood | 3 Wood |
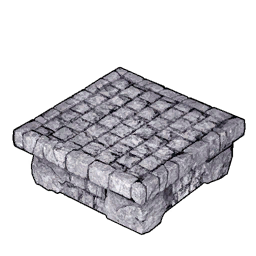
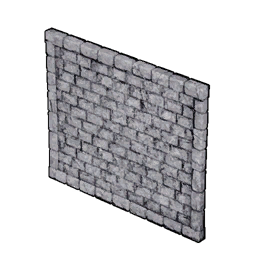 Stone Stone | Lv. 19 | 3 | 3 Stone | 3 Stone |
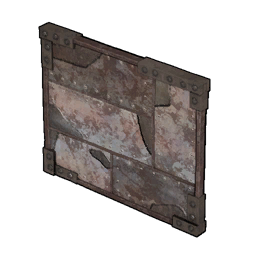 Metal Metal | Lv. 30 | 4 | 1 Ingot + 2 Stone | 3 Ingot |
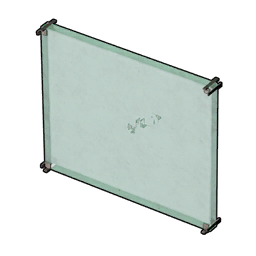 Glass Glass | Lv. 45 | 2 | 1 Stone + 2 Paldium Fragment | 3 Stone + 1 Paldium |
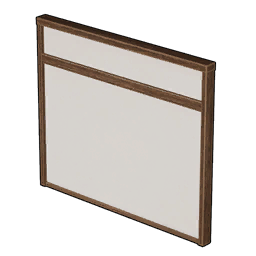 Japanese-Style Japanese-Style | Lv. 49 | 2 | 4 Hardwood | 5 Hardwood |
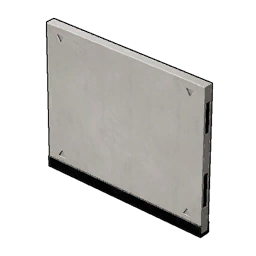 Clean (Futuristic) Clean (Futuristic) | Lv. 62 | 2 | 1 Polymer | 2 Polymer |
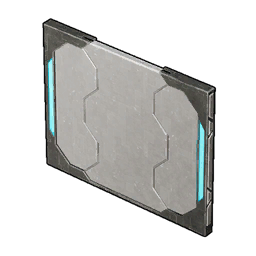
| Ancient | Lv. 67 | 3 | 2 Soralite Ingot | 2 Soralite Ingot |
 Material Bill for a Three-Storey Tower
Because piece cost is flat within a set, you can price any build the moment you know its piece count. Take a straightforward tower shell: a 5x5 floor plate is 25 foundations, walling that plate's perimeter takes 20 wall segments, and three storeys of that is 75 foundations plus 60 walls — 135 pieces. The table below prices that same 135-piece shell in all seven styles, with the raw materials behind each refined one broken out, plus what it weighs to carry and what it would cost to simply buy the materials from merchants where that's possible. The roof is not included; add 25 more pieces if you're capping it.
| Structure Set | Materials for 135 Pieces | Raw Inputs Behind That | Weight to Haul | Gold if You Buy It |
|---|---|---|---|---|
 Wooden Wooden | 270 Wood | Gathered directly | 810 | 3,240 Gold |
| Stone | 405 Stone | Gathered directly | 1,215 | 4,860 Gold |
 Metal Metal | 135 Ingot + 270 Stone | 270 Copper Ore + 270 Stone | 1,485 | 30,240 Gold |
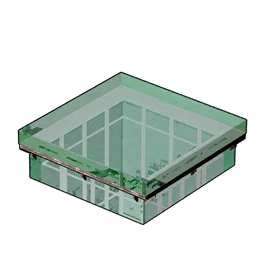 Glass Glass | 135 Stone + 270 Paldium Fragment | Gathered directly | 675 | 20,520 Gold |
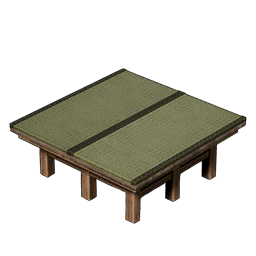 Japanese-Style Japanese-Style | 540 Hardwood | Gathered directly | 2,700 | 54,000 Gold |
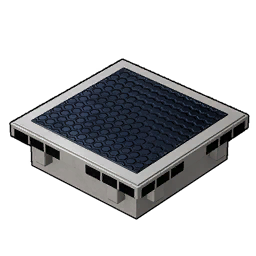 Clean (Futuristic) Clean (Futuristic) | 135 Polymer | 270 High Quality Pal Oil + 135 Sulfur | 67.5 | Not sold |
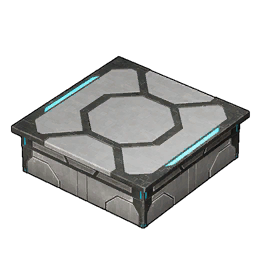 Ancient Ancient | 270 Soralite Ingot | 540 Soralite + 540 Pure Quartz | 810 | Not sold |
Two things jump out. First, the Clean set's shell weighs 67.5 — that is forty times lighter than the Japanese-Style equivalent at 2,700, because Polymer weighs 0.5 per unit against Hardwood's 5.0. If you are building far from your material stockpile and hate the round trips, that difference matters more than the material cost does. Second, Japanese-Style is by far the most expensive set to buy outright at 54,000 Gold, since Hardwood runs 100 Gold a piece at the Desert, Village, Volcano, and Wandering Trader shops and there's no way to manufacture it at a base.
How to Farm Every Build Material
A landmark build is a logistics problem, not a design problem. Four of the seven sets run on materials you can put on a renewable base loop, and the other three need a route. Below is the fastest source for each, with the pin counts on our interactive Palworld map so you know how much of the island actually carries the node.
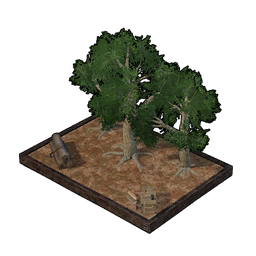 Wood — Logging Site at Lv. 7
The Logging Site costs 50 Wood, 20 Stone, and 10 Paldium Fragment and takes a Lumbering worker, turning wood into something your base prints instead of something you chop. It's the single best 50 Wood you will ever spend. Out in the world there are 4,654 Lumber nodes on the map, so a wild run is always an option — open the Lumber layer on the map and pick the densest patch near your base. At Lv. 43 the Logging Site II doubles down for 100 Hardwood, 50 Stone, 20 Paldium Fragment, and 5 Ancient Civilization Parts.
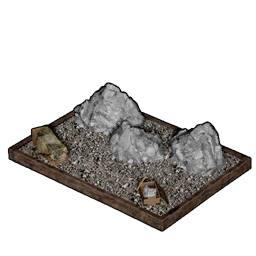 Stone — Stone Pit at Lv. 7
The Stone Pit unlocks alongside the Logging Site and costs 50 Stone, 20 Wood, and 10 Paldium Fragment for a Mining worker slot. Stone is the most abundant node type in the game by a wide margin — 8,157 Rock nodes plus 4,286 Small Rock nodes, over 12,400 pins between them. Turn on both Rock layers at once and you'll see there is essentially nowhere on Palpagos without stone in walking distance. Pair the pit with a Crusher (Lv. 8, 50 Wood + 20 Stone + 10 Paldium Fragment) if you also want Paldium Fragment on tap for a Glass build.
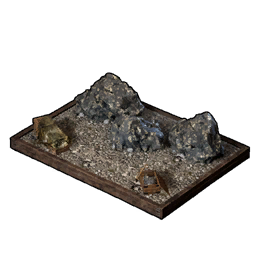 Ingot — Ore Mining Site at Lv. 24
Ingot is smelted 2 Copper Ore to 1 Ingot in any furnace, so the Metal set's 135 Ingot means 270 Copper Ore in the ground. The Ore Mining Site (50 Stone, 25 Ingot, 20 Paldium Fragment, 5 Ancient Civilization Parts) makes that renewable, and Ore Mining Site II at Lv. 39 doubles the inputs for a bigger output. In the wild there are 1,632 Copper Ore nodes — far fewer than rock, so filter the map to the Copper Ore layer before you set out rather than wandering. Expeditions also pay it out, 30-50 Copper Ore from the 30-minute Easy runs.
 Hardwood — No Base Loop, Buy or Route It
Hardwood is the awkward one. It has no crafting recipe, no dedicated map node layer, and no production structure — it comes off the tougher trees in the desert, volcano, and snow regions, or straight off a shelf. Four merchant families stock it at 100 Gold each: the Desert Shop, Village Shop, Volcano Shop, and Wandering Trader. For a Japanese-Style build of any size, buying is usually the sane answer, and 540 Hardwood for a three-storey shell is 54,000 Gold.
 Polymer — Production Assembly Line at Lv. 29
Polymer is crafted 2 High Quality Pal Oil + 1 Sulfur to 1 Polymer at a Production Assembly Line, which needs 100 Ingot, 5 Wooden Board, 20 Nail, and 10 Cement plus 200 power. That's a real industrial setup, but it pays off: Polymer is the cheapest structure material per piece in the game and the lightest to carry by a factor of six. Sulfur has 655 nodes on the map, and High Quality Pal Oil comes off oil-carrying Pals, so both halves of the recipe are farmable long before Lv. 62 when the Clean set actually unlocks.
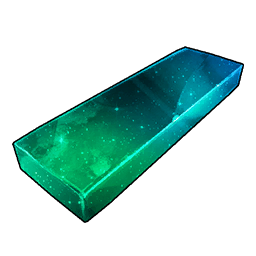 Soralite Ingot — Ancient Furnace at Lv. 66
The Ancient set is an endgame flex and priced like one. Soralite Ingot is refined 2 Soralite + 2 Pure Quartz to 1 ingot at the Ancient Furnace, which itself costs 100 Coralum Ingot, 20 Thermal Core, 30 Computer, and 10 Ancient Civilization Core and draws 3,000 power. Soralite is the rarest resource node on the map at just 226 pins, all on Sunreach — switch the Soralite layer on before you fly out. The Soralite Quarry at Lv. 72 makes it renewable for 70 Stone, 100 Soralite, and 10 Ancient Civilization Parts, and Sunreach supply drops hand over 30-40 Soralite at a time.
 Best Pals to Keep the Build Supplied
You place structures yourself — no Pal builds walls for you. What Pals do is feed the pile, and for a big project that means exactly three jobs: Lumbering for Wood, Mining for Stone and Copper Ore, and Transporting to get the output into a chest instead of leaving it on the floor. Only one Pal in the game holds rank 8 in each of Lumbering and Mining, and both are worth chasing before you start a landmark build.
The two Knocklem variants are the standouts on this list because they are the only Pals in the game with Transporting 7, and they carry Mining 7 alongside it — one Pal covering the two jobs that otherwise clog your worker slots. Dualith is the budget version of the same idea with 6/6/5 across Mining, Transporting, and Lumbering, and it's a common enough spawn that you can field several.
| Pal | Lumbering | Mining | Transporting | Why It Earns the Slot |
|---|---|---|---|---|
| Celesdir Noct | 8 | — | — | The only Lumbering 8 in the game — nothing else out-chops it |
 Aegidron Aegidron | — | 8 | — | The only Mining 8 in the game; pure single-job specialist |
 Knocklem Knocklem | — | 7 | 7 | Joint-highest Transporting with Mining 7 on top — two jobs, one slot |
 Knocklem Ignis Knocklem Ignis | — | 7 | 7 | Same Mining 7 and Transporting 7, plus Kindling 5 for your furnace |
 Celesdir Celesdir | 7 | — | — | The realistic Lumbering pick before you find the Dark variant |
 Hartalis Hartalis | 7 | — | — | Lumbering 7 and Gathering 7 together; has no wild spawn on the map |
 Astegon Astegon | — | 7 | — | Mining 7 with Handiwork 3 for crafting stations on the side |
 Blazamut Blazamut | — | 7 | — | Mining 7 and Kindling 6 — mines the ore and smelts it |
 Dualith Dualith | 5 | 6 | 6 | Covers all three supply jobs at once; the best all-round base body |
 Solenne Solenne | — | — | 2 | Handiwork 8, the game's highest, for everything you craft mid-build |
 Building Tall: Ladders, Stairs, and Pillars
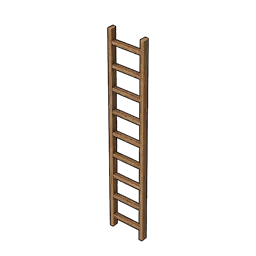
Going vertical needs almost nothing beyond what the base set already gives you. Stairs and pillars are ordinary set pieces at the standard flat price, so a Wooden staircase is 2 Wood and an Ancient one is 2 Soralite Ingot. The Ladder is the exception — it's a standalone technology at Lv. 10 for 1 Technology Point and 10 Wood, and it is by far the most space-efficient way to link floors when a stairwell would eat a quarter of your plate.
Pillars are the piece most people underuse. Because they cost the same as a wall, running a pillar grid under an overhanging upper floor is free in material terms and lets you cantilever balconies, landing pads, and open atriums instead of stacking identical boxes. If you want your tower to actually read as a landmark rather than a cube, that's the trick: pillars for the frame, Pal Passage Entrances so your workers can path through the ground floor, and a Great Eagle Statue on the roof for 5 Paldium Fragment and 10 Stone so you can warp straight to the top.
| Piece | Unlocked With | Player Lv. | Wooden Cost | Ancient Cost |
|---|---|---|---|---|
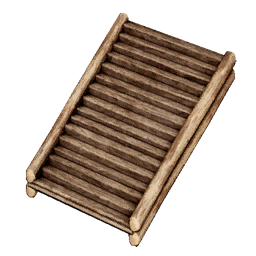 Stairs Stairs | Its structure set | Lv. 2 / Lv. 67 | 2 Wood | 2 Soralite Ingot |
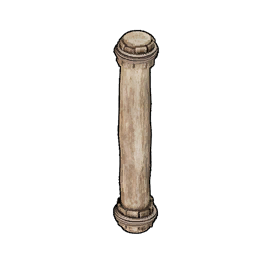 Pillar Pillar | Its structure set | Lv. 2 / Lv. 67 | 2 Wood | 2 Soralite Ingot |
| Ladder | Standalone tech, 1 point | Lv. 10 | 10 Wood | Same — one version only |
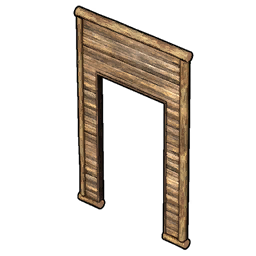 Pal Passage Entrance Pal Passage Entrance | Its structure set | Lv. 2 / Lv. 67 | 2 Wood | 2 Soralite Ingot |
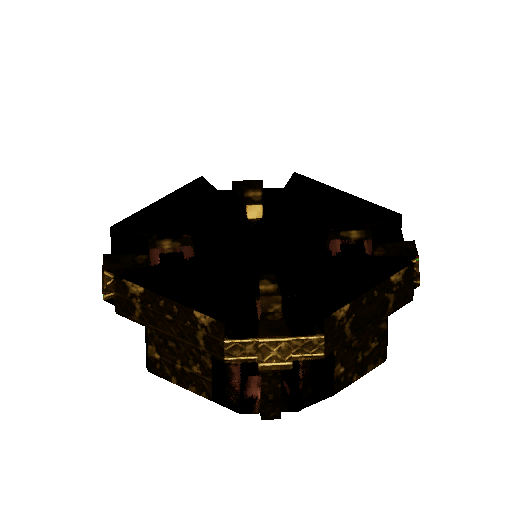 Great Eagle Statue Great Eagle Statue | Buildable fast travel point | — | 5 Paldium Fragment + 10 Stone | Same — one version only |
 Lighting and Fittings for a Showpiece Base
A shell reads as a building the moment you light it. The cheap end is genuinely cheap — a Brick Fireplace is 30 Wood and 15 Stone at Lv. 8 and does more for a room's atmosphere than anything else in that price band. The real jump is Lv. 26, when the electric fixtures land together: the Chandelier, the floor lamps, and the wall lamps all arrive at once and all want Ingot plus Electric Organ, so line up a generator before you unlock them.
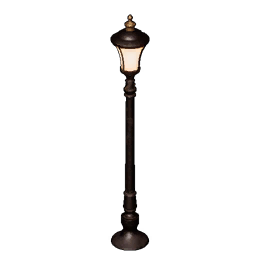
For exteriors, the four street lamp variants at Lv. 46 are the pieces that make a plaza or a hangar approach look designed rather than assembled — they're identical in cost at 20 Ingot, 3 Electric Organ, and 3 Nail, so pick purely on shape. And if you're recreating a hub with vendor stalls, the Flea Market pair at Lv. 22 is the closest thing the game has to a shop front, one for items and one for Pals.
| Fitting | Player Lv. | Materials | What It's For |
|---|---|---|---|
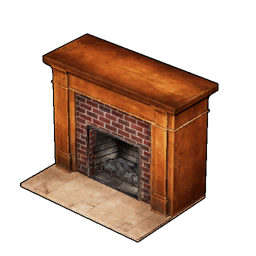 Brick Fireplace Brick Fireplace | Lv. 8 | 30 Wood + 15 Stone | Cheapest interior warmth and light in the game |
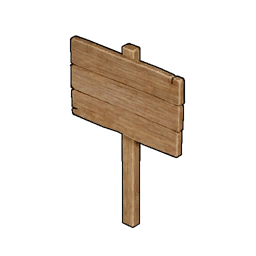 Sign Sign | Lv. 6 | 10 Wood | Labelling floors, districts, and vendor rows |
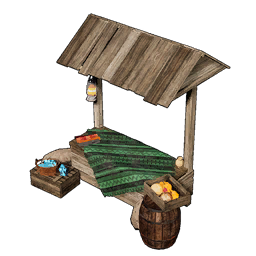 Flea Market (Items) Flea Market (Items) | Lv. 22 | 20 Ingot + 4 Wooden Board + 3 Cloth | A working shop front for item stalls |
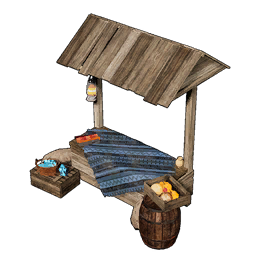 Flea Market (Pals) Flea Market (Pals) | Lv. 22 | 20 Ingot + 4 Wooden Board + 5 Paldium Fragment | The Pal-side counterpart to the item stall |
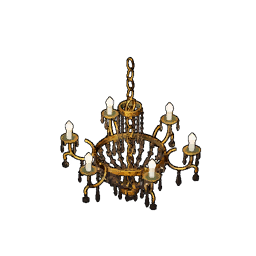 Chandelier Chandelier | Lv. 26 | 20 Ingot + 3 Electric Organ + 3 Nail | Ceiling centrepiece for a hall or atrium |
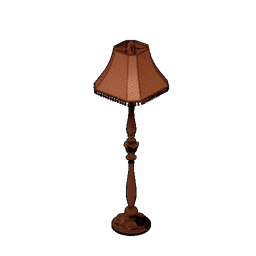 Antique Brown Floor Lamp Antique Brown Floor Lamp | Lv. 26 | 30 Wood + 3 Electric Organ + 3 Nail | Room lighting that doesn't need a ceiling |
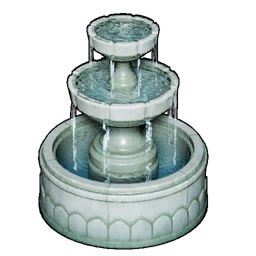 Water Fountain Water Fountain | Lv. 23 | 20 Ingot + 50 Stone + 8 Aquatic Pal Fluids | Courtyard and plaza centrepiece |
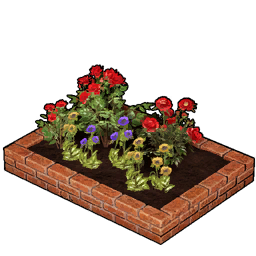 Flower Bed Flower Bed | Lv. 24 | 30 Wood + 50 Stone + 20 Cement + 10 Beautiful Flower | Softens hard edges on a stone or metal build |
| Simple Street Lamp | Lv. 46 | 20 Ingot + 3 Electric Organ + 3 Nail | Exterior paths, plazas, and landing areas |
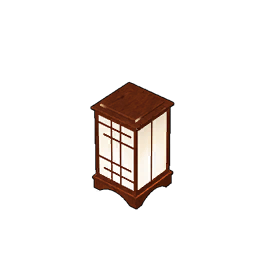 Japanese Paper Lantern Japanese Paper Lantern | Lv. 55 | 10 Hardwood + 3 Flame Organ | The matching light for a Japanese-Style build |
The Short Version
Build in Wooden until Lv. 19 and Stone after it — they're cheap, they're renewable off a Lv. 7 Logging Site and Stone Pit, and nothing in the game punishes you for using them. Save a themed set for a build you actually care about, and pick it by material access rather than looks: Glass if you have Paldium coming in, Clean if you've got a Production Assembly Line running and hate hauling weight, Japanese-Style only if you're happy spending Gold. Price the job before you start — piece count times the flat per-piece cost is the whole calculation — and put a Knocklem on Transporting so the output ends up in a chest instead of scattered around your base.
Related Guides
Everything else you need to plan a base:
- All Palworld Guides — the full guide index
- List of All Structures — every buildable piece with its cost and tech level
- Palworld Interactive Map — every resource node, filterable by layer
- Best Base Locations in Palworld 1.0 — coordinates and the nodes each spot covers
- All Base Level Rewards and Requirements — the Palbox missions and worker caps
- Best Base Pals in Palworld — the seven workers that cover every job
- Best Pals for Lumbering — full Lumbering ranks and spawns
- How to Farm Ore: Best Locations and Mining Site Setup — feeding a Metal build
- List of All Materials — sources and uses for every material
- How to Get More Technology Points — paying for all seven sets
- Palworld Technology Tree — every unlock in level order