How to Get the Pal Pod: Level 56 and Materials
How to get the Pal Pod in Palworld: the level 56 tech node and its 5 Technology Points, all three build materials, the full raw shopping list under them, and the ranch Pals that make the Cryogenic Coolant free.
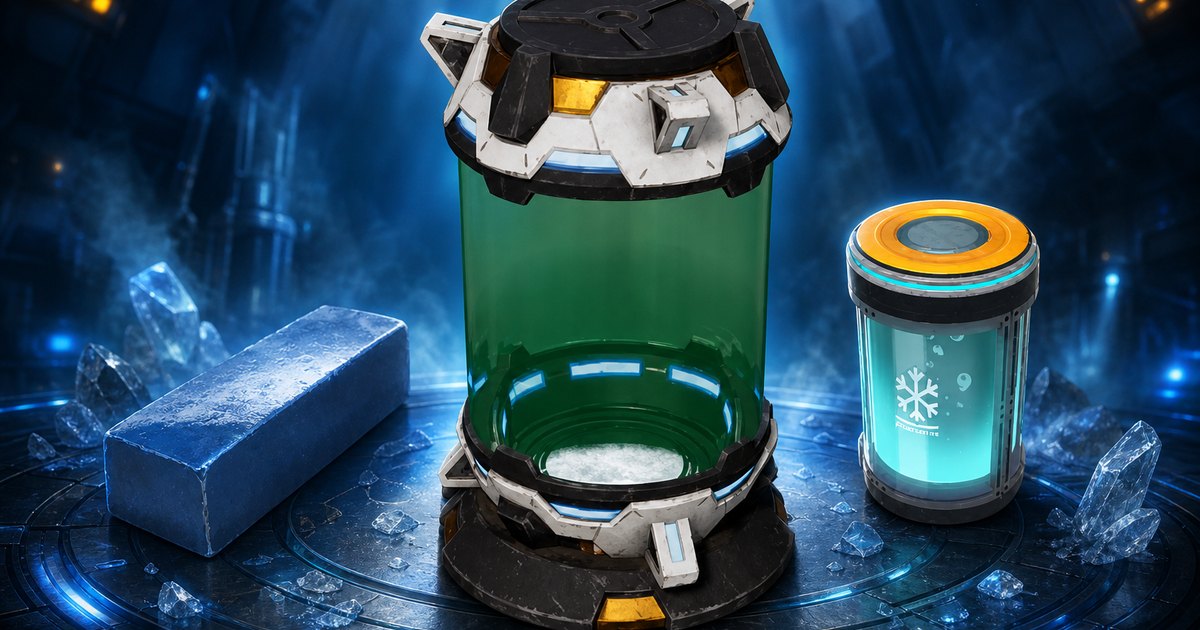
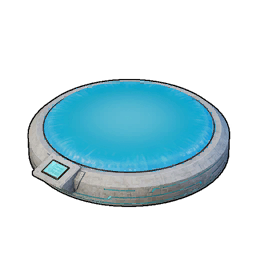
The Pal Pod is the healing capsule that replaces the Large Pal Bed in your base, unlocking at level 56 for 5 Technology Points. This guide covers the unlock and what competes with it, all three build materials and where each one really comes from, the full raw pile hiding underneath them, and the ranch Pals that turn the hardest line on the recipe into a passive drip.
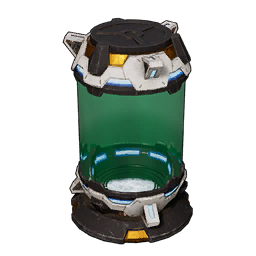 Pal Pod at a Glance
Five Pal beds exist in the game and the Pod is the fourth rung, sitting between the Large Pal Bed at level 36 and the Ancient Pal Bed at 73. It goes in the Infrastructure tab, draws no electricity, needs no assigned workers, and can be dropped outside a base perimeter like every other Pal bed. What makes it odd is the price tag: 5 Technology Points is the most any bed in the game charges — more than the Ancient Pal Bed's 3 — and its 84,140 gold of materials is nearly the same outlay as that endgame bed for a rung 17 levels lower.
| What | Detail |
|---|---|
| Type | Base structure, Infrastructure tab of the build menu |
| Technology level | Lv. 56 |
| Cost | 5 Technology Points (regular points — no boss currency) |
| Materials | 10 Pal Metal Ingot, 6 Cryogenic Coolant, 3 Computer |
| Material value | 84,140 gold, of which the three Computers alone are 67,320 |
| Power draw | None — it runs without a generator |
| Workers | None — nobody has to be assigned to it |
| Durability | 5,000 HP, 3 Defense |
| Deterioration | 0.05 — tied with the Large Pal Bed for the slowest decay of any Pal bed |
| Build workload | 50,000 to assemble once the materials are in the box |
| Placement | Anywhere, indoors or out — but blocked inside raid boss arenas |
| What it does | Pals sleep here at night and recover from injuries, at a better rate than the Large Pal Bed it replaces |
How to Unlock the Pal Pod
Reach character level 56, open the Palworld technology tree and spend 5 points. That is the joint-most expensive node on the level, tied with the Guided Missile Launcher and the Pal Disassembly Conveyor, and level 56 only offers 17 regular points of unlocks in total — so buying the Pod means skipping roughly a third of the level. If you are short, the Technology Point guide covers the fastest ways to top up. There is no other route in: the Pod has no schematic, no shop listing and no chest drop, so the tech node is the only gate.
| Requirement | Why it matters |
|---|---|
| Character level 56 | The node stays greyed out until then — nothing else unlocks it early |
| 5 Technology Points | The steepest bed in the tree; the Ancient Pal Bed at level 73 only asks 3 |
| Production Assembly Line (Lv. 29) | Makes the Cryogenic Coolant and the Carbon Fiber underneath the Computers |
| Production Assembly Line II (Lv. 42) | The only station that builds Computers and Bio Batteries |
| Electric Furnace (Lv. 44) | Where Plasteel gets made — you cannot finish a Computer without one |
| Crude Oil Extractor (Lv. 50) | 18 Crude Oil per Pod, and hand-gathering it does not scale |
Pal Pod Materials and Where to Get Them
Three lines, and the shortest one is 80% of the bill. The three Computers are worth 67,320 gold against the Pod's 84,140 total, and they carry 3,132,000 of the 3,692,000 crafting workload buried in the recipe — which is 74 times the Pod's own 50,000 build cost. The Pal Metal Ingots are the easy line if your base already mines, and the Cryogenic Coolant is the one people get stuck on because both of its ingredients come off Pals rather than out of the ground.
| Material | Qty | Where it comes from | Value each |
|---|---|---|---|
 Pal Metal Ingot Pal Metal Ingot | 10 | Smelted in a furnace from 4 Ore, 1 Pure Quartz and 2 Paldium Fragment per bar | 1,250 |
 Cryogenic Coolant Cryogenic Coolant | 6 | Production Assembly Line, 1 Aquatic Pal Fluids + 1 Ice Organ each | 720 |
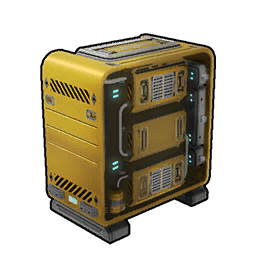 Computer Computer | 3 | Production Assembly Line II, 2 Circuit Board + 3 Plasteel + 2 Bio Battery + 2 Carbon Fiber each | 22,440 |
Pal Metal Ingot ×10
Four Ore, one Pure Quartz and two Paldium Fragment per bar, at 50,000 workload each — half a million workload for the ten, which is the single longest furnace session in the build. None of it is rare: there are 1,632 ore nodes on the map, 711 Paldium Ore nodes and 607 Pure Quartz nodes, and Pure Quartz clusters in the snowfields while Paldium sits near water. If you would rather not swing a pickaxe, the Wandering Trader sells Ore at 100 gold and Paldium Fragment goes for 70 at the Wander Shop, so 40 Ore and 20 Paldium is about 5,400 gold of shopping. Ten bars is also worth setting up properly rather than mining by hand — the ore farming guide covers mining site layouts.
Cryogenic Coolant ×6
One Aquatic Pal Fluids plus one Ice Organ on the Production Assembly Line, 10,000 workload each — cheap to make, annoying to supply, because both halves drop off Pals. Six of each is the whole requirement, and you almost certainly have some already if you built the Improved Furnace, which eats 5 Coolant of its own. The lazy fix is a Ranch: Kelpsea drops Aquatic Pal Fluids onto the ranch floor and Foxcicle drops Ice Organs, both passively, forever. Failing that, every Caravan Shop and Dungeon Shop stocks both at 300 gold apiece, so the entire coolant line is 3,600 gold if you just want it done.
Computer ×3
This is the real gate. Each Computer wants 2 Circuit Board, 3 Plasteel, 2 Bio Battery and 2 Carbon Fiber at 250,000 workload, and those four ingredients between them pull in a fifth station each — Plasteel only comes out of the Electric Furnace, Bio Batteries only out of Production Assembly Line II. Three Computers unpack into 6 Circuit Boards, 9 Plasteel, 6 Bio Batteries and 12 Carbon Fiber, which is why the Pod feels so much heavier than its three-line recipe suggests. The upside is that nothing here is exotic once your oil is running; the Crude Oil for the Plasteel is the only piece that really needs infrastructure.
| Computer part | Qty for 3 | Station | Unpacks into |
|---|---|---|---|
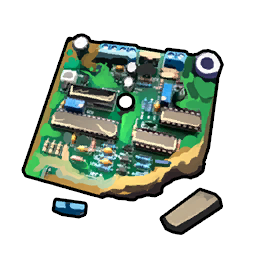 Circuit Board Circuit Board | 6 | Production Assembly Line | 12 Pure Quartz, 6 Polymer |
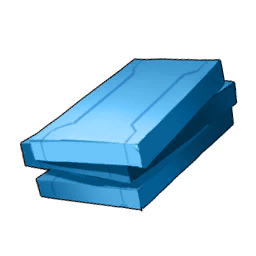 Plasteel Plasteel | 9 | Electric Furnace | 18 Crude Oil, 45 Ore |
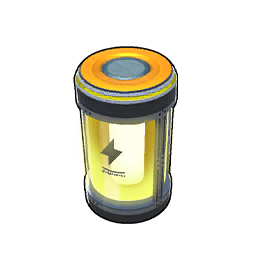 Bio Battery Bio Battery | 6 | Production Assembly Line II | 6 Electric Organ, 6 Refined Ingot, 6 Carbon Fiber |
 Carbon Fiber Carbon Fiber | 12 total | Production Assembly Line | 60 Charcoal (120 Wood), 12 Flame Organ |
Full Raw Material List for One Pal Pod
Break every intermediate back down to things you pick up, mine or take off a Pal and one Pod costs the twelve lines below. Ore is the bulk at 97 — a third for the ingots, the rest swallowed by Plasteel — and Crude Oil is the only entry that genuinely needs a building rather than a route. The four organ lines total 24 items and every one of them can be produced on a ranch, which is the single biggest quality-of-life change you can make before committing to this build. Nothing on the list is region-locked to the endgame islands, so a mid-game base with an oil pump can supply Pods indefinitely.
| Raw material | Qty | Where to get it |
|---|---|---|
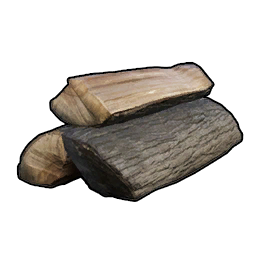 Wood Wood | 120 | 4,654 lumber nodes, or a Logging Site in base — burns down to 60 Charcoal |
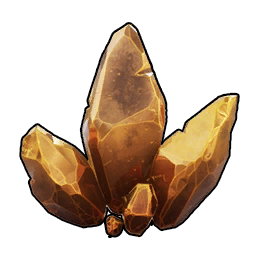 Ore Ore | 97 | 1,632 ore nodes; Wandering Trader sells it at 100 gold |
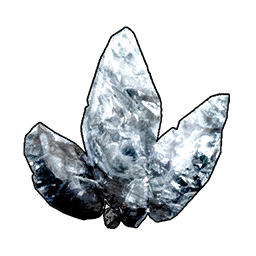 Pure Quartz Pure Quartz | 22 | 607 nodes, mostly snowfield; Astral Frost Cavern expedition returns 20–40 in an hour |
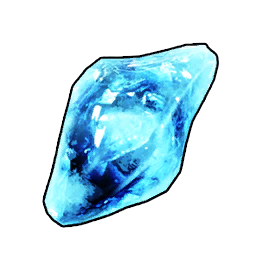 Paldium Fragment Paldium Fragment | 20 | 711 Paldium Ore nodes; Wander Shop sells it at 70 gold |
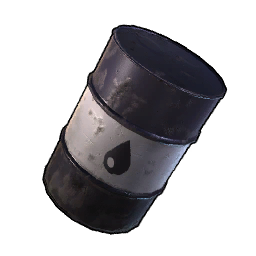 Crude Oil Crude Oil | 18 | Crude Oil Extractor (Lv. 50) on 185 oil field spots; supply drops carry 10–30 |
 High Quality Pal Oil High Quality Pal Oil | 12 | Ranch Pals and field drops — feeds the 6 Polymer |
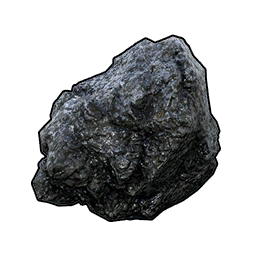 Coal Coal | 12 | 824 coal nodes — for the 6 Refined Ingots |
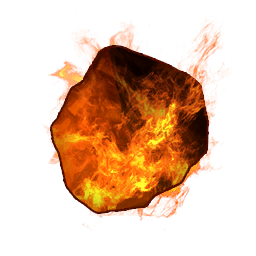 Flame Organ Flame Organ | 12 | Ranch: Kelpsea Ignis, Flambelle or Rooby |
 Aquatic Pal Fluids Aquatic Pal Fluids | 6 | Ranch: Kelpsea; shops sell it at 300 gold |
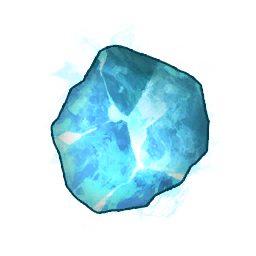 Ice Organ Ice Organ | 6 | Ranch: Foxcicle; shops sell it at 300 gold |
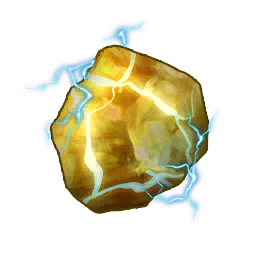 Electric Organ Electric Organ | 6 | Ranch: Sparkit; shops sell it at 300 gold |
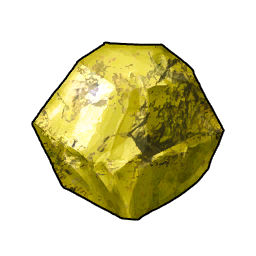 Sulfur Sulfur | 6 | 655 sulfur nodes, concentrated in the desert |
Best Pals to Farm the Pod's Organ Lines
Twenty-four of the raw items on that list are Pal organs, and putting the right four Pals on a Ranch means you never hunt for any of them again. Kelpsea is the standout — it produces Aquatic Pal Fluids at Farming rank 1, it is the most common ranch Pal on this list with 1,359 spawn spots, and it costs nothing to catch early. Foxcicle is the Ice Organ answer but wants Farming rank 3, so it is slower to slot in; Mau Cryst does the same job at rank 1 but is nearly impossible to find in the wild at 3 spawn spots, so breed for it rather than hunting. For Flame Organs, Kelpsea Ignis is the easiest catch of the three at 786 spots.
| Pal | Element | Produces | Farming rank | Where to catch it |
|---|---|---|---|---|
 Kelpsea Kelpsea | Water | Aquatic Pal Fluids | 1 | 1,359 spawn spots |
 Foxcicle Foxcicle | Ice | Ice Organ | 3 | 187 spawn spots |
 Mau Cryst Mau Cryst | Ice | Ice Organ | 1 | 3 spawn spots — breed it instead |
 Sparkit Sparkit | Electric | Electric Organ | 1 | 45 spawn spots |
 Kelpsea Ignis Kelpsea Ignis | Fire | Flame Organ | 1 | 786 spawn spots |
 Flambelle Flambelle | Fire | Flame Organ | 1 | 232 spawn spots |
If you would rather hunt than ranch, the kill drops are far denser per Pal. Frostallion hands over a flat 10 Ice Organs every time, the highest of any source in the game; Kingpaca Cryst gives 3–6 and Bastigor 2–5, and Bastigor actually spawns in the wild so you can farm it on repeat. On the water side Suzaku Aqua drops a guaranteed 5 Aquatic Pal Fluids and Azurobe 2–4. Six of each is one good hunting trip, so hunting is the faster path for a single Pod and the ranch is the better one if you plan to re-bed a whole base.
Every Pal Bed Compared
Pal beds are a five-step ladder and each rung restores more health and SAN overnight. The two worth planning around are the Large Pal Bed at level 36, because it is the first one big Pals can use and it is made of Fiber and Nails, and the Pod at 56. Note what the Pod does *not* improve: durability stays at 5,000 HP and 3 Defense, identical to the two beds below it, so it is no tougher in a base raid. What it does win is deterioration — 0.05, tied with the Large Pal Bed and half the Fluffy Pal Bed's rate, and lower even than the Ancient Pal Bed's 0.08, so it needs repairing less often than the bed that replaces it.
| Bed | Tech Lv | Pts | Materials | Durability | Build workload | Material value |
|---|---|---|---|---|---|---|
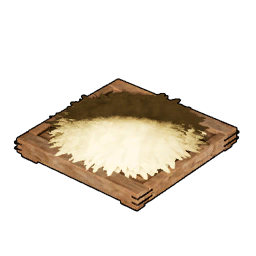 Straw Pal Bed Straw Pal Bed | 3 | 2 | 10 Wood, 5 Fiber | 2,000 HP / 2 Def | 2,000 | 160 gold |
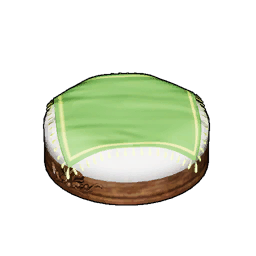 Fluffy Pal Bed Fluffy Pal Bed | 24 | 2 | 5 Cloth, 3 Wooden Board, 5 Nail, 10 Fiber | 5,000 HP / 3 Def | 10,000 | 3,560 gold |
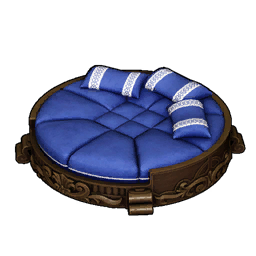 Large Pal Bed Large Pal Bed | 36 | 2 | 5 High Quality Cloth, 5 Hardwood, 20 Nail, 20 Fiber | 5,000 HP / 3 Def | 50,000 | 15,060 gold |
| Pal Pod | 56 | 5 | 10 Pal Metal Ingot, 6 Cryogenic Coolant, 3 Computer | 5,000 HP / 3 Def | 50,000 | 84,140 gold |
 Ancient Pal Bed Ancient Pal Bed | 73 | 3 | 10 Soralite Ingot, 2 World Tree Holy Water, 3 Mythical Wood | 8,000 HP / 4 Def | 100,000 | 85,000 gold |
Pocketpair has never published the exact recovery-per-night figures for each bed, so treat the ordering as the reliable part rather than any single number — every step up restores more, and the Pod is the best bed you can build before the endgame islands open. One thing to watch: the game only calls out large-Pal compatibility on the Large Pal Bed and the Ancient Pal Bed, so keep a couple of Large Pal Beds standing for your bulkiest workers rather than ripping the whole row out at once.
Is the Pal Pod Worth Building?
Yes, but build it last in its bracket. A Pal with drained SAN works slower, eats more and eventually stops working entirely, so bed quality compounds across every worker in your base — which also means one Pod in a row of Fluffy beds barely moves the needle. The honest read on the price is that 5 Technology Points and 84,140 gold of materials is a lot to pay at level 56 when the Large Pal Bed costs 15,060 and does most of the job, and the material bill is only 860 gold cheaper than the Ancient Pal Bed you will unlock at 73.
Build it if your oil pump is already running and Computers are a routine craft, because at that point the Pod is basically free labour for your assembly lines and you will want the whole base re-bedded anyway. Skip it if you are still hand-mining ore or short on Technology Points — the Guided Missile Launcher and the Pal Disassembly Conveyor at the same level do more for your progression than a faster night's sleep. Day-time SAN management is the cheaper lever regardless: the Japanese-Style Hot Spring and proper meals from the best SAN food list keep workers topped up while they are actually working.
Related Guides
Hubs:
Beds and base comfort: