Main Missions Walkthrough: All 31 Steps and Boss Levels
Every main mission in Palworld 1.0 in walkthrough order — what each step asks for, the level and weakness of all 8 tower bosses, the gear you should have unlocked by then, and the EXP each mission pays.
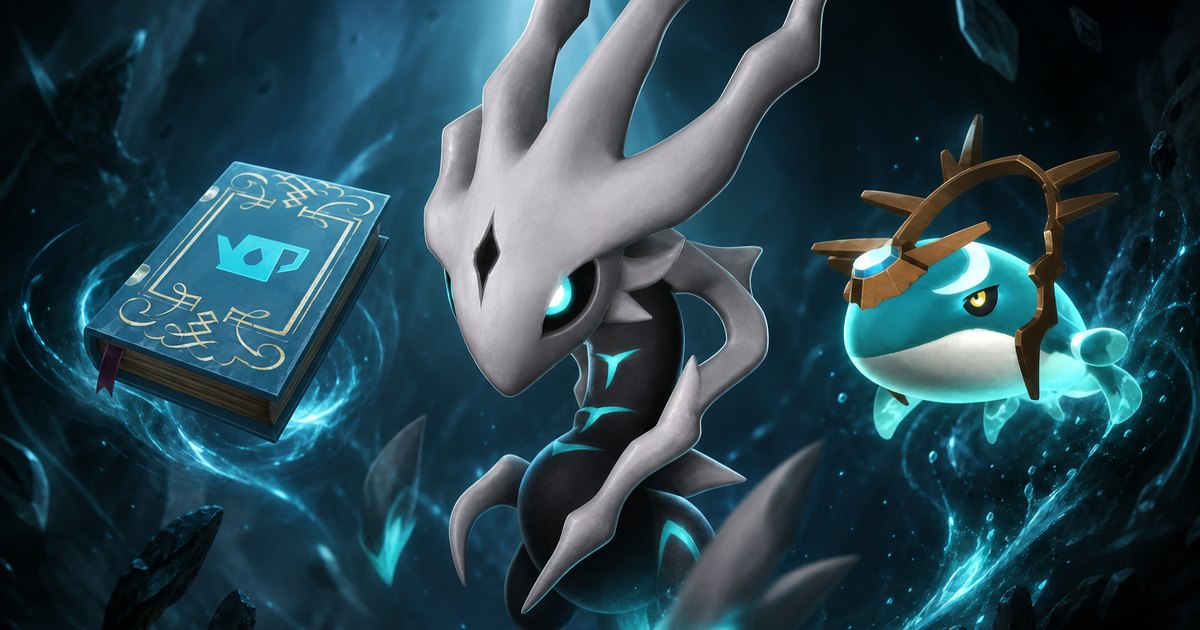
The main mission chain is the 31-step spine of Palworld: it runs from waking up on the beach to killing a level 80 dragon at the bottom of the World Tree, and it gates fast travel, the Palbox, the eight towers and the entire endgame region along the way. This walkthrough puts every step in order with what it actually asks of you, the boss level and weakness at each tower, the tech you should have unlocked by the time you knock, and the EXP each mission pays.
Main Story at a Glance
Two numbers up front decide how you should play the story. First, the chain is heavily back-loaded — the last nine missions carry 698,145 EXP, which is 86% of everything the main story pays, so the first half feels like it pays nothing because it genuinely does. Second, the whole chain adds up to 816,018 EXP, and if that were your only source you would finish the game at level 43 while the final boss sits at level 80. The story cannot level you. Alphas, dungeons and sub missions have to fill the gap, which is why the walkthrough below flags a gear check at every tower instead of just a level.
| Detail | Value |
|---|---|
| Main missions | 31 — The First Islander through to Awakening |
| Total main-story EXP | 816,018 |
| Level that EXP alone reaches | Lv. 43 — the story is not a levelling route |
| Tower fights in the chain | 8, from a Lv. 10 boss up to a Lv. 68 boss |
| Story boss outside the towers | Panthalus, Lv. 70 recommended |
| Final fight | Zenara & Astralym, Lv. 80 |
| Only mission that pays an item | Panthalus — Applied Watering Handbook I |
| Where the EXP hides | 698,145 of it is in the last nine missions |
| Tower pins on the map | 8 on Palpagos — open the tower boss layer |
 Chapter 1: The Tutorial Missions (1–12)
The opening twelve missions pay 348 EXP between them, which one alpha kill will beat later, so treat them as an unlock checklist rather than a grind. They exist to hand you the four things the rest of the game runs on: a workbench, a Pal Sphere, a Palbox with a worker on it, and your first partner skill. The only steps worth slowing down for are 6 and 7 — the sphere tech sits at technology level 2 alongside the Palbox, so spend those first two points there and nowhere else. Step 12 gives you Foxparks' Harness, a flamethrower strapped to a Pal, and it is a genuine weapon upgrade at that stage of the game.
| # | Mission | What it asks | EXP |
|---|---|---|---|
| 1 | The First Islander | Come round on the beach and get moving | 6 |
| 2 | How to Stay Alive | Open the survival guide | 6 |
| 3 | Set Up a Workbench | Pull Wood off the nearest trees and place a workbench | 6 |
| 4 | Crafting an Axe and a Pickaxe | Gather Stone, then build a Stone Axe and a Stone Pickaxe | 15 |
| 5 | Enhance Stats | Hit your first level-up and spend the stat point | 15 |
| 6 | Catching a Pal | Unlock the sphere tech, mine Paldium Fragment, craft a Pal Sphere and land a throw | 15 |
| 7 | Putting Pals to Work | Unlock the Palbox, claim a base and assign one worker | 15 |
| 8 | Filling Your Belly | Eat something | 15 |
| 9 | The Weakest Pal | Catch three Lamball | 45 |
| 10 | Gearing Up | Craft the Cloth Outfit, a Common Shield and a Normal Parachute | 45 |
| 11 | Small Settlement | Reach the Small Settlement and speak to the chief | 66 |
| 12 | Crafting Pal Gear | Catch a Foxparks and build Foxparks' Harness | 99 |
 Chapter 2: The Eight Tower Bosses (13–22)
This block is the game. Eight faction towers, one mission each, 117,525 EXP across the whole run, and three of the fights bolt an extra objective on before the boss door opens — Marcus wants you to talk to two desert locals first, Victor wants five Syndicate scientists dead, Saya wants five ninjas, and Auri makes you clear six area barriers. Missions 14 and 15 are pure conversation, so the real count here is eight fights. The difficulty curve is not smooth either: the jump from Bjorn at level 60 to Auri at level 68 is the single biggest step in the chain, and Auri's fight is also the one that expects a flying mount.
| # | Mission | Boss | Boss Lv. | Weak to | EXP |
|---|---|---|---|---|---|
| 13 | The Rayne Syndicate | Zoe & Grizzbolt | 10 | Ground | 198 |
| 14 | The Key Sphere | — head back to the Small Settlement | — | — | 288 |
| 15 | Zoe Rayne | — return to the tower and talk to Zoe | — | — | 288 |
| 16 | Thou Shalt Not Harm Pals |  Lily & Lyleen Lily & Lyleen | 20 | Fire | 1,155 |
| 17 | Flawless Victory Fixation |  Axel & Orserk Axel & Orserk | 30 | Ground, Ice | 3,345 |
| 18 | Ruler of the Sands | 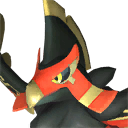 Marcus & Faleris Marcus & Faleris | 40 | Water | 7,302 |
| 19 | Interspecies Experiments | 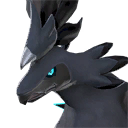 Victor & Shadowbeak Victor & Shadowbeak | 50 | Dragon | 15,210 |
| 20 | A Fine Night for a Drink |  Saya & Selyne Saya & Selyne | 55 | Dragon, Dark | 21,294 |
| 21 | Bearer of All Burdens |  Bjorn & Bastigor Bjorn & Bastigor | 60 | Fire | 28,899 |
| 22 | Hope Springs Eternal |  Auri & Shaolong Auri & Shaolong | 68 | Ice, Electric | 39,546 |
Where Every Tower Is and How Fat the Health Bar Is
Tower bosses do not use the Pal's normal health — every fight multiplies it, and the multiplier is not tied to the boss's level. Bjorn is the outlier: ×62 health on a level 60 Pal makes it a longer fight than Auri's ×50 at level 68, and it is the wall most players hit on their first run. Grizzbolt's ×12 at the other end is why the first tower feels like a tutorial. All eight sit on the Palpagos map, and the coordinates below drop you at the entrance rather than the region — the tower pins are on our interactive map's tower boss layer if you would rather click than type.
| Tower | Region | Coordinates | First-fight HP × | Mission |
|---|---|---|---|---|
| Rayne Syndicate Tower | Windswept Hills | 111, -431 | ×12 | The Rayne Syndicate |
| Tower of the Free Pal Alliance | North of the Small Settlement | 36, -311 | ×25 | Thou Shalt Not Harm Pals |
| Eternal Pyre Tower | Mount Obsidian | -588, -518 | ×25 | Flawless Victory Fixation |
| Tower of the PIDF | Desiccated Desert | 556, 336 | ×27 | Ruler of the Sands |
| PAL Genetic Research Unit Tower | Astral Mountains | -149, 447 | ×28 | Interspecies Experiments |
| Moonflower Tower | Sakurajima | -597, 206 | ×54 | A Fine Night for a Drink |
| Feybreak Tower | Feybreak | -1294, -1669 | ×62 | Bearer of All Burdens |
| The Azure Tapestry | Sunreach | -419, -1431 | ×50 | Hope Springs Eternal |
Gear Check Before Each Tower
Every tower has a piece of tech that lands just before it, and knowing which one turns "I need more levels" into "I need three technology points". The pattern repeats all the way up: a body armour unlocks two to four levels under the boss, and a weapon class unlocks right on top of it. Two of the towers also punish you for the climb rather than the fight — Mount Obsidian cooks you on the way to Axel and Feybreak freezes you on the way to Bjorn, so the resistance variant matters more there than raw defense. The rows below list the best unlock available at or below each boss's level; the full ladders live in the armor by tech level guide and the weapon upgrade path.
| Tower boss | Boss Lv. | Best armour unlocked by then | Weapon class | Sphere tier |
|---|---|---|---|---|
| Zoe & Grizzbolt | 10 | 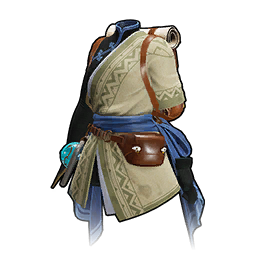 Cloth Outfit — Lv. 4 Cloth Outfit — Lv. 4 | Three Shot Bow — Lv. 10 |  Pal Sphere Pal Sphere |
| Lily & Lyleen | 20 | 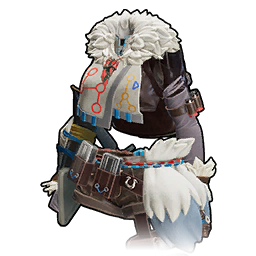 Pelt Armor — Lv. 12 Pelt Armor — Lv. 12 | 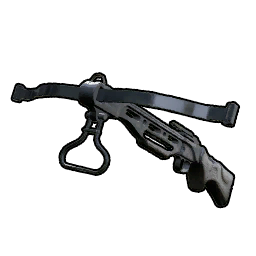 Crossbow — Lv. 13 Crossbow — Lv. 13 | 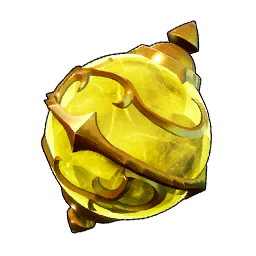 Giga Sphere — Lv. 20 Giga Sphere — Lv. 20 |
| Axel & Orserk | 30 | 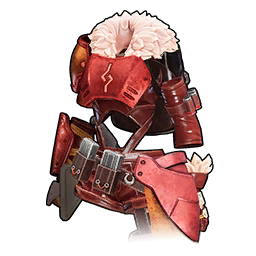 Heat Resistant Metal Armor — Lv. 25 Heat Resistant Metal Armor — Lv. 25 | 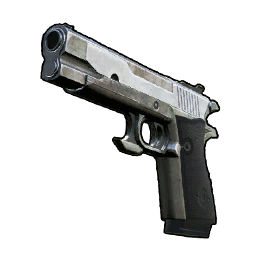 Handgun — Lv. 28 Handgun — Lv. 28 | 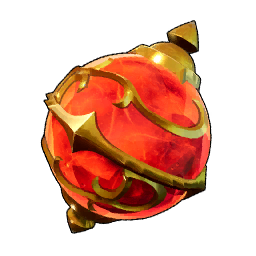 Hyper Sphere — Lv. 27 Hyper Sphere — Lv. 27 |
| Marcus & Faleris | 40 | 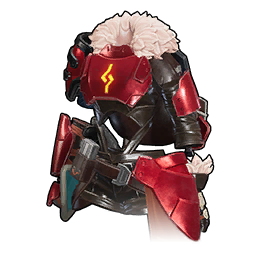 Heat Resistant Refined Metal Armor — Lv. 40 Heat Resistant Refined Metal Armor — Lv. 40 | 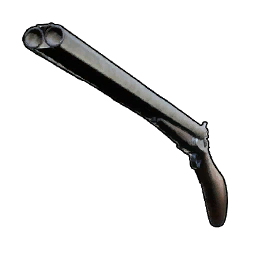 Double-Barreled Shotgun — Lv. 39 Double-Barreled Shotgun — Lv. 39 | 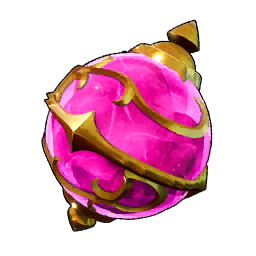 Ultra Sphere — Lv. 35 Ultra Sphere — Lv. 35 |
| Victor & Shadowbeak | 50 | 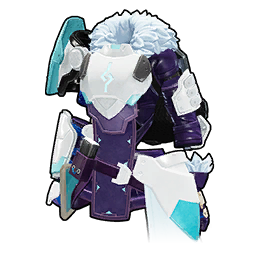 Cold Resistant Pal Metal Armor — Lv. 50 Cold Resistant Pal Metal Armor — Lv. 50 | 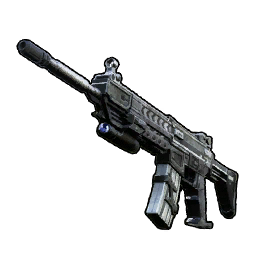 Assault Rifle — Lv. 45 Assault Rifle — Lv. 45 | 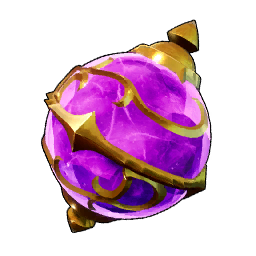 Legendary Sphere — Lv. 44 Legendary Sphere — Lv. 44 |
| Saya & Selyne | 55 | 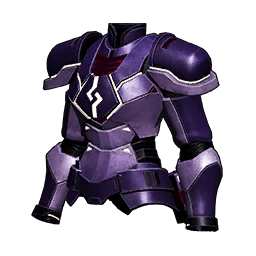 Lightweight Plasteel Armor — Lv. 55 Lightweight Plasteel Armor — Lv. 55 | 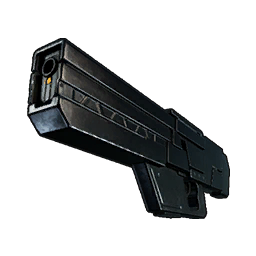 Laser Rifle — Lv. 51 Laser Rifle — Lv. 51 | Legendary Sphere |
| Bjorn & Bastigor | 60 | 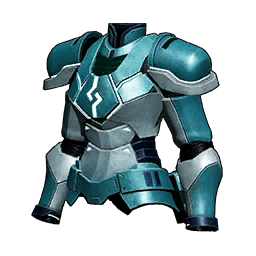 Cold Resistant Plasteel Armor — Lv. 54 Cold Resistant Plasteel Armor — Lv. 54 | 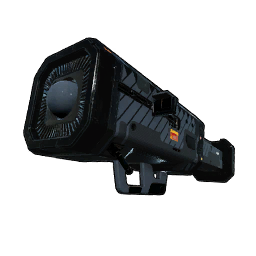 Guided Missile Launcher — Lv. 56 Guided Missile Launcher — Lv. 56 | Legendary Sphere |
| Auri & Shaolong | 68 | 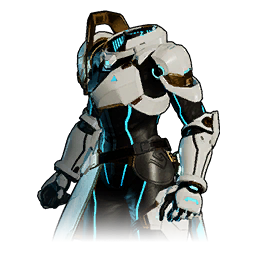 Ancient Armor — Lv. 68 Ancient Armor — Lv. 68 | 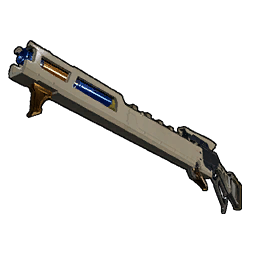 Charge Rifle — Lv. 65 Charge Rifle — Lv. 65 | Legendary Sphere |
 Chapter 3: The Endgame Missions (23–31)
After the last tower the story stops being a boss ladder and becomes a fetch-and-open sequence: hear the rest of the plot, prove you have all eight Key Spheres, summon a whale god to punch a hole in the map, then work down through the World Tree. This is also where the game finally pays you — the nine missions below are worth 698,145 EXP, and Awakening alone hands over 143,736, more than the whole tower run combined. Mission 26 is the only step in the entire main story that gives an actual item.
| # | Mission | What it asks | EXP |
|---|---|---|---|
| 23 | The Sunreacher | Speak to the leader out on Sunreach | 39,546 |
| 24 | The Calamity | Hear out the rest of Auri's story | 39,546 |
| 25 | Gathering the Key Spheres | Hold all eight Key Spheres at once | 39,546 |
| 26 | Panthalus | Collect four Echobones, craft the Echoing Flute, beat and capture Panthalus | 63,882 + Applied Watering Handbook I |
| 27 | To the World Tree | Open the gate at the very top of the map | 63,882 |
| 28 | Sin | Talk to the figures waiting inside the World Tree | 102,669 |
| 29 | The Sealed Calamity | Clear the three World Tree mid-bosses | 102,669 |
| 30 | Path to the Abyss | Open the route down into the abyss | 102,669 |
| 31 | Awakening | Beat Zenara & Astralym | 143,736 |
The Eight Key Spheres
Gathering the Key Spheres is a checkpoint rather than a chore — each one is handed over by a tower leader, so if you have cleared all eight towers you already have all eight spheres and the mission completes the moment it opens. They are named after the seven deadly sins plus Original Sin, and none of them can be crafted, bought or dropped. The only way this step blocks you is if you skipped a tower, in which case the missing sphere tells you exactly which leader you still owe a fight.
 Key Sphere of Pride
 Key Sphere of Greed
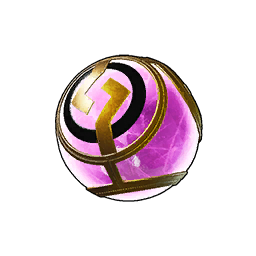 Key Sphere of Envy
 Key Sphere of Wrath
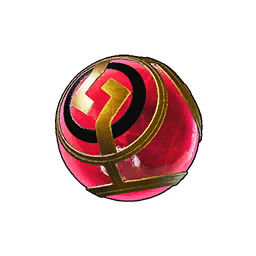 Key Sphere of Lust
 Key Sphere of Gluttony
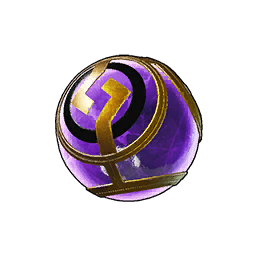 Key Sphere of Sloth
 Key Sphere of Original Sin
 Panthalus and the Echoing Flute
This is the step people stall on, because nothing tells you where to start. Talk to the Ancient Civilization Researcher on the Deserted Islet at roughly -172, 33, then go collect four Echobones off four giant skeletons scattered across the map. The flute needs one of each, not four of the same bone, and it builds at the humble Primitive Workbench for 300 work — no ancient station, no ingots. Panthalus itself is a ten-minute timed fight on a small island, it is Water so Electric shreds it, and it is the only boss in the game that takes 20% extra damage. The capture at the end cannot fail, so throw a basic Pal Sphere and keep the good ones.
| Material | Qty | Where it sits |
|---|---|---|
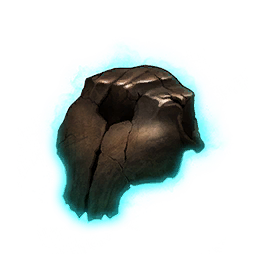 Marine Echobone Marine Echobone | 1 | 122, -525 — western Grasslands, on the skull in shallow water |
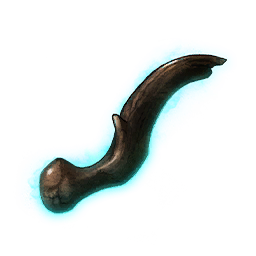 Silent Echobone Silent Echobone | 1 | 356, -110 — near the Altar of the Windcaller, inside the skull |
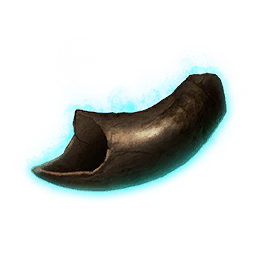 Seafoam Echobone Seafoam Echobone | 1 | -519, -548 — Mount Obsidian, under the ribcage |
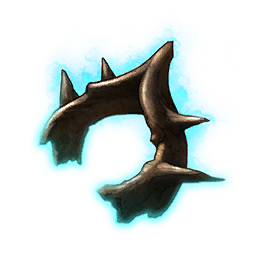 Tidewind Echobone Tidewind Echobone | 1 | -262, 485 — snowfields, on the frozen lake by the teleport |
| Total | 4 bones, 300 work | Primitive Workbench → 1 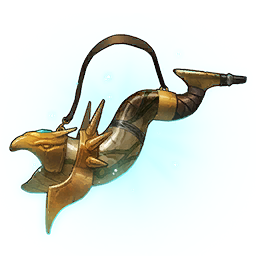 Echoing Flute Echoing Flute |
Full attack list, the wind-column trick for the tidal wave and the drop table are in the Panthalus fight and World Tree entry guide.
Awakening: Zenara and Astralym
The last mission is not a tower duel, it plays like a raid. Astralym has no element at all, which means nothing on the element matchup chart gives you a bonus against it — the counter-picking habit you built over eight towers is worthless here. Its first-fight health multiplier is ×40, modest next to Bjorn's ×62, but the fight is long because you are doing flat damage with no type bonus. Two of its eight moves are Dragon, and Dragon beats Dark, so the Dark-heavy squad most players finish the game with is the exact roster that takes extra damage. Swap in something neutral to its kit before you walk in.
The team, the passive stack and the full move list are in the Zenara and Astralym fight guide.
Recommended Level for Every Story Fight
The game posts a suggested level at each tower gate, and it runs a few points above the boss's own level for the mid-game fights — the PIDF tower asks for 45 against a level 40 boss, and the Genetic Research Unit asks for 55 against a level 50 one. That gap is not padding: those two are the fights where the recommended level is really a gear-tier check in disguise. The line worth remembering is the last one. There is a 12-level jump between the final tower and the final boss, and no main mission in between pays enough EXP to cover it, so that gap gets closed by alphas, raids and dungeons or it does not get closed at all.
| Fight | Boss Lv. | Recommended Lv. | HP × |
|---|---|---|---|
| Zoe & Grizzbolt | 10 | 10+ | ×12 |
| Lily & Lyleen | 20 | 20+ | ×25 |
| Axel & Orserk | 30 | 30+ | ×25 |
| Marcus & Faleris | 40 | 45+ | ×27 |
| Victor & Shadowbeak | 50 | 55+ | ×28 |
| Saya & Selyne | 55 | 55+ | ×54 |
| Bjorn & Bastigor | 60 | 65+ | ×62 |
| Auri & Shaolong | 68 | 70+ | ×50 |
| Panthalus | — | 70+ | ×42 |
| Zenara & Astralym | 80 | 80 | ×40 |
Story Order in One Paragraph
Do the twelve tutorial steps in whatever order the game throws them, spend your first technology points on the sphere and the Palbox, and get Foxparks' Harness before you leave the Grasslands. Then run the towers in order — Zoe, Lily, Axel, Marcus, Victor, Saya, Bjorn, Auri — clearing the extra objective attached to Marcus, Victor, Saya and Auri, and topping up your armour tier between each one rather than your level. Bjorn is the wall. After Auri, the eight Key Spheres are already in your bag, so it is straight into the Echobone hunt, the Echoing Flute, and a Panthalus fight that Electric Pals trivialise. Enter the World Tree, clear the three mid-bosses, drop into the abyss, and bring a squad with nothing Dark in it to Astralym.
Related Guides
Progression hubs:
Story fights step by step:
Getting strong enough for the next step: