Pals Not Working: 9 Causes and How to Assign Pals to Jobs
Why your base Pals stand around doing nothing in Palworld, and how to fix it: all 12 work suitabilities with how many Pals have each, the stations that demand a specific job, the 15-Pal deploy cap, Monitoring Stand work orders, and the sicknesses and passives that quietly halve your output.
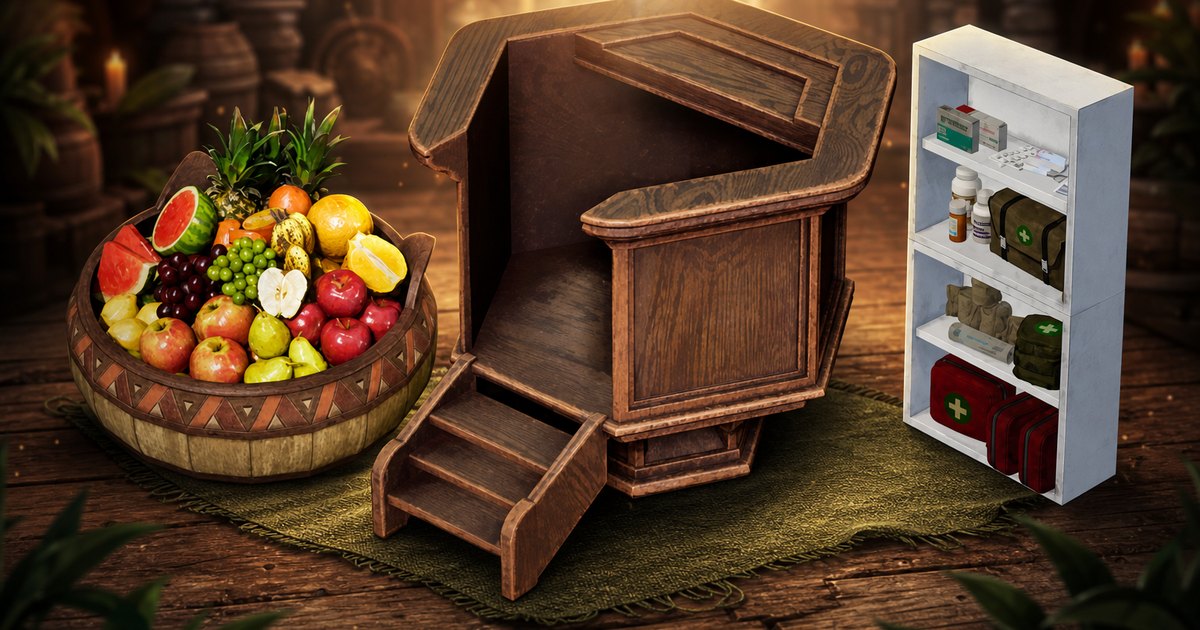
A Pal standing next to a workbench doing absolutely nothing is the single most common base problem in Palworld, and it almost always has a boring, fixable cause. This guide runs through all nine reasons a base Pal refuses to work, lists every one of the 12 work suitabilities with how many Pals actually have it, and shows you how to force the assignment you want through the Palbox and the Monitoring Stand.
 9 Reasons a Base Pal Won't Work
Work through this table top to bottom before you touch anything else — the first three causes account for most idle Pals, and none of them are bugs. The order matters: a Pal that lacks the suitability entirely will never work at that station no matter how much you feed it, so check the species first and the status effects second. Only the last two rows are actual problems with the game rather than with your setup.
| Cause | What You See | Fix |
|---|---|---|
| It doesn't have the job | The Pal walks past the station and does something else | Check its suitabilities — a species either has a job or it never will |
| Its level is too low | It ignores one specific station but works everywhere else | Only two structures demand Lv. 6; see the station table below |
| The job is switched off | It has the suitability but skips that work type entirely | Re-enable it in work preferences at the Monitoring Stand |
| Hungry or starving | It runs to the Feed Box, or stands still with a hunger icon | Stock the  Feed Box — Starving costs 20% work speed Feed Box — Starving costs 20% work speed |
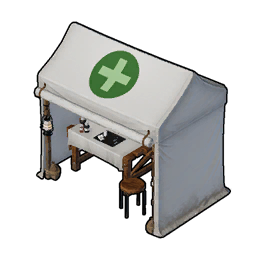
| Sick or injured | A status icon on the Pal and a red flag in the base list | Dose it from the  Medicine Rack or rest it in a Pal bed Medicine Rack or rest it in a Pal bed |
| SAN has bottomed out | Depressed, then it stops entirely and eventually runs off | Build a hot spring and upgrade the Monitoring Stand |
| It's on lookout duty | The Pal sits at a defensive post and never leaves | A Pal on a  Sandbag stops all other work by design Sandbag stops all other work by design |
| The base is in alert mode | Every Pal drops its job at once | Flip the  Alarm Bell back to work mode Alarm Bell back to work mode |
| It's stuck in the scenery | The Pal is wedged in a wall or floor and can't path anywhere | Dismantle the structure trapping it, or box and redeploy it |
 All 12 Work Suitabilities and Who Tops Each One
Work suitability is a species trait — it's baked in, and the level caps at Lv. 8 for every job except Farming, which stops at Lv. 4 because no Pal in the game ranches harder than Dumud Gild. The numbers in the second column are the real reason bases stall: 140 Pals can haul goods to a chest, but only 25 can run a generator, so power is the job most players are missing without realising it. Transporting is also the odd one out — no structure asks for it, because transporters just pick up finished output and walk it to storage on their own.
| Work | Pals With It | Max Lv. | Top Worker | Stations That Need It |
|---|---|---|---|---|
| Transporting | 140 | Lv. 7 |  Knocklem Knocklem | None — it hauls on its own |
| Handiwork | 109 | Lv. 8 | Solenne | 23 |
| Gathering | 109 | Lv. 8 |  Jetragon Jetragon | 8 |
| Lumbering | 63 | Lv. 8 |  Celesdir Noct Celesdir Noct | 2 |
| Mining | 57 | Lv. 8 |  Aegidron Aegidron | 8 |
| Watering | 46 | Lv. 8 |  Shaolong Shaolong | 11 |
| Planting | 45 | Lv. 8 |  Dandilord Dandilord | 8 |
| Kindling | 44 | Lv. 8 |  Renjishi Renjishi | 17 |
| Medicine Production | 43 | Lv. 8 |  Silvance Silvance | 5 |
| Cooling | 38 | Lv. 8 |  Bastigor Bastigor | 6 |
| Farming | 29 | Lv. 4 |  Dumud Gild Dumud Gild | 1 |
| Generating Electricity | 25 | Lv. 8 |  Orserk Orserk | 3 |
 No Pal Can Do Every Job
Out of 288 Pals, the widest worker in the game is Beegarde with 7 of the 12 jobs, and it pays for that spread with terrible levels — 16 combined levels across seven suitabilities is barely more than Dandilord manages across five. That's the trade-off in one line: generalists fill gaps, specialists actually produce. If a station is crawling, the answer is usually a Lv. 8 specialist, not another jack-of-all-trades. 67 Pals have exactly one suitability, so a bad deploy slot is easy to create by accident.
| Pal | Jobs | Combined Lv. | What It Covers |
|---|---|---|---|
| Beegarde | 7 | 16 | Gathering 3, Farming 3, Planting 2, Handiwork 2, Lumbering 2, Medicine 2, Transporting 2 |
 Vaelet Vaelet | 6 | 16 | Planting 3, Handiwork 3, Gathering 3, Medicine 3, Transporting 2, Farming 2 |
 Robinquill Robinquill | 6 | 13 | Handiwork 3, Gathering 3, Planting 2, Lumbering 2, Transporting 2, Medicine 1 |
| Dandilord | 5 | 28 | Planting 8, Handiwork 6, Medicine 6, Gathering 5, Transporting 3 |
| Silvance | 5 | 26 | Medicine 8, Planting 6, Handiwork 6, Gathering 4, Transporting 2 |
 Dualith Dualith | 5 | 23 | Mining 6, Transporting 6, Lumbering 5, Planting 3, Gathering 3 |
 Verdash Verdash | 5 | 20 | Handiwork 5, Gathering 5, Planting 4, Lumbering 3, Transporting 3 |
Two Pals have no work suitability at all, and if one of those is sitting in a deploy slot it will never do a single thing at your base. Both are rarity 10 combat Pals that exist to fight, so keep them in your active team and give the base slot to something that works.


 How to Assign a Pal to a Job
You never assign a Pal to a *station* in Palworld — you assign it to the *base*, and it picks up whatever work it is capable of and allowed to do. That's why "assigning" is really two steps: get the right species into a deploy slot, then narrow what it's permitted to touch so it stops wandering to the wrong job.
Deploy It From the Palbox
The Palbox unlocks at Tech Lv. 2 for a single Paldium Fragment plus Wood x8 and Stone x3, and it defines the base radius as well as the roster. Drag a Pal from storage into a work slot and it spawns in and starts hunting for a job; drag an idle one out and the slot frees up instantly. Throwing a sphere containing the Pal into the base area does the same thing in one motion, which is faster when you're already carrying it. Pals sitting in the Palbox also regain Health over time, which is why boxing an incapacitated worker is the only way to bring it back.
Set Work Orders at the Monitoring Stand
This is the tool that actually stops a Lv. 8 miner from wandering off to water crops. Interact with the stand and you can allow or prohibit each work type per Pal, which doubles as the fix when a Pal "has" a job but refuses to do it — someone switched that suitability off. The two upgrades add a second benefit on top of the same controls: they cut how fast base Pals burn SAN, so a hard-worked base stops sliding into Depressed. The full Monitoring Stand guide covers whether the Ancient tier is worth its Soralite bill.
| Stand | Tech Lv. | Build Cost | What It Adds |
|---|---|---|---|
| Monitoring Stand | 7 | Wood x30, Stone x10 | Per-Pal work orders — allow or ban each job |
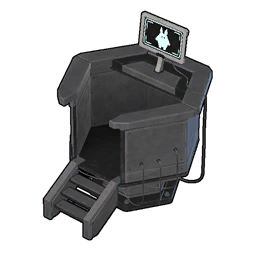 High Quality Monitoring Stand High Quality Monitoring Stand | 28 | Ingot x100, Cement x30 | Same orders, plus lower SAN cost for base work |
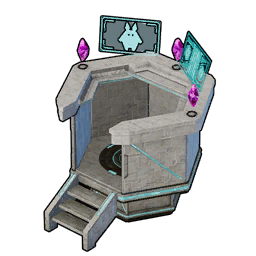 Ancient Monitoring Stand Ancient Monitoring Stand | 71 | Soralite Ingot x100, Ancient Civilization Core x5 | Base-wide holographic orders and the strongest SAN reduction |
 Free Up a Slot — the 15-Pal Cap
If a newly deployed Pal refuses to appear at all, you're at the cap. Base levels hand out one work Pal slot per level from Lv. 1 to Lv. 15 and then stop dead — levels 16 to 35 give you nothing more. Fifteen is a difficulty setting rather than a hard rule, and both sliders below live in World Settings, but be honest about your hardware first: 50 Pals pathing around one base is the quickest way to wreck your frame rate. The base level requirements guide lists which level unlocks each slot.
| Setting | Default | Maximum |
|---|---|---|
| Work Pals per base | 15 | 50 |
| Bases per guild | 4 | 10 |
 Stations That Demand a Specific Job
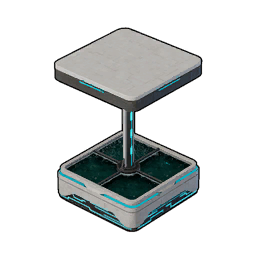
Almost every production structure only asks for Lv. 1 in the matching suitability, so a Lv. 1 miner really can run an Ore Mining Site — level changes how *fast* the work goes, not whether it happens. There are exactly two exceptions in the whole build list, and both are endgame ancient tech that flat-out refuses anything under Lv. 6. The Ancient Farm is the harshest, because it wants three separate Lv. 6 workers on one plot and the pool is tiny: only 6 Pals reach Planting 6, 5 reach Watering 6 and 7 reach Gathering 6. The Ancient Power Generator is worse in one way — just three Pals in the entire game hit Generating Electricity 6, and they are Orserk at Lv. 8 plus Dynamoff and Solmora Lux at Lv. 6. Use the work suitability tool to see who clears each bar.
| Structure | Tech Lv. | Requires | Notes |
|---|---|---|---|
| Ancient Farm | 78 | Planting 6, Watering 6, Gathering 6 | Three Lv. 6 workers on one plot — the strictest station in the game |
 Ancient Power Generator Ancient Power Generator | 75 | Generating Electricity 6 | Only 3 of the 25 electric workers reach Lv. 6 |
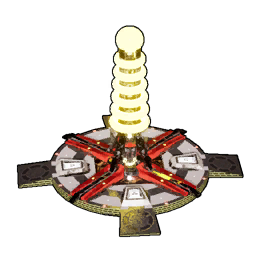 Power Generator Power Generator | 26 | Generating Electricity 1 | Any electric worker will do — speed scales with level |
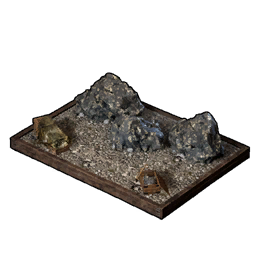 Ore Mining Site Ore Mining Site | 24 | Mining 1 | One of 8 stations that call for a miner |
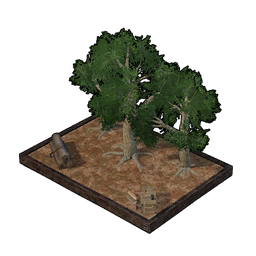 Logging Site Logging Site | 7 | Lumbering 1 | Only 2 structures use Lumbering at all |
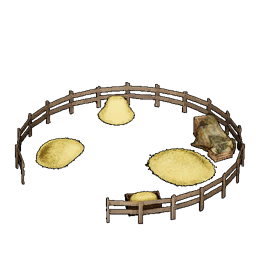 Ranch Ranch | 5 | Farming 1 | The single Farming station — everything ranch-related runs through it |
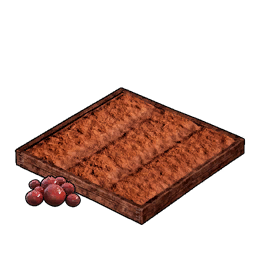 Berry Plantation Berry Plantation | 5 | Planting 1, Watering 1, Gathering 1 | Every plantation needs all three jobs covered somewhere on base |
 Jobs Any Pal Can Do
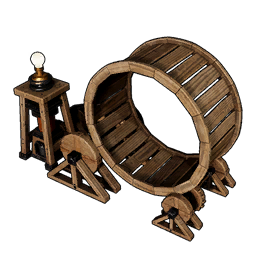
Six structures ignore work suitability completely and take literally any Pal you assign, which makes them the escape hatch when your roster has a hole in it. The Human-Powered Generator is the important one: it keeps the lights on before you ever catch an electric worker. The catch is in its own description — efficiency is low and the Pal running it loses SAN, though it does earn experience while it grinds. Note that the Sandbag belongs on this list for the opposite reason: assigning a Pal there deliberately *stops* it working.
| Structure | Tech Lv. | What Assigning a Pal Does |
|---|---|---|
| Human-Powered Generator | 26 | Makes power without an electric Pal, at low efficiency and a SAN cost |
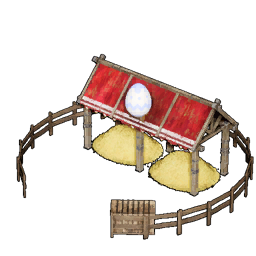 Breeding Farm Breeding Farm | 19 | One male and one female produce eggs, fuelled by Cake |
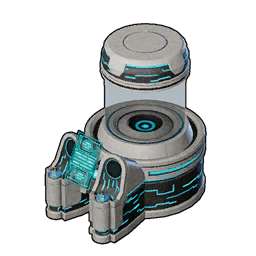 Ancient Hatchery Ancient Hatchery | 76 | Automates laying and incubation, and raises rare skill inheritance |
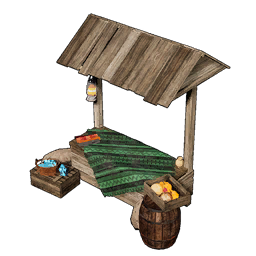 Flea Market (Items) Flea Market (Items) | 22 | Sells items to other players; an Ice Pal slows spoilage inside |
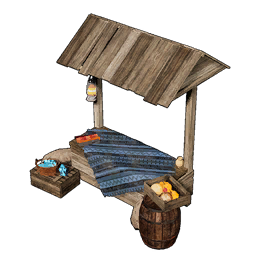 Flea Market (Pals) Flea Market (Pals) | 22 | Sells Pals to other players |
| Sandbag | 7 | Puts the Pal on permanent lookout — it stops all other work |
 Sick, Starving and Depressed Workers
A Pal that works *badly* is a different problem from one that doesn't work at all, and status effects cover both ends. Depressed is the one that ends careers — it takes 20% of a Pal's work speed and is the last stop before a Pal downs tools and leaves, while Troublemaker halves both work and movement and no medicine touches it. Hunger is cheaper to fix than any of them: keep the Feed Box stocked and you never see the 10% and 20% penalties below. The full sickness and injury list has all 13 conditions with their cures.
| Condition | Work Speed | Fix |
|---|---|---|
| Hungry | −10% | Stock the Feed Box |
| Starving | −20% | Feed it immediately |
| Sick | −5% |  Low Grade Medical Supplies Low Grade Medical Supplies |
| Ulcer | −10% |  Medical Supplies Medical Supplies |
| Weakened | −10% |  High Grade Medical Supplies High Grade Medical Supplies |
| Depressed | −20% | High Grade Medical Supplies |
| Troublemaker | −50% | No medicine works — replace the Pal |
| Incapacitated | No work at all | Store it in the Palbox for 10 minutes |
 Stop SAN From Emptying Your Base
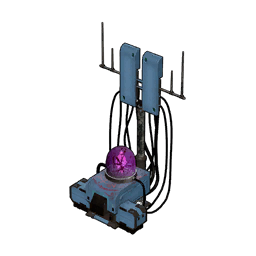
SAN is the slow leak behind most long-run base failures: it drains while Pals work, drags them into Depressed, and eventually they quit. Build a hot spring early — the base 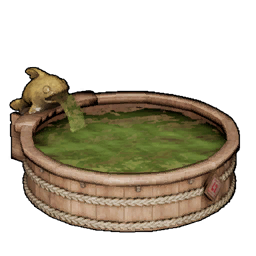 Hot Spring is available at Tech Lv. 9 for Wood x20, Stone x15, Paldium Fragment x7 and Aquatic Pal Fluids x3, which is nothing. Later, the Alpha Wave Generator slows the drain across the whole base, and its description is explicit that a second one does nothing, so build exactly one. Beds matter too: a
  Straw Pal Bed costs Wood x10 and Fiber x5 at Tech Lv. 3 and gives Pals somewhere to sleep instead of collapsing.
| Structure | Tech Lv. | Effect on Workers |
|---|---|---|
| Straw Pal Bed | 3 | Somewhere to sleep and to rest off injuries |
| Hot Spring | 9 | Restores SAN after a work shift |
| High Quality Monitoring Stand | 28 | Lowers the SAN cost of base work |
| Alpha Wave Generator | 41 | Slows SAN drain base-wide; a second one adds nothing |
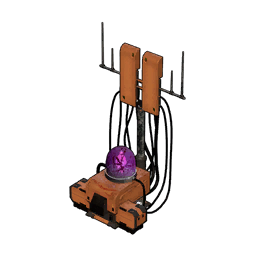 Beta Wave Generator Beta Wave Generator | 46 | Raises work speed base-wide; a second one adds nothing |
 Japanese-Style Hot Spring Japanese-Style Hot Spring | 64 | Late-game SAN recovery for a full roster |
 Ancient Hot Spring Ancient Hot Spring | 76 | The strongest recovery station, and it clears major injuries |
Slow, Not Idle: the Passives to Watch
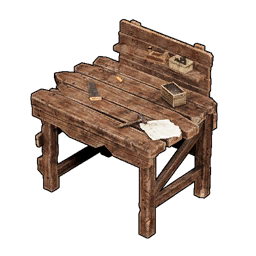
Before you assume a Pal is broken, read its passives — a Musclehead worker crafts at half speed and looks exactly like a Pal that's slacking off. The spread between the best and worst rolls is enormous: Remarkable Craftsmanship at +75% against Musclehead at −50% on the same species is a night-and-day difference in a workbench queue. Note these are Craft Speed numbers, so they only compare against each other, not against a suitability level. Artisan at +50% is the realistic target for a base Pal, and the best base passives guide covers how to breed it in.
| Passive | Work Speed | Verdict |
|---|---|---|
| Remarkable Craftsmanship | +75% | The best pure work passive in the game |
| Artisan | +50% | The realistic breeding target for every base Pal |
| Work Slave | +30% | Strong, and easy to find on early catches |
| Serious | +20% | A solid filler on a four-slot roll |
| Clumsy | −10% | Minor, but never worth keeping on a crafter |
| Slacker | −30% | Re-roll it — the name is accurate |
| Musclehead | −50% | Halves crafting output; keep this Pal in combat instead |
 Pals Stuck in Your Base Layout
The last cause is the genuinely annoying one: a Pal that wedges itself between two structures built too close together and then can't path anywhere, so it reads as idle even though it's trying to work. Big Pals do this far more than small ones, so if it keeps happening to the same worker, its size is the culprit. Fixes, roughly in order of effort:
- Dismantle whichever structure it's clipped into and rebuild it with a gap — you get the materials back
- Box the Pal in the Palbox and redeploy it, which respawns it in open ground
- Leave one clear lane between production stations and storage so transporters aren't squeezing past crafters
- Keep workbenches off tight corners and out of doorways, which is where most wedging happens
- Reload the world if a Pal is stuck in mid-air with no structure to blame
The short version: check the species has the job, check the job isn't switched off at the Monitoring Stand, check it isn't hungry or Depressed, then check you're under the 15-Pal cap. If all four are clean, it's a layout problem, and dismantling one structure usually solves it. Build your roster around the suitability table above rather than around your favourite Pals and most of this list stops happening in the first place.
Related Guides
More base management reading:
- Work Suitability List: All Pals by Work Suitability — every Pal sorted by job and level
- Palworld Work Optimizer — find the roster that covers all 12 jobs
- Best Base Pals: 7 Workers for Every Job — the shortlist worth building around
- How to Use the Monitoring Stand and All Upgrades — work orders and SAN reduction
- List of All Sicknesses and Injuries: Effects and Cures — every status penalty with its cure
- Work Speed Explained: Every Boost and How to Stack It — how the multipliers combine
- Best Passives for Base Pals — what to breed for a crafting roster
- All Base Level Rewards and Requirements — where your deploy slots come from
- Best Base Locations in Palworld 1.0 — coordinates and resource nodes
- List of All Base Structures — costs and unlock levels for everything you can build