Palworld Salvaging Guide: How to Salvage and Best Loot
How salvaging works in Palworld — both Fishing Magnets and what they cost, the full rank 1 and rank 2 wreck loot tables with exact amounts, the Legendary schematics and Applied Handbooks only rank 2 pays out, and how it compares to oil rigs.

Salvaging is Palworld's way of letting you pull sunken supplies off the ocean floor, and it runs on one cheap consumable: a Fishing Magnet. This guide covers both magnets and what they cost, the complete loot tables for rank 1 and rank 2 wrecks with exact amounts, and where salvaging beats the oil rigs and where it doesn't.
 Salvaging at a Glance
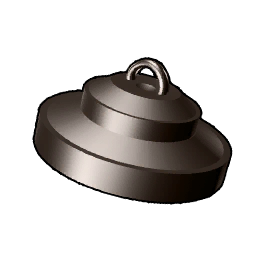
There are exactly two magnets and they map onto the two ranks of wreck. The Fishing Magnet is the entry-level one and it is astonishingly cheap — a single Ingot crafts ten of them, with no technology unlock standing in the way at all. The Powerful Fishing Magnet is the late-game one, and its own description says what the upgrade buys: a stronger pull that brings up better resources and supplies. Both are consumables rather than equipment, both weigh 0.1, and both stack to 9,999, so there is no reason to ever leave home with fewer than a full stack.
| Magnet | Opens | Tech gate | Materials per craft | You get | Rarity |
|---|---|---|---|---|---|
| Fishing Magnet | Rank 1 wrecks | None — no technology unlock | 1 Ingot | ×10 | Common |
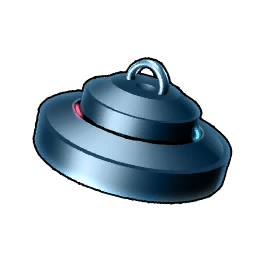 Powerful Fishing Magnet Powerful Fishing Magnet | Rank 2 wrecks | Lv 62, 3 Technology Points | 1 Hexolite, 1 Cryogenic Coolant, 1 Bio Battery | ×10 | Uncommon |
That ten-per-craft yield is the number that matters. The basic magnet costs one Ingot for ten pulls, which makes rank 1 salvaging effectively free the moment you can run a furnace — and the powerful version, despite the level 62 gate, is still three single materials for ten hauls. Nobody rations these. The real cost of rank 2 salvaging is the crafting chain behind those three materials, not the magnets themselves.
How to Salvage
The loop is short. Craft magnets, get out over open water, and work the wrecks — the magnet does the retrieving and is spent doing it, which is why you carry stacks rather than a couple. The one rule that trips people up is that the ranks are not interchangeable: a basic Fishing Magnet pulls from the rank 1 pool no matter where you use it, and the rank 2 pool — the one with Legendary schematics and Applied Handbooks in it — only opens up once you are carrying the Powerful Fishing Magnet.
Three habits make a salvage run pay properly:
- Bring both magnets. They pull from different tables, not the same table at different quality, so a stack of each means no wreck is wasted.
- Clear your weight first. Rank 1 pays out in bulk consumables and 1,000-1,500 Gold at a time, and a full bag turns a good run into a sorting session.
- Pair it with a fishing trip. The same waters that hold wrecks hold the fishing spots, and the fishing guide covers what else is biting out there.
 Can You Even Do It Yet?
Rank 1 salvaging has essentially no requirements — if you can smelt an Ingot, you can salvage. Rank 2 is a different animal, and the level 62 unlock is not the hard part. The three materials each sit behind their own technology unlock and their own workstation, so a fresh level 62 character with an empty base is still some way from their first Powerful Fishing Magnet.
| Requirement | Rank 1 | Rank 2 |
|---|---|---|
| Character level | None | 62 |
| Technology points | 0 | 3 |
| Materials chain | Ingot — a furnace | Hexolite (Lv 58, Gigantic Furnace), Cryogenic Coolant (Lv 31), Bio Battery (Lv 44) |
| Best single payout | 1,000-1,500 Gold | A Legendary weapon or armor schematic |
| Worth farming for | Gold, spheres, technology manuals | Endgame gear schematics and Applied Handbooks |
The awkward link in that chain is Hexolite. It is an alloy of Chromite and Hexolite Quartz, it only refines at a Gigantic Furnace, and the quartz itself is a late-game node — there are 635 Hexolite Quartz nodes on the map if you need to go stock up. Cryogenic Coolant and Bio Battery are far easier by comparison, unlocking at levels 31 and 44 off the Production Assembly Lines you have probably already built.
 Best Possible Loot from Salvaging
Rank 2 is where salvaging stops being a novelty. Four Hexolite armor schematics and two weapon schematic lines run all the way to their Legendary versions in that pool, and all twelve Applied Handbooks are in there too — the permanent +1 work suitability books that otherwise cost 300 Dog Coins apiece. Rank 1 is humbler but genuinely useful early: it is a steady Gold and sphere faucet with technology manuals mixed in. These are the pulls worth planning around.
| Loot | Rank | Per pull | Why it matters |
|---|---|---|---|
| Hexolite Armor Schematic 1-4 | 2 | 1 | The Legendary tier of the game's heaviest armor — one pull can end your armor progression |
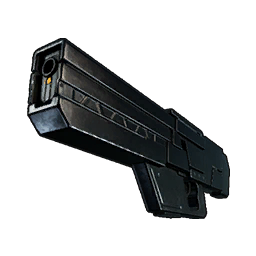 Laser Rifle Schematic 1-4 Laser Rifle Schematic 1-4 | 2 | 1 | Same deal for guns; the Legendary schematic is the version worth crafting |
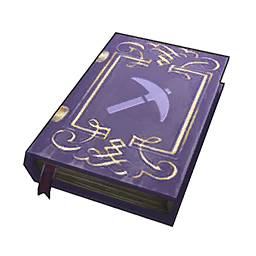 Applied Handbooks (all 12) Applied Handbooks (all 12) | 2 | 1 | Permanent +1 work suitability on a Pal — the alternative is 300 Dog Coins each |
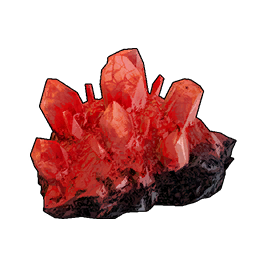 Coralum Ore Coralum Ore | 2 | 6-11 | The deep-sea metal behind Coralum Ingots and the upgraded fishing rods |
 Ultimate Sphere Ultimate Sphere | 2 | 1-2 | Top-tier capture rate, and you never have enough of them at level 60+ |
 Giant Pal Soul Giant Pal Soul | 2 | 1 | The big one for pushing a Pal's rank up without grinding Small Souls |
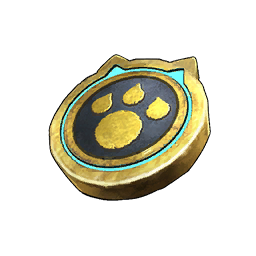 Dog Coin Dog Coin | 2 | 10-20 | Medal Shop currency — the same books and accessory boxes you'd otherwise farm Mimog for |
 Ancient Technical Manual Ancient Technical Manual | 1 | 1-3 | Ancient Technology Points outside of tower bosses, from a magnet that costs one Ingot |
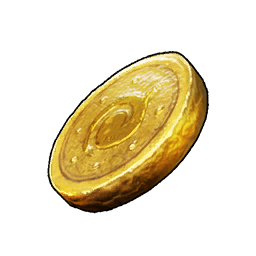 Gold Coin Gold Coin | 1 | 1,000-1,500 | The most reliable payout in the rank 1 pool |
 Gold Key Gold Key | 2 | 1-2 | Opens the locked chests you have been walking past all game |
Everything a Rank 1 Wreck Can Pay Out
Eighteen entries, and the shape of the pool is clear: currency, spheres, consumables and manuals. It is the pool you farm at mid level while you are out fishing anyway. The two technology manuals are the sleepers — Ancient Technical Manuals especially, since Ancient Technology Points are otherwise something you pry out of tower bosses one fight at a time. The Gold is the workhorse though: at 1,000-1,500 a pull it is not enemy-camp money, but it costs a tenth of an Ingot and no fight.










Everything a Rank 2 Wreck Can Pay Out
The rank 2 pool is not the rank 1 pool with bigger numbers — it is a different list. Gold vanishes from it entirely, and in its place you get the endgame currencies: Ultimate and Ultra Spheres, a Giant Pal Soul, Gold Keys, and 6-11 Coralum Ore a pull, which is roughly a Whalaska hunt's worth of ore without the hunt. The Dog Coin payout triples to 10-20 as well. Schematics and handbooks get their own tables below because there are 25 of them.


Every Schematic in the Rank 2 Pool
Seven schematic lines, and six of them run from Schematic 1 (Uncommon) all the way to Schematic 4 (Legendary) — that is 25 distinct schematics a rank 2 wreck can hand you, one at a time. Every schematic in the game shares the same rolled-scroll icon, so the table below shows the gear each line actually unlocks instead. The Hexolite set is the prize: four separate lines covering the body armor, the helmet and both temperature-resistant variants, all craftable at a Production Assembly Line II once the schematic is in your bag. If you are hunting a specific one, our schematic database lists every rank and its craft cost.
| Schematic line | Ranks in the pool | Per pull |
|---|---|---|
| Hexolite Armor Schematic | 1-4 (Uncommon → Legendary) | 1 |
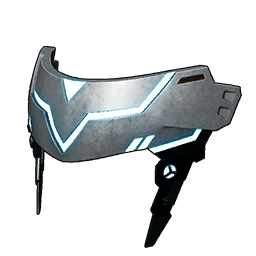 Hexolite Helmet Schematic Hexolite Helmet Schematic | 1-4 (Uncommon → Legendary) | 1 |
 Cold Resistant Hexolite Armor Schematic Cold Resistant Hexolite Armor Schematic | 1-4 (Uncommon → Legendary) | 1 |
 Heat Resistant Hexolite Armor Schematic Heat Resistant Hexolite Armor Schematic | 1-4 (Uncommon → Legendary) | 1 |
| Laser Rifle Schematic | 1-4 (Uncommon → Legendary) | 1 |
 Flamethrower Schematic Flamethrower Schematic | 1-4 (Uncommon → Legendary) | 1 |
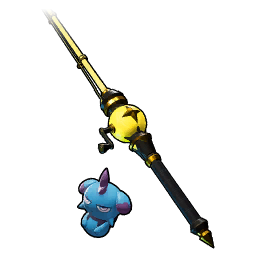 Advanced Fishing Rod (Depresso) Schematic Advanced Fishing Rod (Depresso) Schematic | Legendary only | 1 |
That last row is a neat piece of circular design: the best fishing rod in the game is a Legendary schematic you fish out of the sea, and it costs Coralum Ingots to craft — which the same wrecks also supply. Once you have the schematic, the schematic upgrade rules explain why the rank you pull matters more than the item itself.
All 12 Applied Handbooks
Every one of the twelve Applied Handbooks is in the rank 2 pool, one per pull. Each is a permanent +1 to that work suitability on whichever Pal reads it, which is the only way to push a worker past its natural rank ceiling. The Medal Shop sells them at 300 Dog Coins each — 3,600 for the set — so pulling them out of wrecks instead is the cheapest route there is, especially since the same wrecks pay 10-20 Dog Coins on the side. Which Pal should read which book is a longer conversation, and the handbook guide settles it job by job.
| Handbook | What it raises | Handbook | What it raises |
|---|---|---|---|
 Applied Handiwork Handbook I Applied Handiwork Handbook I | Handiwork | Applied Mining Handbook I | Mining |
 Applied Transporting Handbook I Applied Transporting Handbook I | Transporting |  Applied Lumbering Handbook I Applied Lumbering Handbook I | Lumbering |
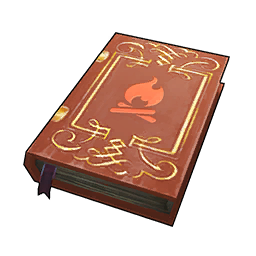 Applied Kindling Handbook I Applied Kindling Handbook I | Kindling |  Applied Watering Handbook I Applied Watering Handbook I | Watering |
 Applied Planting Handbook I Applied Planting Handbook I | Planting |  Applied Generating Electricity Handbook I Applied Generating Electricity Handbook I | Generating Electricity |
 Applied Cooling Handbook I Applied Cooling Handbook I | Cooling |  Applied Gathering Handbook I Applied Gathering Handbook I | Gathering |
 Applied Medicine Production Handbook I Applied Medicine Production Handbook I | Medicine Production |  Applied Ranching Handbook I Applied Ranching Handbook I | Ranching |
Salvaging vs Junk Hauls vs Oil Rigs
Salvaging is one of three ways the water pays you, and they are not equivalent. Junk hauls — the debris you reel in while fishing — scale with how dangerous the region is, and in the late-game regions they out-earn a rank 2 wreck on Dog Coins outright. The oil rigs are the volume play for Coralum Ore. What salvaging owns is the schematics and handbooks nothing else on this list drops.
| Source | Dog Coin | Coralum Ore |
|---|---|---|
| Salvaging wrecks — rank 1 | 3-8 | 1-2 |
| Salvaging wrecks — rank 2 | 10-20 | 6-11 |
| Junk hauls while fishing — Grasslands | 2-8 | — |
| Junk hauls while fishing — Snowfields | 12-16 | — |
| Junk hauls while fishing — Sakurajima | 16-20 | — |
| Junk hauls while fishing — Feybreak / Sunreach Isle | 18-22 | — |
| Crates on the small oil rig | 5-10 | — |
| Crates on the oil rigs | 15-20 | 8-12 |
| Crates on the large oil rig | — | 15-20 |
Read that table as a routing decision rather than a ranking. If you want Dog Coins, fish the Feybreak and Sunreach Isle water — 18-22 a haul with no level 62 requirement anywhere in sight. If you want ore in bulk, the large rig's 15-20 a crate is the best per-container rate going, and the Coralum Ore guide has the expedition numbers that beat both. Salvage when what you want is gear.
 Where to Go
Wrecks sit out in open water, which makes a flying mount the practical way to work them — you want to cover coastline, not swim it. The map's two Fishing Spots layers are the best guide to where the game concentrates its water content: 469 marks across the main region and 77 more in the World Tree region, 124 of which are flagged as rare spots. There is even a fast travel point named Feybreak Shipwreck, which tells you what the game thinks is worth sinking out there.
Useful map views for a salvage trip:
- Every fishing spot and rare spot — 469 marks
- The same layers in the World Tree region — 77 marks
- All 185 oil field points, for the rig runs that pay in Coralum Ore
- 635 Hexolite Quartz nodes, if the Powerful Fishing Magnet is what's blocking you
The Short Answer
Craft Fishing Magnets immediately — one Ingot, ten magnets, no unlock — and salvage rank 1 wrecks for Gold, spheres and technology manuals whenever you are near water. Then get to level 62, spend 3 Technology Points on the Powerful Fishing Magnet, and treat rank 2 wrecks as a gear source: Legendary Hexolite armor and Laser Rifle schematics, all twelve Applied Handbooks, 6-11 Coralum Ore and 10-20 Dog Coins a pull. If Dog Coins are all you want, junk hauls in the Feybreak pay more for less effort.
Related Guides
More from the water and the late-game gear chase:
- Palworld Fishing Guide: Best Catches, Rods, and Bait
- How to Get Coralum Ore: Locations and Uses
- All Handbooks and the Best Pals to Use Them On
- Best Legendary Schematics in Palworld
- How to Upgrade Schematics and What Each Rank Does
- Best Armor at Every Tech Level: Full Upgrade Path
- How to Farm Gold in Palworld
- How to Rank Up Pals with Pal Souls
- Palworld interactive map: every node, chest and spawn
- All Palworld guides