Combat Mechanics Explained: Damage, Weak Points, Dodging
How Palworld combat actually works — every damage multiplier and what it is worth, why melee and shot attack are separate stats, weak point damage, dodge invincibility, shield values, and the Pals you equip as weapons.
Palworld lets you shoot, swing, dodge, ride and throw a Pal at the same problem, and almost none of it is explained in game. This guide covers every damage multiplier and what each one is worth, the melee-versus-ranged stat split that decides which skills your Pal should be running, weak point damage, dodge invincibility, how shields soak hits, and the fifteen Pals you can equip and fire like a weapon.
 Every Damage Multiplier in One Table
Damage in Palworld is one base number pushed through a stack of independent multipliers, and they all apply at once. The two big ones are free — matching a move's element to what the target is weak to is worth about half again as much damage, and a Pal using a skill of its own element gets roughly a fifth on top. Everything below those is gear you choose to bring. The accessories matter more than most players think: the Dogen Emblem is a single slot that hands you +20% attack and hands your partner Pal +16%, which is a bigger swing than most weapon upgrades inside the same tier.
| Multiplier | What triggers it | Worth | Where it comes from |
|---|---|---|---|
| Super effective | Move's element counters the target's element | About 1.5× | Free — the type chart |
| Same type attack bonus | Move's element matches the Pal using it | About 1.2× | Free — applies automatically |
| Weak point hit | Landing a shot on a head or weak part | +30% to +60% extra with the right partner out |  Cryolinx Terra or Cryolinx Terra or  Incineram Incineram |
| Attack Up Lv. 4 | Player accessory equipped | +20% your attack | Dogen Emblem |
| Pal Attack Up Lv. 4 | Player accessory, buffs your active Pal | +16% partner attack | Dogen Emblem |
| Pal element enhancement Lv. 4 | Element-specific talisman or ring | +20% that element's damage | Talismans, batons and Pal Rings |
| Defense Up Lv. 4 | Player accessory equipped | +25% your defense |  Silvegis Emblem Silvegis Emblem |
| Element damage reduction Lv. 4 | Resistance ring for the incoming element | −35% damage from that element | The nine resistance rings |
Read the bottom half of that table as the answer to "why am I dying". A Lv. 4 resistance ring cuts a third off everything that element throws at you, which on a long boss fight is worth more than any amount of extra attack — and unlike the attack accessories, it stacks with the flat +25% defense from a Silvegis Emblem because the two are different stats. Slot resistance for the fights you keep losing and attack for the fights you're already winning slowly.
Melee and Shot Attack Are Two Different Stats
This is the mechanic that costs players the most damage without ever showing itself. Every Pal carries a separate melee attack and ranged attack value, and 249 of the 288 Pals in the game have two different numbers there. Which one gets used is decided by the skill's category, not by how far away you are — a Melee-category skill runs off melee attack, a Shot-category skill runs off ranged attack. Of the 300 active skills in the game, 184 are Shot and only 116 are Melee, so the default outcome is that a Pal built around melee attack spends the whole fight using its weaker stat.
| Pal | Melee Atk | Ranged Atk | Best melee skill it learns | Best ranged skill it learns |
|---|---|---|---|---|
| Incineram | 150 | 100 | Hellfire Claw — 200 power | Fire Ball — 600 power |
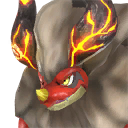 Blazamut Blazamut | 150 | 125 | Brawn Impact — 600 power | Fire Ball — 600 power |
 Jormuntide Ignis Jormuntide Ignis | 150 | 130 | Magma Serpent — 400 power | Fire Ball — 600 power |
 Cryolinx Cryolinx | 140 | 100 | Blizzard Claw — 300 power | Diamond Rain — 600 power |
 Mozzarina Mozzarina | 100 | 50 | None at all | Holy Burst — 700 power |
 Astralym Astralym | 100 | 200 | Rocky Impact — 600 power | Paldium Explosion — 800 power |
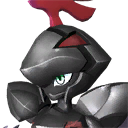 Necromus Necromus | 100 | 145 | Twin Spears — 700 power | Dark Whisp — 600 power |
 Jetragon Jetragon | 100 | 140 | None at all | Beam Comet — 700 power |
Incineram is the clearest victim: the highest melee attack in the roster tied with two others, and the strongest close-range skill it naturally learns is a 200-power claw against a 600-power fireball. Run the fireball and you're firing a big number off a stat of 100. Blazamut is the opposite case and the reason the rule is worth learning — Brawn Impact and Fire Ball are both 600 power, so the melee one wins outright on a Pal with 150 melee against 125 ranged. When two of a Pal's skills sit at the same power, the category is the tiebreak.
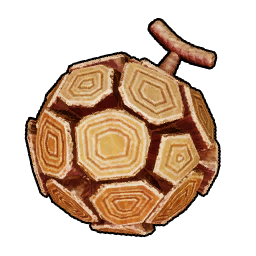 Melee Skills That Still Reach Across the Arena
Category and range are not the same thing, which is the loophole that fixes every Pal in the table above. 36 Melee-category skills reach 3,000 units or further, meaning they bill to melee attack while firing from ranged distance. The two best of them are also the only skills of their kind you can teach outright — the Rocky Impact fruit and the Geyser Gush fruit are the sole melee-category entries in the entire skill fruit list, and both land 600 power at 5,000 reach. Every other fruit in the game teaches a ranged skill, so if you want a high-melee Pal to actually use its best stat, these two are the whole shopping list.
| Melee-category skill | Element | Power | Cooldown | Reach |
|---|---|---|---|---|
| Royal Step | Neutral | 800 | 30s | 3,000 |
| Grand Breach | Water | 700 | 30s | 6,000 |
| Magna Crush | Dragon | 700 | 30s | 5,000 |
| Divine Wing | Neutral | 700 | 30s | 5,000 |
| Lotus Bloom | Grass | 700 | 30s | 3,000 |
| Glacial Impact | Ice | 650 | 30s | 3,000 |
| Rocky Impact | Ground | 600 | 30s | 5,000 |
 Geyser Gush Geyser Gush | Water | 600 | 30s | 5,000 |
| Bolt Blink | Electric | 600 | 30s | 5,000 |
| Aegis Charge | Dragon | 600 | 30s | 4,000 |
Royal Step is the hardest-hitting melee-category skill in the game at 800 power, but it's locked to the Pals that learn it. Rocky Impact is the one everybody can have, and it turns a Pal like Cryolinx Terra — 140 melee against 105 ranged — from a Pal that fights with its bad stat into one that never has to. Grand Breach's 6,000 reach is the longest of any melee-category skill, which is worth knowing if you're building around a Water Pal that leans melee.
Weak Points: Where to Aim and Who Boosts It
Heads and glowing body parts take extra damage, and it applies to your own shots — not your Pal's — which is why aiming matters more with a rifle than with a bench full of Pals. Four Pals turn that habit into a real damage stat while they're partnered with you, and they split into two groups. Cryolinx Terra and Incineram boost weak point hits generally, topping out at +60% at max condenser rank. Vanwyrm Cryst and Vanwyrm instead boost damage to the destructible body parts that raid and tower bosses carry, which makes them niche picks that get enormous in exactly the fights where they matter.
| Pal | Partner skill | What it boosts | Rank 1 | Rank 5 |
|---|---|---|---|---|
| Cryolinx Terra | Explosive Strength | Your weak point hits | +30% | +60% |
| Incineram | Flameclaw Hunter | Your weak point hits | +30% | +60% |
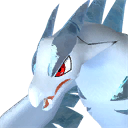 Vanwyrm Cryst Vanwyrm Cryst | Aerial Marauder | Damage to boss body parts | +30% | +50% |
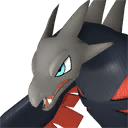 Vanwyrm Vanwyrm | Aerial Marauder | Damage to boss body parts | +20% | +40% |
Ranks here are Pal condenser ranks, so the max figures assume a fully condensed Pal — the rank 1 numbers are what you get the moment you catch one. Cryolinx Terra is the better of the two general boosters in practice because it's Ground, so it can sit beside you in fights where Incineram's Fire and Dark halves would be taking extra damage. Both are worth benching for any fight you're fighting personally with a rifle or a bow; neither does anything for a Pal-only strategy.
 Dodging Has Invincibility Frames
The dodge roll isn't just movement — it grants a window of invulnerability, and the proof is that the game sells you gear that extends it. The Phantom Ring has exactly one effect, Extended Dodge Immunity, and it lengthens that window by 20%. Tropicaw does the same thing as a partner skill, from +5% at rank 1 up to +9% fully condensed. Run both together and you're rolling through boss attacks that otherwise clip you on the tail end. Dodging spends stamina, so it competes with sprinting and gliding — the practical rule in long fights is to walk between attack windows and save the bar for rolls.
| Source | Effect | How you get it |
|---|---|---|
 Phantom Ring Phantom Ring | Extended Dodge Immunity — +20% invulnerability window | Accessory slot |
| Tropicaw | Flower Dance — +5% to +9% invulnerability window | Partner skill, scales with condenser rank |
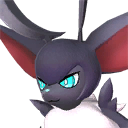 Loupmoon Loupmoon | Dark Gleam Strike — +15% to +30% attack speed | Partner skill, more swings per opening |
 Warsect Warsect | Cast-Iron Shell — melee hits generate a barrier | Partner skill, rewards staying in close |
The bottom two rows are the aggressive answer to the same problem. Loupmoon pushes your attack speed up by as much as 30%, which means every dodge window you do earn converts into more damage, and Warsect hands you a barrier every time you land a melee hit — a genuinely different way to play, where you tank through the attack instead of rolling out of it. Pick one lane; they don't stack usefully because you only get one partner Pal out at a time.
 Shields Soak Damage Before Your Health Does
A shield is a second pool in front of your health bar, and the jump between tiers is much bigger than the tech-level gap suggests. Going from the Hyper Shield at tech 43 to the Advanced Shield at tech 60 nearly doubles the pool, and the Ancient Shield at tech 71 adds another 400 on top of that with ten times the durability of the mid-game tiers. Durability is the number people ignore — the Ultra Shield holds 1,520 but only has 5,000 durability against the Advanced Shield's 21,000, so it breaks constantly in exactly the long fights you bought it for.
| Shield | Shield value | Durability | Technology |
|---|---|---|---|
| Ancient Shield | 2,200 | 22,000 | 71 |
 Advanced Shield Advanced Shield | 1,800 | 21,000 | 60 |
 Ultra Shield Ultra Shield | 1,520 | 5,000 | — |
 Hyper Shield Hyper Shield | 1,045 | 3,500 | 43 |
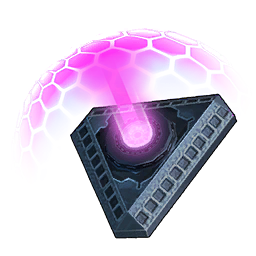 Giga Shield Giga Shield | 540 | 2,250 | 29 |
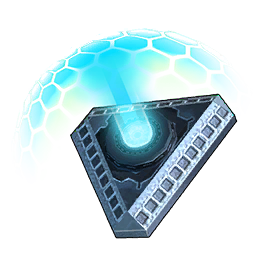 Mega Shield Mega Shield | 260 | 1,500 | 16 |
 Common Shield Common Shield | 100 | 1,000 | 4 |
Armor is the other half of the same wall. Ancient Armor tops the body slot at 800 defense and 2,400 bonus health from technology 68, and the three specialised versions above it — the cold-resistant build among them — push defense to 840 while folding in a temperature resistance you'd otherwise burn an accessory slot on. That's the real argument for the specialised armors: they're not just warmer, they're strictly more defense than the base version.
 Weapon Attack Numbers Only Compare Inside a Class
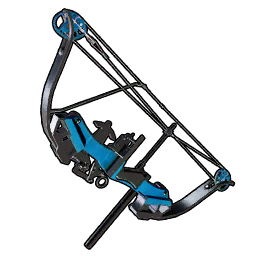
The single most misread number in the game is weapon attack, because a bow's attack and a shotgun's attack are measured on completely different scales. The Mechanical Bow shows 24,000 attack against the Prototype Shotgun's 1,400, and the shotgun is not seventeen times worse — the bow fires one slow arrow while the shotgun throws a spread several times a second. Compare rifles to rifles and bows to bows, never across the line.
| Weapon class | Best in class | Attack | What the number means |
|---|---|---|---|
| Bow | Mechanical Bow | 24,000 | One slow, silent, fully-charged arrow |
| Rocket launcher | 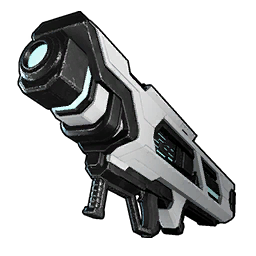 Beam Launcher Beam Launcher | 16,800 | Splash damage, long reload |
| Assault rifle | 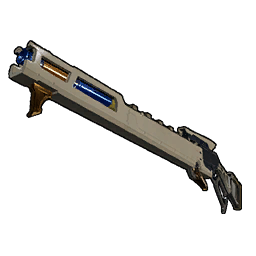 Charge Rifle Charge Rifle | 15,000 | Per charged shot, not per bullet |
| Throwable | 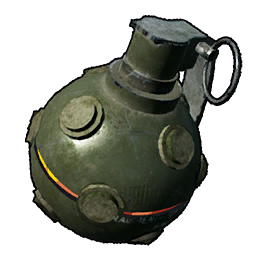 Frag Grenade Mk2 Frag Grenade Mk2 | 4,000 | One-use, arcs, hits an area |
| Melee | 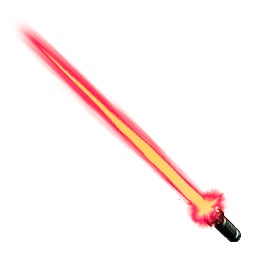 Laser Sword Laser Sword | 2,400 | Per swing, and swings chain |
| Handgun | 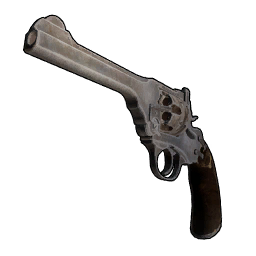 Old Revolver Old Revolver | 1,500 | Per shot, small magazine |
| Shotgun | 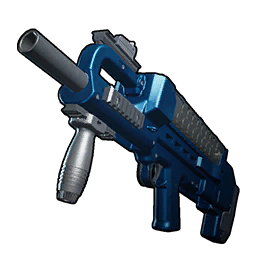 Prototype Shotgun Prototype Shotgun | 1,400 | Per pellet spread at close range |
| Gatling gun | 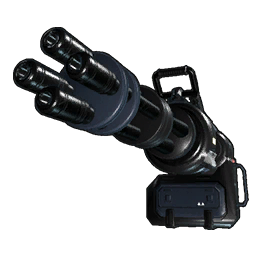 Laser Gatling Gun Laser Gatling Gun | 689 | Per bullet at an extreme fire rate |
| Crossbow | 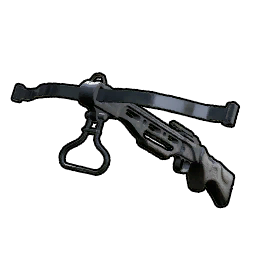 Crossbow Crossbow | 490 | Per bolt, single-shot magazine |
The gatling gun row is the clearest example of why the raw figure lies: 689 is the lowest attack on the list and it's one of the highest-damage weapons in the game, because it empties a belt in the time a bow fires twice. Every figure here is the fully-upgraded rank of that weapon, so a freshly crafted version sits well below it — the full weapon list with every tier has the ladder for each class.
 Pals You Equip and Fire Like a Weapon
Fifteen Pals have gear that turns them into a weapon in your hands rather than a fighter beside you, and it's the fastest way to attack with an element you don't otherwise own. The ladder starts at technology 6 with Foxparks' Harness — a flamethrower you can afford before you've built a proper gun — and ends at technology 79 with Jetragon's Missile Launcher. The mid-game pick most players settle on is Grizzbolt's Minigun at technology 40, because sustained Electric fire covers Water targets that your melee options struggle with.
| Pal | Gear | Element | Technology |
|---|---|---|---|
 Foxparks Foxparks | 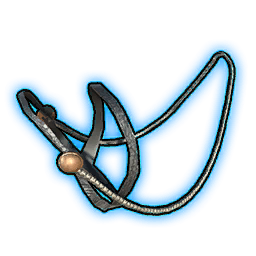 Foxparks' Harness Foxparks' Harness | Fire | 6 |
 Lifmunk Lifmunk | 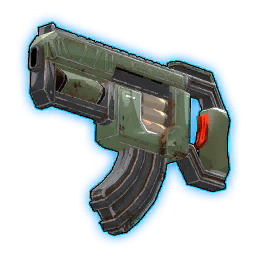 Lifmunk's Submachine Gun Lifmunk's Submachine Gun | Grass | 11 |
 Tanzee Tanzee | 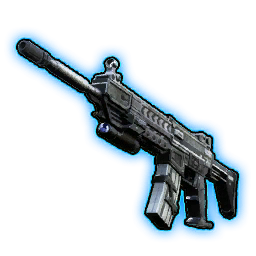 Tanzee's Assault Rifle Tanzee's Assault Rifle | Grass | 12 |
 Tanzee Ignis Tanzee Ignis | Tanzee Ignis's Assault Rifle | Fire | 13 |
 Pengullet Pengullet | 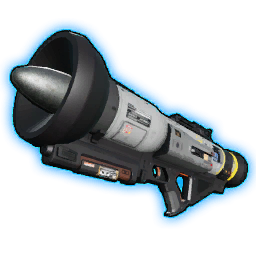 Pengullet Rocket Launcher Pengullet Rocket Launcher | Water / Ice | 17 |
 Pengullet Lux Pengullet Lux | Pengullet Lux's Rocket Launcher | Water / Electric | 18 |
 Tocotoco Tocotoco | 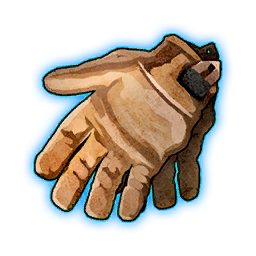 Tocotoco's Gloves Tocotoco's Gloves | Neutral | 18 |
 Foxparks Cryst Foxparks Cryst | Foxparks Cryst's Harness | Ice | 24 |
 Mossanda Mossanda | 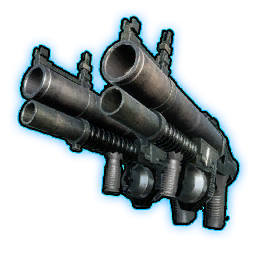 Mossanda's Grenade Launcher Mossanda's Grenade Launcher | Grass | 32 |
 Mossanda Lux Mossanda Lux | Mossanda Lux's Grenade Launcher | Electric | 34 |
| Grizzbolt | 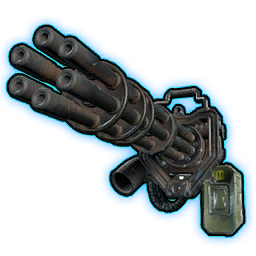 Grizzbolt's Minigun Grizzbolt's Minigun | Electric | 40 |
 Relaxaurus Relaxaurus | 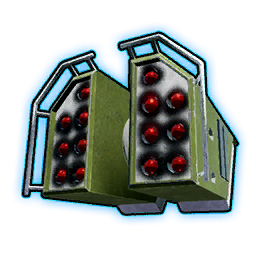 Relaxaurus' Missile Launcher Relaxaurus' Missile Launcher | Dragon / Water | 45 |
 Relaxaurus Lux Relaxaurus Lux | Relaxaurus Lux's Missile Launcher | Dragon / Electric | 48 |
 Nyafia Nyafia | 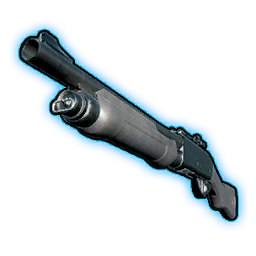 Nyafia's Shotgun Nyafia's Shotgun | Dark | 52 |
| Jetragon | Jetragon's Missile Launcher | Dragon | 79 |
The column that decides these picks is element, not technology level. Each of these gives you an attack in that element with no ammo cost, so the sensible build is one that covers a hole in your weapon rack — Ice and Dark are the two hardest elements to get from a crafted gun, which makes Foxparks Cryst at technology 24 and Nyafia at technology 52 far more useful than their raw numbers suggest. Jolthog and Jolthog Cryst work differently again: their gloves let you throw the Pal itself as a bomb.
Fighting From a Mount
115 Pals can be ridden once you've built their saddle, and they split into 77 ground mounts, 29 flyers and 9 swimmers. Fighting from the saddle keeps you moving while your mount attacks, which is the cleanest answer to bosses with heavy ground AoE — you simply aren't standing in it. Flyers give you the strongest version of that, because most wild Pals and syndicate NPCs have no reliable answer to a target circling above them, and Jetragon tops the class at 3,300 sprint speed with a missile launcher bolted to it.
The trade is that you can't use your own weapon well while mounted, so mounted combat is a positioning tool rather than a damage one. Against water-based fights the 9 swimmers stop being a novelty and become the only way to attack without taking a swim, and against anything grounded the 77 land mounts mostly exist to close distance faster than the boss can turn. The full mount speed table ranks every one of them.
The Short Version
Match your move's element to the target's weakness for about 1.5× and let the same-type bonus add its 20% on top. Check whether your Pal's damage comes from its melee or ranged stat and slot skills in that category — 249 Pals have a gap between the two, and only two skill fruits in the game can fix it. Bring a resistance ring for the element that keeps killing you, keep a shield with real durability rather than the biggest number, aim for weak points, and roll through the attacks you can't out-range. Everything else is gear tiers.
Related Guides
Damage and elements:
- Super Effective and Resistance Explained: Type Chart — the full nine-element grid
- STAB Explained: Same Type Attack Bonus and Best Moves — the 20% bonus in detail
- Strongest Attack Skills in Palworld and How to Get Them
- All Status Effects and Which Elements Inflict Them
Gear and teams:
- Best Guns Tier List: All Guns Ranked — every firearm compared inside its class
- Best Partner Skills and Their Effects — the buffs your active Pal hands you
- Best Pal Builds: Top Passives, Skills, and Loadouts
- Best Team Comps: Boss Killer, Explorer, and Farming Teams
- List of All 140 Pal Gear: Tech Levels and Materials
Tools and hubs:
- Palworld Type Chart and Counter Finder — name a target, get its weakness
- All Palworld Weapons and Their Stats and Palworld Mount Speed Rankings
- Palworld Team Builder and All Palworld Guides