How to Get Japanese-Style Hot Spring: Cost and SAN Boost
Everything the Japanese-Style Hot Spring costs in Palworld: technology level 64 and 3 points, the 30 Coralum Ingot and 10 Thermal Core recipe, where to farm all 450 raw materials, and how it compares to the other three hot springs.
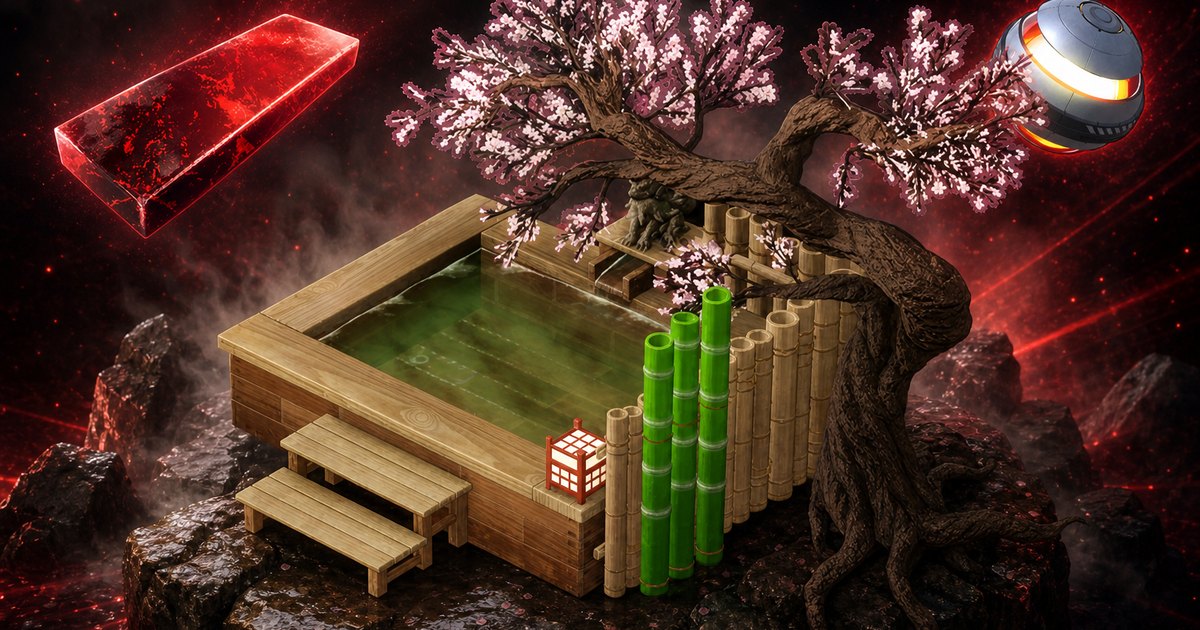
The Japanese-Style Hot Spring is the third rung on Palworld's SAN ladder — a level 64 unlock that soaks your base workers back to happy faster than the High Quality spring ever did. This guide covers its technology level and point cost, all four materials and where to farm each one, the full raw bill once you break the recipe down to ore and organs, and whether it is worth building at all when the Ancient Hot Spring sits twelve levels later.
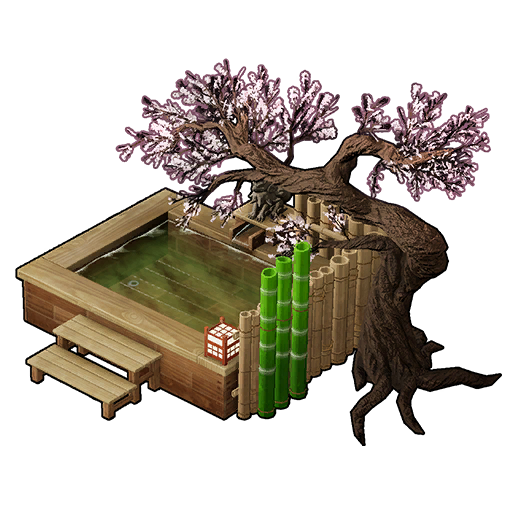 Japanese-Style Hot Spring at a Glance
It lives in the Infrastructure tab of the build menu, alongside the other three springs and the Pal beds. Two things make it easy to slot into an existing base: it draws no power, so it will not fight your assembly lines for generator output, and it has no work suitability requirement, so every Pal in your camp can use it without you assigning anyone. The catch is the bill — this is the first hot spring that asks for refined metal, and the metal it asks for is not one you can smelt until level 58.
| What | Detail |
|---|---|
| Type | Base structure, Infrastructure tab |
| Technology level | Lv. 64 |
| Technology points | 3 (normal points, not Ancient) |
| Materials | 30 Coralum Ingot, 10 Thermal Core, 20 Paldium Fragment, 20 Hardwood |
| Effect | Pals resting in it recover SAN, with an extra boost over the standard spring |
| Power draw | None |
| Worker needed | None — it is a rest facility, not a job |
| Real gate | The Gigantic Furnace at Lv. 58, the only station that smelts Coralum Ingot |
| Added in | The Tides of Terraria update |
How to Unlock the Japanese-Style Hot Spring
Hit character level 64, open the Palworld Technology Tree, and spend three technology points. Level 64 is a cheap row by late-game standards, and the spring is the only quality-of-life pick on it — everything else is combat gear or a saddle. If you are point-starved, the Overheat Rifle and Cold Resistant Hexolite Armor at five points each are what you are really choosing between, and neither of them keeps your base running while you are out fighting.
| Level 64 technology | Point cost |
|---|---|
| Frostallion Statue | 1 |
 Overheat Rifle Ammo Overheat Rifle Ammo | 1 |
| Japanese-Style Hot Spring | 3 |
 Neptilius Saddle Neptilius Saddle | 3 |
| Univolt Cryst Saddle | 4 |
 Overheat Rifle Overheat Rifle | 5 |
 Cold Resistant Hexolite Armor Cold Resistant Hexolite Armor | 5 |
Japanese-Style Hot Spring Materials
Eighty items across four lines, and the difficulty is wildly uneven. Half the list — 20 Paldium Fragment and 20 Hardwood — is an afternoon's work or 2,000 Gold at a merchant. The other half is the whole build: 30 Coralum Ingot means 60 ore out of the ocean, and 10 Thermal Core pulls in four separate sub-materials of its own. Build the Gigantic Furnace and Production Assembly Line II before you start hoarding, because nothing on the top two rows can be crafted without them.
| Material | Qty | Where it comes from |
|---|---|---|
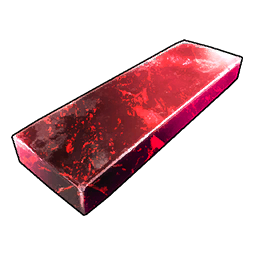 Coralum Ingot Coralum Ingot | 30 | Smelted only at the Gigantic Furnace (Lv. 58) from 2 Coralum Ore + 5 Coal each |
 Thermal Core Thermal Core | 10 | Crafted only at Production Assembly Line II (Lv. 42) from 4 Flame Organ, 8 Coal, 2 Corrosive Solvent and 2 Hexolite each |
 Paldium Fragment Paldium Fragment | 20 | 711 Paldium Ore nodes on the interactive map, or a guaranteed 2-3 from every Lunaris you kill |
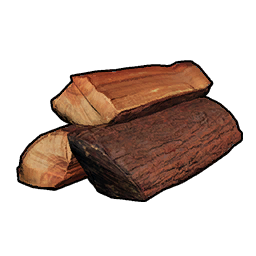 Hardwood Hardwood | 20 | 100 Gold each from Village, Desert, Volcano and Wandering merchants, or dropped by four Pals |
How to Get 30 Coralum Ingot
Thirty ingots is 60 Coralum Ore and 150 Coal, and the ore is the part that decides your evening. Neptilius is far and away the best per-kill source at a flat 10 ore every time — six takedowns of the level 60 alpha covers the entire spring — but it has no wild spawns, so it is a boss run rather than a farm. If you would rather not fight it, Whalaska drops 2-3 across 187 spawn points and bites on a fishing line in the same waters. The lazy option beats both on volume: a single 60-minute Sunreach Isle expedition brings back 30-50 ore while you do something else. Coal is never the bottleneck with 824 nodes on the map, though 150 of it is still a couple of full mining trips.
| Coralum Ore source | Yield | Details |
|---|---|---|
 Neptilius Neptilius | 10 guaranteed | Fixed Lv. 60 Alpha with no wild spawns — 6 kills covers the build |
 Whalaska Whalaska | 2-3 guaranteed | 187 spawn spots, also an Alpha at Lv. 55, also catchable while fishing |
 Whalaska Ignis Whalaska Ignis | 2-3 guaranteed | 112 spawn spots, Alpha at Lv. 74 |
| Sunreach Isle expedition | 30-50 | Hard difficulty, 60 minutes — the best hands-off rate in the game |
| Sunreach Dragon Husk expedition | 10-20 | Very Hard, 120 minutes |
| Oil rig crates | 8-12 | 83% of crates on the standard rigs; the large rig pays 15-20 at 54% |
| Salvaging wrecks (rank 2) | 6-11 | Guaranteed on every rank 2 salvage |
How to Get 10 Thermal Core
Thermal Cores drop from exactly two Pals — Jetragon and Aegidron — at 1-2 each, and both are fixed alphas, so hunting ten of them is a worse use of an evening than crafting them. Production Assembly Line II turns four sub-materials into a core, and the two annoying ones are Corrosive Solvent and Hexolite, each needing its own station. The Flame Organ line is the one to plan around: 40 organs is a lot of Fire Pal hunting, but a ranch stocked with Rooby, Kelpsea Ignis or Flambelle produces them passively, and merchants sell them at 300 Gold if you would rather pay the 12,000 and move on.
| Per core | Qty | ×10 cores | Where it comes from |
|---|---|---|---|
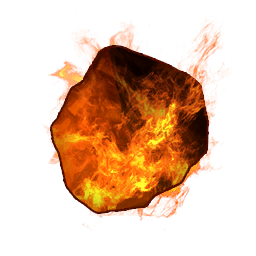 Flame Organ Flame Organ | 4 | 40 | Guaranteed drop from 37 different Fire Pals, produced on a ranch by Rooby, Kelpsea Ignis and Flambelle, or 300 Gold each |
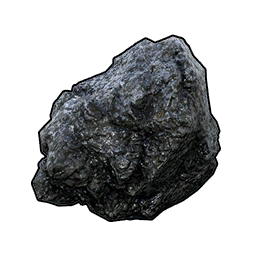 Coal Coal | 8 | 80 | 824 Coal nodes across Palpagos |
 Corrosive Solvent Corrosive Solvent | 2 | 20 | Production Assembly Line (Lv. 29) from 1 Venom Gland + 1 Sulfur each |
 Hexolite Hexolite | 2 | 20 | Gigantic Furnace from 1 Chromite + 1 Hexolite Quartz each |
How to Get 20 Hardwood and 20 Paldium Fragment
This is the half of the recipe you can finish today. Hardwood is sold for 100 Gold by four different merchant families, so the whole 20 costs 2,000 Gold — cheaper than the trip, honestly. If you would rather hunt it, Wumpo Botan is the best of the four droppers at 2-5 per kill with 83 spawn points behind it. Paldium Fragment barely counts as a cost at this stage of the game: 711 ore nodes are scattered across the map, most of them in starting-area rock clusters you have probably been ignoring since level 20.
| Pal | Drops | Where |
|---|---|---|
 Wumpo Botan Wumpo Botan | 2-5 Hardwood | 83 spawn spots · Alpha at Lv. 38 |
 Palumba Palumba | 2-4 Hardwood | 42 spawn spots |
 Mossanda Mossanda | 1-3 Hardwood | 52 spawn spots |
 Mossanda Lux Mossanda Lux | 1-3 Hardwood | 40 spawn spots · Alpha at Lv. 31 |
 Lunaris Lunaris | 2-3 Paldium Fragment | The only Pal that drops Paldium — nodes are faster |
The Full Bill in Raw Materials
Break every crafted line down to things you pick up or kill for, and one hot spring costs 450 raw items. Coal is the quiet monster at 230 — 150 for the ingots and 80 for the cores — which is more coal than most bases mine in a week without a Coal Quarry running. The ore, organ and quartz lines are all trivially parallel: park an expedition on Sunreach Isle for the Coralum Ore, keep a Fire ranch turning for the Flame Organ, and the only line you actually have to go out and get is coal.
| Raw material | Total needed | Feeds |
|---|---|---|
| Coal | 230 | 150 → Coralum Ingot · 80 → Thermal Core |
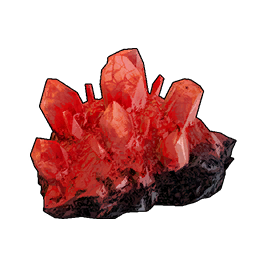 Coralum Ore Coralum Ore | 60 | 30 Coralum Ingot |
| Flame Organ | 40 | 10 Thermal Core |
| Paldium Fragment | 20 | Direct build cost |
| Hardwood | 20 | Direct build cost |
 Venom Gland Venom Gland | 20 | 20 Corrosive Solvent |
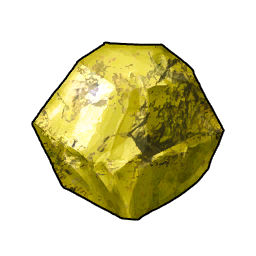 Sulfur Sulfur | 20 | 20 Corrosive Solvent |
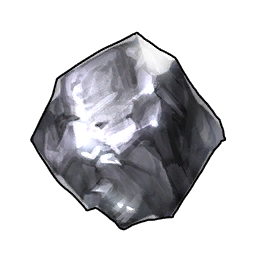 Chromite Chromite | 20 | 20 Hexolite |
 Hexolite Quartz Hexolite Quartz | 20 | 20 Hexolite |
 Every Hot Spring Compared
Four springs, and the ladder is strictly upward — each tier restores more SAN than the one below it. The jump that matters most is the first one, at technology level 9 for 20 Wood and some stone; everything after that is a comfort upgrade rather than a fix. The Japanese-Style spring is the awkward middle child: it is a genuine step up from the High Quality spring, but it costs refined late-game metal and sits only twelve levels below the Ancient Hot Spring, which the game flatly describes as the best SAN recovery of all and which also restores Health and fully heals injured Pals. If you are already level 70 and closing in on 76, skip straight to the Ancient tier.
| Hot Spring | Tech Lv | Points | Materials | What it does |
|---|---|---|---|---|
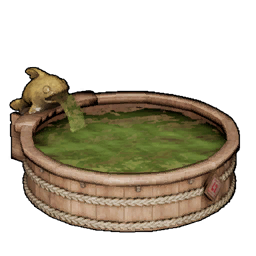 Hot Spring Hot Spring | 9 | 2 | 20 Wood, 15 Stone, 7 Paldium Fragment, 3 Aquatic Pal Fluids | Baseline SAN recovery — build it the day you unlock it |
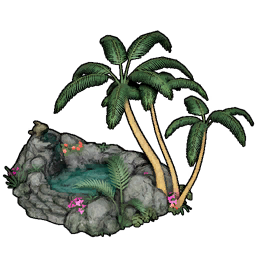 High Quality Hot Spring High Quality Hot Spring | 31 | 3 | 50 Stone, 50 Wood, 10 Cement, 3 Cryogenic Coolant | Comfier, restores more SAN |
| Japanese-Style Hot Spring | 64 | 3 | 30 Coralum Ingot, 10 Thermal Core, 20 Paldium Fragment, 20 Hardwood | Extra SAN boost on top of the standard spring |
| Ancient Hot Spring | 76 | 5 | 100 Paloxite Ingot, 20 Thermal Core, 20 Cryogenic Coolant, 10 World Tree Holy Water | Highest SAN recovery of all, restores Health, fully heals injured Pals, standard footprint |
Where to Build It and How SAN Actually Works
A hot spring only helps if Pals can reach it, and the single most common mistake is putting it in a scenic corner of a sprawling base. Keep it in the middle of the working area, near the beds and the feed box, so the walk between shift and soak is short. A few placement rules that pay off:
- Put it inside the same cluster as your Pal beds and Feed Box — a Pal that has to cross the whole base to rest loses most of the benefit in travel time
- Leave the flat ground for it; hot springs need a clear footprint, and the Ancient tier is specifically noted as keeping the standard spring's size while the mid tiers spread out
- It costs no power, so there is no reason to keep it near the generator
- One spring is enough for a normal base — a second one does not stack, it just gives a crowded camp a second slot to soak in
SAN is the other half of the equation. Pals lose it by working, and they get it back two ways: eating and soaking. The spring only handles the second half, so a base with a beautiful Japanese-Style spring and an empty feed box will still spiral into miserable, useless workers. Pair it with cooked food — the SAN food rankings put Mammorest Curry at 52 SAN and cakes above 80 — and with the Monitoring Stand, which attacks the problem from the other end by slowing how fast SAN drains in the first place.
Is the Japanese-Style Hot Spring Worth Building?
Yes if you hit level 64 with the Gigantic Furnace already up and a Coralum Ore stream running — three technology points and 450 raw items buys a permanent morale upgrade for every Pal in the base, and you will be at this level for a long stretch of the game. No if you are close to level 76, because the Ancient Hot Spring is the better build in every way and you would be paying twice. And no if your feed box is empty: fix the food first, because no spring at any tier will out-restore a starving base.
Related Guides
Start here:
- All Palworld Guides — every walkthrough, list and calculator on the site
- All Palworld Structures — build costs for all 480 base facilities
- Palworld Technology Tree — every unlock, its level and its point cost
Paying for the build:
- How to Get Coralum Ore: Locations and Uses — every source of the ore behind the ingots
- How to Farm Gold Fast — for when buying Hardwood and Flame Organ beats hunting them
- Palworld Interactive Map — all 824 Coal nodes and every other resource layer
- Best Research to Rush — including the Refinement Technique that pads your ingot output
Keeping the base happy:
- Best Food for SAN and Hunger — the meals that keep workers off the floor
- How to Use the Monitoring Stand and All Upgrades — slow the SAN drain instead of repairing it
- Best Base Pals in Palworld — the workers every camp wants
- Best Base Locations — coordinates and the nodes each spot covers
- All Cakes and Their Breeding Effects — the top of the SAN chart, and why you should bank them instead