List of All Bosses in Palworld 1.0: Levels and Locations
Every boss in Palworld 1.0 in one place: all 9 tower bosses with their levels and health multipliers, all 6 raid bosses and the slabs that summon them, all 90 Alpha Pals by level band, dungeon bosses, and all 33 bounty targets with their weapons.
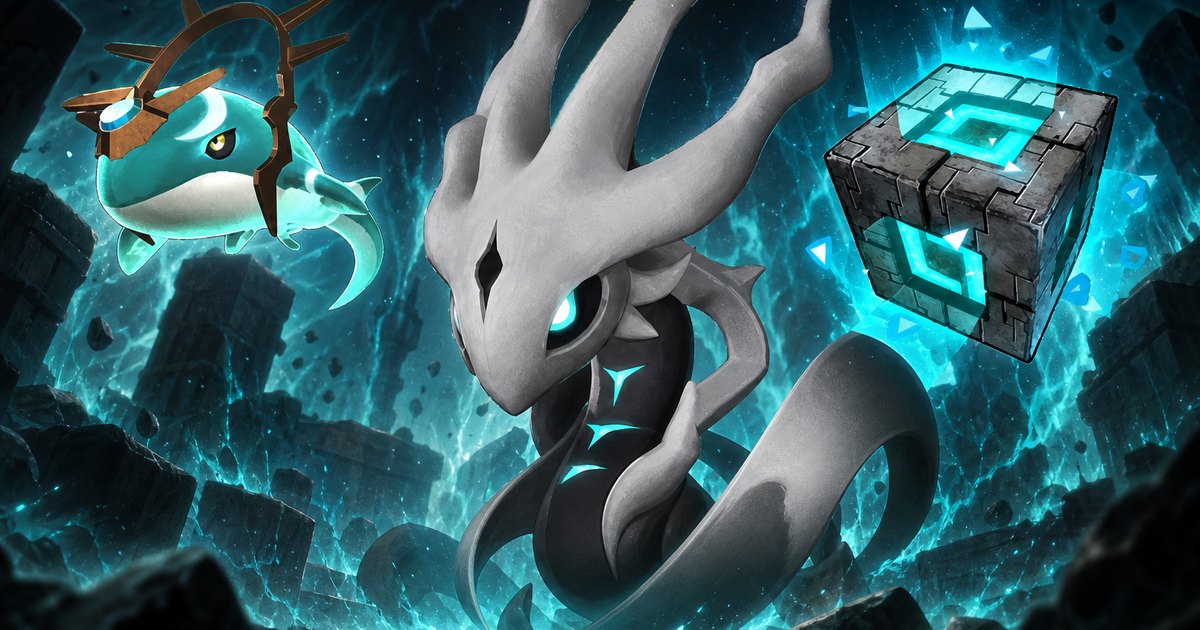
Palworld 1.0 splits its bosses into five separate systems, and they barely overlap — tower bosses gate the story, raid bosses get summoned at your own base, Alpha Pals sit out in the open world, dungeon bosses guard the end room, and bounty targets are armed humans. This is the full list of every one of them: levels, health multipliers, where each fight happens, and what it pays out.
 Every Boss Type at a Glance
Counting only the named, fixed encounters, there are 139 boss fights in the game — 9 tower bosses, 6 raid bosses, 90 Alpha Pals, 33 bounty targets and Panthalus as a one-off story fight. On top of that sits the dungeon boss pool, where 147 different Pals can spawn as the boss of a cavern, so the total number of boss encounters you can actually walk into is far higher than 139. Alphas are the bulk of the list and the ones you'll clear most; tower and raid bosses are the ones that gate progress.
| Boss type | How many | Level range | Where you fight it | Repeatable |
|---|---|---|---|---|
| Tower bosses | 9 | 10 – 80 | Faction towers and the Sealed Sanctum | Yes — plus a Hard Mode rematch |
| Raid bosses | 6 | 35 – 80 | A Summoning Altar you build yourself | Yes, as long as you have a slab |
| Alpha Pals | 90 | 11 – 79 | Fixed spots in the overworld | Yes — they respawn |
| Dungeon bosses | 147 Pals | 10 – 69 | End room of any of the 170 dungeons | Yes — dungeon rosters reshuffle |
| Bounty targets | 33 | 10 – 59 | Fixed camps in the overworld | Yes |
| Story boss | 1 | Lv. 70 recommended | The island gate to the World Tree | One clear, then it's yours |
The important split is repeatability. Tower bosses hand out Ancient Technology Points once, so the rematch ladder exists to give them a second use — see how to unlock Hard Mode towers for the exact gate. Raid bosses and Alphas are farmable forever, which makes them the two real endgame loops: raids for Ancient Civilization Cores and head gear, Alphas for Ancient Civilization Parts.
 All Tower Bosses
Eight tower bosses are spread across the map's factions in level order, and Zenara and Astralym closes the story out at the World Tree. Each fight is a normal Pal wearing a health multiplier and a five-minute timer — the multiplier is what actually decides how hard the fight feels, and it does not climb evenly. Grizzbolt opens the game at ×12 health, but Bastigor in Feybreak carries ×62, five times the padding on a boss only 50 levels higher. Check any pairing against the element matchup chart and counter finder before you build a team, because every one of these has a clean weakness except the last.
| Boss | Element | Weak to | Level | First-fight HP × | Where it is |
|---|---|---|---|---|---|
| Zoe & Grizzbolt | Electric | Ground | 10 | ×12 | Rayne Syndicate Tower, Windswept Hills — 111, -431 |
 Lily & Lyleen Lily & Lyleen | Grass | Fire | 20 | ×25 | Free Pal Alliance Tower, north of the Small Settlement — 36, -311 |
 Axel & Orserk Axel & Orserk | Dragon / Electric | Ground, Ice | 30 | ×25 | Eternal Pyre Tower, Mount Obsidian — -588, -518 |
 Marcus & Faleris Marcus & Faleris | Fire | Water | 40 | ×27 | Tower of the PIDF, Desiccated Desert — 556, 336 |
 Victor & Shadowbeak Victor & Shadowbeak | Dark | Dragon | 50 | ×28 | PAL Genetic Research Unit Tower, Astral Mountains — -149, 447 |
 Saya & Selyne Saya & Selyne | Dark / Neutral | Dragon, Dark | 55 | ×54 | Middle of Sakurajima — -597, 206 |
 Bjorn & Bastigor Bjorn & Bastigor | Ice | Fire | 60 | ×62 | Feybreak — -1294, -1669 |
 Auri & Shaolong Auri & Shaolong | Dragon / Water | Ice, Electric | 68 | ×50 | The Azure Tapestry, Sunreach — -419, -1431 |
| Zenara & Astralym | None | Nothing | 80 | ×40 | Sealed Sanctum at the World Tree |
Two elements cover half the ladder on their own: Dragon damage answers both Shadowbeak and Selyne, and Ground answers both Grizzbolt and Orserk. The one that trips people up is Shaolong — you can't even reach the door until you've knocked out the six Defense Modules around The Azure Tapestry. All eight towers plus the World Tree fight are pinned on the interactive map with the tower boss layer switched on, which puts 11 markers on screen once you include the World Tree entrances.
Zenara and Astralym: The Fight Above the Ladder
Zenara and Astralym is the only boss in Palworld with no element at all, which means no counter exists — you can't type-advantage your way through it the way you can with the other eight. It starts at level 80, sits behind a story gate rather than a level gate, and its Hard Mode version jumps to level 100 with a ×405 health multiplier, the highest in the entire game. Astralym also has the joint-best raw stat line of any Pal at 200 HP, 200 Shot Attack and 200 Defense, so the boosted version is punishing before any multiplier is applied. The full attack kit and the squad that survives it are in the Zenara and Astralym boss guide.
 Panthalus: The Story Boss That Isn't a Tower
Panthalus doesn't live in a tower and doesn't appear in the Alpha list, but it's a full boss encounter and it blocks the World Tree until you beat it. It runs at ×42 health and, uniquely, takes ×1.2 damage — it's the only boss on the board that takes *more* damage than normal while also attacking on a ×1 cooldown, so it hits far more often than a tower boss does. Level 70 is the sensible entry point, and summoning it at all means collecting four Echobones first; the Panthalus guide has every Echobone location and the Electric team that wins.
 All Raid Bosses and the Slabs That Summon Them
Raid bosses don't exist anywhere on the map — you build a Summoning Altar at your base, drop the right slab on it, and get a roughly ten-minute window to kill what appears. Each slab is forged from four fragments, and the fragments come from chests, dungeons and the previous tier of raid. The numbers below are the standard versions; note how sharply the difficulty curve bends at Xenolord, which carries ×280 health — double Bellanoir's pool — while only taking 35% of your damage.
| Raid boss | Level | Summoned with | HP × | Deals × | Takes × | Signature drop |
|---|---|---|---|---|---|---|
 Bellanoir Bellanoir | 35 | 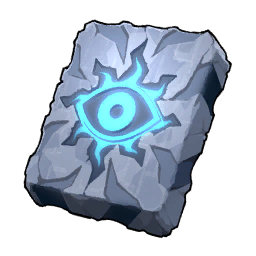 Bellanoir's Slab Bellanoir's Slab | ×120 | ×1.5 | ×1 | Dark Skill Fruit: Apocalypse |
 Bellanoir Libero Bellanoir Libero | 45 | 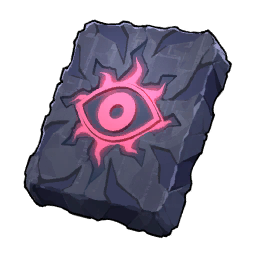 Bellanoir Libero's Slab Bellanoir Libero's Slab | ×120 | ×2 | ×0.4 | Dark Skill Fruit: Dark Whisp |
| Moon Lord | 50 | 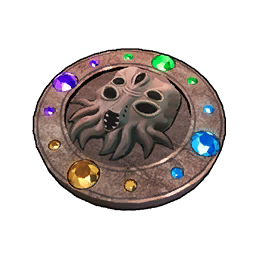 Celestial Sigil Celestial Sigil | — | — | — | Legendary Meowmere (22%) |
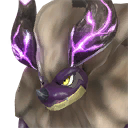 Blazamut Ryu Blazamut Ryu | 55 | 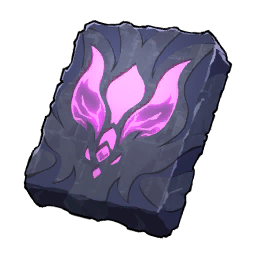 Blazamut Ryu Slab Blazamut Ryu Slab | ×140 | ×2 | ×0.4 | Dragon Skill Fruit: Beam Slicer |
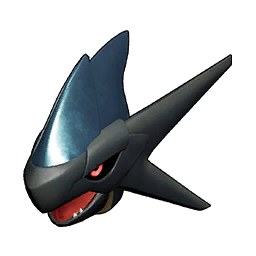
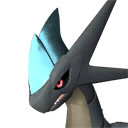 Xenolord Xenolord | 65 | 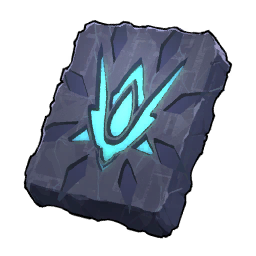 Xenolord Slab Xenolord Slab | ×280 | ×5 | ×0.35 | Dragon Skill Fruit: Dragon Meteor |
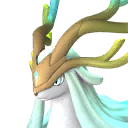 Hartalis Hartalis | 70 | 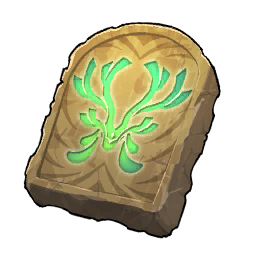 Hartalis Slab Hartalis Slab | ×180 | ×4 | ×0.5 | Skill Fruit: Holy Burst |
Moon Lord is the odd one out. It isn't a Pal, so it has no Pal multipliers to quote — instead it arrives with four separate health bars and individual weak points, and it has no element, so nothing you bring counters it. It's also the only raid on this list whose loot is gear rather than skill fruit, dropping Terraria-crossover weapon schematics at 25% each and the Moon Lord Mask at 10%. Every other raid on the table drops its slab's Ultra upgrade at 100%, so a single clear always unlocks the next tier. Full walkthroughs: Bellanoir Libero, Blazamut Ryu, Xenolord, Hartalis and Moon Lord.
 Ultra Raids: The Level 80 Rematches
Beat any of the four Pal raids and it drops an Ultra slab, which re-summons the same boss at level 80 with the game's heaviest numbers. Blazamut Ryu tops the health chart at ×500, but the fight you should actually fear is Xenolord — ×13 damage output combined with a ×0.09 damage-taken rate, meaning it hits like a truck while soaking 91% of everything you throw back. The reward is the same across all four: 10 Ancient Civilization Cores, 10 Training Crystals, a guaranteed head piece, and the Ultra slab back so you can farm it on loop.
| Ultra raid | Level | HP × | Deals × | Takes × | Head piece |
|---|---|---|---|---|---|
| Blazamut Ryu (Ultra) | 80 | ×500 | ×8 | ×0.09 | Horns of Supremacy |
| Bellanoir Libero (Ultra) | 80 | ×420 | ×10 | ×0.09 | Witch's Crown |
| Xenolord (Ultra) | 80 | ×420 | ×13 | ×0.09 | Xenolord's head |
| Hartalis (Ultra) | 80 | ×320 | ×13 | ×0.2 | Crown of Salvation |
| Moon Lord (Master) | 80 | — | — | — | Moon Lord Mask path |
Hartalis is the friendliest of the four despite matching Xenolord's ×13 damage, because its ×0.2 damage-taken rate lets you actually finish the health bar inside the timer — twice the throughput of the other three. If you're clearing Ultras for the first time, do Hartalis, then Bellanoir Libero, then Blazamut Ryu, then Xenolord. The Moon Lord (Master) rematch runs on the same idea with a Celestial Sigil (Master) and pays out lotus stat fruit and the Ancient Civilization Parts you need for ancient gear.
 All 90 Alpha Pals (Field Bosses)
Alphas are the biggest boss category by a mile: 90 fixed spawns running from level 11 up to level 79. They're oversized versions of ordinary Pals standing in one spot, they respawn after you kill them, and they can be captured rather than killed — which is how most people get their first legendary. Every single one of the 90 takes reduced damage; 79 of them sit at ×0.24, seven of the low-level ones are softer at ×0.48, and four take just ×0.18. Each one drops Ancient Civilization Parts at 100%, between 1 and 9 per kill depending on the Pal, which makes them the main source for ancient gear.
| Level band | Alphas | Starts with | Ends with |
|---|---|---|---|
| Lv. 11 – 19 | 10 | 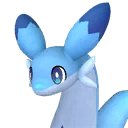 Chillet (11) Chillet (11) | 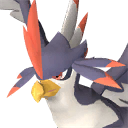 Nitewing (18) Nitewing (18) |
| Lv. 20 – 29 | 7 | 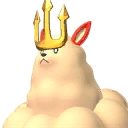 Kingpaca (23) Kingpaca (23) | 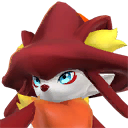 Wixen (28) Wixen (28) |
| Lv. 30 – 39 | 12 | 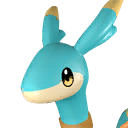 Elphidran (30) Elphidran (30) | 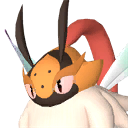 Elizabee (39) Elizabee (39) |
| Lv. 40 – 49 | 7 | 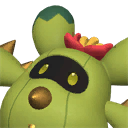 Needoll (40) Needoll (40) | 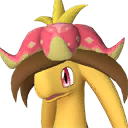 Dinossom Lux (47) Dinossom Lux (47) |
| Lv. 50 – 59 | 13 | 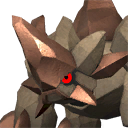 Pierdon (50) Pierdon (50) | 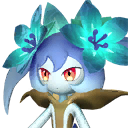 Lyleen Noct (58) Lyleen Noct (58) |
| Lv. 60 – 69 | 30 |  Omascul (60) Omascul (60) | 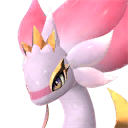 Ophydia (69) Ophydia (69) |
| Lv. 70 – 79 | 11 | 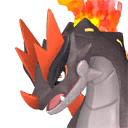 Moldron (70) Moldron (70) | 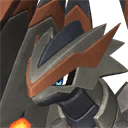 Aegidron (79) Aegidron (79) |
The distribution is lopsided on purpose. A third of all Alphas — 30 of the 90 — are packed into the level 60 to 69 band, which is where the Feybreak and Sunreach content lands, so the mid-70s is where hunting them stops feeling like a route and starts feeling like a grind. The lower bands are thin by comparison: only 7 Alphas exist between levels 20 and 29. Every spawn point is on the full Alpha Pal list with levels and locations, each with a direct map jump, and the level-by-level Alpha hunting route sequences all 90 into an order you can actually follow.
 The Five Alphas With Boosted Health
Almost every Alpha uses its Pal's normal health pool and simply resists damage. Five don't — these get a health multiplier on top of the damage reduction, and they are far and away the longest field fights in the game. Neptilius carries the largest at ×3.74, and Jetragon, Frostallion, Frostallion Noct and Paladius all pair a big pool with the harshest ×0.18 damage-taken rate in the Alpha list. Bring a full squad and deep ammo reserves, or bring a lot of spheres and plan to capture instead.
| Alpha | Level | HP × | Takes × |
|---|---|---|---|
| Neptilius | 60 | ×3.74 | ×0.24 |
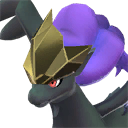 Frostallion Noct Frostallion Noct | 65 | ×2.73 | ×0.18 |
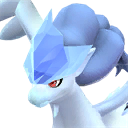 Frostallion Frostallion | 60 | ×2.73 | ×0.18 |
| Jetragon | 70 | ×2.67 | ×0.18 |
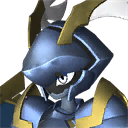 Paladius Paladius | 60 | ×1.86 | ×0.18 |
Jetragon is the one worth the trouble first — it's the fastest mount in the game and the level 70 Alpha is the only way to get one before breeding opens up. Frostallion and Frostallion Noct share an identical ×2.73 pool, so if you can kill one you can kill the other; the difference is purely elemental, Ice against Dark.
 Dungeon Bosses
Every dungeon ends in a boss room, and the Pal waiting there is drawn from a pool of 147 different Pals depending on which cavern you entered. Dungeon bosses run from level 10 in the starter caverns up to level 69 in Sunreach Skies, and unlike Alphas they aren't fixed — the same cavern entrance can hand you a different boss on a different run. There are 170 dungeon entrances across the map, and you can pin all of them at once on the map with every dungeon layer enabled.
| Dungeon | Boss level | Who shows up |
|---|---|---|
| Sunreach Skies | 65 – 69 | Souffline, Dynamoff, Lapiron, Puffolt, Snock, Tropicaw, Valentail |
| Feybreak Cavern | 56 – 58 | Omascul, Nyafia, Smokie, Splatterina, Starryon, Caprity Noct and 12 more |
| Cherry Blossom Cave | 51 – 52 |  Katress Ignis — one of only two Pals you can't find outside a dungeon Katress Ignis — one of only two Pals you can't find outside a dungeon |
| Hillside Cavern | 10 – 13 |  Mau, plus the low-level Grasslands pool Mau, plus the low-level Grasslands pool |
Sunreach Skies is the highest-level dungeon in the game and worth going out of your way for — its seven-boss pool is entirely Sunreach-native Pals in the level 65 to 69 range, which is a faster way to farm that band than hunting Alphas one at a time. Feybreak Cavern runs a heavily Dark-tilted roster, so a single Dragon attacker covers most of what spawns there. Full loot tables and Pal lists live in the Sunreach Skies dungeon guide and the Feybreak Cavern guide, with the rest on the dungeon index.
All 33 Bounty Targets
Bounties work like Alphas with humans instead of Pals: fixed camps, a named target, and a reward for bringing them down. They run from level 10 up to level 59 and cluster in the Feybreak region at the top end. What actually decides difficulty isn't the level, it's what they're carrying — a level 38 target with a Flame Thrower and 20 base HP folds instantly, while Cache at level 58 opens with a Missile Launcher. The HP column is base health before area scaling, so tougher variants come in higher.
| Target | Level | Coordinates | Weapon | Base HP |
|---|---|---|---|---|
| Scoot | 10 | -20, -462 | Melee | 20 |
| Hawk | 12 | 52, -513 | Assault Rifle | 80 |
| Turncoat | 15 | -2, -386 | Handgun | 20 |
| Crash | 15 | -290, -622 | Shotgun | 100 |
| Siren | 16 | -266, -394 | Bow Gun | 20 |
| Jade | 19 | -323, -117 | Shotgun | 100 |
| Grill | 20 | -265, -258 | Gatling Gun | 100 |
| Lasso | 21 | -67, -203 | Shotgun | 100 |
| Ego | 23 | -11, -88 | Bow Gun | 50 |
| Dart | 23 | 261, -219 | Assault Rifle | 100 |
| Mite | 26 | 349, -2 | Thrown weapon | 20 |
| Dyna | 26 | 349, -6 | Thrown weapon | 20 |
| Fumble | 28 | 163, -2 | Katana | 100 |
| Brick | 30 | 76, 96 | Giant Club | 100 |
| Phantom | 36 | 593, 133 | Handgun | 50 |
| Whisper | 37 | 413, 590 | Katana | 50 |
| Flare | 38 | -520, -756 | Flame Thrower | 20 |
| Aloha | 39 | -592, -235 | Assault Rifle | 100 |
| Whip | 40 | 320, 370 | Assault Rifle | 100 |
| Shadow | 41 | -432, -453 | Flame Thrower | 50 |
| Skim | 42 | -90, 144 | — | — |
| Quill | 43 | -195, 481 | Bow Gun | 20 |
| Whisk | 45 | -9, 292 | Laser Rifle | 100 |
| Clint | 49 | -362, 317 | Assault Rifle | 100 |
| Nimble | 52 | -523, 104 | Assault Rifle | 100 |
| Urchin | 53 | -674, 230 | Katana | 100 |
| Dazzle | 56 | -845, -1282 | Grenade Launcher | 100 |
| Mimic | 57 | -1193, -1707 | — | — |
| Pinch | 57 | -1172, -1226 | Handgun | 100 |
| Billy | 57 | -1080, -904 | — | — |
| Gnaw | 57 | -740, -1003 | Assault Rifle | 100 |
| Cache | 58 | -1386, -1485 | Missile Launcher | 100 |
| Ram | 59 | -1237, -1183 | Gatling Gun | 100 |
Most bounty targets belong to the Syndicate, but three sit outside it — Ego and Brick fight for the Welfare Group, and Shadow is Fire Cult, which matters because their camps are guarded by their own faction's fighters rather than Syndicate thugs. Six of the 33 carry explosive or heavy weapons (Grill, Dazzle, Cache, Ram and the two Thrown-weapon targets), and those are the ones that will kill a Pal outright, so send a tanky front line or fight them from range. Every faction's fighter roster with HP and weapons is on the human NPC list.
Bosses That Come to You: Base Raids
The last category isn't on any map — 88 raid parties across 41 named groups attack your base on a timer, scaling to your base level. The low end is a six-man Syndicate patrol at level 10; the top tier at base grade 61 to 80 sends parties like the Syndicate Legends, the Free Pal Alliance Task Force and the Eternal Pyre Condemners, each worth 106,470 XP for a clear. There are wild-Pal versions too — the Herd of Extremely Ferocious Wild Pals rolls in with a dozen level 37 to 39 Pals at once. Defence turrets and a walled perimeter matter more here than any team composition, because you don't choose when these start.
The Short Version
Nine tower bosses from level 10 to 80 carry the story and unlock a Hard Mode rematch ladder. Six raid bosses from level 35 to 80 get summoned at home and are the best repeatable reward loop in the game. Ninety Alpha Pals stand at fixed spots between levels 11 and 79, all of them capturable and all of them dropping Ancient Civilization Parts. One hundred and forty-seven Pals can turn up as a dungeon boss across 170 entrances, and 33 human bounty targets round out the list. Clear the towers for progress, the raids for gear, and the Alphas for materials.
Related Guides
Hubs and boss databases:
Boss fight walkthroughs: