How to Get Traffic Control Set: Level 48 and All 4 Pieces
How to unlock the Traffic Control Set in Palworld: technology level 48 for 1 point, all four pieces with exact recipes, the 20 Ingot, 4 Polymer and 2 Electric Organ the full set costs, and the fastest way to farm every material.
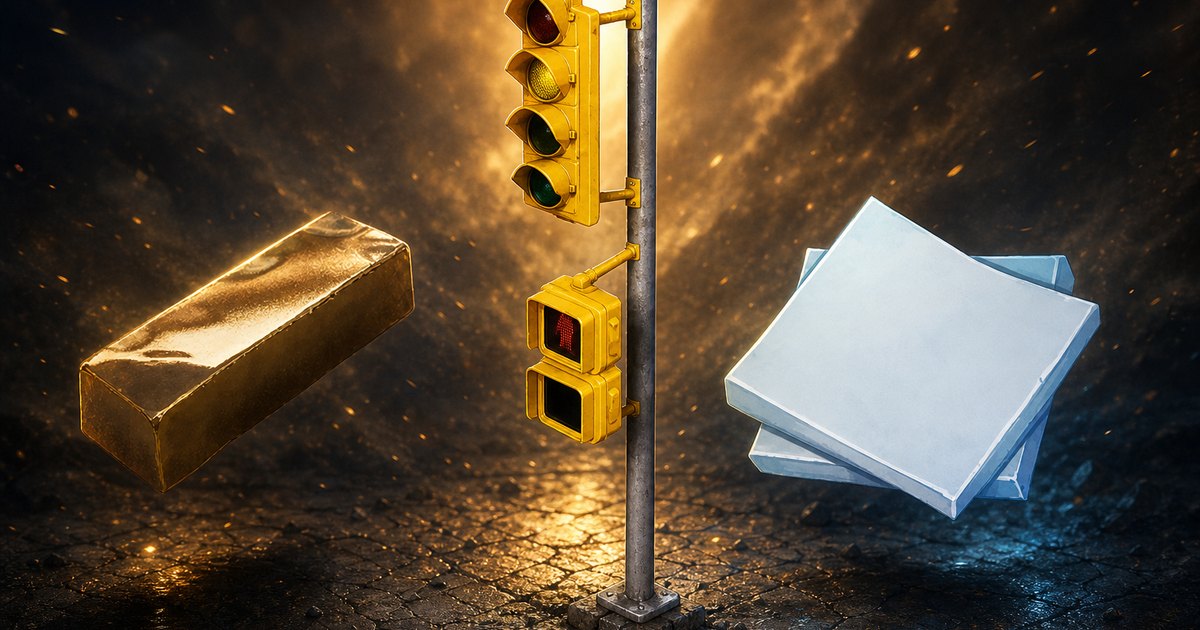
The Traffic Control Set is a one-point technology at level 48 that drops three traffic cones and a full traffic light into your build menu. This guide covers the unlock level and point cost, all four pieces with their exact recipes, the 20 Ingot, 4 Polymer and 2 Electric Organ the complete set runs you, and the quickest way to cover that bill.
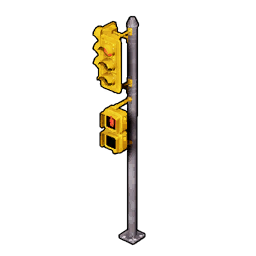 Traffic Control Set at a Glance
This sits in the block of city-themed decoration that runs from level 46 to 49 on the Palworld Technology Tree, one step above the Emergency Exit Sign Set and one below the Barricade Set. Four pieces for a single normal point is a good rate, and there is no parent technology to buy first — your character level is the only gate. The cost is lopsided, though: the traffic light alone accounts for every Ingot and Electric Organ in the set, while the three cones are pure Polymer.
| What | Detail |
|---|---|
| Type | Technology unlock — decorative furniture set |
| Technology level | Lv. 48 |
| Technology points | 1 (normal points, not Ancient) |
| Pieces unlocked | 4 — three traffic cones and one traffic light |
| Prerequisite | None — no parent technology to buy first |
| Build menu tab | Furniture |
| Total cost for all 4 | 20 Ingot + 4 Polymer + 2 Electric Organ |
| Cheapest single piece | Traffic Cone or Skinny Traffic Cone — 1 Polymer each |
| Most expensive piece | Traffic Light — 20 Ingot + 2 Electric Organ |
| Purely decorative | Yes — the game's own descriptions label all four as decorative |
Unlock Requirements Checklist
Three things need to be in place, and only the first is a hard wall. Level 48 is the gate and the spare point is trivial by then. What actually stops people is Polymer — no merchant anywhere sells it, so you need a Production Assembly Line, a level 29 technology you may have skipped. A Primitive Furnace covers the 20 Ingot and that unlocks all the way back at level 10, so almost nobody is short there.
| Requirement | Where it comes from | Status check |
|---|---|---|
| Character level 48 | Normal levelling — the only hard gate | Check your level in the Pal Box or menu |
| 1 technology point | 1 per level up, plus technology point sources | Any spare normal point works |
| Production Assembly Line | Technology Lv. 29, 3 points | Required for Polymer — build it first |
| A furnace | Primitive Furnace at Technology Lv. 10 | Turns Ore into Ingot |
| 20 Ingot | Smelted from 40 Ore | The bulk of the set's cost |
| 4 Polymer | Crafted from High Quality Pal Oil and Sulfur | Not sold by any merchant |
| 2 Electric Organ | Electric Pal drops, or 300 Gold each from shops | Easiest material in the set |
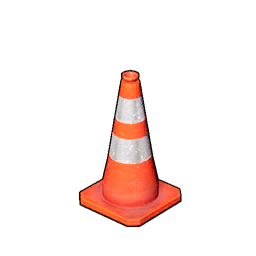 All 4 Traffic Control Set Pieces and Recipes
The cones are the ones you will actually spam, and there is a trap in their pricing: the Fat Traffic Cone costs 2 Polymer while the standard and skinny cones cost 1 each. Since all three are the same object in different proportions, the fat cone is double price for a shape difference — lay out your cordons with the standard and skinny versions and use the fat one sparingly. The traffic light is the marquee piece and the reason the set costs anything at all; one is usually enough per base entrance.
| Piece | Materials | Polymer cost | Best use |
|---|---|---|---|
| Traffic Light | 20 Ingot + 2 Electric Organ | 0 | The centrepiece — put one at a base gate or road junction |
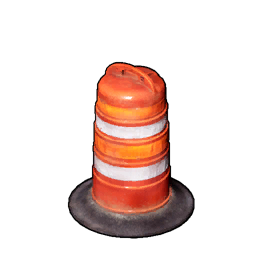 Fat Traffic Cone Fat Traffic Cone | 2 Polymer | 2 | Chunkiest silhouette, but double the price of the other two |
| Traffic Cone | 1 Polymer | 1 | The default cone — cheapest way to line a path |
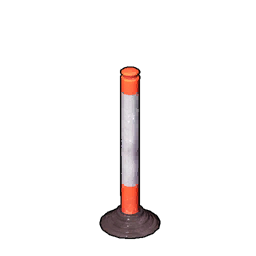 Skinny Traffic Cone Skinny Traffic Cone | 1 Polymer | 1 | Narrow profile for tight doorways and ramp edges |
 How to Get Ingot for the Traffic Light
Each Ingot smelts from 2 Ore, so the traffic light's 20 Ingot means 40 Ore. That sounds like a lot and is not — Ore is the single most common node type on the map at 1,632 deposits, and one loaded mining base clears 40 in a couple of minutes. Open the Palworld Interactive Map with ore nodes shown and pick a cluster near a fast travel point. If you would rather not swing a pickaxe at all, the Wandering Trader sells Ore for 100 Gold a piece, putting the traffic light's entire ore bill at 4,000 Gold.
| Source | Yield | Notes |
|---|---|---|
| Mining ore nodes | Varies per node | 1,632 deposits across the map — the default answer |
| Wandering Trader | 100 Gold each | 40 Ore for 4,000 Gold, no travel required |
| Verdant Hollow expedition | 30-50 per run | Easy, 30 minutes, 100% — the fastest hands-off option |
| Secret Realm of the Forest expedition | 30-50 per run | Easy, 30 minutes, 100% — one run covers the whole set |
| Blazing Cavern expedition | 30-50 per run | Normal, 45 minutes, 100% |
 Digtoise Digtoise | 2-3 per kill | 660 spawn points — the easiest ore-dropping Pal to find |
 Surfent Terra Surfent Terra | 2-3 per kill | 590 spawn points, and a common desert encounter |
 Pierdon Pierdon | 4-5 per kill | Biggest per-kill haul, but only 16 spawn points |
 Put a Mining Pal on the Ore
If you are going to smelt 20 Ingot you may as well let a Pal do the digging. Knocklem and its fire variant Knocklem Ignis both carry Mining 7, the highest mining rating you can realistically catch in the wild, with 33 and 58 spawn points respectively. Anubis at Mining 6 is the popular alternative because it also brings Handiwork, so it keeps working when the ore runs dry. Full rankings live in the Palworld ore farming guide.
 How to Get Polymer for the Cones
Polymer is the only material in this set that no shop stocks, which makes it the real gate. Each unit is 2 High Quality Pal Oil plus 1 Sulfur at a Production Assembly Line, so all four cones-worth comes to 8 oil and 4 sulfur. Neither input is scarce at level 48: sulfur sits in 655 nodes across the volcanic and desert stretches, and a single Mammorest can drop up to 10 oil by itself.
| Step | What you need | Amount for all 4 Polymer |
|---|---|---|
| Craft Polymer | Production Assembly Line (Tech Lv. 29) | 4 crafts |
| Per Polymer | 2 High Quality Pal Oil + 1 Sulfur | 8 oil + 4 sulfur |
| Buy the oil instead | Caravan, Desert, Volcano and Wander Shops — 300 Gold each | 2,400 Gold for all 8 |
| Buy the sulfur instead | Not sold by any merchant | Mine 4 from the 655 map nodes |
| Hands-off option | Blazing Cavern expedition, Normal, 45 min | 20-40 Sulfur per run at 100% |
 Farm High Quality Pal Oil from Mammorest
Every Pal below drops oil on a guaranteed roll, so the only question is haul size versus how easy it is to find one. Mammorest wins on both counts — 5-10 per kill is the biggest yield in the game, tied only with its ice variant, and 484 spawn points mean you are never hunting for one. One or two kills covers the eight oil this set needs. If you are already running a ranch, Dumud produces oil passively, which is the zero-effort route for anyone who decorates in bursts.
| Pal | Oil per kill | Drop chance | Why farm it |
|---|---|---|---|
| Mammorest | 5-10 | 100% | Biggest haul in the game, and 484 spawn points make it trivial to find |
 Mammorest Cryst Mammorest Cryst | 5-10 | 100% | Same top haul at 84 spawn points if you are in the snowfields |
 Ophydia Ophydia | 4-5 | 100% | Strong yield, but no wild spawns — you fight it, not farm it |
 Quivern Quivern | 3-3 | 100% | 423 spawn points and a flat, predictable 3 every time |
| Digtoise | 2-3 | 100% | 660 spawn points — the most common oil source on the map |
 Elphidran Elphidran | 2-3 | 100% | 261 spawn points, and an easy fight by level 48 |
 Grintale Grintale | 1-3 | 100% | 629 night spawn points against just 59 by day — go after dark |
 Dumud Dumud | 1-1 | 100% | Small kill drop, but it makes oil on a ranch with no effort |
 Mine 4 Sulfur
Sulfur is the one material here you cannot buy at any price, but you only need four of it and there are 655 nodes to choose from. Open the Palworld Interactive Map with sulfur nodes shown and head for whichever volcanic or desert cluster is closest to a fast travel point. Only one Pal in the game drops it — Pierdon at 4-5 per kill — and with 16 spawn points it is far slower to chase than simply mining a node.
 How to Get Electric Organ
The two Electric Organ for the traffic light are the cheapest part of this build. Twenty-three Pals drop it, all on guaranteed rolls, and Caravan, Dungeon and Village Shops stock it at 300 Gold — so 600 Gold ends the conversation. If you would rather kill for it, Prixter Lux has the biggest haul at 4-5 but only 35 spawn points, while Beakon is the practical answer with 504 spawn points, more than any other source. A Sparkit on a ranch will also produce organs passively, which is the option to take if you plan to build street lamps later.
| Pal | Electric Organ per kill | Drop chance | Why farm it |
|---|---|---|---|
 Prixter Lux Prixter Lux | 4-5 | 100% | Biggest haul of any source, but just 35 spawn points |
 Grizzbolt Grizzbolt | 2-4 | 100% | Strong drop at 40 spawn points, and a Pal worth capturing anyway |
 Azurmane Azurmane | 2-3 | 100% | 112 spawn points and a solid per-kill yield |
 Penking Lux Penking Lux | 1-3 | 100% | 252 spawn points — reliable and easy to reach |
 Beakon Beakon | 1-2 | 100% | 504 spawn points, the most of any Electric Organ source |
 Pengullet Lux Pengullet Lux | 1-2 | 100% | 657 spawn points, but night only — it does not appear by day |
 Fenglope Lux Fenglope Lux | 1-2 | 100% | 258 spawn points, and a fast mount if you capture it |
 Sparkit Sparkit | 1-2 | 100% | The ranch producer — put one to work instead of hunting |
Where the Set Fits in the Furniture Tree
Levels 46 to 49 are one continuous run of urban decoration, six sets deep, all priced at a single technology point except the structure sets. Traffic Control is the middle of that run and the second cheapest in it — the Street Lamp Set next to it wants 80 Ingot and 12 Electric Organ, four times the ingot bill. If you are buying the block in order, the Road Sign Set at level 49 is the one to pair with this: at 20 Ingot flat and no refined materials at all, it finishes the roadside look for almost nothing.
| Set | Tech level | Pieces | Full material cost |
|---|---|---|---|
| Amusement Furniture Set | Lv. 46 | 5 | 110 Ingot, 20 Fiber, 20 Wood, 5 Cloth, 2 Ice Organ, 1 Circuit Board |
| Street Lamp Set | Lv. 46 | 4 | 80 Ingot, 12 Electric Organ, 12 Nail |
| Emergency Exit Sign Set | Lv. 47 | 2 | 2 Polymer, 2 Electric Organ |
| Traffic Control Set | Lv. 48 | 4 | 20 Ingot, 4 Polymer, 2 Electric Organ |
| Barricade Set | Lv. 49 | 5 | 23 Ingot, 1 Polymer, 1 Flame Organ |
| Road Sign Set | Lv. 49 | 4 | 20 Ingot |
Summary
Hit level 48, spend one technology point, and you get three traffic cones plus a traffic light. All four pieces together cost 20 Ingot, 4 Polymer and 2 Electric Organ — broken down to raw materials that is 40 Ore, 8 High Quality Pal Oil, 4 Sulfur and 2 Electric Organ. Buy the ore, oil and organs from shops for 7,000 Gold, mine four sulfur yourself, and the whole set is one short errand.
Related Guides
Start from the Palworld Guides hub, browse every buildable in the Palworld Structures Database, or plan your material runs on the Palworld Interactive Map. The guides below cover the neighbouring decoration sets, the materials this one needs, and the technology points to buy them all.
| Guide | What it covers |
|---|---|
| Palworld Base Building Guide | All 7 structure sets and what each one costs |
| List of All Base Structures | Every buildable with its technology level and materials |
| How to Get More Technology Points | Normal and Ancient point sources for buying sets like this |
| How to Farm Ore | Best mining spots and the base setup for 40 Ore fast |
| Emergency Exit Sign Set | The level 47 set one step below this one |
| Amusement Furniture Set | The 5-piece level 46 arcade set |
| Outdoor Furniture Set | Tires and pipes for the same industrial look at level 37 |
| Metal Chair and Desk Set | The level 22 ingot furniture set |
| How to Get the Wooden Barricade | The cheap barricade you can build long before level 49 |
| Best Base Locations | Where to put the base you are decorating |