List of All Accessories: Effects, Slots, and How to Get
Every accessory in Palworld with its exact effect tier — all 9 resistance rings, the stat pendants, charms, mobility boots and partner-Pal gear, plus the two Medal Shop slot boxes and which recipes need a schematic.

Palworld has 86 accessories, and the +1 and +2 upgrade copies push the full list to 144 entries — rings, pendants, undershirts, charms, boots, whistles, talismans and batons, all fighting over the same handful of slots. This guide sorts every one of them by what it actually does, what its effect tier is worth in real percentages, and which of the three unlock routes it sits behind.
 How Many Accessory Slots You Get
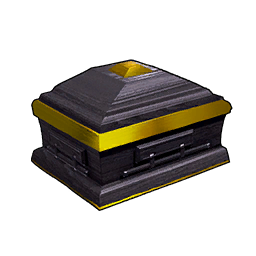
Accessory slots are the only equipment slots in the game you can buy rather than research. Two boxes exist, both permanent Medal Shop stock, and neither is equipped or crafted — you just carry it, and the slot count goes up while it sits in your bag. They add rather than replace, so both boxes means two extra accessories on top of what you start with, and neither has a level requirement at all. At 50 Dog Coins the first box is the cheapest permanent upgrade in the game, and Dog Coins are lying around at 128 pickup points across the map.
| Box | Effect | Price | Where |
|---|---|---|---|
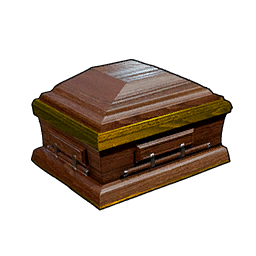 Mysterious Accessory Box Mysterious Accessory Box | +1 accessory slot | 50 Dog Coins | Medal Shop — permanent stock |
| Mystic Accessory Box | +1 more accessory slot | 300 Dog Coins | Medal Shop — permanent stock |
One thing that trips up almost everyone: the whistles, talismans, batons and Pal Rings are not equipped by your Pal. You wear them in your own accessory slots, and the effect lands on whichever Pal is out fighting beside you. That means a partner accessory is dead weight the moment you recall your Pal, and it means a talisman and a resistance ring are competing for the same slot rather than living on separate characters.
 What Lv. 3 and Lv. 4 Actually Mean
Every accessory in the game reads the same way once you know the ladders. The in-game text says *slightly* and *greatly*, which tells you nothing useful, but the effects behind those words are fixed rungs — and the gap between the common tier and the epic tier is smaller than the rarity colour suggests. A resistance ring at Lv. 3 takes 30% off incoming damage of its element; the Lv. 4 versions on the epic gear take 35%. That five-point difference is the entire upgrade.
| Effect line | Lv. 3 | Lv. 4 | Which accessories |
|---|---|---|---|
| Elemental damage taken | −30% | −35% | The 9 resistance rings at Lv. 3; charms and Pal Rings at Lv. 4 |
| Elemental damage dealt (partner) | +18% | +20% | Support whistles at Lv. 3; talismans, batons and Pal Rings at Lv. 4 |
| Carrying capacity | +200 | +300 | Ring of Freight at Lv. 3; Islander's Tool Belt and Wandering Merchant Charm at Lv. 4 |
| Attack / Defense / Health / Work Speed | Pendant tier | Emblem, belt and charm tier | Pocketpair never prints a percentage for these, so the rung is what to compare |
The practical read: a common Attack Pendant and the epic Dogen Emblem are one rung apart on the attack line, but the Emblem also carries the partner-attack version of the same passive — the value of the expensive pieces is almost always the second effect, not a bigger first one. The other thing worth knowing early: the +1 and +2 copies of a ring carry the same passive as the base ring. They are not stronger; the rarity colour changes and the number does not.
 All Player Stat Accessories
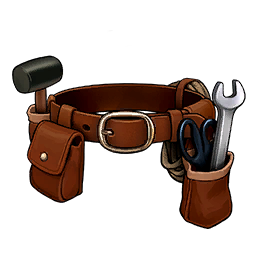
This is the group you actually build first. The four pendants are the cheap common tier — one effect each, a couple of Ancient Civilization Parts apiece, and they carry you from the first workbench to the endgame. Above them sit the double-effect pieces: the two emblems stack your own stat with your partner's, the belts and charms pair a stat with carry weight or climate cover. If you are picking one to chase, the Islander's Tool Belt is the standout — carrying capacity at Lv. 4 and work speed at Lv. 4 on a single slot, which no other accessory manages.
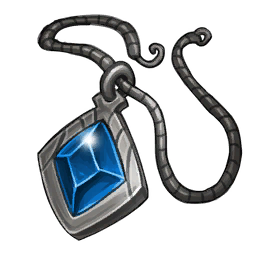

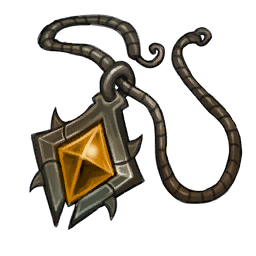




Note how the four pendants all cost 2 Ancient Civilization Parts and nothing rarer — that is a deliberately soft gate, and it means there is no reason to run around under-geared in the mid game. The expensive half of the table is a different question: Ancient Bone ×30 shows up in three of them, so the emblems and the Vanguard Charm compete with each other for the same material rather than with anything else in your build queue.
 All 9 Element Resistance Rings
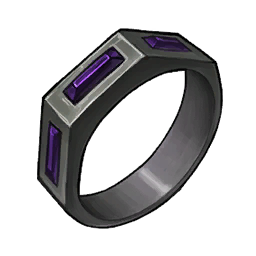
Nine rings, one per element, all identical in shape: Lv. 3 resistance, a flat 30% cut to incoming damage of that element, always on with no trigger or cooldown. They are the single most underrated slot fill in the game, because Palworld's hardest fights are mono-element — every attack a Dark raid boss throws is Dark, so 30% off applies to all of it. The materials are the tell for when you can build each: the ones asking for organs come online as soon as you are farming that element's Pals, while Ring of Dragon Resistance waits on Pure Quartz.
| Ring | Cuts | Signature material | Gold value |
|---|---|---|---|
| Ring of Fire Resistance | Fire damage −30% | 15 Flame Organ | 18,480 |
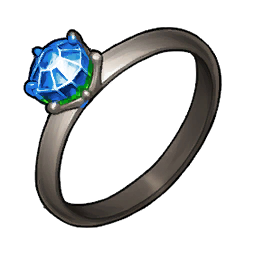 Ring of Water Resistance Ring of Water Resistance | Water damage −30% | 30 Aquatic Pal Fluids | 23,880 |
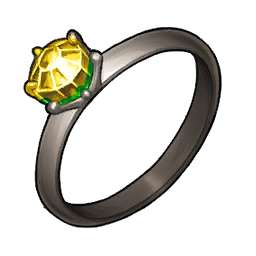 Ring of Electric Resistance Ring of Electric Resistance | Electric damage −30% | 10 Electric Organ | 16,680 |
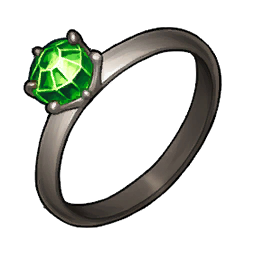 Ring of Grass Resistance Ring of Grass Resistance | Grass damage −30% | 5 Gumoss Leaf | 16,080 |
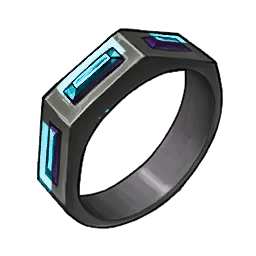 Ring of Ice Resistance Ring of Ice Resistance | Ice damage −30% | 15 Ice Organ | 18,480 |
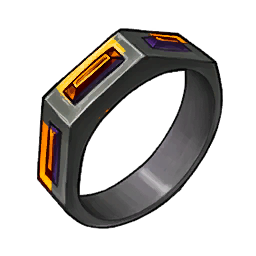 Ring of Ground Resistance Ring of Ground Resistance | Ground damage −30% | 10 Meteorite Fragment | 25,080 |
| Ring of Dark Resistance | Dark damage −30% | 10 Venom Gland | 16,680 |
 Ring of Dragon Resistance Ring of Dragon Resistance | Dragon damage −30% | 20 Pure Quartz | 25,080 |
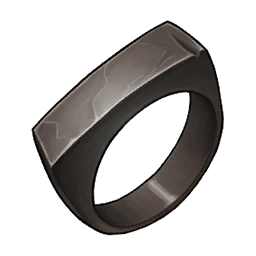 Ring of Neutral Resistance Ring of Neutral Resistance | Neutral damage −30% | 15 Cement | 14,700 |
Every one of them also wants 20 Ingot, 20 Bone and 30 Paldium Fragment on top of the material listed above, and all nine go together at the High-Quality Workbench — so once you have built one, the other eight are a bone-and-organ shopping trip rather than a new tech unlock. Two picks earn their slot more than the rest: the Dark ring for the Bellanoir raid, whose entire moveset is Dark, and the Neutral ring for Hartalis, which is the same story in a different colour.
 Climate and Hazard Accessories
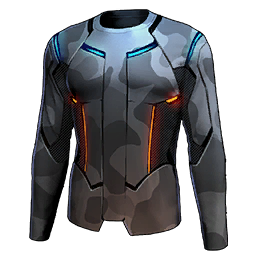
The weather layer. Undershirts and charms free your armour from having to match the biome — wear a resist accessory and you can pick armour for its defense number instead of carrying three sets around. The three undershirts are the budget option and the two element charms are the upgrade, because each charm bolts a 35% cut to that element's combat damage onto the temperature cover. The last two are pure endgame hazard gear: one nullifies explosions outright, the other shuts down corrosive mist.
| Accessory | Covers | Recipe | Gate |
|---|---|---|---|
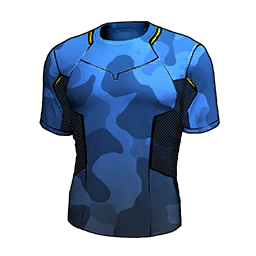 Heat Resistant Undershirt Heat Resistant Undershirt | Heat Resistance Lv. 3 | 20 Wool, 15 Flame Organ, 25 Leather, 35 Fiber | Schematic |
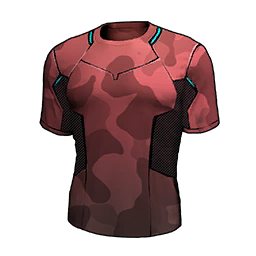 Thermal Undershirt Thermal Undershirt | Cold Resistance Lv. 3 | 20 Wool, 15 Ice Organ, 25 Leather, 10 Cloth | Schematic |
| Multiclimate Undershirt | Heat and Cold Resistance Lv. 3 | 40 High Quality Cloth, 20 Flame Organ, 20 Ice Organ, 20 Polymer | Schematic |
 Reptyro Charm Reptyro Charm | Heat Resistance Lv. 3 + Fire damage −35% | 20 Refined Ingot, 20 Flame Organ, 30 Paldium Fragment, 30 Carbon Fiber, 30 Ancient Bark | Schematic |
 Wumpo Charm Wumpo Charm | Cold Resistance Lv. 3 + Ice damage −35% | 20 Refined Ingot, 20 Ice Organ, 30 Paldium Fragment, 30 High Quality Cloth, 30 Ancient Lava | Schematic |
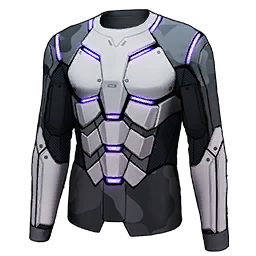 Explosion-Resistant Undershirt Explosion-Resistant Undershirt | Nullifies explosion damage | 10 Explosion-Resistant Fiber, 50 Mythical Wood | Technology Lv 76, 5 points |
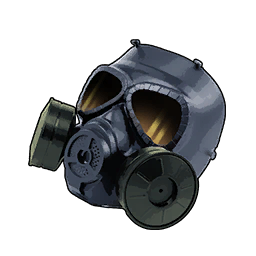 Corrosive Mist Mask Corrosive Mist Mask | Negates corrosive mist damage | 10 Toxin Filtering Membrane, 30 Paloxite | Technology Lv 76, 5 points |
The Multiclimate Undershirt is not a warmer coat than the other two — it is the heat line and the cold line in one slot, which is why the game values it at 167,040 against 16,540 for the plain heat version. Build the cheap one while a single biome is the problem, and only move up when you are crossing between the volcano and the snowfield often enough that swapping shirts costs you more than the Polymer would. The Explosion-Resistant Undershirt is the only accessory in this group with no luck involved: its fibre comes from the level 70 field boss Silvance at a guaranteed 5–10 per kill, so two clears cover the recipe. Full detail on the set is in the undershirt guide and the charm guide.
 All Mobility Accessories
Movement gear is the one accessory family that runs almost entirely on Ancient Technology points, the currency you prise out of tower bosses rather than earn by levelling. The line splits into two axes that are easy to confuse: jump count buys you height up cliffs, air dash buys you horizontal distance across gaps. The dedicated boots go further on their own axis, while the four Air Walkers are the compromise — both effects on one slot, at a lower rung on each.
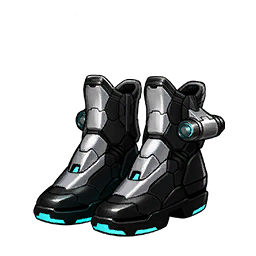

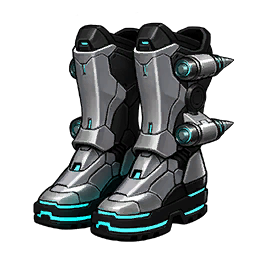
Read the Air Walker rows carefully, because the naming lies: Mk II is not an upgrade of Mk III. Mk II keeps one mid-air jump and doubles the dash, Mk III doubles the jump and keeps one dash, and only the EX doubles both. Pick by terrain rather than by number. The two Quadruple boots sit at the top of each axis but have no crafting recipe and no technology entry anywhere in the game's tables — they are the ceiling of the line, not something you queue at a bench. For everything else, the honest order is Air Dash Boots at 35, then Double Jump Boots at 40, and then nothing until the Double Air Dash Boots at 61 — that 21-level gap is the longest dry stretch in the accessory tree.
 All Partner Pal Accessories
Roughly half the accessory list exists to buff the Pal fighting beside you, split into five families that all do the same job at different rungs. The whistles are the common tier and the only ones that ask nothing about typing — one Attack Support Whistle covers whatever partner you send out. The talismans, batons and Pal Rings sit a full tier above at Lv. 4, but half of each one is element-locked, so a Ground baton on a Fire partner throws away the expensive half of the item.
| Family | Count | What it gives | Full list |
|---|---|---|---|
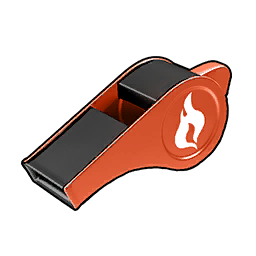 Support Whistles Support Whistles | 11 | One effect at Lv. 3 — nine elemental damage whistles plus Attack and Defense | 9 element + Attack + Defense |
| Pal Batons | 9 | Pal Attack Up Lv. 4 and that element's damage at Lv. 4 | List of All Pal Batons |
 Pal Talismans Pal Talismans | 9 | Pal Defense Up Lv. 4 and that element's damage at Lv. 4 | List of All Pal Talismans |
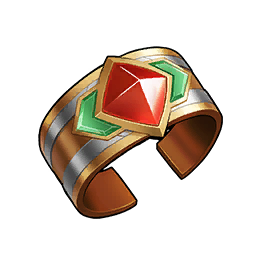 Pal Rings Pal Rings | 9 | That element's damage at Lv. 4 and a 35% cut to its counter-element | List of All Pal Rings |
| Emblems | 2 | Your stat and your partner's, both at Lv. 4 | All Emblems in Palworld |
 Growth Acceleration Bell Growth Acceleration Bell | 1 | Pal EXP Up Lv. 3 for the partner out with you | 22,920 gold, 3 Ancient Civilization Parts |
 Ring of Trust Ring of Trust | 1 | Faster Trust gain across your party | 66,120 gold, 30 Ancient Lava |
The choice inside the Lv. 4 families is genuinely simple once you see it: the baton trades its second slot for partner Attack, the talisman for partner Defense, and the Pal Ring for a resistance. Take the talisman when your partner keeps dying mid-fight, the baton when it survives fine and you want the kill faster. Craft time is worth budgeting too — every baton is a 200,000-work job against 150,000 for the talismans and rings, so on the same bench with the same Handiwork Pals the defensive half of the set finishes noticeably sooner. The Growth Acceleration Bell is the odd one out and the sleeper pick: it costs pendant money and it accelerates every level your partner earns, which matters most in exactly the window where you cannot afford the epic gear yet.
 How to Unlock Accessory Recipes
There are only three routes onto an accessory recipe, and the split is lopsided — most accessories are not in the technology tree at all. If you have finished the tech tree outright and the ring you want still is not in your craft list, this is why.
Route 1: Technology and Ancient Technology
Exactly ten accessories are research unlocks, and eight of those ten are the mobility line sitting on the Ancient Technology track — a currency you cannot level your way into. Only two accessories in the entire game are ordinary Technology points, and both land at level 76.
| Accessory | Track | Level | Point cost |
|---|---|---|---|
 Ring of Mercy Ring of Mercy | Ancient Technology | 18 | 2 |
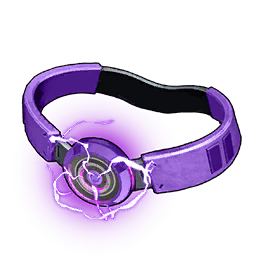 Anti-Gravity Belt Anti-Gravity Belt | Ancient Technology | 28 | 2 |
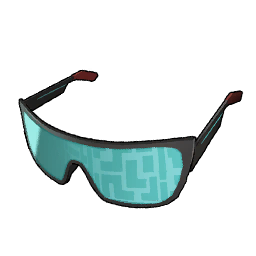
| Ability Glasses | Ancient Technology | 34 | 4 |
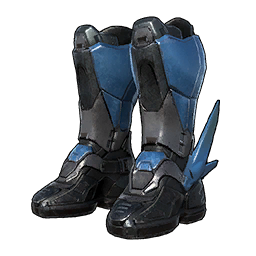 Air Dash Boots Air Dash Boots | Ancient Technology | 35 | 2 |
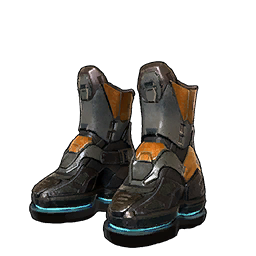 Double Jump Boots Double Jump Boots | Ancient Technology | 40 | 2 |
| Double Air Dash Boots | Ancient Technology | 61 | 5 |
| Triple Air Dash Boots | Ancient Technology | 65 | 6 |
| Triple Jump Boots | Ancient Technology | 70 | 6 |
| Corrosive Mist Mask | Technology | 76 | 5 |
| Explosion-Resistant Undershirt | Technology | 76 | 5 |
Add it up and the mobility set alone is 29 Ancient Technology Points, which is a serious claim on the same budget that buys the Pal Essence Condenser and the ancient gear lines. The Ring of Mercy at level 18 for 2 points is the bargain of the list — capping your damage at 1 HP is what turns a botched alpha fight into a capture, and it is available before most players have met a tower boss.
Route 2: Schematics from Grade 5 Chests
Every ring, pendant, whistle, talisman, baton, charm and Air Walker is schematic-gated. The recipe does not exist in your craft menu until the matching schematic is sitting in your inventory, and holding it is what unlocks the craft — the paper is never consumed, so one copy is permanent and a second is merchant fodder. All of it is grade 5 chest loot, and the pools are nowhere near equal.
| Container | Typical rate per open | Openings per copy | Map |
|---|---|---|---|
| Feybreak Cavern treasure chests | ~3.45% | ~29 | 201 Feybreak chest pins |
| Sunreach Isle cavern treasure chests | ~2.38% | ~42 | 76 Sunreach Isle chest pins |
| Oil rig crates | ~1% | ~85–102 | 56 oil rig crate pins |
| Ordinary field chests | ~0.19% | ~525 | Everywhere — not a farm |
The rule that falls out of those numbers: run the caverns, take the rigs as a bonus, and never farm ordinary chests for a specific schematic. Field chests are roughly eighteen times the walking for the same sheet of paper. Which cavern depends on the family — the whistle, undershirt and resistance-ring schematics cluster in Feybreak, while the partner batons and talismans cluster on Sunreach Isle. The Pal Rings are the exception to both: their best pool is the oil rig crates at roughly 1 in 100, and the Sunreach chest tables carry them nearer 1 in 700. Oil rig crates carry almost all of these schematics at about one percent apiece, which makes a rig clear the best single stop if you do not care which schematic you get, and you are already running rigs for Ancient Civilization Parts anyway.
 Route 3: Fixed Pickups and Hack Terminals
The third route is the one people skip, and it is free. Scattered around the world are fixed caches and ancient-ruin hack terminals that hand over a specific schematic outright — no roll, no rate — usually bundled with 20 to 45 Dog Coins. The Islander's Tool Belt, Blazehowl Ring, Ring of Neutral Resistance and Lyleen Noct's Talisman all have one of these guaranteed sources. They are one-time grabs, so clear every terminal you walk past before committing to a farming loop — an unsolved terminal is a free copy of something you might otherwise chase for a hundred chests.
The Accessories Worth Wearing First
With two or three slots to fill, most players default to a stat pendant in every one, which is the weakest thing you can do with them. Resistance beats raw stats in any fight that pins you to one element, and the double-effect pieces beat two single-effect ones outright. Here is the order that actually holds up:
| # | Accessory | Why it earns the slot |
|---|---|---|
| 1 | Islander's Tool Belt | +300 carry and Lv. 4 work speed on one slot — the only accessory that does both jobs at the top rung, and it turns a two-trip ore haul into one |
| 2 | The matching resistance ring | A flat 30% cut to everything a mono-element boss throws. Cheap, craftable from bones and organs, and it swaps per fight |
| 3 | Dogen Emblem | Attack Lv. 4 for you and your partner from one slot — the emblems are the only accessories that buff both sides |
| 4 |  Wandering Merchant Charm Wandering Merchant Charm | Both temperature extremes plus +300 carry, so a single slot replaces an undershirt and a freight ring on long trips |
| 5 | Ring of Mercy | Caps your damage at 1 HP so overkill stops costing you captures. Level 18 and 2 Ancient points — the cheapest fix for a real problem |
| 6 | Ability Glasses | Shows hidden Health, Attack and Defense potential from 0 to 100 before you throw a sphere, which is what makes a second-pass min-max hunt possible at all |
| 7 | A talisman for your main partner | Lv. 4 Pal Defense plus a Lv. 4 damage boost — worth it only if the partner actually attacks with that element |
The two that people over-rate: the plain Attack Pendant once you can build an emblem, and the Ring of Freight once the Tool Belt is in reach — the ring is a 30,000-work overnight build for a rung the belt beats while also carrying work speed. The one people under-rate is the Phantom Ring, which stretches the invincibility window on your dodge roll; in a raid where every hit is lethal, longer i-frames beat any percentage on this page.
The Short Answer
Buy the Mysterious Accessory Box for 50 Dog Coins the moment you find the Medal Shop, because it is the cheapest permanent upgrade in the game. Fill the slots with a resistance ring matched to whatever you are fighting rather than a stat pendant, take the Ring of Mercy at level 18 for capture runs, and treat everything above the common tier as a schematic hunt — the Feybreak and Sunreach caverns at 2–3.5% per chest are where the recipes actually come from, and the oil rig crates are the best one-stop pool if you are not chasing a specific piece. Every accessory and its exact effect text lives on the full accessory list.
Related Guides
Go deeper on each family and on the slots themselves:
- Palworld Accessories: Every Effect
- List of All Pal Rings: Effects and Recipes
- List of All Pal Batons: Effects and Recipes
- List of All Pal Talismans: Effects and Recipes
- All Charms in Palworld: Effects, Schematics & Recipes
- All Emblems in Palworld: Effects, Schematics, and Recipes
- All Undershirts in Palworld: Resist Tiers and How to Get Them
- How to Get More Weapon and Food Slots in Palworld
- Best Legendary Schematics and How to Get Them
- How to Farm Dog Coins Fast