All Captured Pals Locations: 58 Camps and How to Free Them
Captured Pals sit in cages inside guarded enemy camps. Here are all 58 camps that can hold one — 48 on land plus 10 offshore sea bases — sorted by region and by the faction holding the site, how to release a caged Pal for a free Paldeck entry, when the cage refills, and the exact stash loot each camp pays on the way out.

Captured Pals are the caged Pals standing inside guarded enemy camps — you walk up, hold the release button, and the Pal is yours without spending a single sphere. This guide maps all 58 camps that can hold one, splits them by region and by the faction that owns the site, explains how the cage refills after you empty it, and lists the exact stash loot each camp pays out when you clear the garrison on the way through.
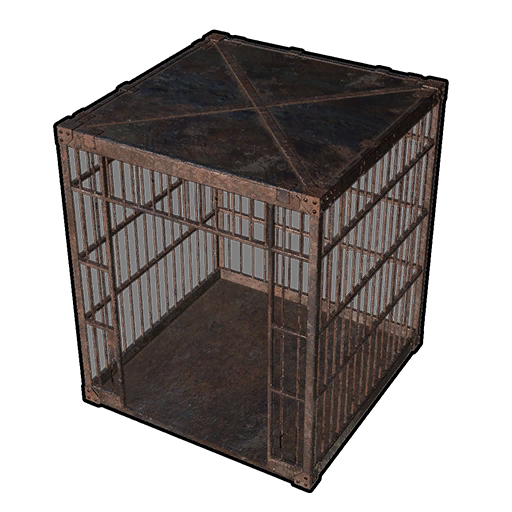 What a Captured Pal Is
A marked enemy camp is a small fortified site: a garrison of human fighters, a boss with a loot stash, faction banners, and a cage. The Pal in that cage is not a wild spawn. It does not attack you, it does not need weakening, and no Pal Sphere is involved — standing next to the cage puts a Release Pal prompt on screen, and holding the button opens the door. The freed Pal becomes yours and enters the Paldeck on the spot, which is the real reason to detour for one: with 288 Pals to log, a free entry that costs no spheres and no capture roll is rare. Everything about how normal captures work instead is in How to Catch Pals, All Sphere Tiers, and Capture Rate.
It is also repeatable. Camps reset once you leave the area and come back, and the cage refills with a different Pal than the one you took, so a camp you cleared an hour ago is still worth passing. How quickly that reset happens is tied to your world's respawn setting rather than a fixed timer — a server running slow respawns will make cages feel far rarer than a solo world on defaults. The relevant sliders are covered in How to Change World Settings: All Options and Defaults.
 All Captured Pal Locations by Region
There are 48 camps on land and 10 offshore sea bases, and every one of them is a pin you can switch on in the Palworld Interactive Map. They are not spread evenly. Just over 40% of the land camps sit in the Grasslands and Forest starting regions, which is why most players meet their first caged Pal long before they have a decent gun, and Feybreak alone holds 11 — more than the Desert, Sakurajima, Snowfields and Mount Obsidian put together. Each cluster flies its own faction's colours, and that tells you what you are walking into before you get in range.
| Region | Camps | Who holds them | Their standard |
|---|---|---|---|
| Grasslands and Forest | 16 | Rayne Syndicate | 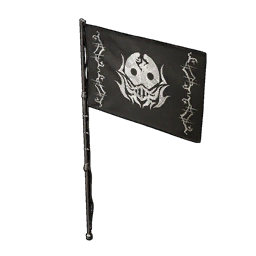 Rayne Syndicate Standard Rayne Syndicate Standard |
| Grasslands and Forest | 4 | Free Pal Alliance | 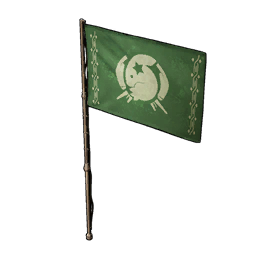 Free Pal Alliance Standard Free Pal Alliance Standard |
| Desert | 4 | Rayne Syndicate hunters | Rayne Syndicate Flag |
| Sakurajima | 4 | Moonflower |  Moonflower Standard Moonflower Standard |
| Snowfields | 3 | PAL Genetic Research Unit | 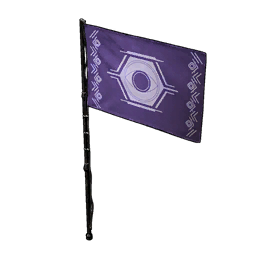 PAL Genetic Research Unit Standard PAL Genetic Research Unit Standard |
| Mount Obsidian | 3 | Brothers of the Eternal Pyre | 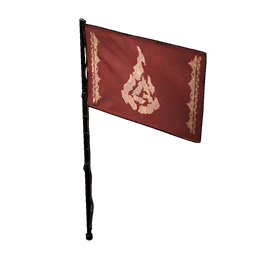 Brothers of the Eternal Pyre Standard Brothers of the Eternal Pyre Standard |
| Sunreach Isle | 3 | Azure Covenant | 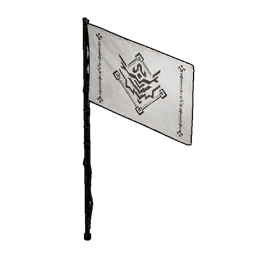 Azure Covenant Flag Azure Covenant Flag |
| Feybreak | 11 | Feybreak Warriors and Berserkers | 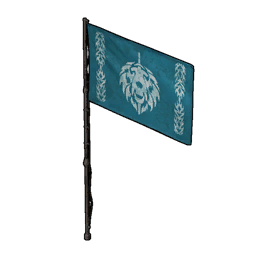 Feybreak Flag Feybreak Flag |
| Offshore (sea bases) | 10 | Rayne Syndicate |  Rayne Syndicate Vertical Banner Rayne Syndicate Vertical Banner |
Read that table as a difficulty ladder as much as a location list. The four Free Pal Alliance sites are the softest targets on the board — a Free Pal Alliance Believer has 50 HP, the same as the weakest Syndicate Thug, and only their Judicators double that. Everything past the starting regions garrisons 100 HP bodies: Moonflower Genin and Jonin, PAL Genetic Research Unit Executioners, Feybreak Warriors and Berserkers. The cage does not scale with the camp, so the cheapest free Paldeck entries in the game are the ones sitting behind the weakest guards.
Grasslands and Forest — 20 Camps
This is where you should farm cages if the Paldeck is the goal. Twenty of the 48 land camps are inside the two starting regions, the garrisons are the 50 HP tier, and the sites sit close enough together that you can run three or four of them between fast-travel hops. Sixteen fly Rayne Syndicate colours; the other four are Free Pal Alliance camps, which are the same fight with a friendlier name on the flag. Their boss stashes are the low-value end of the loot — a guaranteed Sapphire and training manuals rather than schematics — so treat the Pal in the cage as the actual payout here.
Feybreak — 11 Camps
Feybreak has the densest camp cluster in the game at 11 sites, and it is the only region where the camps are worth clearing purely for the fight. The garrison is Feybreak Warriors and Berserkers at 100 HP apiece, and unlike the mainland regions the land camps here do not roll a boss stash pool — the payout for Feybreak is concentrated in its sea bases instead. Come for the cages and the experience, not for the chests, and bring gear that can handle a crowd. Feybreak is also the region where the map's other pins stack up hardest, so it pays to route a camp run alongside chests and ore using the Palworld Interactive Map.
Desert, Sakurajima, Snowfields, Mount Obsidian and Sunreach Isle — 17 Camps
The mid and late regions run three to four camps each, and this is where clearing the camp starts to out-earn the cage. Every one of these boss stashes hands over a guaranteed Kinship Peach, and the Desert, Mount Obsidian and Snowfields stashes are among the better Bellanoir Libero's Slab Fragment and Blazamut Ryu Slab Fragment sources outside of dedicated farming, which matters if you are assembling summons for the Palworld Raid Bosses. Sunreach Isle is the outlier: its camp loot is the only place a camp hands you Soralite, at a 27.65% roll for 5 to 10 ore.
Sea Bases — 10 Offshore Camps
The 10 sea bases are Syndicate platforms built out on open water, spread across six regions' worth of coastline, and they are a separate loot pool from anything on land. You need a water mount or a glider line to reach most of them, which is why plenty of players never touch one — and why the schematics inside stay expensive at merchants for so long. Switch on the sea base layer with the map's Sea Base Camps pins and plan the swim before you set out, because there is no fast travel waiting at the other end.
 How to Free a Captured Pal
The release itself takes about two seconds, but doing it with the garrison alive means eating fire the whole time. The camps are visible from a distance during daylight — the fixed sites throw up smoke, which is the fastest way to find one you have not pinned yet. Work in this order:
- Spot the smoke, then close in. Camps are static, so once you have seen one it stays on your map for good
- Kill the ranged fighters first. They share the same HP as everything else in the camp but do several times the damage — the priority list is the same one that works on Syndicate camps
- Clear the boss for the stash. The stash only rolls once the camp boss is down, and it is the half of the camp that actually pays
- Hold the release prompt at the cage. The Pal is not hostile and cannot be hit, so this is safe to leave until last
- Leave the area and come back. The camp resets, the cage refills with a different Pal, and the stash rolls again
One caution worth knowing before you start: attacking a camp in front of the wrong witnesses can flag you, and a PIDF response squad turning up mid-fight will ruin an otherwise clean clear. If that happens, How to Remove Wanted Status and Escape the PIDF covers how to shed it. And if you would rather take the guards alive than kill them, humans are catchable at a tenth of the normal rate and sell for real money — the numbers are in How to Catch and Sell Humans: Prices and Best Targets.
 Land Camp Stash Loot by Region
Seven of the eight land regions roll a boss stash, and each one has a different guaranteed line. The Grasslands stash is a gemstone-and-manuals pool you will outgrow quickly. The Snowfields is the standout for straight value — a guaranteed Diamond plus one to three Ancient Technical Manuals every clear, which is a serious chunk of Ancient Technology Points for a fight against 100 HP enemies. Sakurajima and Sunreach Isle match that manual count, and Sunreach adds a guaranteed high-tier Treasure Map on top.
| Region | Guaranteed in the stash | Amount | Best rare pull | Odds |
|---|---|---|---|---|
| Grasslands |  Sapphire Sapphire | 1 | Ancient Technical Manual | 36% |
| Forest |  Training Manual (L) Training Manual (L) | 1–2 | Ancient Technical Manual | 56% |
| Desert |  Emerald Emerald | 1–2 | 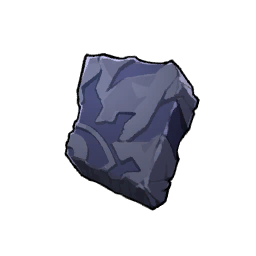 Bellanoir Libero's Slab Fragment Bellanoir Libero's Slab Fragment | 82% |
| Mount Obsidian | Emerald | 1–2 | Bellanoir Libero's Slab Fragment | 91% |
| Sakurajima | Ancient Technical Manual | 1–3 | 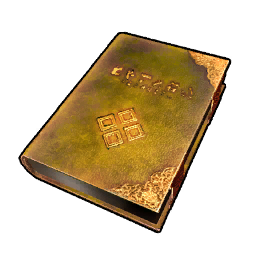 Futuristic Technical Manual Futuristic Technical Manual | 76% |
| Snowfields | 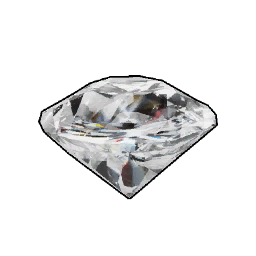 Diamond Diamond | 1 | 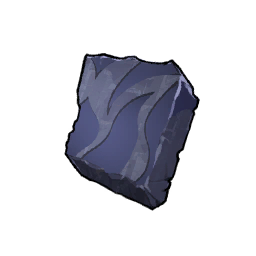 Blazamut Ryu Slab Fragment Blazamut Ryu Slab Fragment | 67% |
| Sunreach Isle | Ancient Technical Manual | 1–3 | Futuristic Technical Manual | 56% |
| Feybreak | No boss stash pool | — | — | — |
Those odds are per clear, not per camp, so a region with three camps and a 91% rare pull is a better slab-fragment route than a region with eleven camps and no stash at all. Mount Obsidian is the clearest example: three sites, and nine clears in ten hand over a Bellanoir Libero's Slab Fragment on top of the Emerald and the Kinship Peach. The ordinary camp chests are a separate pool from the boss stash and lean cheaper — the Grasslands version pays 1,000 to 2,500 Gold Coins and a guaranteed Pal Reverser, which is genuinely useful if a breeding pair is stuck on the wrong gender.
 Sea Base Stashes and Endgame Schematics
Sea bases are where camps stop being early-game filler. The Feybreak and Sakurajima platforms guarantee a Training Crystal and a top-tier Treasure Map on every boss stash, then roll tier-3 weapon schematics at around 18% each — the same Laser Sword, Heavy Assault Rifle, Overheat Rifle and Charge Rifle blueprints that cost a fortune elsewhere. Their ordinary chests are just as good: 4,500 to 6,000 gold at Feybreak, a Large Pal Soul at 71%, an Exotic Sphere at 47%, and a Gold Key at 29%.
| Sea base region | Always in the boss stash | Best schematic pull | Odds |
|---|---|---|---|
| Feybreak |  Training Crystal Training Crystal |  Laser Sword Schematic 3 Laser Sword Schematic 3 | 18% |
| Sakurajima | Training Crystal | Overheat Rifle Schematic 3 | 18% |
| Mount Obsidian |  Kinship Peach Kinship Peach | Single-Shot Rifle Schematic 2 | 21% |
| Desert | Kinship Peach | Pump-Action Shotgun Schematic 2 | 18% |
| Snowfields | Advanced Fishing Rod (Depresso) Schematic | 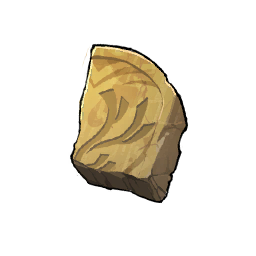 Hartalis Slab Fragment Hartalis Slab Fragment | 33% |
| Grasslands | Training Manual (L) | Musket Schematic 2 | 22% |
The Snowfields platform is the odd one out and the one worth a trip early: it is the only stash in the game that guarantees the Advanced Fishing Rod (Depresso) Schematic outright, which is a straight upgrade for anyone working through Palworld Fishing Spots and Bait. The Mount Obsidian platform quietly hands over an Applied Ranching Handbook I at 60%, one of the few ways to add a work suitability a Pal was not born with.
Summary
The short version: caged Pals live inside the 58 marked enemy camps — 48 on land, 10 offshore — and freeing one is a hold of the Release Pal button for a Paldeck entry that costs nothing. Twenty of those camps sit in the Grasslands and Forest behind 50 HP guards, which makes them the fastest cage route in the game; Feybreak has the most camps at 11 but no boss stash; and the Snowfields stash is the best land payout at a guaranteed Diamond plus one to three Ancient Technical Manuals. Clear, take the Pal, leave the area, and the whole thing resets with a different Pal in the cage.
Related Guides
Hubs and tools:
- Palworld Interactive Map — all 48 enemy camps and 10 sea bases, plus every other pin
- Best Pals Tier List: Combat, Work, Mounts, and Support — where all 288 Pals rank once you have them
- Palworld Capture Rate Calculator — exact odds for the Pals you do have to throw a sphere at
- List of All NPCs and Humans — every faction fighter with HP, weapons and portraits
- Palworld Locations and Collectibles — effigies, journals, lotuses and chests by region
- All Palworld Guides
Camps, capturing and loot:
- How to Catch Pals, All Sphere Tiers, and Capture Rate
- Syndicate Thugs: Where to Find Them and What They Drop
- How to Catch and Sell Humans: Prices and Best Targets
- Infinite Syndicate Thug Glitch: Steps, Loot, and Best Camps
- All Chest Locations and Best Chest Farming Routes
- Junkyard Locations, All Items, and Best Regions to Farm
- How to Remove Wanted Status and Escape the PIDF
- All Fast Travel Point Locations and How to Unlock Them