How to Beat Hard Mode Saya and Selyne
Hard Mode Saya and Selyne is a level 80 fight with 567,300 HP, and Selyne's Dark/Neutral typing means two different elements hit it hard. Here's the team, the weapons, the accessories and the Legendary Plasma Rifle Schematic it drops.
Saya and Selyne on Hard Mode is a level 80 tower fight with 567,300 HP, and it is the one people bring the wrong element to. This guide covers the boss card, why two different elements both work here, the team and gear worth bringing, and the Legendary Plasma Rifle Schematic on the reward table.
 Saya and Selyne (Hard) at a Glance
The unlock is the gate most people hit first — you cannot attempt this until Auri and Shaolong are down. Note the escort too: this is not a duel, and the adds arrive with the boss.
| Hard Mode | |
|---|---|
| Boss | Saya & Selyne |
| Element | Dark / Neutral |
| Level | 80 |
| HP | 567,300 |
| Unlock | Defeat Auri and Shaolong |
| Also in the arena | Moonflower Genin ×2, Moonflower Jonin ×1 |
 Why Dark and Dragon Both Work
Selyne is Dark and Neutral, and that dual typing is the whole reason two different attackers are recommended for the same fight. Dragon is strong into Dark, and Dark is strong into Neutral — so a Dragon attacker punishes one half of its typing and a Dark attacker punishes the other. Either works; bringing both covers you when one is on cooldown. You can check any matchup yourself on the element chart and counter finder.
That also explains the odd-looking picks. Eidrolon is Dragon and Dark at once, so it resists both of Selyne's own attack types while still hitting the weakness — it is the most forgiving choice here. Bellanoir and Bellanoir Libero bring heavy exclusive Dark damage instead, and are close enough in power that either is fine.
| Pal | Element | Why it works here |
|---|---|---|
 Eidrolon Eidrolon | Dragon / Dark | Hits the weakness and resists Selyne's own damage — the safest pick |
| Bellanoir | Dark | Exclusive Dark attack that lands hard on the Neutral half |
 Bellanoir Libero Bellanoir Libero | Dark | Same role as Bellanoir at a similar power level — use whichever you have |
 Eidrolon Ignis Eidrolon Ignis | Dragon / Fire | Dragon damage plus Fire cover if Selyne opens with Ice |
 Blazamut Ryu Blazamut Ryu | Dragon / Fire | Powerful exclusive Dragon attack, same Ice cover |
 Wixen Noct Wixen Noct | Fire / Dark | Switches your own attacks to Dark and boosts them — a player-damage build |
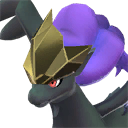 Frostallion Noct Frostallion Noct | Dark | Strong Dark and attack buff, and flying makes the arena easier to move in |
 Weapons Worth Bringing
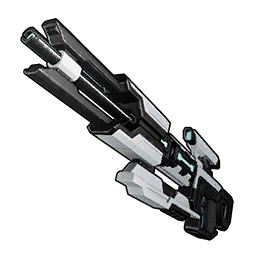
Plasma Rifle is the strongest general-purpose gun in the game at 1,860 attack, and it is also what this fight drops the legendary schematic for. The Drone Launcher is the one people underrate: its attack number is low, but keeping it firing near an enemy is what maxes out Orserk's buff, so it is doing far more than its 200 attack suggests.
A reminder on reading these numbers: attack only compares inside a weapon class. The Mechanical Bow shows 20,000 because bows are not rated on the same scale as rifles — it is useful here for applying status effects that other Pals then punish, not because it hits ten times harder than a Plasma Rifle.
| Weapon | Tech | Attack | Durability |
|---|---|---|---|
| Plasma Rifle | 78 | 1,860 | 25,000 |
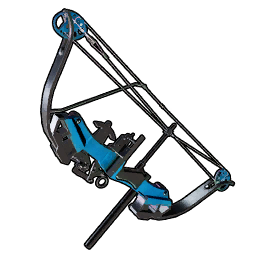 Mechanical Bow Mechanical Bow | 67 | 20,000 (bow scale) | 2,000 |
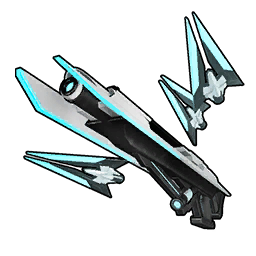 Drone Launcher Drone Launcher | 77 | 200 | 6,500 |
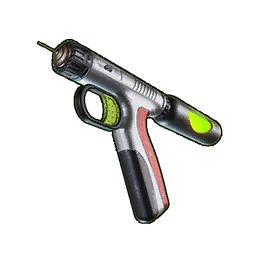 Megaboost Gun Megaboost Gun | 63 | 250 | 400 |
 What It Drops
The Saya Hat is guaranteed the first time you clear it, so a single successful run is never wasted. The pull for repeat runs is the Legendary Plasma Rifle Schematic at roughly one clear in ten — see the legendary schematics guide for what else shares that tier, and the upgrade guide for why duplicates still count.
| Drop | Chance |
|---|---|
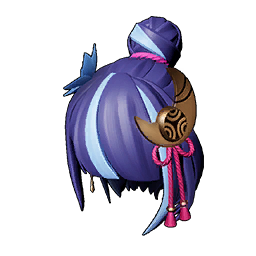 Saya Hat Saya Hat | Guaranteed on first clear |
| Legendary Plasma Rifle Schematic | ~10% |
 Carrying Lotus (L) and the other large Lotuses Carrying Lotus (L) and the other large Lotuses | Reward table |
 Training Crystal Training Crystal | Reward table |