How to Farm Ore: Best Locations and Mining Site Setup
Every way to farm Ore in Palworld — the densest node pockets on the map, the Ore Mining Site that never runs dry, the best Mining Pals to staff it, and the pickaxes and passives that multiply each swing.
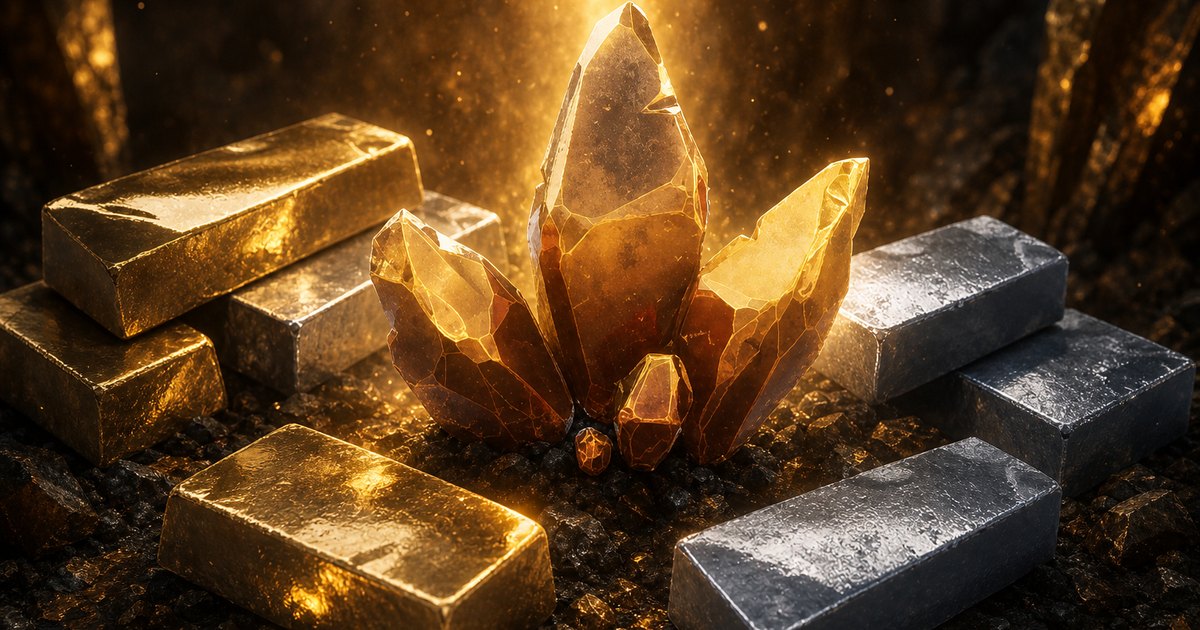
Ore is the metal the whole game is built out of — every Ingot, Refined Ingot, Pal Metal Ingot and sheet of Plasteel starts as a rock you hit with a pickaxe. This guide covers the densest node pockets on the map, the base facility that produces Ore forever, the Pals worth staffing it with, and the gear and passives that multiply what each swing gives you.
 Ore at a Glance
Ore is the plain, unglamorous one — not Coralum Ore, not Paloxite, not Soralite. It's also the most plentiful metal node in the world: 1,632 Ore nodes are mapped across the Palpagos Islands, roughly twice the Coal count and more than double Paldium Ore. The catch is weight. At 8 per unit it is one of the heaviest things you'll ever carry, so a full pocket run ends when your bag fills, not when the nodes run out.
| What | Detail |
|---|---|
| Item type | Material — the base metal ore |
| Sells for | 100 Gold each |
| Weight | 8 per unit |
| Stack size | 9,999 |
| Nodes on the map | 1,632 (Coal 824 · Paldium Ore 711 · Sulfur 655) |
| Pals that drop it | 8 |
| Refines into | 1  Ingot per 2 Ore in a furnace Ingot per 2 Ore in a furnace |
| First tool |  Stone Pickaxe — Lv. 1, 1 Technology Point Stone Pickaxe — Lv. 1, 1 Technology Point |
 Best Ore Farming Locations in Palworld
There is no single Ore mountain. The 1,632 nodes scatter across 89 different landmarks, and the biggest share belongs to Duneshelter at only 88 nodes — 5.4% of the total. So the question isn't "where is the Ore", it's "where are the nodes packed tightly enough to clear in one loop". These are the ten tightest pockets, counted node-by-node with everything else that sits inside the same circle. Eight of them come with a pile of Grotto Mushrooms, which is the tell that the pocket is a cave interior rather than open ground.
| Landmark | Ore nodes in the pocket | What else is in there |
|---|---|---|
| Duneshelter | 19 | 47 Rock, 8 Coal, 7 Sulfur, 6 Paldium Ore — and a second 17-node pocket right beside it |
| Ancient Ritual Site | 16 | 20 Rock, 6 Coal, 6 Paldium Ore, 5 Sulfur — sits almost on top of the fast travel point |
| Sealed Realm of the Swordmaster | 15 | 17 Rock, 7 Paldium Ore, 6 Coal, 5 Sulfur |
| Foot of the Volcano | 13 | 20 Rock, 10 Paldium Ore, 9 Coal, 6 Sulfur |
| Mount Flopie Summit | 12 | 16 Rock, 10 Coal, 6 Sulfur |
| Isle of Silence Church Ruins | 12 | 16 Rock, 8 Paldium Ore, 5 Coal — 38 nodes sit near this statue overall |
| Frostbitten Isle | 11 | 13 Rock, 10 Paldium Ore, 8 Coal, 7 Sulfur |
| Scouring Islet | 11 | 11 Rock, 7 Paldium Ore, 7 Sulfur, 6 Coal |
| Windscream Valley | 11 | 20 Rock — one of the few surface pockets on this list |
Duneshelter is the pick if you only learn one, because the two pockets there are close enough to chain and the town gives you a merchant and a bed at the end of the loop. If you'd rather see all of it yourself, open the Ore node layer on the interactive map and switch on Coal and Paldium Ore alongside it — the overlap is what makes these pockets worth the walk instead of the nearest single rock.
 Ore Mining Site: The Source That Never Runs Dry
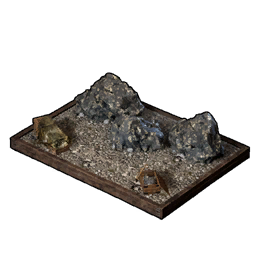
Hand-mining is how you start; it is not how you finish. The Ore Mining Site is a base facility that produces Ore on its own as long as a Mining Pal is assigned to it, which turns Ore from a trip into a background income. It costs Ancient Technology Points rather than the ordinary kind, so it competes with the other boss unlocks — see how to get more Technology Points and Ancient Points if you're short. Build the tier II version the moment you hit level 39; it does the same job in bulk and only wants three more points.
| Structure | Unlocks at | Cost | Materials | What it does |
|---|---|---|---|---|
| Ore Mining Site | Lv. 24 | 2 Ancient Points | 50 Stone · 25 Ingot · 20 Paldium Fragment · 5 Ancient Civilization Parts | Produces Ore; needs a Pal with Mining 1 or better |
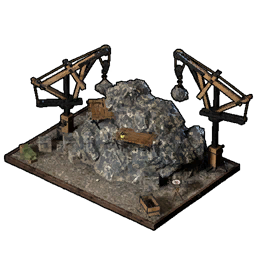 Ore Mining Site II Ore Mining Site II | Lv. 39 | 3 Ancient Points | 100 Stone · 50 Ingot · 40 Paldium Fragment · 10 Ancient Civilization Parts | Bulk version of the same facility; requires the tier I unlock first |
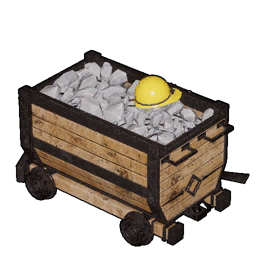 Mining Cart Mining Cart | Lv. 30 | 2 Technology Points | 20 Wood · 50 Stone · 15 Ingot | Raises mining speed across the base — a second one does nothing |
The Mining Cart is the cheapest upgrade in this table and the one most players never place. One is enough; the game explicitly ignores extras. Pair it with a Primitive Furnace at level 10 and your Ore starts becoming Ingots without you touching either end of the pipeline.
 Best Mining Pals for Your Base
57 Pals have Mining, which makes it the fifth-widest job in the game behind Transporting, Handiwork, Gathering and Lumbering. But the top is thin: exactly one Pal reaches Mining 8 and only five reach 7. Rank matters more here than in most jobs because the Ore Mining Site is a single-worker station — you are not stacking six mediocre Pals on it, you are picking one. Food cost is the tiebreaker, since the whole Mining 7 tier eats at the top of the scale.
| Pal | Mining | Other jobs | Food | How to get it |
|---|---|---|---|---|
 Aegidron Aegidron | 8 | — | 9 | Alpha only, at Lv. 79 — no wild spawns |
| Astegon | 7 | Handiwork 3 | 7 | Alpha only, at Lv. 55 |
 Blazamut Blazamut | 7 | Kindling 6 | 9 | 16 spawn points at Flamepulse Islet · Alpha at Lv. 52 |
 Knocklem Knocklem | 7 | Transporting 7, Gathering 4 | 9 | 33 spawn points, 91% of them at Deep Sand Dunes · Alpha at Lv. 55 |
 Knocklem Ignis Knocklem Ignis | 7 | Transporting 7, Kindling 5 | 9 | 58 spawn points, all at Bicornis Islet |
 Blazamut Ryu Blazamut Ryu | 7 | Kindling 6 | 9 | No wild spawns — breed or capture it elsewhere |
 Dualith Dualith | 6 | Transporting 6, Lumbering 5, Planting 3, Gathering 3 | 8 | 75 spawn points · Alphas at Lv. 55 and Lv. 75 |
 Anubis Anubis | 6 | Handiwork 6, Transporting 4 | 8 | 35 spawn points at Sandstone Gate Islet · Alpha at Lv. 55 |
 Tetroise Primo Tetroise Primo | 6 | — | 8 | 40 spawn points · Alpha at Lv. 60 |
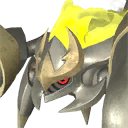 Menasting Terra Menasting Terra | 6 | Lumbering 3 | 6 | 11 spawn points at Deep Sand Dunes · Alpha at Lv. 55 |
 Paladius Paladius | 6 | Lumbering 6 | 9 | Alpha only, at Lv. 60 |
 Necromus Necromus | 6 | Lumbering 6 | 9 | Alpha only — no wild spawns |
Aegidron Is the Only Mining 8 Pal
Aegidron sits alone at the top of the ladder and does nothing else — Mining 8 is its entire work sheet. That single-mindedness is fine when the station only takes one worker, but it's a level 79 alpha with zero wild spawn points, so it is genuinely a late-game trophy rather than a plan. It also eats 9, the maximum on the food scale, which means a feed box that can keep up. If you're anywhere below the level cap, treat Aegidron as the upgrade you eventually swap in and build your base around a rank 7 instead.
Knocklem Ignis Is the Mining 7 You Can Actually Catch
Of the five Mining 7 Pals, three are alpha-or-nothing and one has 16 spawn points. Knocklem Ignis is the exception: 58 spawn points, every one of them at Bicornis Islet, and no alpha fight required. It also carries Transporting 7 and Kindling 5, so the same body hauls its own output to the chest and lights the furnace that smelts it — three jobs on one food slot. Its plain-element sibling Knocklem has the same Mining 7 and Transporting 7 but only 33 spots, so take whichever you find first. Both drop 2–3 Ore themselves when defeated.
 Best Miners Before Level 50
Early on, availability beats rank outright — a Mining 5 Pal working right now out-produces a Mining 7 you haven't caught. Menasting is the standout with 545 spawn points and a food cost of 6, the cheapest appetite in this bracket. Digtoise is the other obvious grab at 660 spawn points; Mining 4 is modest, but you'll be catching it anyway for the reason in the next section.
| Pal | Mining | Other jobs | Food | Spawn points |
|---|---|---|---|---|
| Menasting | 5 | Lumbering 3 | 6 | 545 · Duneshelter 23%, Desert Backbone 15% |
| Digtoise | 4 | — | 5 | 660 · Duneshelter 19%, Desert Backbone 12% |
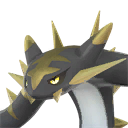 Cryolinx Terra Cryolinx Terra | 5 | Lumbering 6, Transporting 4, Handiwork 2 | 7 | 156 · Deserted Ash Plateau 56% |
 Reptyro Cryst Reptyro Cryst | 5 | Cooling 5 | 7 | 133 · Feybreak Tower Entrance 36% |
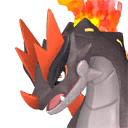 Moldron Moldron | 5 | Kindling 5 | 8 | 101 · Mount Obsidian - Midpoint 55% |
 Bastigor Bastigor | 5 | Cooling 8, Lumbering 6 | 9 | 69 |
 Warsect Terra Warsect Terra | 5 | Transporting 5, Handiwork 2 | 6 | 58 · Wildlands Floodgate 33% |
 Palumba Palumba | 5 | Planting 4, Gathering 4 | 6 | 42 · Seaward Passage 21% |
 Best Pals for Mining Ore Yourself
Base workers and field partners are two different lists. Six Pals have partner skills that touch mining directly, and Astegon is the clear winner on both lines it scales — mining power runs 1,100 at partner rank 1 up to 3,300 at rank 5, and gathering yield climbs from 150% to 300% on top of that. It's also a mount, so it carries you between the pockets in the table above.
| Pal | Partner skill | Mining scaling (Lv. 1 → Lv. 5) | Its own Mining | Mount |
|---|---|---|---|---|
| Astegon | Black Ankylosaur | 1,100 → 3,300, plus Gathering Yield 150% → 300% | 7 | Yes |
 Mammorest Mammorest | Gaia Crusher | 500 → 2,000 | 4 | Yes |
 Mammorest Cryst Mammorest Cryst | Ice Crusher | 500 → 2,000 | 4 | Yes |
 Rushoar Rushoar | Hard Head | 500 → 2,000 | 1 | Yes |
 Fuddler Fuddler | Mining Assistance | 30 → 60 | 1 | No |
| Tetroise | Masonry Archelon | +1 Mining rank | 4 | Yes |
Tetroise is the sleeper and the one worth going out of your way for. Its partner skill doesn't scale a number — it hands +1 Mining rank to your base, which quietly promotes a Mining 7 worker to 8 without a level 79 alpha fight. At 325 spawn points, mostly around Duneshelter and Deep Sand Dunes, it's far easier to obtain than anything it upgrades. Rushoar is the cheap early answer: 148 spawn points near Sea Breeze Coast, and its own Mining 1 barely matters when the partner skill is doing the work.
 Pals That Drop Ore When You Beat Them
Eight Pals carry Ore in their drop table, and every one of them drops it at 100% — there is no bad-luck roll here, only a question of how many you can find. Pierdon is the outlier by a wide margin: 4–5 Ore per kill, and it hands over 4–5 Coal and 4–5 Sulfur in the same breath, which is the exact three-material shopping list for a Refined Ingot run. Its problem is availability at 16 spawn points, all on Flamepulse Islet. If you want volume instead of density, Surfent Terra at 590 spawn points and Digtoise at 660 are the ones you'll trip over constantly.
| Pal | Ore per kill | Also drops | Where to find it |
|---|---|---|---|
| Pierdon | 4–5 | 4–5 Coal, 4–5 Sulfur | 16 spawn points, all at Flamepulse Islet · Alpha at Lv. 50 |
| Digtoise | 2–3 | — | 660 spawn points · Duneshelter 19%, Desert Backbone 12% |
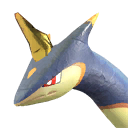 Surfent Terra Surfent Terra | 2–3 | 1–2 Pal Fluid | 590 spawn points · Duneshelter 17%, Deserted Ash Plateau 15% |
| Cryolinx Terra | 2–3 | — | 156 spawn points · Deserted Ash Plateau 56% · Alpha at Lv. 62 |
 Gorirat Terra Gorirat Terra | 2–3 | 1 Bone | 67 spawn points · Desert Backbone 37% |
| Knocklem Ignis | 2–3 | 2–3 Flame Organ, World Tree relics | 58 spawn points, all at Bicornis Islet |
| Knocklem | 2–3 | World Tree relics, awakening materials | 33 spawn points · Deep Sand Dunes 91% · Alpha at Lv. 55 |
 Pickaxes and Mining Tools
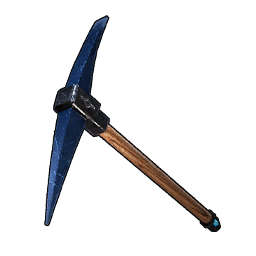
Your pickaxe decides how many swings a node costs, and the jumps between tiers are not small — the numbers below compare only against each other, since a mining tool's attack figure means nothing next to a rifle's. The Metal Pickaxe at level 11 is the first real upgrade and the one that makes early Ore runs bearable. The end of the line is the Plasma Multicutter at level 54, which more than doubles the Pal Metal Pickaxe on both attack and durability for two extra Technology Points.
| Tool | Unlocks at | Cost | Attack | Durability | Materials |
|---|---|---|---|---|---|
| Stone Pickaxe | Lv. 1 | 1 pt | 20 | 150 | 5 Stone · 5 Wood |
| Metal Pickaxe | Lv. 11 | 2 pts | 30 | 250 | 15 Stone · 20 Wood · 15 Ingot |
| Refined Metal Pickaxe | Lv. 34 | 2 pts | 60 | 300 | 30 Stone · 4 Lumber · 10 Refined Ingot |
| Pal Metal Pickaxe | Lv. 44 | 2 pts | 120 | 400 | 10 Pal Metal Ingot · 10 High Quality Lumber · 100 Stone · 5 Corrosive Solvent |
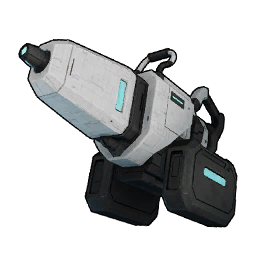 Plasma Multicutter Plasma Multicutter | Lv. 54 | 4 pts | 250 | 850 | See its page for the full recipe |
 Passives That Multiply Your Ore Yield
Two separate stacks apply to Ore and they're easy to confuse. Mining Yield Up raises how much a node gives when the Pal that carries it does the mining — it tops out at +200%, which is the single biggest multiplier available on Ore anywhere in the game. Mine Foreman works the other way round: it's a Pal passive that buffs *you*, adding 25% to your own mining efficiency just for having that Pal in the party, and there's a disposable implant that grants it if you don't want to reroll for it.
| Passive | Rank | What it does | Who it helps |
|---|---|---|---|
| Mining Yield Up Lv. 5 | 4★ | +200% drop amount from Stone and Ore | The Pal that has it |
| Mining Yield Up Lv. 4 | 3★ | +160% drop amount from Stone and Ore | The Pal that has it |
| Logging/Mining Yield Up | 3★ | +160% drop amount from Wood, Stone and Ore | The Pal that has it |
| Mining Yield Up Lv. 3 | 3★ | +120% drop amount from Stone and Ore | The Pal that has it |
| Mining Yield Up Lv. 2 | 1★ | +80% drop amount from Stone and Ore | The Pal that has it |
| Mining Yield Up Lv. 1 | 1★ | +50% drop amount from Stone and Ore | The Pal that has it |
| Mine Foreman | 3★ | +25% mining efficiency | You, while the Pal is in your party |
| Speedy Worker Lv. 4 | 4★ | +25% work speed | The Pal at the Ore Mining Site |
Ore Without Swinging a Pickaxe
Expeditions are the lazy answer and, per real minute of your time, the best one. Verdant Hollow and Secret Realm of the Forest both return 30–50 Ore for a 30-minute Easy run, which is a better rate than anything on the Hard list — Celestial Sakura Cavern pays 50–80 but takes twice as long. Keep one running whenever you log off. Note that the 120-minute Very Hard Rayne Syndicate Smuggling Warehouse is the worst Ore trip in the game at 10–20, so send that team somewhere else.
| Expedition | Difficulty | Time | Ore returned |
|---|---|---|---|
| Verdant Hollow | Easy | 30 min | 30–50 |
| Secret Realm of the Forest | Easy | 30 min | 30–50 |
| Blazing Cavern | Normal | 45 min | 30–50 |
| Hidden Sanctum of the Desert | Normal | 45 min | 30–50 |
| Astral Frost Cavern | Hard | 60 min | 40–60 |
| Celestial Sakura Cavern | Hard | 60 min | 50–80 |
| Rayne Syndicate Smuggling Warehouse | Very Hard | 120 min | 10–20 |
Two smaller taps round it out. Wandering Traders stock Ore at 100 Gold each, which is a fine emergency top-up but a poor habit — see what's actually worth buying from merchants before you spend. And field drops scattered around the world carry a couple of Ore at a time, most often on Feybreak (15.2% of drops there, 1–5 Ore) and in the Desert (14.1%, 2–4 Ore), with the Snowfields, Sakurajima and Mount Obsidian all landing between 11.9% and 13.1%.
What Ore Is Used For
Ore itself is never the goal — it's the first step of the ingot chain, and every tier of that chain wants more of it than the last. Two Ore make an Ingot, and one Pal Metal Ingot costs four, so a single set of Pal Metal armour quietly eats hundreds. Plasteel is the hungriest at five Ore per unit, and the Defense Pendant is the biggest single-craft bill in the game at 20 raw Ore on top of 30 finished Ingots.
| Craft | Ore needed | Everything else it takes |
|---|---|---|
| Ingot | ×2 | — |
 Refined Ingot Refined Ingot | ×2 | 2 Coal |
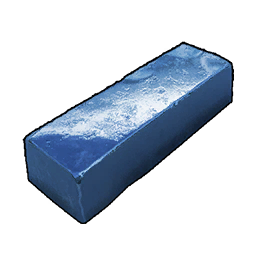 Pal Metal Ingot Pal Metal Ingot | ×4 | 1 Pure Quartz · 2 Paldium Fragment |
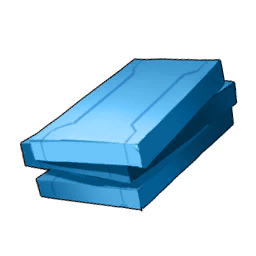 Plasteel Plasteel | ×5 | 2 Crude Oil |
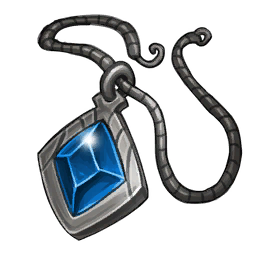 Defense Pendant Defense Pendant | ×20 | 30 Ingot · 25 Paldium Fragment · 2 Ancient Civilization Parts |
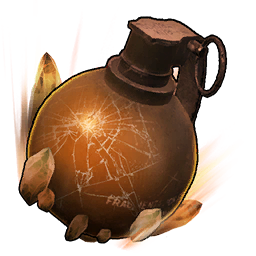 Ground Grenade Ground Grenade | ×1 | 1 Gunpowder · 10 Stone |
The short version: mine Duneshelter by hand until level 24, unlock the Ore Mining Site, put your best Mining Pal on it, drop a Mining Cart beside it, and keep an Easy expedition running in the background. After that you stop thinking about Ore entirely and start thinking about Coal.
Related Guides
Ore feeds almost every other system in the game, so these pick up where this one stops:
- Best Base Locations: Coordinates and Nodes — pick a base that sits on Ore in the first place
- Best Base Pals: 7 Workers for Every Job — the full worker roster, not just miners
- How to Get More Technology Points and Ancient Points — pay for the Ore Mining Site
- How to Get Coralum Ore: Locations and Uses — the deep-sea ore that Ore can't replace
- Best Pals for Lumbering: Ranks, Spawns, and Base Setup — the other half of your material pipeline
- Best Pals for Expeditions, Strength, and Rewards — make those Easy Ore runs come back faster
- Palworld Interactive Map — every Ore node, filterable
- Full structure database — costs and tech levels for everything you build