Pal Bounty Tokens: All 99 Tokens, Effects, and Locations
Every Pal Bounty Token in Palworld: what the permanent element damage bonus does, all 99 tokens with the alpha and level that gives each one, which elements stack deepest, and the easiest tokens to grab first.
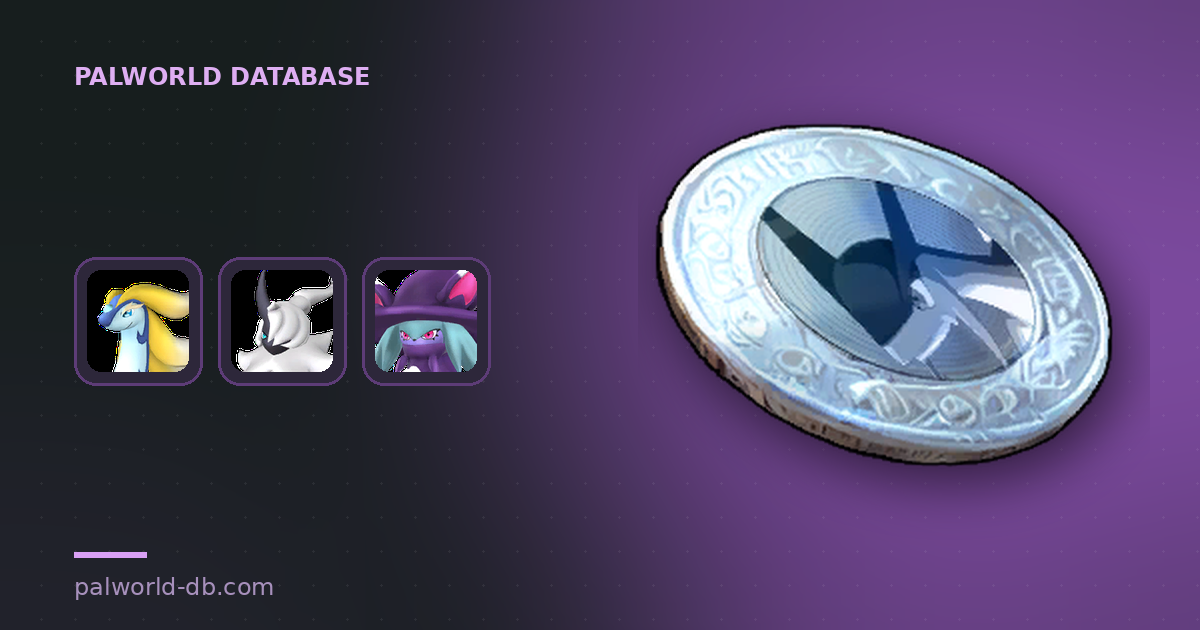
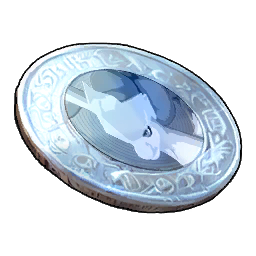
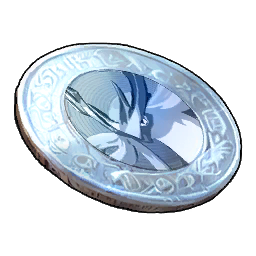
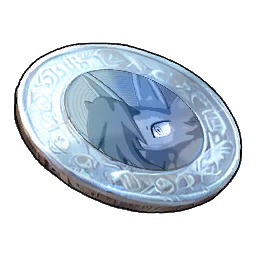
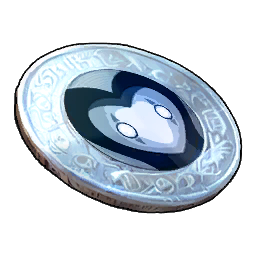
Pal Bounty Tokens are the proof-of-kill items you get the first time you take down an alpha, and every one you own quietly makes your team hit harder with that alpha's element. Below is what the bonus actually does, all 99 tokens with the alpha and level attached to each, which elements have the deepest token pool, and the easiest ones to pick up first.
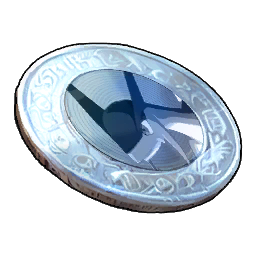 What a Pal Bounty Token Does
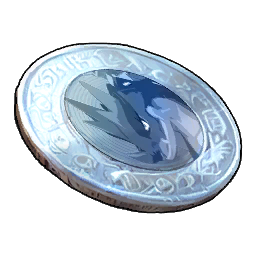
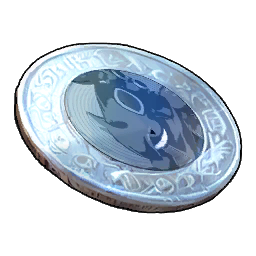
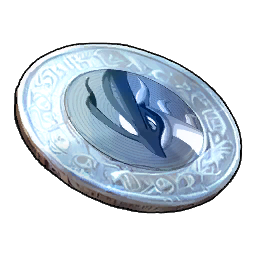
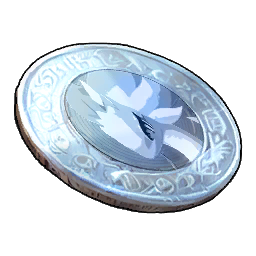
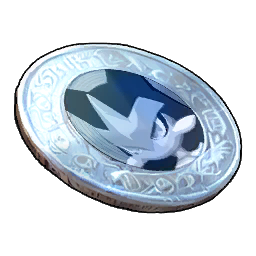
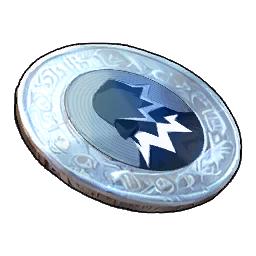
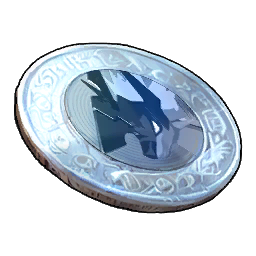
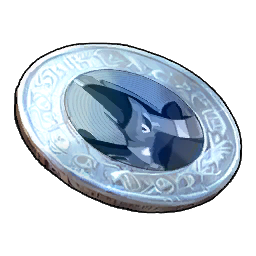
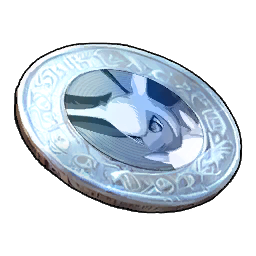
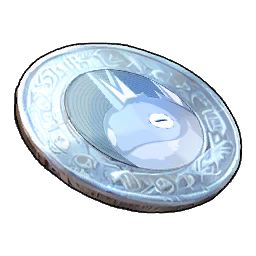
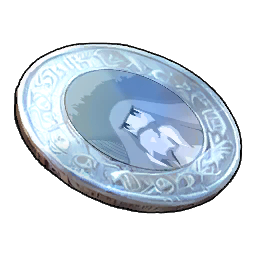
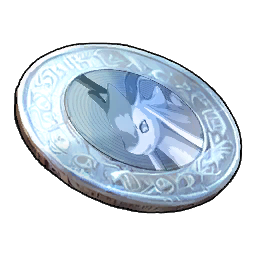
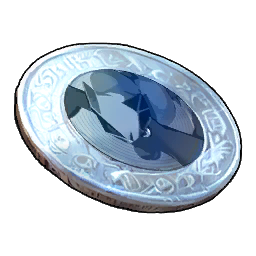
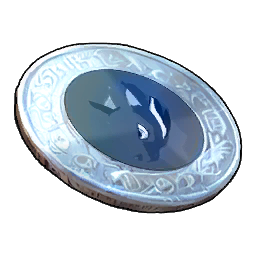
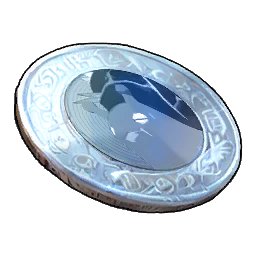
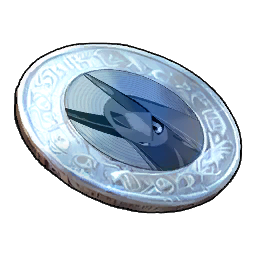
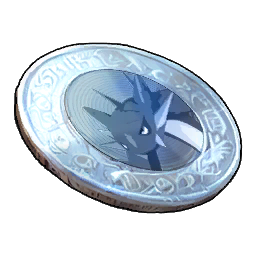
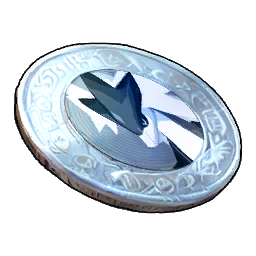
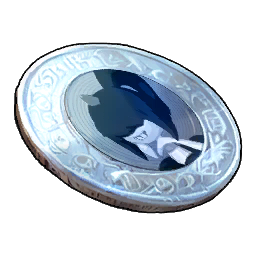
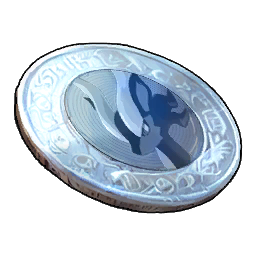
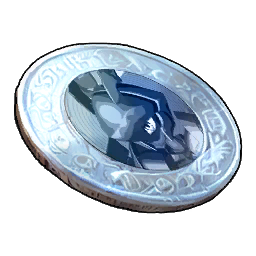
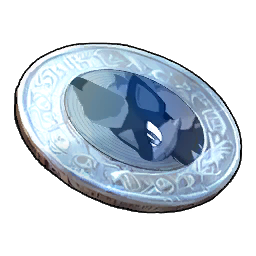
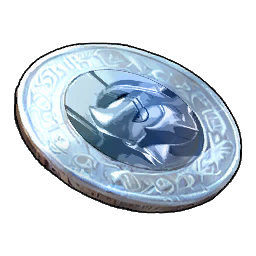
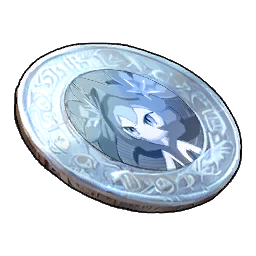
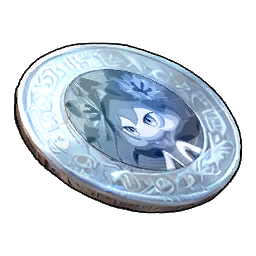
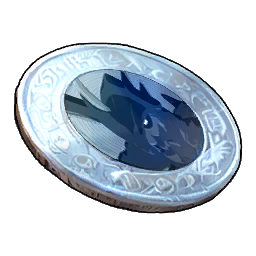
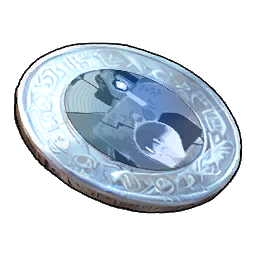
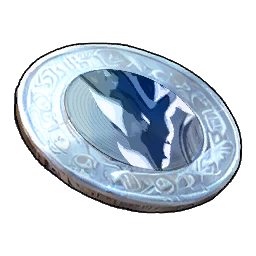
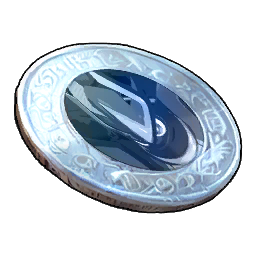
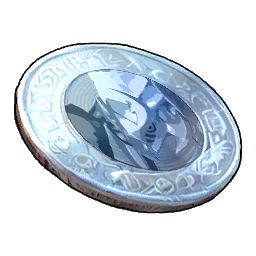
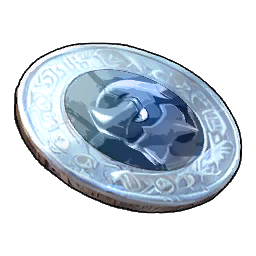
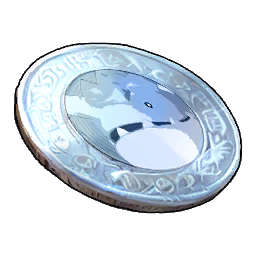
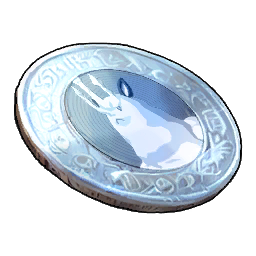
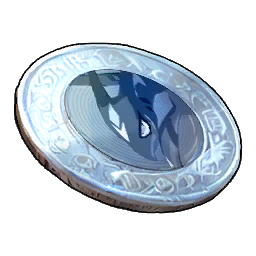
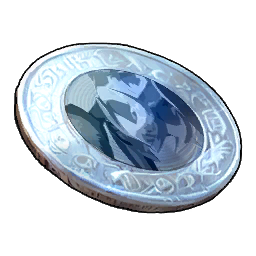
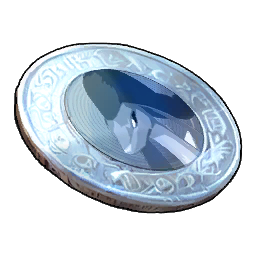
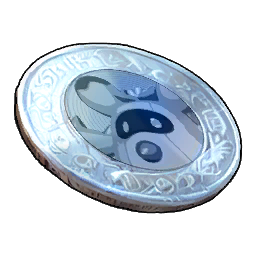
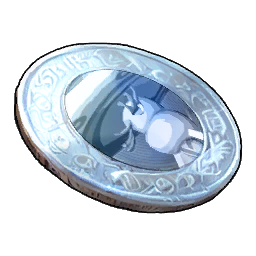
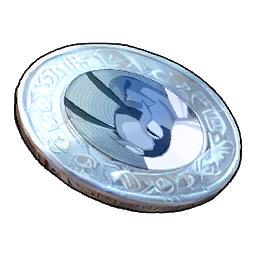
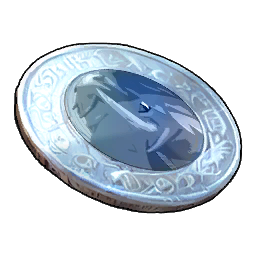
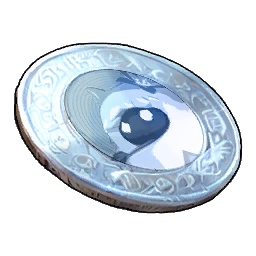
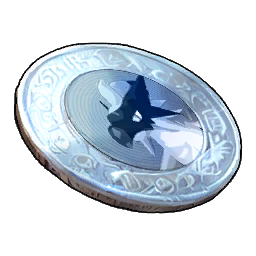
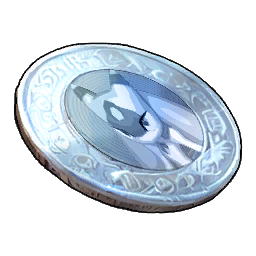
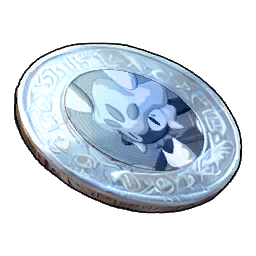
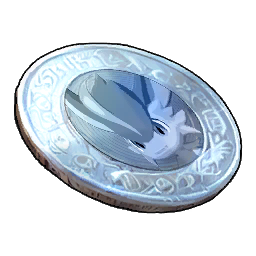
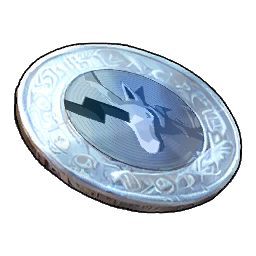
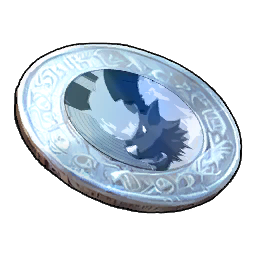
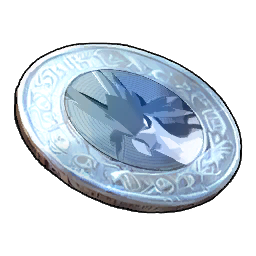
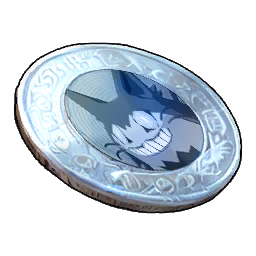
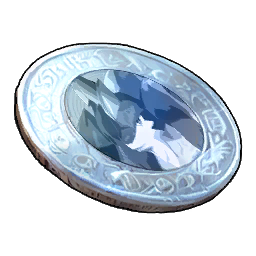
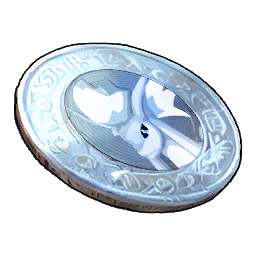
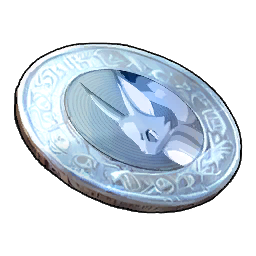
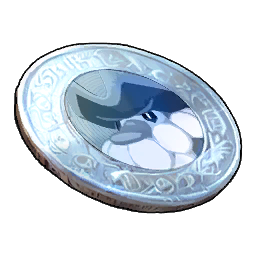
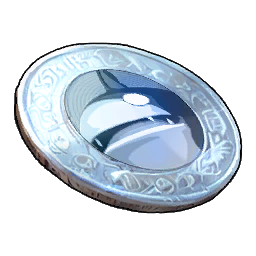
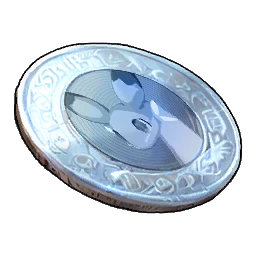
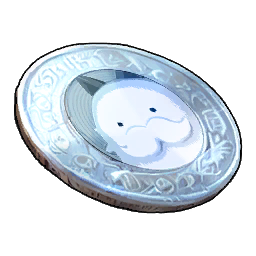
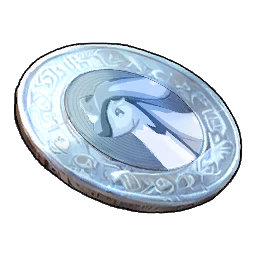
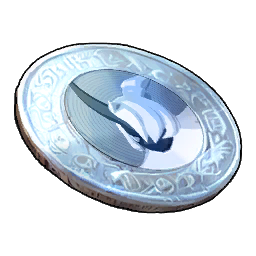
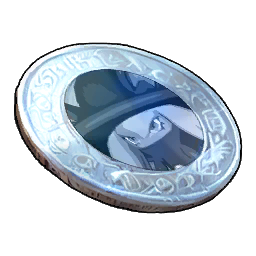
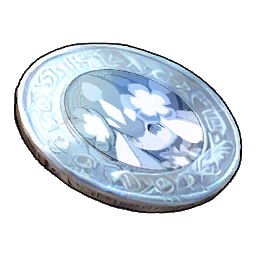
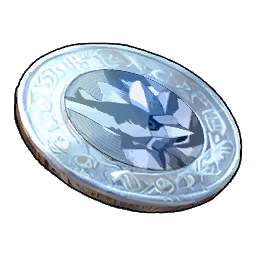
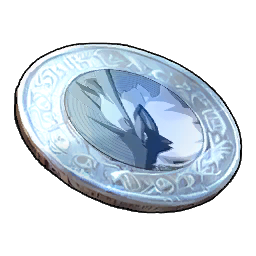
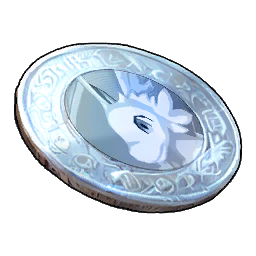
A token is a receipt: beat or capture an alpha once and its named token lands in your Key Items tab forever. You never equip it, never spend it and never sell it — the damage bonus applies the moment it exists in your bag, and it applies to the element that alpha leads with. Pocketpair doesn't print a percentage on the item, so treat any single token as a small nudge; the point is that they stack, and a full sweep of one element means a dozen-plus of them pushing the same damage type at once.
| Detail | How it works |
|---|---|
| Tokens in the game | 99, one per alpha Pal |
| Where they sit | The Key Items tab — they never take up a normal inventory slot |
| How you earn one | Beat or catch that alpha for the first time |
| What it does | Permanently raises the damage your Pals deal with the alpha's own element |
| Do you equip it? | No. Owning it is the whole mechanic |
| Do they stack? | Yes — tokens of the same element add together |
| Sell or trade | Neither. They are key items and they stay in your bag |
| Duplicates | None. A second kill of the same alpha adds nothing |
 How to Get Bounty Tokens
There is exactly one way to earn a token: be the one who ends the fight. Capturing counts the same as killing, which matters a lot on the tanky alphas — a Legendary Sphere thrown at low HP hands you the token and the Pal in one go. A repeat kill gives you nothing new, so once a token is in the bag that alpha is off your list. Eighty-nine of them stand at a fixed spot you can fly to; the other ten you have to go looking for.
 Alphas by level band
Levels run from 11 all the way to 79, and the list is heavily back-loaded — over half of the fixed alphas sit at level 50 or above. That shapes the order you collect in: the early bands are quick token pickups while you're levelling, then the collection stalls until your gear catches up, and the last stretch is endgame fights where each token costs a real loadout.
| Level band | Tokens | What the fight looks like |
|---|---|---|
| Lv 11-29 | 17 | the starter half of Palpagos — a decent gun and a level-30 team clears these |
| Lv 30-49 | 19 | mid-game alphas; you want Pal Metal gear and a mount before these |
| Lv 50-69 | 43 | the deepest band by far — most of the collection lives here |
| Lv 70-79 | 10 | endgame alphas, topping out at level 79 — bring a Legendary schematic weapon |
 The alphas without a fixed spot
Ten of the 99 tokens belong to alphas you won't find parked on the overworld. Five of them are cavern bosses, so the token is gated behind finding the right dungeon entrance rather than flying to a marker. For the rest, work the species' own territory — the map link on each row drops you straight onto its spawn range.
| Alpha | Element | Where to fight it |
|---|---|---|
 Broncherry Aqua Broncherry Aqua | Grass | Hunt its territory — Broncherry Aqua on the map |
 Felbat Felbat | Dark | Cavern boss in the Mountain Stream Grotto |
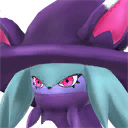 Katress Katress | Dark | Cavern boss in the Mountain Stream Grotto |
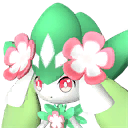 Petallia Petallia | Grass | Hunt its territory — Petallia on the map |
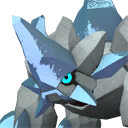 Pierdon Cryst Pierdon Cryst | Ice | Hunt its territory — Pierdon Cryst on the map |
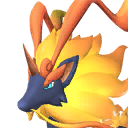 Pyrin Pyrin | Fire | Cavern boss in the Volcanic Cavern |
| Quivern | Dragon | Cavern boss in the Astral Mountains Cavern |
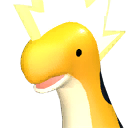 Relaxaurus Lux Relaxaurus Lux | Dragon | Hunt its territory — Relaxaurus Lux on the map |
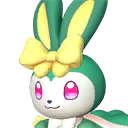 Ribbuny Botan Ribbuny Botan | Grass | Cavern boss in the Feybreak Cavern |
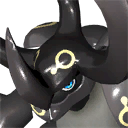 Warsect Warsect | Ground | Hunt its territory — Warsect on the map |
 Which Element Each Token Boosts
Because the bonus follows the alpha's own element, the token pool is lopsided — and that decides which damage type is worth building around if you like the stacking. Dark leads with 17 tokens and Grass is right behind at 15, so Dark and Grass attackers get the most out of a full collection. Water is the outlier at four tokens, which means a Water-focused team gains almost nothing from tokens no matter how many alphas you clear. Dragon has only nine, but they include the highest-level fights in the game.
| Element | Tokens | Highest-level alphas that give one |
|---|---|---|
| Dark | 17 | 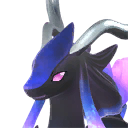 Celesdir Noct Celesdir Noct 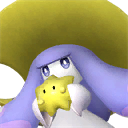 Wistella Wistella |
| Grass | 15 |  Mycora Mycora 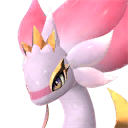 Ophydia Ophydia |
| Ground | 12 | 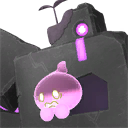 Dualith Noct Dualith Noct 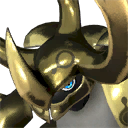 Warsect Terra Warsect Terra |
| Ice | 12 | 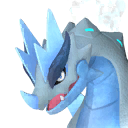 Moldron Cryst Moldron Cryst 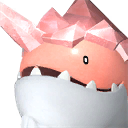 Whalaska Ignis Whalaska Ignis |
| Electric | 11 | 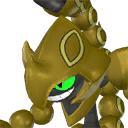 Prixter Lux Prixter Lux  Dynamoff Dynamoff |
| Fire | 11 |  Renjishi Renjishi  Moldron Moldron |
| Dragon | 9 | Aegidron Jetragon |
| Neutral | 8 |  Celesdir Celesdir  Paladius Paladius |
| Water | 4 |  Faleris Aqua Faleris Aqua  Neptilius Neptilius |
 Start With These Alphas
These are the cheapest tokens in the game to get — every one is level 23 or under, and several are the rare alphas that take half damage instead of the usual quarter, so they fold quickly to a mid-tier gun. Clear this batch while you're still working through the first two towers and you'll have a spread of elements ticking before the real grind starts. Nitewing and Penking are the two to prioritise: both are half-damage fights, and Penking is one of just four Water tokens in existence.
| Alpha | Lv | Token boosts | Why it's an easy first token |
|---|---|---|---|
| Chillet | 11 | Ice | Joint-lowest alpha in the game and it takes 48% damage — double what a normal alpha takes |
 Gumoss Gumoss | 11 | Grass | Level 11 and 48% damage taken, so a crossbow and a few spare bolts finish it |
 Sweepa Sweepa | 11 | Ice | The third level-11 alpha, also at 48% damage taken — Ice is a 12-token pool worth starting early |
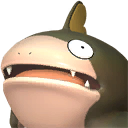 Dumud Dumud | 14 | Ground | Level 14 at 48% damage taken; the cheapest of the 12 Ground tokens |
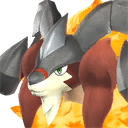 Arsox Arsox | 15 | Fire | Earliest Fire token at level 15, though it takes the standard 24% damage |
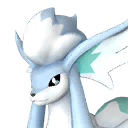 Foxcicle Foxcicle | 15 | Ice | Level 15 Ice token — clear it alongside Foxparks Cryst for two of the 12 Ice tokens in one trip |
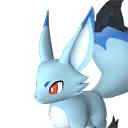 Foxparks Cryst Foxparks Cryst | 15 | Ice | Same level as Foxcicle and the same element, so one Ice loadout covers both |
 Penking Penking | 15 | Water | 48% damage taken and one of only four Water tokens that exist |
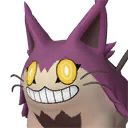 Grintale Grintale | 17 | Neutral | Level 17 and the cheapest of the eight Neutral tokens |
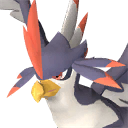 Nitewing Nitewing | 18 | Neutral | 48% damage taken, and it is a flyer you can fight over open ground |
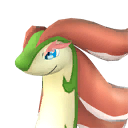 Broncherry Broncherry | 23 | Grass | Level 23 Grass token, and Grass is the second-deepest pool at 15 |
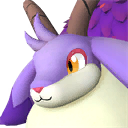 Caprity Noct Caprity Noct | 23 | Dark | Your first Dark token, and Dark has more tokens than any other element at 17 |
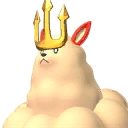 Kingpaca Kingpaca | 23 | Neutral | Level 23 Neutral token — pair it with Grintale to bank two of the eight |
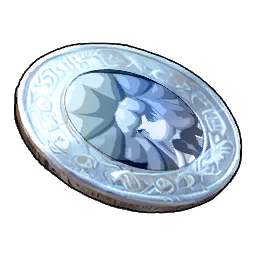
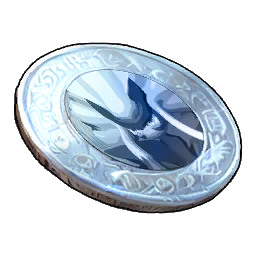
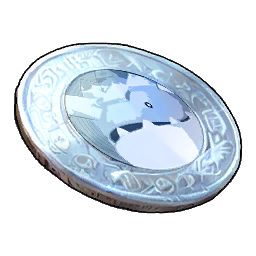
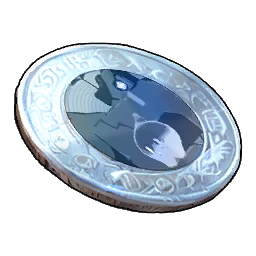
 All 99 Pal Bounty Tokens
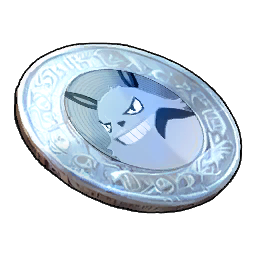
Every token, sorted by the level of the alpha that gives it. Use it as a checklist: the element column is what that token boosts, and the last column jumps to the alpha's spot on the interactive map. Rows marked "No fixed spot" are the cavern and territory alphas from the section above.



 The Three Boss Proofs That Aren't Tokens
Three items share the same boss-reward slot but do something completely different: they're keys, not stat boosts. Each one is proof you beat a specific World Tree encounter, and together they remove the barrier on the sealed chamber at the bottom of the tree. Holding them does nothing for your damage, so don't confuse a missing one with a missing token — check the list below if the barrier won't open.
| Item | Comes from | What it's for |
|---|---|---|
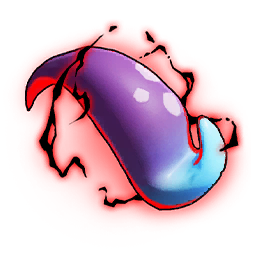 True Dandilord's Petal True Dandilord's Petal | Beating True Dandilord | One of three keys to the sealed chamber deep in the World Tree |
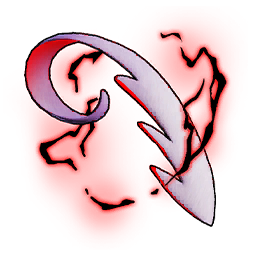 Silvance's Plume Silvance's Plume | Beating Silvance | Second key to the same barrier |
| Modified Pal's Contaminated Core | Clearing the Highly Modified Pals gauntlet | Third key to the same barrier |
 Successful Bounty Tokens Are a Different Currency
If you're holding something called a Successful Bounty Token, that's the other system entirely. Those come from hunting wanted human outlaws, they stack as a currency, and you spend them at a Vigilante Bounty Officer on stat fruits, passive implants and the Ripe Starfruit that ranks a Pal up outright. Pal Bounty Tokens can't be spent on anything — the full payout list and shop prices live in the All Bounty Targets guide.
Summary
There are 99 Pal Bounty Tokens, one per alpha, and you get each by beating or catching that alpha once. Every token permanently boosts your Pals' damage with the element its alpha leads with, they stack by element, and you can't sell, spend or duplicate them — so the whole mechanic is just a reason to clear the full alpha list instead of only the ones you want to catch. Start with the level-11 to level-23 batch, and if you care about a specific damage type, check the element table first: Dark and Grass reward the grind, Water barely does.
Related Guides
Where to go next:
- All Alpha Pals: Locations and Levels
- All Bounty Targets: Token Payouts and Every Bounty Reward
- List of All Legendary Pals: Locations and How to Get Them
- Palworld interactive map
- Every dungeon and the bosses inside
- All raid bosses and their drops
- How to Min-Max Pals: IVs, Passives, Souls, and Condensing
- All Palworld guides