How to Get Starfruit: All Sources, Costs, and Uses
Every source of Starfruit in Palworld — the Medal Shop prices for ☆1 to ☆4, the 50-token Ripe Starfruit at the Bounty Shop, exact Ancient Relic Recycler odds, and the Pals worth spending one on.
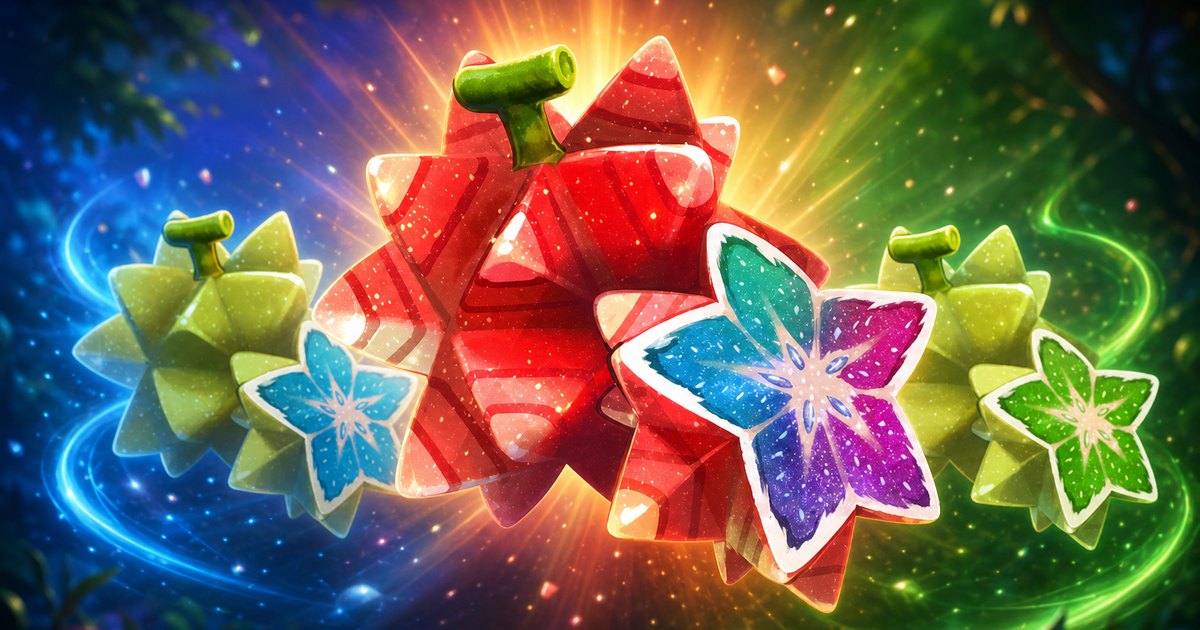
Starfruit is the shortcut around the duplicate grind — one fruit raises a Pal's rank without feeding a single copy into the condenser. This guide covers all five versions, every place they come from with exact prices and drop chances, and which Pals actually deserve one.
 Every Starfruit and What It Does
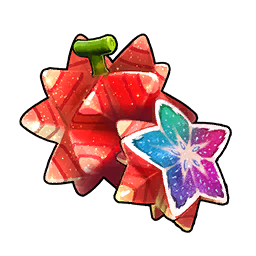
There are five in the game: four numbered ones that each cover a single step of the star ladder, and Ripe Starfruit, which raises a Pal's rank by one no matter where it currently sits. The numbered fruits are locked to their step — a Starfruit ☆3 does nothing for a Pal that hasn't already reached ☆2 — so buy them in order and check the star count on the Pal before you spend. All five weigh 1 and stack to 9,999, so hoarding them costs you nothing but shop currency.
| Starfruit | Rarity | What it does | Where it comes from | Price |
|---|---|---|---|---|
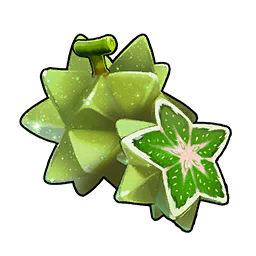 Starfruit ☆1 Starfruit ☆1 | 3★ | ☆0 → ☆1 | Medal Shop | 50 Dog Coins |
 Starfruit ☆2 Starfruit ☆2 | 3★ | ☆1 → ☆2 | Medal Shop | 100 Dog Coins |
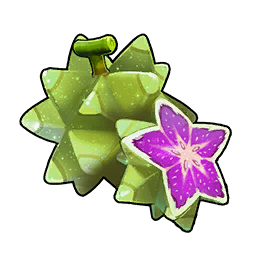 Starfruit ☆3 Starfruit ☆3 | 3★ | ☆2 → ☆3 | Medal Shop | 200 Dog Coins |
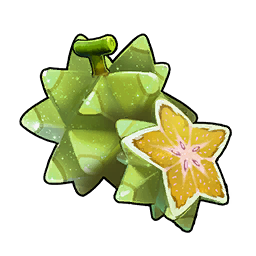 Starfruit ☆4 Starfruit ☆4 | 3★ | ☆3 → ☆4 | Medal Shop | 400 Dog Coins |
| Ripe Starfruit | 4★ | Any rank, +1 star | Bounty Shop | 50 Successful Bounty Tokens |
Taking one Pal from ☆0 all the way to ☆4 on the numbered fruits alone costs 750 Dog Coins, because the price doubles at every step. The same four stars cost 200 Successful Bounty Tokens in Ripe Starfruit — but those are two different currencies with two different farms behind them, so treat that as a choice of which grind you prefer, not a discount.
Medal Shop: Starfruit ☆1 to ☆4 for Dog Coins
The Medal Trader is the only vendor that stocks the numbered fruits, and it carries all four at once alongside the rest of the Dog Coin catalogue. Four of the twelve fixed traders on the merchant map layer are Medal Traders — they stand in one spot and never move, so pick whichever one is closest to a fast travel statue and make it your regular stop. Wandering merchants roam and Pal merchants deal in Pals, so the Medal Trader pins are the ones worth memorising.
 Where to Farm Dog Coins
Dog Coins come from three very different places, and the gap between them is enormous. Sealed chests are the outright best source — the elemental-sealed chests on Sunreach Isle and in the World Tree pay 20–30 coins on a near-guaranteed roll, which is one ☆2 Starfruit every few chests. If you're not that far into the game yet, the 128 pickup nodes scattered across the Palpagos Islands are free money on any route you're already running, and junk hauls while fishing turn a Pal-free activity into shop currency.
| Source | Dog Coins | Chance |
|---|---|---|
| Electric-sealed chests, Sunreach Isle & World Tree | 20–30 | 91.0% |
| Fire-sealed chests, Sunreach Isle & World Tree | 20–30 | 90.1% |
| Water-sealed chests, Sunreach Isle & World Tree | 20–30 | 87.8% |
| Junk hauls while fishing in the World Tree | 22–26 | 50.4% |
| Junk hauls while fishing in Feybreak or Sunreach Isle | 18–22 | 40.0% |
| Crates on the oil rigs | 15–20 | 25.0% |
| Dog Coin pickups on the map | 1 each | 128 fixed spots |
A full sealed-chest circuit in the World Tree easily clears the 750 coins for a ☆0-to-☆4 run in a single trip, and it drops Ancient Relics on the same route — which matters for the recycler further down. For the wider money picture, including what else the Medal Trader is worth buying, see how to farm Dog Coins and what to buy from merchants.
Bounty Shop: Ripe Starfruit for 50 Tokens
Ripe Starfruit is the flexible one and the only Starfruit a Vigilante Bounty Officer sells: 50 Successful Bounty Tokens for one fruit, usable on a Pal at any star. Three of the twelve fixed traders are Bounty Shops, so it's the same detour pattern as the Medal Trader. Bounty targets are named human outlaws and every one pays 1 to 5 tokens guaranteed on defeat, which means the shop price is a fixed number of kills rather than a gamble.
| Bounty target | Tokens per kill | Kills for one Ripe Starfruit |
|---|---|---|
| Ram | 5 | 10 |
| Dazzle, Mimic, Billy, Pinch, Gnaw, Cache | 4 | 13 |
| Nimble, Urchin, Quill, Clint, Skim | 3 | 17 |
| Lowest-paying targets | 1 | 50 |
Ram is the target to farm on repeat — top of the payout table at 5 tokens, so ten clean kills buy a fruit, and the gold and key it drops on top make the run pay for itself. Everything else on the board is a slower version of the same trade. The full list of targets, payouts, and the rest of the token shop lives in every bounty target and reward.
 Ancient Relic Recycler: The Passive Trickle
The Ancient Relic Recycler feeds Ancient Relics into a loot table that includes all five Starfruit, so late-game bases print a slow supply without spending any shop currency. It's Ancient Technology unlocked at level 74 for 3 Ancient Technology Points, and the build cost is steep enough that it's an endgame project rather than something you slot in early:
| Material | Amount |
|---|---|
 Paloxite Ingot Paloxite Ingot | 50 |
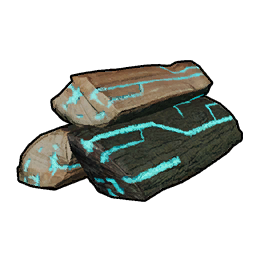 Mythical Wood Mythical Wood | 50 |
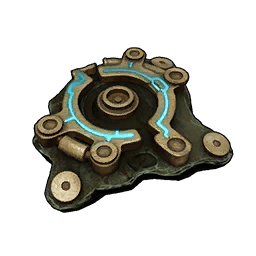 Ancient Civilization Parts Ancient Civilization Parts | 30 |
 Ancient Civilization Core Ancient Civilization Core | 20 |
Better relics mean better odds, but the numbers are small either way — this is a background trickle, not a farm you can aim at. Recycling a Glistening Ancient Relic gives roughly a 1% shot at some Starfruit once you add the five entries together, so plan on around 90 of them per fruit; Decayed Ancient Relics need closer to 190. Each hit gives exactly one fruit.
| Relic recycled | Each numbered Starfruit | Ripe Starfruit |
|---|---|---|
 Glistening Ancient Relic Glistening Ancient Relic | 0.242% | 0.097% |
 Glowing Ancient Relic Glowing Ancient Relic | 0.202% | 0.081% |
 Gorgeous Ancient Relic Gorgeous Ancient Relic | 0.168% | 0.067% |
 Dormant Ancient Relic Dormant Ancient Relic | 0.140% | 0.056% |
 Decayed Ancient Relic Decayed Ancient Relic | 0.117% | 0.047% |
Relics themselves are a World Tree resource. Top-grade treasure chests there hand over 1–3 Glistening Ancient Relics every single time, the elemental-sealed chests drop up to 10 Decayed relics at 43.8%, and two expeditions bring them home while you're offline: World Tree Subterrenean City Ruins (Hard, 60 minutes) returns 1–3 Decayed, and The World Tree's Forbidden Area (Very Hard, 120 minutes) returns 2–4 Glistening. Park expeditions on those two and the recycler feeds itself.
 Which Pals Are Worth a Starfruit
Ranks are not free stats you sprinkle around — they raise a Pal's combat numbers and step its partner skill up a level, so the fruit is worth most on a Pal you'll never replace. Frostallion is the clean example: its Icy Steed partner skill gives +10% ranged attack at level 1 and +40% at level 5, and every star is one level up that ladder. Compare the whole ladder for your own team on the partner skill list.
The other half of the decision is how painful duplicates are. Six of the strongest Pals in the game have no wild spawn spots at all — the only way to get a second one is to breed a pair you already own with itself, which means catching or fighting your way to two of them first. Those are exactly the Pals to spend fruit on:
| Pal | Wild spawns | Only breeding combo | Why the fruit is worth it |
|---|---|---|---|
| Frostallion | None | Frostallion × Frostallion | Partner skill climbs +10% → +40% ranged attack across its five levels |
 Jetragon Jetragon | None | Jetragon × Jetragon | The flagship mount — you keep one forever, so every star pays off for the rest of the save |
 Paladius Paladius | None | Paladius × Paladius | A single level 60 alpha pin on the map — a duplicate is a whole second hunt |
 Necromus Necromus | None | Necromus × Necromus | Fixed encounter like Paladius, with no wild population behind it |
 Bellanoir Bellanoir | None | Bellanoir × Bellanoir | Raid-altar boss — every copy costs summoning materials and a full raid |
 Astralym Astralym | None | Astralym × Astralym | World Tree boss fight, with no wild population to farm |
Common Pals are the opposite case. Anything with hundreds of spawn spots is cheaper to condense than to buy fruit for — go catch five and let the machine do it. Save the fruit for the six above, for a perfect-passive breeding product you refuse to feed to the condenser, and for whatever support Pal you keep out permanently.
 Starfruit vs the Pal Essence Condenser
The free path to the same stars is the Pal Essence Condenser, Ancient Technology at level 14 for 2 points, which combines several Pals of the same type into one higher-ranked keeper. It costs no currency, but it eats duplicates, and the batch each star demands grows as you climb — which is why a breeding line pumping out copies is the real engine behind a maxed Pal. Starfruit just buys you out of that loop one star at a time.
In practice you use both: condense the Pals you can catch in bulk, and spend fruit on the ones you can't. The full rank-up guide covers the condenser system and the work-suitability handbooks, and how to min-max Pals shows where ranks sit next to IVs, passives, and souls.
Related Guides
Everything that feeds a Starfruit habit, plus what to do with the ranked Pal afterwards:
- All Palworld guides and the interactive map
- How to Rank Up Pals: Condenser, Ripe Starfruit, and Handbooks
- How to Farm Dog Coins: Best Sources and Medal Shop Prices
- List of All Bounty Targets and Token Rewards
- How to Min-Max Pals: IVs, Passives, Souls, and Condensing
- Best Support Pals: Healers, Party Buffs, and Drop Rate Boosters
- What to Buy from Merchants: Best Items Worth Your Gold
- Palworld Partner Skill List and Rank Scaling