How to Eat Food and Feed Pals: Hunger and Feed Box
Every way to eat food and feed Pals in Palworld — what an empty hunger bar costs you, the three ways to feed a party Pal, the Feed Box at level 4, all five Feed Bags, and exactly how much each Pal eats.
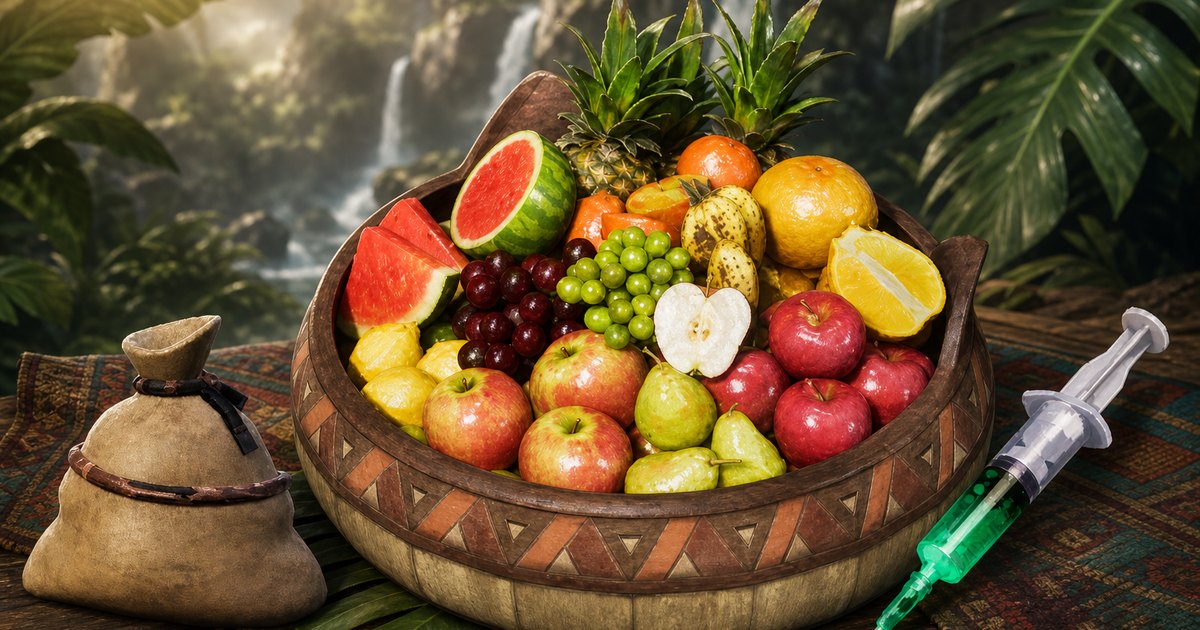
Hunger runs on two separate clocks in Palworld: yours, and one for every Pal you own. Let yours empty and your HP bleeds away until you drop; let a base Pal's empty and its Attack, Defense and Work Speed all fall by 20% until something ends up in its mouth. This covers eating from your own bag, the three ways to feed a Pal you have out with you, the 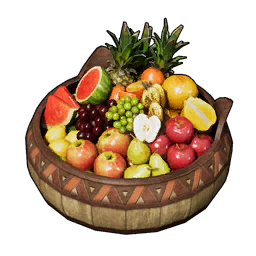 Feed Box that handles a whole base on its own, and exactly how much food each Pal needs to top off.
What the Hunger Bar Actually Does
Your bar and a Pal's bar punish you differently. Yours is a hard fail state — once it hits zero you take continuous damage with nothing stopping it, so a long trip without food kills you as surely as a boss does. A Pal's bar is a soft tax that is easy to ignore for hours: nothing dies, the numbers just quietly get worse, and a base that looks busy is producing a fifth less than it should. The starving penalty is the one that matters, because it doubles the hungry penalty and it does not time out — it sits there until the Pal eats.
| State | Who It Hits | What It Costs | How to Clear It |
|---|---|---|---|
| Bar draining | You | Nothing yet — the bar is just a timer | Eat any time it dips below full |
| Bar empty | You | HP drains continuously until you go down | Eat immediately, anything will do |
| Hungry | Any Pal | Attack, Defense and Work Speed all −10% | Stock the Feed Box or hand-feed it |
| Starving | Any Pal | The same three penalties double to −20% | Feed it right now — this does not wear off |
| Depressed | Base Pals left hungry | Work Speed −20%, Move Speed −10% |  High Grade Medical Supplies High Grade Medical Supplies |
The Depressed row is the real cost of a neglected base. Hunger drags SAN down with it, and once a Pal bottoms out it picks up a condition that food alone will not fix — you end up crafting medicine for a problem that 20 Wood worth of Feed Box would have prevented. The full list of what a base Pal can catch is in the list of all sicknesses and injuries.
 How to Eat Food
Eating is an inventory action, not a hotbar one. Open your bag, find the food, and either drag the stack onto your character on the left side of the screen or hit the Use option on it — right-click does the job on mouse and keyboard. The game refuses the input while your bar is completely full, so if nothing happens when you click, you are not hungry yet and the food is not being wasted.
The three ways to get food into yourself, in order of how little thought they need:
- Drag the stack from your inventory onto your character model. Fastest with a mouse.
- Select the stack and pick Use. Works the same on a controller.
- Carry any Feed Bag and stop thinking about it — anything sitting in a food slot gets eaten automatically the moment your bar dips.
 Cooked Meals That Buff You Too
Once you have a Cooking Pot at technology level 17, food stops being just a hunger fix. A lot of dishes carry a timed buff on top of their satiety value, and those buffs apply to you — a Pal eating the same dish from a Feed Box only gets the hunger back. Mammorest Curry is the standout at 418 hunger with a flat +25% Attack, which is a bigger boost than most weapon upgrades give you, and Galeclaw Nikujaga is its defensive twin at +25% Defense for a fraction of the ingredients. The two situational picks are worth knowing about before a hard fight: Seafood Pasta cancels explosion damage outright, and Salt-Grilled Skutlass stops knockback and flinching, which makes tanking a boss's melee combo far less annoying.
| Meal | Hunger | SAN | Buff While It Lasts |
|---|---|---|---|
| Mammorest Curry | 418 | 52 | Attack +25% |
| Cheeseburger | 338 | 22 | Defense +10%, stays full longer |
 Broncherry Fried Noodles Broncherry Fried Noodles | 321 | 40 | Ranged Attack +20% |
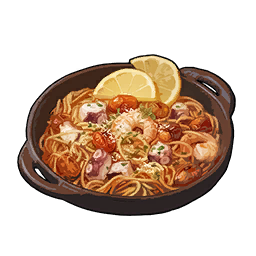 Seafood Pasta Seafood Pasta | 193 | 15 | Nullifies explosion damage |
 Mushroom Quiche Mushroom Quiche | 184 | 23 | Slower SAN loss, stays full longer |
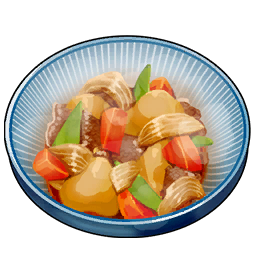 Galeclaw Nikujaga Galeclaw Nikujaga | 150 | 19 | Defense +25% |
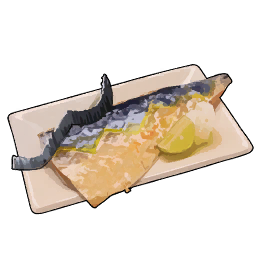 Salt-Grilled Skutlass Salt-Grilled Skutlass | 90 | 10 | No knockback or flinching |
 Feed Bags Eat For You
The Small Feed Bag is one technology point at level 9 and it removes the entire chore. Food parked in a food slot is eaten automatically when you or a party Pal gets hungry, so you stop opening your bag mid-fight and stop watching a Pal starve while you are busy shooting. Carrying two bags does nothing — the slots come from the best one you hold, not from the stack. Each tier costs more Fiber and Leather than the last for one extra slot, and the jump worth saving for is the Large Feed Bag at level 23, which gets you to three slots long before Hardwood and Carbon Fiber enter the picture.
| Feed Bag | Tech Level | Points | Food Slots | Materials |
|---|---|---|---|---|
| Small Feed Bag | 9 | 1 | 1 | Wood x5, Fiber x10, Leather x3 |
 Average Feed Bag Average Feed Bag | 14 | 2 | 2 | Wood x10, Fiber x30, Leather x10 |
 Large Feed Bag Large Feed Bag | 23 | 3 | 3 | Wood x20, Fiber x50, Leather x20 |
 Huge Feed Bag Huge Feed Bag | 36 | 4 | 4 | Hardwood x30, Fiber x90, Leather x35, Carbon Fiber x10 |
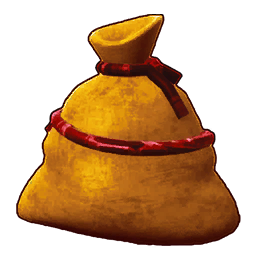 Giant Feed Bag Giant Feed Bag | 47 | 5 | 5 | Hardwood x50, Fiber x200, Leather x50, Carbon Fiber x20 |
Weapon holsters, accessory boxes and inventory pouches all work on the same one-of-each rule, and the full breakdown of every slot upgrade in the game is in the weapon and food slots guide.
 How to Feed a Pal in Your Party
A Pal you have summoned does not touch the Feed Box back home, so its bar drains the whole time it is out fighting or hauling for you. There are three ways to top it off, and the third one is the only one you should be relying on after level 9. Note that a hungry party Pal loses the same 10% of Attack and Defense a base Pal does, so a long expedition without food quietly halves the value of bringing a good combat Pal at all.
Pick whichever fits the moment:
- From your inventory. Select the food and choose Use while the Pal is out — right-click on keyboard. The food goes to the summoned Pal rather than to you if the Pal is the hungrier of the two.
- From the Pal itself. Walk up to it, open its menu, and choose the feed option. Useful when you have several Pals out and want to pick which one eats.
- From a Feed Bag. Anything in a food slot is handed to a hungry party Pal automatically. This is the reason the Small Feed Bag is worth its technology point on the day you unlock it.
How to Feed Pals at Your Base
The Feed Box is technology level 4, two points, and 20 Wood — it is the cheapest permanent fix to anything in the game. Drop one anywhere inside the base circle, throw food in it, and every working Pal walks over and eats on its own when its bar gets low. One box covers a whole base; there is no benefit to building a second beyond having less walking. Build it the moment you place your first Palbox, because the alternative is hand-feeding a dozen Pals forever.
The upgrade is the 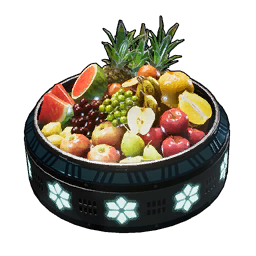 Cold Food Box at level 51, which is the same feeding station with a Cooling slot bolted on — assign a Pal with the Cooling work suitability and the food inside rots far more slowly. That matters once you are stocking cooked dishes instead of berries, since a box full of meals is worth real crafting time.
| Structure | Tech Level | Points | Materials | What It Adds |
|---|---|---|---|---|
| Feed Box | 4 | 2 | Wood x20 | Base Pals feed themselves |
| Cold Food Box | 51 | 2 | Pal Metal Ingot x20, Plasteel x20, Cryogenic Coolant x15 | Same, plus a Cooling slot that slows spoilage |
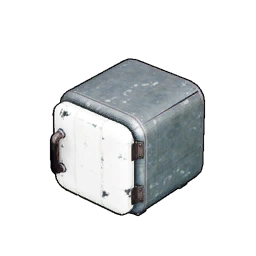 Cooler Box Cooler Box | 13 | 2 | Ingot x10, Stone x10, Ice Organ x2 | Cheap cold storage for your cooked stock |
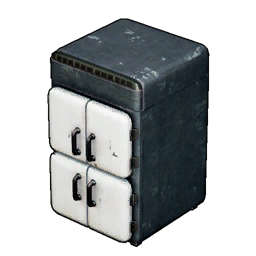 Refrigerator Refrigerator | 38 | 2 | Refined Ingot x50, Polymer x20, Cryogenic Coolant x10, Circuit Board x5 | Large cold storage, 50 power |
The Cooler Box at level 13 is the one people skip and should not — two Ice Organs is nothing, and it keeps your good meals from evaporating while you play. The whole spoilage system, including the sort trick that resets a stack's timer, is broken down in the food expiration guide, and the ranked list of who to put in that Cooling slot is in best Pals for Cooling.
How Much Each Pal Eats
Every Pal drains hunger at the same base rate, so the only thing that decides how often one gets hungry is the size of its meter — and those range from 100 all the way to 730. Thirty-nine Pals sit at the 100 floor, which means a Chikipi pen empties the Feed Box far more often than its tiny appetite suggests, while the 30 Pals with meters of 600 or more can go most of a play session between meals. Food per meal is the other half: a big Pal takes up to 9 units in one sitting, so a late-game base burns through a stack much faster than an early one even though it visits the box less.
The last column is the practical one. Red Berries restore 15 hunger each, so filling one Bastigor costs 49 of them — that is a whole Berry Plantation harvest for a single Pal, and it is the point where raw foraged food stops keeping up and cooking starts paying for itself.
| Pal | Size | Hunger Meter | Food Per Meal | Red Berries to Fill |
|---|---|---|---|---|
 Chikipi Chikipi | XS | 100 | 1 | 7 |
| Lamball | XS | 100 | 1 | 7 |
 Eikthyrdeer Eikthyrdeer | L | 140 | 2 | 10 |
 Caprity Caprity | S | 150 | 2 | 10 |
 Dumud Dumud | M | 230 | 3 | 16 |
 Mossanda Mossanda | L | 280 | 4 | 19 |
 Mammorest Mammorest | XL | 400 | 6 | 27 |
 Grizzbolt Grizzbolt | L | 410 | 6 | 28 |
 Anubis Anubis | M | 540 | 8 | 36 |
 Jormuntide Jormuntide | XL | 550 | 8 | 37 |
 Jetragon Jetragon | XL | 600 | 9 | 40 |
 Orserk Orserk | L | 620 | 9 | 42 |
 Bastigor Bastigor | M | 730 | 9 | 49 |
Note that size and appetite do not line up neatly — Bastigor is a medium Pal with the biggest hunger meter in the game, and Eikthyrdeer is a large one that eats like a starter. Meter size is set per Pal, not per size class, so check the Pal you actually plan to park in a base rather than guessing from its silhouette.
 What to Keep in the Feed Box
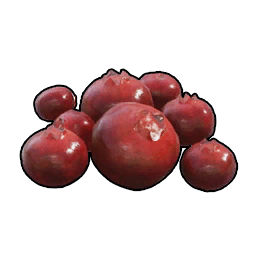
Cheap and renewable beats expensive every time here, because Pals do not care what a meal cost you — 15 hunger is 15 hunger whether it came off a bush or out of a Cooking Pot. Red Berries are the default filler and they are effectively free: a Berry Plantation is technology level 5 for 3 Berry Seeds, 10 Wood and 10 Stone, and it grows a 10-berry harvest in 3 minutes, the fastest crop cycle in the game. There are also 1,906 Red Berry bushes on the map, so the early game never needs a plantation at all — the Red Berry layer on the interactive map shows every one.
The one upgrade worth making early is Baked Berries: a single Red Berry on a Campfire at technology level 2 becomes 21 hunger instead of 15, a 40% return for one step of work you were going to do anyway. At the other end, keep cakes out of the box entirely — a Cake is 656 hunger, enough to fill almost any Pal in one bite, and a base Pal will happily eat one that you spent 8 Eggs and 7 Milk on. Cakes belong in the Breeding Farm.
| Food | Hunger | SAN | Where It Comes From |
|---|---|---|---|
| Red Berries | 15 | — | 1,906 map bushes, Berry Plantation (level 5), Caprity ranch |
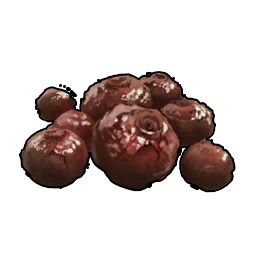 Baked Berries Baked Berries | 21 | 1 | 1 Red Berry on a Campfire (level 2) |
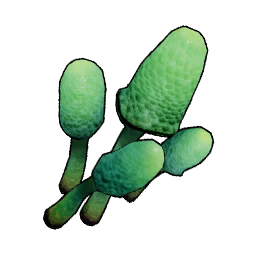 Cavern Mushroom Cavern Mushroom | 15 | — | 1,445 grotto nodes, expedition rewards |
 Egg Egg | 16 | — | Chikipi ranch, 200 Gold from merchants |
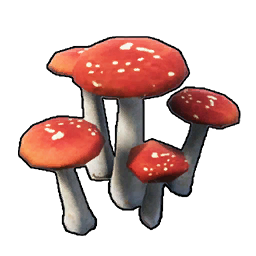 Mushroom Mushroom | 13 | — | 274 map nodes, Shroomer ranch |
 Milk Milk | 12 | — | Mozzarina ranch, 200 Gold from merchants |
 Salad Salad | 84 | 11 | 2 Lettuce + 2 Tomato in a Cooking Pot (level 17) |
 Roast Reindrix Roast Reindrix | 252 | 1 | 1 Reindrix Venison in a Cooking Pot |
 Cake Cake | 656 | 82 | Breeding food — do not stock it |
Ranch Pals That Restock It For You
A Ranch turns the whole problem into a background process. Six Pals drop food onto the ranch floor on a timer, and two of them are catchable in the first hour: Caprity produces Red Berries and Chikipi produces Eggs, both at Ranching rank 1. Put a pair of Caprity on a ranch next to the Feed Box and your base feeds itself without you ever opening a menu. Mozzarina is the mid-game pick because Milk feeds into the Cake recipe you will want for breeding, and Beegarde at rank 3 is the only source of Honey in the game — the last ingredient in that same recipe.
| Pal | Produces | Hunger Value | Ranching Rank |
|---|---|---|---|
| Caprity | Red Berries | 15 | 1 |
| Chikipi | Egg | 16 | 1 |
 Woolipop Woolipop |  Cotton Candy Cotton Candy | 5 | 1 |
 Mozzarina Mozzarina | Milk | 12 | 2 |
 Shroomer Shroomer | Mushroom | 13 | 3 |
 Beegarde Beegarde |  Honey Honey | 10 | 3 |
Feed Box before you build anything else at a new base — 20 Wood at technology level 4 saves you from a permanent −10% to every worker's output. Then grab the Small Feed Bag at level 9 for one point, and hunger stops being something you manage at all.Summary
Eat by dragging food onto your character in the inventory or selecting Use on the stack, and let a Feed Bag do it automatically from level 9 onward. Feed a party Pal from your inventory, from its own menu, or from that same Feed Bag. Feed a base with one Feed Box at technology level 4 for 20 Wood, kept full of Red Berries early and cooked dishes later, with a Ranch of Caprity and Chikipi restocking it. Hungry Pals lose 10% of their Attack, Defense and Work Speed and starving ones lose 20%, so an empty box is the most expensive thing in your base.
Related Guides
Hubs:
Food and cooking:
Keeping a base running: