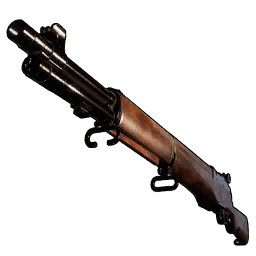
Single-Shot Rifle Schematic Location and Stats
Where the Legendary Single-Shot Rifle schematic drops in Palworld — the flat 3% roll off Alpha Verdash at level 35, all four Forest supply drop rates from 5.23% down to 0.04%, the 1,100 attack one-round stat card at Tech Lv 36, and the full 40 Ore craft.
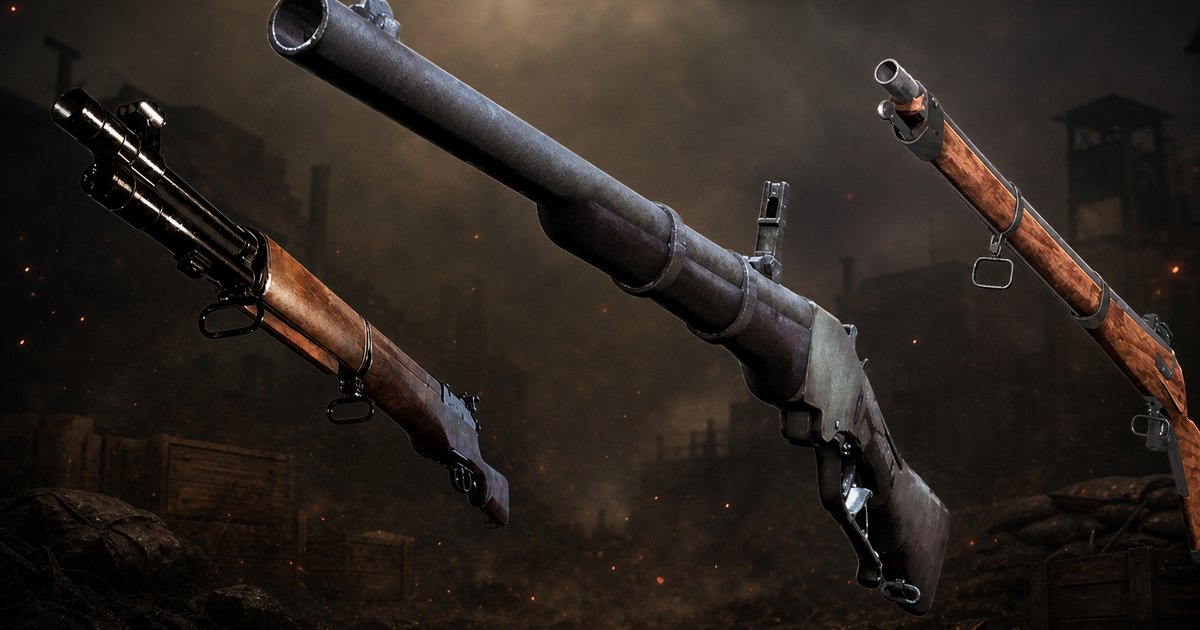
The Single-Shot Rifle unlocks at Technology Lv 36 and puts 1,100 damage into one bullet, which is more per trigger pull than anything else in its class until Tech Lv 41. This guide covers the full stat card, the one Alpha that hands out the Legendary schematic at a flat 3%, every other pool the four tiers sit in, how many runs it actually takes, and the whole craft traced back to raw Ore.
One number frames everything else: the magazine holds one round. You fire, you reload, and the fight is decided by whether that shot landed. That makes it the purest burst weapon in the gun tier list and the reason a Legendary version is worth chasing at all — rarity multiplies the only stat this gun has.
 Single-Shot Rifle Stats
1,100 Base Attack is the seventh-highest per-shot number of any rifle in the game, and every rifle above it unlocks later — the next one up, the Semi-Auto Rifle, is five tech levels away. Against the Musket you have been carrying since Lv 21 it is +100 attack and five times the durability. The catch is the reload: 1,100 is also your entire damage-per-magazine, which is second-lowest in the class and beaten only by the Musket you are replacing.
| Stat | Single-Shot Rifle |
|---|---|
| Weapon class | Assault Rifle |
| Base Attack | 1,100 |
| Magazine | 1 round |
| Damage per magazine | 1,100 |
| Durability | 1,000 |
| Weight | 20 |
| Technology level | Lv 36, 3 Technology Points |
| Crafting station | Weapon Assembly Line (unlocks at Lv 32, needs power) |
| Crafting work | 70,000 |
| Ammo |  Rifle Ammo — Lv 36, 2 points Rifle Ammo — Lv 36, 2 points |
| Legendary schematic |  Single-Shot Rifle Schematic 4 Single-Shot Rifle Schematic 4 |
| Item value | 26,160 Gold |
Attack numbers only mean something against weapons of the same class, because a rifle round and a shotgun spread are counted on completely different fire rates. Inside the rifle class the honest read is that this is a marksman weapon dressed as a starter gun: it out-hits every rifle you can build at Lv 36, it holds up for 1,000 shots, and it asks you to actually aim. Miss, and you eat whatever the target throws back during the reload.
Where the Legendary Schematic Drops
All four tiers share one pool of Forest chests, camps and fishing spots, and each tier then picks up its own supply-drop rate. The column that decides your plan is the first one: Alpha Verdash drops the Legendary schematic at 3%, and no other tier drops from it at all. That is 75 times the odds of the same schematic falling out of a Forest supply drop, off a fixed boss you can walk back to and kill again.
| Schematic | Crafts | Alpha Verdash | Forest supply drop | Tier 1 maps | Chests, camps, fishing |
|---|---|---|---|---|---|
| Schematic 1 | Uncommon | — | 5.23% | — | Yes |
| Schematic 2 | Rare | — | 1.05% | Yes | Yes |
| Schematic 3 | Epic | — | 0.21% | Yes | Yes |
| Schematic 4 | Legendary | 3.0% | 0.04% | Yes | Yes |
Two more rows earn their place. The tiers step down by a clean factor of five each time, so Schematic 1 turns up on one in nineteen Forest supply drops while the Legendary needs one in 2,500 — a gap of 131×. And Schematic 1 is the only tier locked out of treasure maps, which means digging tier 1 maps never wastes a roll on the tier you are already drowning in. Every schematic in the game looks like the same rolled scroll in your bag, so the four icons above are each tier's own art — that is the only way to tell them apart at a glance.
 Alpha Verdash — the 3% Boss Drop
This is the farm. Alpha Verdash is a level 35 Grass field boss in the Forest, and it is the only Pal in the game whose loot table contains a Single-Shot Rifle Schematic 4. It is a fixed spawn that respawns, so the 3% is a roll you can take over and over rather than a one-shot chest. The timing is almost perfect: the gun's tech node is Lv 36 and the boss is Lv 35, so the thing that drops its best version is sitting right where you unlock the recipe.
| Fight | Alpha Verdash |
|---|---|
| Level | 35 |
| Element | Grass — bring Fire |
| Damage taken | ×0.24 (a 76% cut, the only thing making this fight long) |
| HP multiplier | ×1.0 — no bonus health |
| Damage dealt | ×1.0 — no bonus damage |
| Base Pal stats | 90 HP · 100 melee · 115 ranged · 90 defence |
| Region | Forest |
| Map | Show Alpha Verdash's pin |
The stat block is friendly for an Alpha: no HP buff and no damage buff, just the flat 76% damage reduction. Verdash cannot burst you down — it quarters your DPS instead, so an under-geared run turns a short fight into a long one and eventually runs your ammo dry. Beat it with Fire damage rather than patience. The loot is worth the trip even when the schematic roll fails:
| Drop | Chance | Amount |
|---|---|---|
 Ancient Civilization Parts Ancient Civilization Parts | 100% | 4-6 |
 Precious Pelt Precious Pelt | 100% | 4-6 |
| Single-Shot Rifle Schematic 4 | 3% | 1 |
Four to six Ancient Civilization Parts every single kill is what makes this a repeatable farm rather than a lottery — those are the currency behind the entire ancient-tech branch. Capturing the Alpha pays the same table, and a caught Verdash is a genuinely good base worker at Handiwork 5 and Gathering 5 with the Grassland Gymnast partner skill, though it is not a mount. The wild version is a different table entirely: it pays Leather and Bone at 100% and no schematic. Only the Alpha counts.
What Verdash Throws At You
At level 35 Verdash has six moves online, and the range bands hide a free win. Four of its six attacks need 500 units or more to fire, and the close-range one stops at 300 — which leaves a dead band between 300 and 500 where only Leaping Roundhouse can touch you. Park yourself in that gap and a six-move boss becomes a one-move boss on a 12-second timer. That is exactly the distance a single-shot rifle wants anyway: close enough to hit, far enough to reload.
| Move | Element | Power | Cooldown | Range | What to do |
|---|---|---|---|---|---|
| Leaping Roundhouse | Grass | 250 | 12s | 0-1200 | The only attack that reaches the dead band — dodge it and you take nothing |
| Grass Tornado | Grass | 200 | 12s | 700-3000 | Its big shot; step inside 700 and it is off the table |
| Stone Cannon | Ground | 120 | 8s | 500-2500 | Hard chip from range, gone once you close |
| Stone Blast | Ground | 80 | 4s | 500-4000 | Constant filler — ignore it and keep firing |
| Seed Machine Gun | Grass | 80 | 4s | 0-300 | Punishes point-blank melee, so do not hug it |
| Wind Cutter | Grass | 40 | 2s | 500-5000 | Chip damage on a 2-second timer at long range |
The elements are the other good news. Four of the six moves are Grass, which gets a bonus against Ground and Water Pals, and the two Ground moves get a bonus against Electric — so nothing in the whole kit hits a Fire Pal for extra damage. Leave the Water starter and the Electric bruiser at home and this fight has no punish for bringing the counter-element team. The cooldowns give you a clean rhythm on top of that: both 250 and 200 power moves sit on 12 seconds, so burst right after one lands and reposition before it comes back up.
 The Fire Team to Bring
Grass takes extra damage from Fire, and with a 76% damage cut in play that multiplier is not a nicety — it is the difference between a fight and a chore. The realistic level-35 answer is Ragnahawk, which spawns from level 32 across 150 spots, more than any other Fire Pal in this band, and doubles as the flying mount that gets you back to the pin. If you want raw numbers instead, Incineram carries the highest melee attack of any Fire Pal you can catch here and Kitsun the highest ranged.
| Pal | Elements | Melee / Ranged | Spawns at | Why bring it |
|---|---|---|---|---|
| Ragnahawk | Fire | 100 / 105 | Lv 32-80 · 150 spots | The practical pick: most spawn spots here, 120 defence and a 1,300 sprint flying mount |
 Incineram Incineram | Fire/Dark | 150 / 100 | Lv 30-40 · 105 spots | Highest melee attack of any Fire Pal in this level band |
 Kitsun Kitsun | Fire | 70 / 115 | Lv 34-38 · 31 spots | Best ranged attack here, but the rarest of the group to find |
 Blazehowl Blazehowl | Fire | 100 / 110 | Lv 30-80 · 56 spots | Balanced attacker with 105 HP; its own Alpha sits at Lv 30 |
 Pyrin Pyrin | Fire | 110 / 95 | Lv 28-80 · 93 spots | Same 1,300 sprint as Ragnahawk but on the ground, and its saddle lands at Tech Lv 29 |
 Arsox Arsox | Fire | 100 / 95 | Lv 14-39 · 108 spots | Catchable twenty levels early, so it is usually already in your box |
 Wixen Wixen | Fire | 50 / 110 | Lv 23-38 · 54 spots | Ranged damage on a light frame — keep it behind you, 50 melee is nothing |
Ragnahawk earns the top slot for a reason that is not damage. Because you are farming a 3% drop, the walk matters more than the fight — a Fire flying mount that carries you to the pin, fights, and carries you out turns a ten-minute round trip into three, and its saddle unlocks at Tech Lv 33, three levels before the gun itself. Incineram hits harder but is Fire/Dark, and its Dark half is the one typing Dragon attacks punish, so it is the pick for this boss rather than a general-purpose answer. Full spawn maps for each are on their Pal pages, and the Alpha Pals database lists every field boss with its own multipliers.
How Many Runs It Actually Takes
A 3% roll sounds thin until you compare it to the alternative. Half of all players have the schematic inside 23 Verdash kills, and the average is 33 — an afternoon, not a project. The same schematic out of Forest supply drops needs 1,733 drops for the same coin flip, which is not a farm anyone finishes. The gap is the whole argument for going to the boss.
| Odds you own it | Alpha Verdash kills (3%) | Forest supply drops (0.04%) |
|---|---|---|
| 50% | 23 | 1,733 |
| 90% | 76 | 5,755 |
| 99% | 152 | 11,511 |
| Average case | 33 | 2,500 |
Read the 90% row rather than the 50% row if you are planning a session, because that is where the tail lives: 76 kills is the number that makes the drop feel guaranteed, and at a couple of minutes a run with a flying mount that is a genuine evening. Pocketpair has never published a per-kill counter or any pity mechanic, so every kill is an independent roll — a dry streak of forty means nothing about the forty-first.
Forest Supply Drops — All Four Tiers
Supply drops give a real percentage for every tier, and this weapon's schematics only appear in the Forest table — the other seven regions do not carry them at all. The curve is steep: each tier is roughly a fifth of the one below it, and the Legendary bottoms out at 0.04%, about one in 2,500 drops.
| Schematic | Crafts | Forest supply drop chance | Drops for a coin flip |
|---|---|---|---|
| Schematic 1 | Uncommon | 5.23% | 13 |
| Schematic 2 | Rare | 1.05% | 66 |
| Schematic 3 | Epic | 0.21% | 330 |
| Schematic 4 | Legendary | 0.04% | 1,733 |
Do not chase the bottom row — chase the top one. Supply drops are the feeder for the Drafting Table rather than a Legendary source in their own right. Call a Forest drop circuit while you are levelling through the thirties, bank Schematic 1s and 2s, and let Verdash handle the Legendary at 3%. Every region's full pool is on the supply drops page.
Chests, Camps, Oil Rigs and Fishing
All four tiers sit in the same wide background pool — this is the loot you collect without going out of your way. The Forest is the hub: its chests and its fishing spots carry every tier, which lines up neatly with the supply drops. Mount Obsidian only contributes enemy camp boss stashes, and the Desert only fishing, so neither is worth a dedicated trip. One row is unique though: the oil rig crates carry the Legendary tier and nothing below it, so every crate you open out there is a straight roll on Schematic 4.
| Source | Regions | Tiers | Map |
|---|---|---|---|
| Treasure chests | Forest, Desert, Mount Obsidian | Forest all four; Desert and Obsidian tier 1 only | 247 · 263 · 137 pins |
| Enemy camp boss stashes | Mount Obsidian | All four | 58 enemy camps |
| Fishing spots | Forest, Desert, Mount Obsidian | All four | 367 spots · 102 rare |
| Oil rig crates | The offshore rigs | Legendary only | — |
| Treasure map digs (tier 1) | Anywhere | Schematics 2, 3, 4 | — |
The fishing row is the one people miss. A weapon schematic turning up on a fishing line is rare enough that most players never try it, and the Forest is somewhere you cross constantly in the thirties — so leaving a rod at a Forest spot between Verdash runs is free rolls, and the same Forest junk hauls also cough up Rifle Ammo outright. The fishing database has the full catch tables, and the fishing guide covers rod tiers and which spots pay.
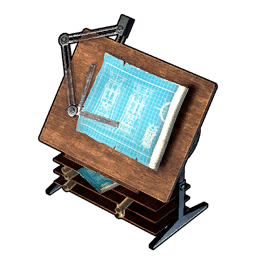 Build It Instead: The Drafting Table Route
The Drafting Table unlocks at Technology Lv 45 for 4 Technology Points and combines five identical schematics into one of the next rarity up. This line supports the whole ladder with no gaps. The timing is far kinder than most weapons here: the gun lands at Lv 36 and the table at Lv 45, so the collect-but-cannot-upgrade window is only nine levels wide.
| Target | Combine cost | Equivalent in Schematic 1s |
|---|---|---|
| Schematic 2 | 5× Schematic 1 | 5 |
| Schematic 3 | 5× Schematic 2 | 25 |
| Schematic 4 (Legendary) | 5× Schematic 3 | 125 |
125 Schematic 1s is the paper worst case, and at a 5.23% supply rate that works out to roughly 2,390 Forest supply drops — which is why this is the backup, not the plan. Twenty-three Verdash kills beat it by an order of magnitude. Bank Schematic 3s until you hold five rather than spending Schematic 1s the moment you can, because those are the rolls you will wish you still had. The table costs 20 Refined Ingot, 10 High Quality Wooden Board and 30 Charcoal to build; the schematic upgrade guide has the full rules.
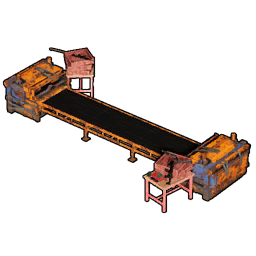 How to Craft the Single-Shot Rifle
Whichever schematic tier you are holding, the recipe never changes: three materials on the Weapon Assembly Line, for 70,000 work. That bench is the real gate rather than the materials — it unlocks at Tech Lv 32 for 3 points, costs 100 Ingot, 20 Wooden Board, 20 Nail and 10 High Quality Pal Oil to place, and it draws 200 power, so your base needs a generator running before any of this happens.
| Material | Qty | Made at | From |
|---|---|---|---|
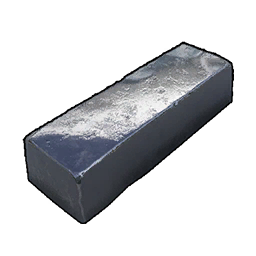 Refined Ingot Refined Ingot | 20 | Improved Furnace (Tech Lv 34) | 2 Ore + 2 Coal each |
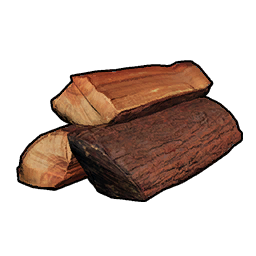 Hardwood Hardwood | 20 | Not craftable | Pal drops, or 100 Gold each from shops |
 Polymer Polymer | 5 | Production Assembly Line (Tech Lv 29) | 2 High Quality Pal Oil + 1 Sulfur each |
Trace all three down to things you pick off the ground and one Single-Shot Rifle works out to 40 Ore, 40 Coal, 20 Hardwood, 10 High Quality Pal Oil and 5 Sulfur. For comparison, the Semi-Auto Rifle five tech levels later wants 35 Refined Ingot and 10 Polymer — nearly double the metal and double the oil — for +50 attack. Per point of damage, this is the cheapest serious rifle in the game:
| Raw material | Total for one rifle | Where to get it |
|---|---|---|
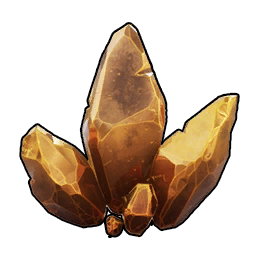 Ore Ore | 40 | 1,632 nodes |
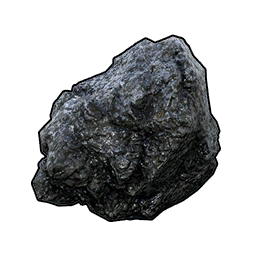 Coal Coal | 40 | 824 nodes |
| Hardwood | 20 | Four Pals at 100%, or 2,000 Gold from shops |
 High Quality Pal Oil High Quality Pal Oil | 10 | Mammorest at 5-10 per kill, 100% · 484 spots |
 Sulfur Sulfur | 5 | 655 nodes |
Only the Hardwood needs a plan, because it is the one material with no recipe behind it — you cannot mill it, smelt it or grow it. Two Mammorest kills cover the entire oil requirement on their own, Ore is spread across 1,632 nodes, and Sulfur — the rarest of the three minerals at 655 — is only needed five times. Everything except the Hardwood is a walk.
 Fastest Hardwood Farm
Hardwood comes off the sturdy trees in deserts, volcanoes and snowfields, but chopping is slow and four Pals drop it at 100% every kill. Palumba is the pick at your level — it spawns from 32, pays 2-4 a kill, and five or six of them finish a rifle. Wumpo Botan drops the most per kill but only appears from level 38, so it is the return trip rather than the first one.
| Pal | Hardwood per kill | Drop rate | Spawns at |
|---|---|---|---|
 Wumpo Botan Wumpo Botan | 2-5 | 100% | Lv 38-80 · 83 spots |
| Palumba | 2-4 | 100% | Lv 32-50 · 42 spots |
 Mossanda Mossanda | 1-3 | 100% | Lv 27-80 · 52 spots |
 Mossanda Lux Mossanda Lux | 1-3 | 100% | Lv 31-80 · 40 spots |
If you would rather not hunt at all, the Desert, Village and Volcano shops all stock Hardwood at 100 Gold, and so does the Wandering Trader — so a full rifle's worth is 2,000 Gold, which is pocket change next to the 26,160 the finished gun is worth. Buying is the right call when you are mid-farm and just want the weapon built; the merchants page has every stock list.
Can You Even Build It Yet?
Technology Lv 36 is the headline number, but four earlier nodes are what actually gate people, and two of them need electricity. Work down this list before you go schematic hunting, because a Legendary schematic in your bag does nothing until the bench exists to use it. The good news is the last row: the gun and its ammo unlock at the same level, so there is no dry window where you own a rifle and nothing to load it with.
| Requirement | Unlocks at | Why you need it |
|---|---|---|
| Weapon Workbench | Tech Lv 20, 3 points | Where Rifle Ammo is made — 15 Ingot + 10 Wooden Board + 10 Nail |
| Production Assembly Line | Tech Lv 29, 3 points | Polymer's bench — needs power |
| Weapon Assembly Line | Tech Lv 32, 3 points | The bench that builds the rifle itself — needs 200 power |
| Polymer | Tech Lv 33, 2 points | 5 of them per rifle |
| Improved Furnace | Tech Lv 34, 4 points | Refined Ingot — 20 per rifle |
| Single-Shot Rifle | Tech Lv 36, 3 points | The weapon recipe |
| Rifle Ammo | Tech Lv 36, 2 points | Something to fire — same level as the gun |
| Drafting Table | Tech Lv 45, 4 points | Combining schematics upward — nine levels after the gun |
The power requirement is the genuine sequencing note and it catches people out: both assembly lines are electric, so a base with no generator cannot build this weapon no matter how many schematics you are holding. Every point here is an ordinary Technology Point rather than the Ancient kind you pry out of tower bosses, and the total spend from Lv 20 to Lv 36 is 20 points — the full tree is on the technology page.
 How It Compares to Every Other Rifle
Ranked on raw attack the Single-Shot Rifle is seventh of fourteen, and that number is misleading in your favour: every rifle above it unlocks at Tech Lv 41 or later, most of them far later. Between Lv 36 and Lv 41 nothing in the class comes close, and the Musket it replaces is a 200-durability relic. Where it genuinely loses is sustained damage — one round per magazine means the Assault Rifle out-damages it over a full clip despite hitting for a third as much per bullet.
| Rifle | Tech | Base Attack | Magazine | Durability | Damage per magazine |
|---|---|---|---|---|---|
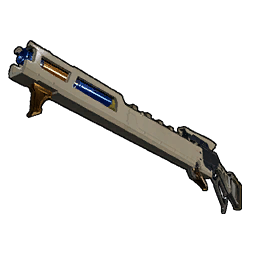 Charge Rifle Charge Rifle | 65 | 12,500 | 6 | 200 | 75,000 |
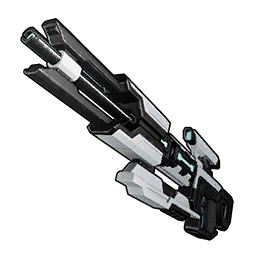 Plasma Rifle Plasma Rifle | 78 | 1,860 | 38 | 25,000 | 70,680 |
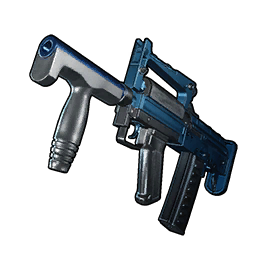 Heavy Assault Rifle Heavy Assault Rifle | 70 | 1,615 | 30 | 5,500 | 48,450 |
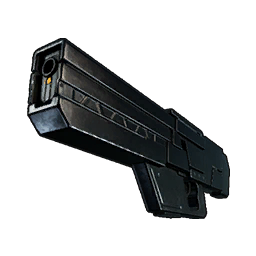 Laser Rifle Laser Rifle | 51 | 1,250 | 30 | 3,000 | 37,500 |
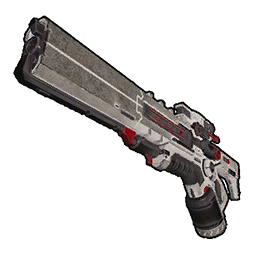 Overheat Rifle Overheat Rifle | 64 | 1,225 | — | 3,000 | — (overheats instead) |
| Semi-Auto Rifle | 41 | 1,150 | 8 | 1,000 | 9,200 |
| Single-Shot Rifle | 36 | 1,100 | 1 | 1,000 | 1,100 |
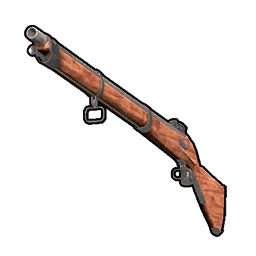 Musket Musket | 21 | 1,000 | 1 | 200 | 1,000 |
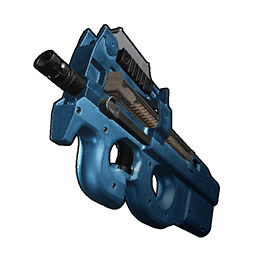 Combat SMG Combat SMG | 68 | 907 | 42 | 8,000 | 38,094 |
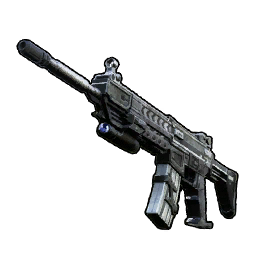 Assault Rifle Assault Rifle | 45 | 320 | 20 | 3,000 | 6,400 |
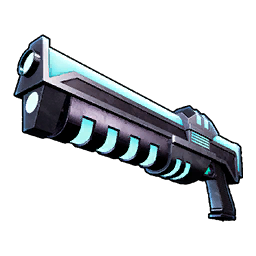 Vortex Beater Vortex Beater | — | 300 | — | 3,000 | — (collab weapon) |
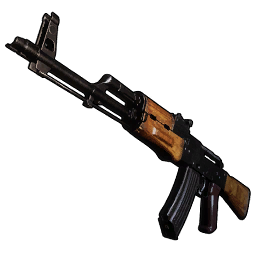 Makeshift Assault Rifle Makeshift Assault Rifle | 31 | 170 | 15 | 1,500 | 2,550 |
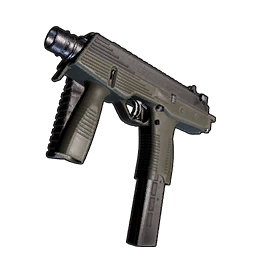 SMG SMG | 37 | 130 | 24 | 2,000 | 3,120 |
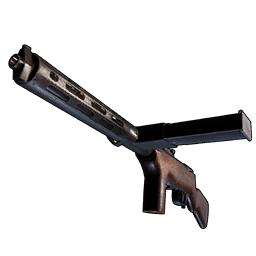 Makeshift SMG Makeshift SMG | 26 | 100 | 24 | 1,000 | 2,400 |
Three rows need a caveat. The Charge Rifle wants a wind-up before every shot, so its headline 12,500 is not a number you land on a moving target — treat it as a siege weapon rather than a rifle. The Overheat Rifle has no magazine at all; it fires until it cooks itself, which is why its damage-per-magazine cell is blank rather than zero. The Vortex Beater is a collab item with no tech node and no listed magazine, so it sits outside the progression entirely. Against the rows that are real comparisons, the Single-Shot Rifle owns the window from Tech 36 to 41 outright, and where it sits in the broader ladder is on the tech-level upgrade path.
What a Legendary Version Actually Gains
Schematic rarity raises the crafted weapon's stats, and the plain Assault Rifle is the one rifle whose five rarity tiers are all laid out end to end. It climbs 320 → 400 → 448 → 512 → 560, which works out to ×1.25, ×1.40, ×1.60 and ×1.75 of base, with durability going 3,000 → 3,000 → 4,000 → 5,000 → 6,000. Rifles scale more gently across rarity than handguns do, but they start from much bigger numbers.
| Rarity | Assault Rifle attack | Assault Rifle durability | Single-Shot (estimated) |
|---|---|---|---|
| Common | 320 | 3,000 | 1,100 |
| Uncommon | 400 | 3,000 | ~1,375 |
| Rare | 448 | 4,000 | ~1,540 |
| Epic | 512 | 5,000 | ~1,760 |
| Legendary | 560 | 6,000 | ~1,925 |
Pocketpair has never published the per-rarity multipliers, and they are not uniform across weapon families — launchers climb far more gently than rifles do — so the right-hand column is the Assault Rifle's own in-class curve applied to 1,100 and should be read as a close estimate. 1,100 is the only number in that column that is certain. The magazine almost certainly stays at one round, because that is the weapon's whole identity, so do not budget for a Legendary that suddenly holds three.
Here is the part worth being blunt about. At an estimated ~1,925 attack, a Legendary Single-Shot Rifle would hit harder per shot than a Common Plasma Rifle — the class's endgame gun, forty-two tech levels later. That is not a novelty weapon, it is a sniper you can own at level 36. What it will never be is a sustained-damage answer: one round is one round at every rarity, so keep something with a magazine for anything that fights back for longer than a few seconds.
Rifle Ammo and Running Costs
This is the expensive part of the weapon, and it is worth planning for. Rifle Ammo is made on the basic Weapon Workbench rather than the electric bench, one craft gives you ten, and at 280 Gold a round from shops it is the priciest common bullet in the game — seven times what Handgun Ammo costs and three times Assault Rifle Ammo. With a one-round magazine, every shot is also a reload, so the count drains faster than the number suggests.
| Ammo | Recipe | Per craft | Station | Unlock |
|---|---|---|---|---|
| Rifle Ammo | 2 Refined Ingot + 2 Gunpowder | 10 | Weapon Workbench | Tech Lv 36, 2 points |
Traced all the way down, ten rounds cost 4 Ore, 4 Coal, 8 Wood and 2 Sulfur — the Wood half is free forever once a Charcoal loop is running in your base, so the real bottleneck is Sulfur. Craft rather than buy whenever you can: 280 Gold a round adds up brutally on a gun that fires one at a time. Caravan, Desert, Dungeon, Volcano and Wander shops all stock it when you are caught short, and every other weapon's ammo cost is on the ammo database.
The Short Answer
Kill Alpha Verdash, the level 35 Grass field boss in the Forest: it is the only Pal that drops the Legendary schematic, it drops it at a flat 3%, and it respawns — half of all players have it inside 23 kills. Bring Fire, and stand between 300 and 500 units out, where five of its six moves cannot reach you. Back it up with Forest supply drops (5.23% for Schematic 1, 0.04% for the Legendary), plus Forest chests, Mount Obsidian camp stashes, oil rig crates and fishing. Build the Uncommon version at Tech Lv 36 immediately — the whole gun is 40 Ore, 40 Coal, 20 Hardwood, 10 High Quality Pal Oil and 5 Sulfur — make your own Rifle Ammo instead of paying 280 Gold a round, and treat the Drafting Table at Lv 45 as the backup route, not the plan.
Related Guides
More on rifles, schematics and Alpha farming:
- How to Upgrade Schematics to Legendary at the Drafting Table
- All Legendary Weapon Schematic Locations in Palworld
- Best Legendary Schematics and How to Get Them
- Heavy Assault Rifle Schematic Location and Stats
- Makeshift Handgun Schematic Location and Stats
- Double-Barreled Shotgun Schematic Location and Stats
- Alpha Pal Hunting Route: Every Field Boss by Level
- Best Guns Tier List: All Guns Ranked
- Best Weapons at Every Tech Level: Full Upgrade Path
- How to Get Pal Organs and Other Rare Drops
- All Alpha Pals: levels and boss multipliers
- Every schematic in Palworld and where it drops
- Palworld weapons database: every weapon compared
- Palworld supply drops: full loot pool by region
- Palworld interactive map: every node, chest and camp
- All Palworld guides