Sakurajima Update: All New Pals, Weapons, and Features
Everything the Sakurajima update added — the island's four named zones with 15 dungeon entrances and 347 loot caches, all 24 new Pals, Selyne's Moonflower Tower, the Blazamut Ryu raid, Crude Oil and Plasteel, and the seven new guns with their tech levels and materials.
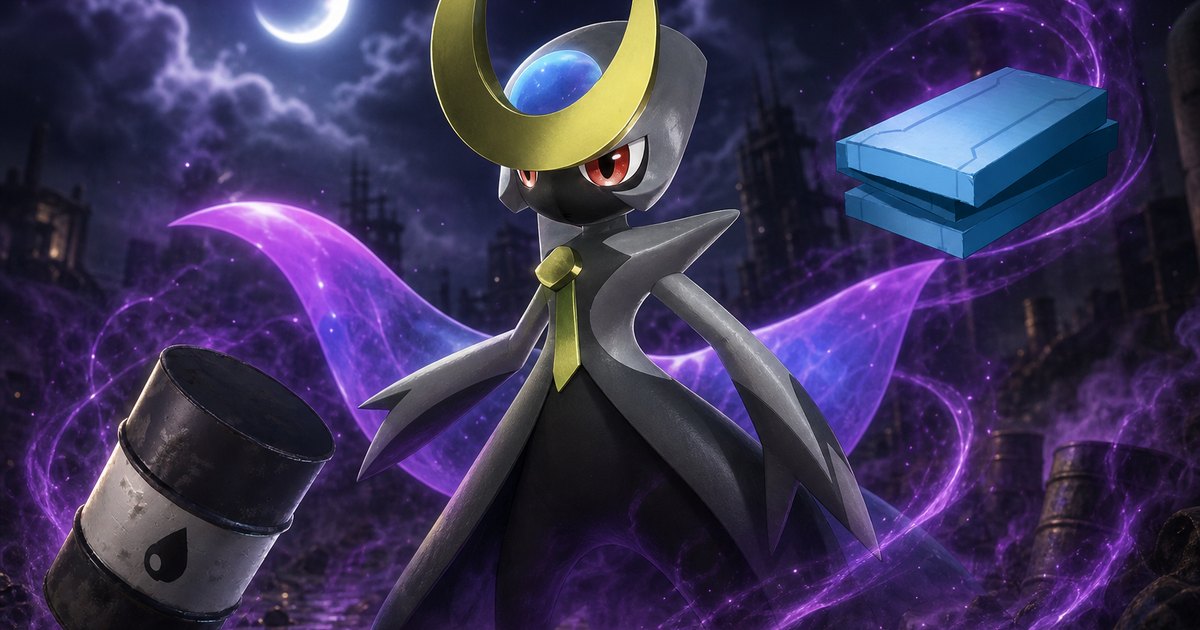
The Sakurajima update (version 0.3.1, June 27, 2024) bolted a whole cherry-blossom island onto the south-west corner of Palpagos and filled it with two dozen Pals, a new tower, a new raid boss and the entire Plasteel gear tier. Everything below is still in the game today — the island, the Pals, the guns and the oil economy all carried straight through into 1.0, so this doubles as the checklist for anything you skipped.
 Everything in the Sakurajima Update
This was the update that turned Palworld's late game into a resource loop rather than a wall. Before it, Pal Metal Ingot was the end of the crafting tree; after it, Crude Oil and Plasteel sat on top and fed seven new weapons and a full armor set. The table is the fast inventory — the row worth clicking first is Crude Oil, because nothing else in the update unlocks without it.
| What Sakurajima added | The number | Where to start |
|---|---|---|
| The island itself | 4 named zones plus the Dancing Sakura Shrine and Moonflower Tower | Palworld Interactive Map |
| New Pals | 24 — 14 brand-new species and 10 subspecies forms | Palworld Paldeck: All Pals and Stats |
| New tower boss | Selyne, fought alongside Saya at Moonflower Tower | How to Beat Hard Mode Saya and Selyne |
| New raid boss | Blazamut Ryu, summoned at Level 55 | How to Get Blazamut Ryu: Slab Locations and Raid Fight |
| New weapons | 7, from the Laser Rifle at Tech 51 to the Gatling Gun at Tech 54 | Best Weapons at Every Tech Level |
| New armor | The Plasteel set — 5 body pieces plus a helmet | Best Armor at Every Tech Level |
| New materials |  Crude Oil and Crude Oil and  Plasteel Plasteel | 185 oil field pins on the map |
| New currency |  Dog Coin, with 128 pickup spots Dog Coin, with 128 pickup spots | How to Farm Dog Coins |
| Dungeon entrances on the island | 15, all leading into Cherry Blossom Cave | Cherry Blossom Cave Guide |
| Loot on the island | 347 loot caches and 68 treasure chests | Sakurajima loot map |
Two progression numbers moved with the patch as well: the player cap went up to 55 and base level topped out at 25, which is what made the Tech 50-56 block reachable in the first place. Both ceilings have been raised again since, so treat those as the numbers of the day rather than today's limits.
 Sakurajima Island: Zones and What's On Them
Sakurajima is one landmass split into four spawn zones plus a shrine and a tower, and each zone has its own Pal roster rather than sharing one island-wide table. The Mushroom Wetlands is the one to land on first — it holds the densest Shroomer population on the map and the entrance chain into Cherry Blossom Cave. The Northern Rock Field is the mining half, the Southern Sandbar is the desert-flavoured strip, and the West Coast is where the water-and-grass overflow lives.
| Zone | What it's known for | Open it on the map |
|---|---|---|
| Sakurajima - Mushroom Wetlands | Shroomer's home ground and the wettest half of the island | Shroomer spawn map |
| Sakurajima - Northern Rock Field | Rock and ore country, and the island's Helzephyr Lux nesting area | Helzephyr Lux spawn map |
| Sakurajima - Southern Sandbar | Sandy south edge, shared by Kikit and Prixter | Kikit spawn map |
| Sakurajima: West Coast | Mixed coast — Elphidran Aqua, Verdash and Wumpo Botan | Elphidran Aqua spawn map |
| Dancing Sakura Shrine | The island's landmark shrine area | Fast travel points |
| Moonflower Tower | Saya and Selyne's arena | All 8 tower boss pins |
For loot, the island is unusually generous per square metre. 347 loot caches and 68 treasure chests sit on Sakurajima alone, and the 15 dungeon entrances all funnel into the same cave type — so a single sweep of the island is worth more than a comparable sweep of the starting grasslands. Turn on both loot layers together and run the coastline; the caches cluster near the shrine and the wetlands.
 All 24 New Pals in the Sakurajima Update
Fourteen of these were completely new species and ten were subspecies forms of Pals that already existed. The split matters for breeding — subspecies inherit their base form's combos, so a Chillet Ignis is reachable through the Palworld Breeding Calculator in ways a brand-new species like Knocklem is not. Tables are split the same way below.
 New Species
This is where the update put its best base Pals. Knocklem landed with 135 defense — a number only a handful of Pals in the entire game beat — and a Mining suitability, which makes it the rare Pal that tanks an assault and still mines afterwards. Selyne is the standout mount at 1600 ride sprint; only ten Pals ride faster. Mimog is the joke pick that isn't a joke: its partner skill opens locked chests, which is the whole reason to carry the Lockpicking Tool v1 line at all.
| Pal | Element | Best work | Why you'd catch it |
|---|---|---|---|
| Selyne | Dark / Neutral | Handiwork | Moonflower Tower boss, 130 HP and a 1600 ride sprint once caught |
| Knocklem | Ground | Mining | 135 defense with Steel Guardian Mode — a mining Pal that survives raids |
 Xenogard Xenogard | Dragon | Mining | 130 defense, 120 shot attack and a 1200 ride sprint |
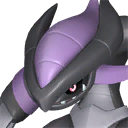 Xenovader Xenovader | Dark | Lumbering | 125 shot attack — the update's best Dark ranged attacker |
 Sootseer Sootseer | Dark / Fire | Farming | 125 shot attack and Grave Robber for loot pickups |
 Mimog Mimog | Neutral | Transporting | Master of Unlocking opens locked chests without a tool |
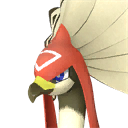 Dazemu Dazemu | Ground | Gathering | 1200 ride sprint — the cheapest fast ground mount in the update |
| Yakumo | Neutral | Gathering | 1080 ride sprint on a rarity-4 Pal you can catch early on the island |
| Shroomer | Grass | Farming | 110 HP, Rampant Spores, and the densest spawns in the Mushroom Wetlands |
 Dogen Dogen | Neutral | Handiwork | Homeward Prayer plus 100 across melee, shot and defense |
 Prixter Prixter | Dark / Ground | Lumbering | 110 shot attack and Phantom Venom for chip damage |
 Kikit Kikit | Ground | Mining | Sandball Soccer — an early-island Mining body for a new base |
 Lullu Lullu | Grass | Planting | Floral Boost, and a Planting Pal you can catch before the tower |
 Croajiro Croajiro | Water | Watering | Leap Stance, and one of the few Watering Pals with real melee |
 New Subspecies Forms
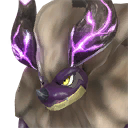
The subspecies block is where the raw stats live. Blazamut Ryu ties the highest melee attack stat in the game at 150, and Menasting Terra pairs 130 defense with a 1200 ride sprint at rarity 10 — the best combined bruiser-mount the update shipped. Below those two, most of these are element swaps that change which base job the Pal is good at: Katress Ignis and Wixen Noct both move onto Kindling, and Shroomer Noct shifts from Farming to Planting.
| Pal | Element | Best work | What the swap changes |
|---|---|---|---|
| Blazamut Ryu | Dragon / Fire | Mining | 150 melee attack — tied for the game's highest, and the raid boss of the patch |
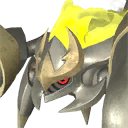 Menasting Terra Menasting Terra | Ground | Mining | 130 defense and a 1200 ride sprint at rarity 10 |
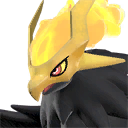 Helzephyr Lux Helzephyr Lux | Dark / Electric | Transporting | 125 shot attack and a 1100 ride sprint flier |
 Quivern Botan Quivern Botan | Dragon / Grass | Planting | Quivern's flight with Planting instead of Transporting |
 Bushi Noct Bushi Noct | Fire / Dark | Lumbering | 130 shot attack, the highest of any subspecies here |
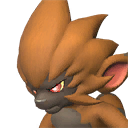 Gorirat Terra Gorirat Terra | Ground | Mining | 110 melee and Full-Power Gorilla Pound for base defense |
 Wixen Noct Wixen Noct | Fire / Dark | Kindling | Black Fox Lord — a Dark-typed Kindling body |
 Katress Ignis Katress Ignis | Dark / Fire | Kindling | Katress moves off Handiwork onto Kindling |
 Shroomer Noct Shroomer Noct | Grass / Dark | Planting | Roiling Spores, and Planting instead of Shroomer's Farming |
 Chillet Ignis Chillet Ignis | Fire / Dragon | Kindling | Sparkling Weasel with a 1050 ride sprint |
Where the Sakurajima Pals Spawn
Some of these Pals are effectively island exclusives — if you want them, this is the only realistic place to farm. Shroomer is the extreme case: 69.5% of every Shroomer spawn point on the map sits in the Mushroom Wetlands, so there is no second location worth flying to. Helzephyr Lux at 62.5% and the Kikit/Prixter pair at 55.7% are close behind. Wixen Noct is the outlier — it's spread across three of the four zones and still only accounts for a quarter of its spawns each, so catch it wherever you happen to land.
| Pal | Zone | Spawn points there | Share of all its spawns |
|---|---|---|---|
| Shroomer | Mushroom Wetlands | 41 | 69.5% |
| Helzephyr Lux | Northern Rock Field | 50 | 62.5% |
| Kikit | Southern Sandbar | 39 | 55.7% |
| Prixter | Southern Sandbar | 39 | 55.7% |
 Elphidran Aqua Elphidran Aqua | West Coast | 24 | 43.6% |
 Verdash Verdash | West Coast | 24 | 28.9% |
 Wumpo Botan Wumpo Botan | West Coast | 24 | 28.9% |
| Wixen Noct | West Coast + Rock Field | 50 each | 27.2% each |
| Shroomer Noct | Mushroom Wetlands | 41 | 21.8% |
 Dumud Gild Dumud Gild | Northern Rock Field | 50 | 16.0% |
 Penking Lux Penking Lux | Mushroom Wetlands | 35 | 13.9% |
| Dazemu | Northern Rock Field | 50 | 12.3% |
 Ghangler Ghangler | Mushroom Wetlands | 35 | 11.1% |
Selyne and the Moonflower Tower
Moonflower Tower is Sakurajima's boss arena and the first tower in the game that pits you against two opponents — Saya fights alongside Selyne rather than throwing her at you solo. Selyne enters the first fight with ×54 HP on top of her normal stats, which is the second-heaviest opening tower multiplier in the game behind Astralym. Her damage and the damage she takes are both unmodified in that first run, so it's a stamina fight rather than a burst-check: bring a Dragon or a heavy Neutral counter for her Dark/Neutral typing and expect to reload.
| Fight | HP multiplier | Damage dealt | Damage taken | Cooldown |
|---|---|---|---|---|
| Moonflower Tower (first) | ×54 | ×1.0 | ×1.0 | ×2.0 |
| Moonflower Tower (hard rematch) | ×93 | ×9.0 | ×0.2 | ×2.5 |
The rematch is a different animal. HP nearly doubles to ×93, her damage output goes up ninefold, and only 20% of yours lands — so the first fight's grind-it-down plan simply runs out of ammo. Full detail on the rematch, including the order to kill the pair in, is in How to Beat Hard Mode Saya and Selyne. The tower is also the best XP loop in the game once you can clear it quickly, which is what the Moonflower Tower XP farm is built around.
Blazamut Ryu: The New Raid Boss
Blazamut Ryu is summoned at a Summoning Altar at Level 55 and is the Dragon/Fire half of the Blazamut pair. The standard version runs ×140 HP and ×2 damage while taking only 40% of yours — heavy, but it's the raid most groups clear first because a Dragon-resistant team plus a Water damage dealer trivialises the Fire half of its kit. Its base 150 melee attack ties for the highest melee stat in the game, so getting hit in melee range is not survivable in mid-tier armor.
| Version | Summon level | HP | Damage dealt | Damage taken |
|---|---|---|---|---|
| Blazamut Ryu | 55 | ×140 | ×2.0 | ×0.4 |
| Blazamut Ryu (Ultra) | 80 | ×500 | ×8.0 | ×0.09 |
Both versions pay out guaranteed rewards rather than rolling for them, which is unusual and makes the standard fight worth repeating on a timer. The Ultra is the version to farm once you can hold it: 10 Ancient Civilization Cores and 10 Training Crystals per clear, plus the Horns of Supremacy headgear that only drops here.
| Reward | Blazamut Ryu (Lv 55) | Blazamut Ryu Ultra (Lv 80) |
|---|---|---|
 Ancient Civilization Core Ancient Civilization Core | 2-4, guaranteed | 10, guaranteed |
 Training Manual (XL) Training Manual (XL) | 5-7, guaranteed | — |
 Training Crystal Training Crystal | — | 10, guaranteed |
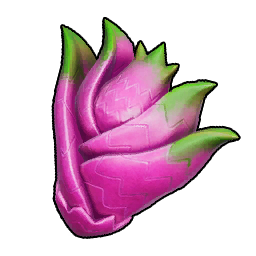 Dragon Skill Fruit: Beam Slicer Dragon Skill Fruit: Beam Slicer | 1, guaranteed | — |
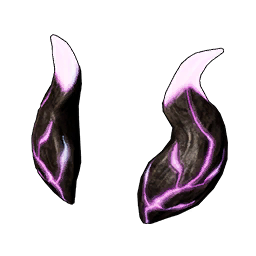 Horns of Supremacy Horns of Supremacy | — | 1, guaranteed |
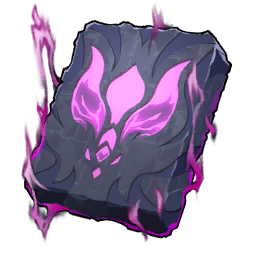 Blazamut Ryu (Ultra) Slab Blazamut Ryu (Ultra) Slab | 1, guaranteed | 1, guaranteed |
| Applied Handbook (choice) | 1 of Mining, Lumbering or Gathering | 2 of Mining, Lumbering or Gathering |
The slab is the important row — clearing the Level 55 fight hands you the summon item for the Ultra, so the two are one chain rather than separate unlocks. Where to find the first slab is covered in How to Get Blazamut Ryu: Slab Locations and Raid Fight.
 Crude Oil, Plasteel, and the Oil Economy
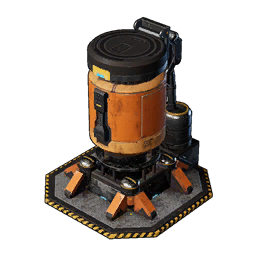
This is the system the whole update hangs off. Crude Oil is not mined by hand in any meaningful quantity — you build an extractor on an oil field and let it run, then refine the output into Plasteel, which every new weapon and armor piece needs. There are 185 oil field pins on the map, and picking a base site on top of one is the single highest-value decision in the Tech 50 bracket.
Crude Oil Extractor
The basic extractor unlocks at Technology Level 50 for 2 points and costs 250 Pal Metal Ingot plus 50 Circuit Boards — a serious bill at the moment you can first afford it, and it must be placed on an oil field inside your base radius. The upgraded High-Pressure version follows one level later at 51, costs 4 Ancient Technology Points instead, and adds Bio Battery and Ancient Civilization Parts to the recipe. Build the basic one first; the high-pressure model is a throughput upgrade, not a gate.
| Structure | Tech level | Point cost | Materials |
|---|---|---|---|
| Crude Oil Extractor | 50 | 2 | 250 Pal Metal Ingot, 50 Circuit Board |
| High-Pressure Crude Oil Extractor | 51 | 4 Ancient | 300 Pal Metal Ingot, 50 Circuit Board, 50 Bio Battery, 10 Ancient Civilization Parts |
Plasteel
Plasteel is the refined product and it is cheap once oil is flowing: 2 Crude Oil plus 5 Ore makes one bar, unlocked at Technology Level 50 for 2 points. Budget hard — a single Gatling Gun eats 70 Plasteel and a Multi Guided Missile Launcher eats 80, so a full weapon-and-armor kit runs into the high hundreds. Ore is the quiet bottleneck in that recipe, not the oil; if your throughput stalls, it's usually the mining side.
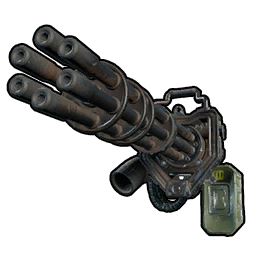 All 7 New Weapons
Every one of these is built around Plasteel, and they arrive in a tight Tech 51-56 band. Compare attack only inside a class — the Gatling Gun's 375 is a per-shot figure on a weapon that fires 100 rounds without stopping, while the Guided Missile Launcher's 5900 is one rocket per reload, so the raw numbers are not talking about the same thing. Within the rifles, the Laser Rifle at 1250 is the clear pick and the one to unlock first. Within the launchers, the Multi Guided Missile Launcher is the same 5900 per rocket as the single-shot version but holds 4 — it's schematic-only, with no tech entry, so it comes from drops rather than points.
| Weapon | Base attack | Magazine | Tech level | Materials (base craft) |
|---|---|---|---|---|
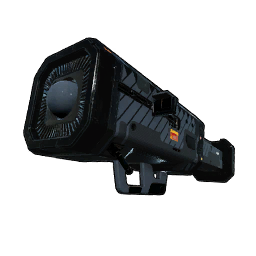 Guided Missile Launcher Guided Missile Launcher | 5900 | 1 | 56 | 100 Pal Metal Ingot, 50 Plasteel, 25 Carbon Fiber, 5 Computer |
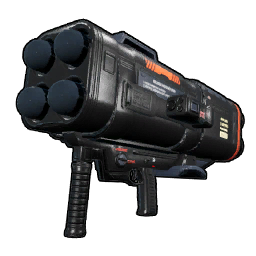 Multi Guided Missile Launcher Multi Guided Missile Launcher | 5900 | 4 | Schematic only | 150 Pal Metal Ingot, 80 Plasteel, 30 Carbon Fiber, 8 Computer |
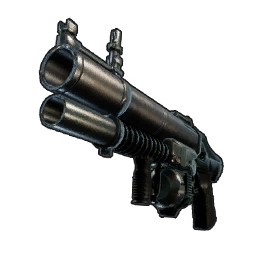 Grenade Launcher Grenade Launcher | 3000 | 5 | 53 | 75 Pal Metal Ingot, 60 Plasteel, 15 Carbon Fiber |
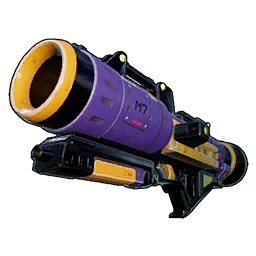 Meteor Launcher Meteor Launcher | 2000 | 1 | 38 | 100 Meteorite Fragment, 30 Refined Ingot, 20 Paldium Fragment, 5 Corrosive Solvent |
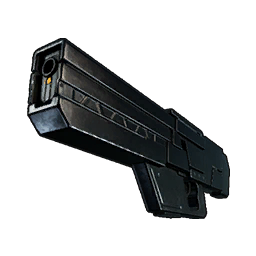 Laser Rifle Laser Rifle | 1250 | 30 | 51 | 50 Pal Metal Ingot, 40 Plasteel, 5 Bio Battery, 3 Computer |
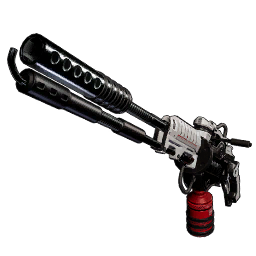 Flame Thrower Flame Thrower | 636 | 100 | 52 | 40 Pal Metal Ingot, 30 Plasteel, 13 Cryogenic Coolant, 30 Flame Organ |
| Gatling Gun | 375 | 100 | 54 | 150 Pal Metal Ingot, 70 Plasteel, 70 Carbon Fiber |
Those are the base craft numbers, not the schematic-upgraded ones. Legendary schematics push the same weapons far higher — a 4-star Laser Rifle hits 1875 attack against the base 1250, and the Multi Guided Missile Launcher climbs to 8850. The schematic locations are mapped in All Legendary Weapon Schematic Locations. Note also that the Meteor Launcher sits oddly early at Tech 38 and runs on Meteorite Fragments rather than Plasteel, tying it to the meteorite crash events the update introduced rather than to the oil economy.
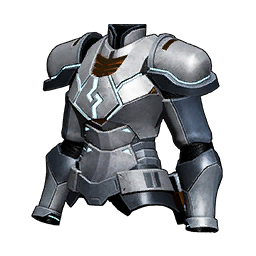 The Plasteel Armor Set
Plasteel armor was the new top tier when it landed and it's still the natural step after Pal Metal. All four body pieces share the same 1300 base HP bonus; the three resistance variants each carry 400 defense against the plain version's 385, so the plain Plasteel Armor is strictly the worst of the four — there is no reason to craft it once you can afford any of the others. Pick by environment: Heat Resistant for the volcano, Cold Resistant for the snowfields, Lightweight for the corrosive zones.
| Piece | Base defense | Base HP | Tech level | Extra material |
|---|---|---|---|---|
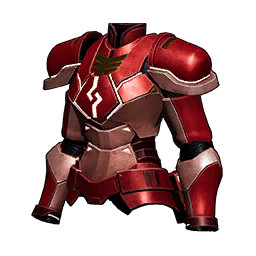 Heat Resistant Plasteel Armor Heat Resistant Plasteel Armor | 400 | 1300 | 53 | 20 Flame Organ |
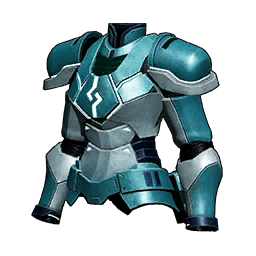 Cold Resistant Plasteel Armor Cold Resistant Plasteel Armor | 400 | 1300 | 54 | 10 Cryogenic Coolant |
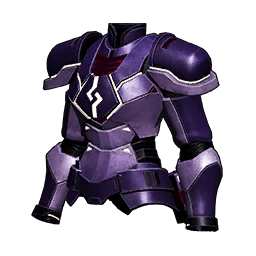 Lightweight Plasteel Armor Lightweight Plasteel Armor | 400 | 1300 | 55 | 8 Corrosive Solvent |
| Plasteel Armor | 385 | 1300 | 51 | — (base recipe only) |
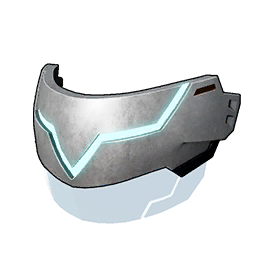 Plasteel Helmet Plasteel Helmet | 260 | 600 | 51 | — (head slot) |
Every body piece shares the same core cost of 30 Plasteel, 30 Pal Metal Ingot and 5 High Quality Cloth on top of whatever the resistance material is; the helmet is 20 Plasteel and 25 Pal Metal Ingot. Those are base-craft stats — a 4-star schematic version of the same body piece reaches 640 defense and 1950 HP, which is why the Lightweight Plasteel Armor schematic is worth hunting rather than settling for the base craft.
 New Structures, Tools, and Systems
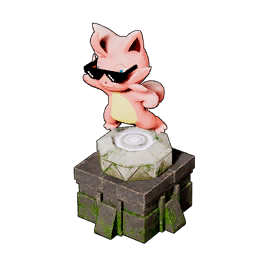
Outside the gear tier, Sakurajima quietly fixed several long-standing base problems. The Large Power Generator was the answer to Tech 50 bases browning out, the Pal Disassembly Conveyor turned surplus Pals into materials automatically, and the Pal Dressing Facility — which unlocks at Technology Level 2 for a single point, so grab it on any new save — is how Pal skins get applied. 16 Pals currently have skins available, with Chillet leading at four different looks.
| What it is | Tech level | Cost | What it does |
|---|---|---|---|
| Large Power Generator | 50 | 4 Ancient | 200 Pal Metal Ingot + 200 Electric Organ — the high-capacity base generator |
| Pal Disassembly Conveyor | 56 | 5 | 100 Pal Metal Ingot, 15 Computer, 30 Nail, 30 Plasteel — turns Pals into materials |
 Cold Food Box Cold Food Box | 51 | 2 | 20 Pal Metal Ingot, 20 Plasteel, 15 Cryogenic Coolant — food stops spoiling |
| Pal Dressing Facility | 2 | 1 | 10 Stone + 10 Paldium Fragment — applies Pal skins |
| Glass Structure Set | 45 | 2 | 20 glass build pieces, each 1-3 Stone and 1-2 Paldium Fragment |
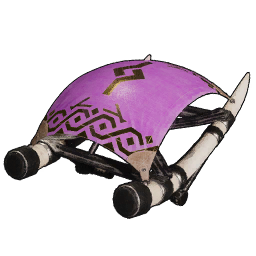 Hyper Glider Hyper Glider | 52 | 4 | 40 Pal Metal Ingot, 20 High Quality Wooden Board, 25 Carbon Fiber, 20 High Quality Cloth |
 Ultimate Sphere Ultimate Sphere | 51 | 5 | 10 Paldium Fragment, 5 Pal Metal Ingot, 10 Hardwood, 1 Plasteel |
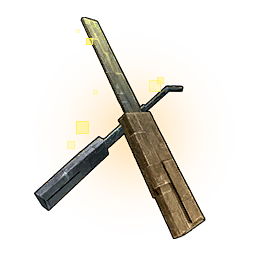 Lockpicking Tool v3 Lockpicking Tool v3 | 53 | 3 Ancient | Opens the highest-tier locked chests |
| Wall-Mounted Sign | 6 | 1 | 10 Wood — the cosmetic sign added alongside the glass set |
The Ultimate Sphere is the sleeper on that list. It's the top capture sphere and it costs almost nothing per unit — 10 Paldium Fragment and a single Plasteel — so once oil is running there is no reason to ever throw a lower tier again. Full capture maths is in How to Catch Pals and Capture Rate. The Hyper Glider at Tech 52 is likewise the end of the glider ladder for a long stretch; see the full glider upgrade ladder.
Dog Coins and the Medal Merchant
Sakurajima introduced Dog Coin as a second currency that only buys from a dedicated merchant, so gold is no longer the only thing worth picking up off the ground. There are 128 Dog Coin pickup spots on the map, they're static rather than random, and they respawn — which makes a coin route a genuine income loop rather than a one-time sweep. Turn on the Dog Coin layer and plan a circuit; the full route and shop stock is in How to Farm Dog Coins.
Summary
If you only take one thing from the Sakurajima update: build a base on an oil field, unlock Plasteel at Technology Level 50, and everything else in the patch opens up behind it — seven weapons, five armor pieces, the Ultimate Sphere and the Hyper Glider all run on the same bar. The island itself is worth a dedicated afternoon for its 24 Pals and 415 combined caches and chests, and Moonflower Tower is the XP loop you'll keep coming back to long after you've cleared it.
Related Guides
Hubs: All Palworld Guides · Palworld Paldeck: All Pals and Stats · Palworld Interactive Map
The island and its bosses:
The gear it unlocked:
Base structures from this patch:
Where the update fits in the timeline: