How to Get the Advanced Sphere Assembly Line and All It Crafts
The Advanced Sphere Assembly Line in Palworld: technology level 58 and 5 points, all four build materials, the 460 Ore raw-material total, the power draw it adds to your grid, and every sphere and module the bench turns out.
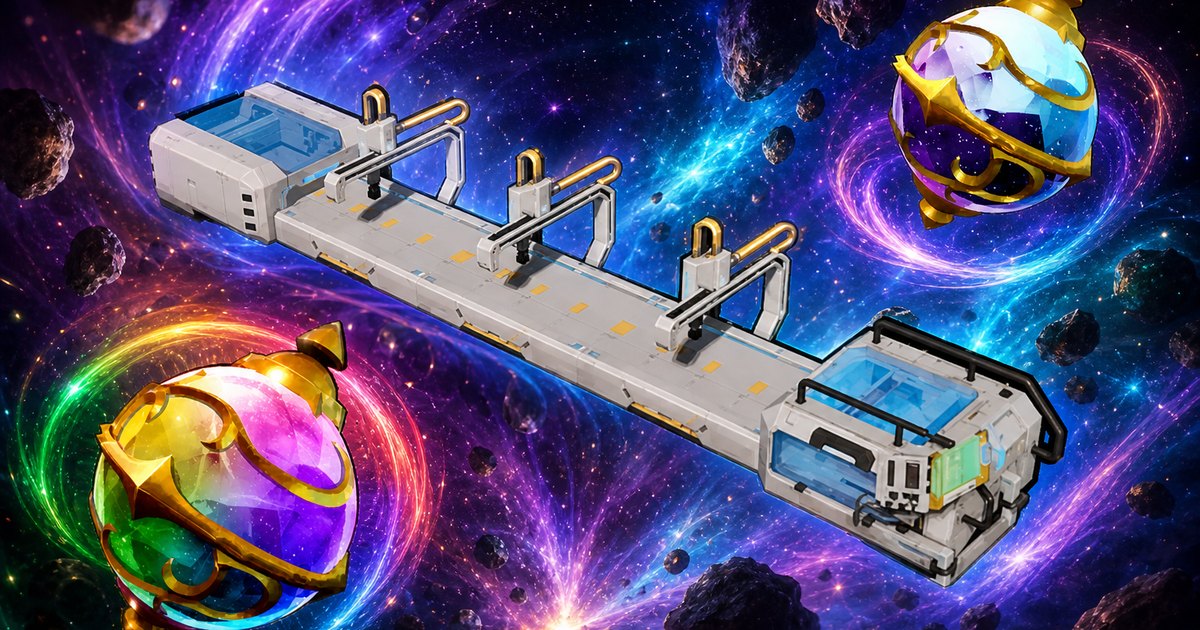
The Advanced Sphere Assembly Line is the final tier of the sphere bench, the one that finally makes Ultimate Spheres and Exotic Spheres in bulk instead of one at a time. This guide covers the technology level it sits behind, all four build materials and where each one is made, what the whole thing really costs once you trace it to raw ore, the electricity it eats, and every sphere and module you can queue on it.
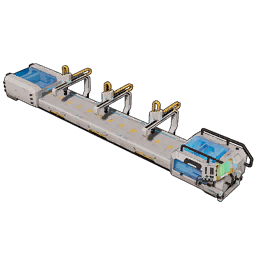 Advanced Sphere Assembly Line at a Glance
This is a genuine endgame build and the numbers say so. Technology level 58 puts it 23 levels past the Sphere Assembly Line II most players stop at, its 500,000 build workload is over four times that bench's, and it draws 1,000 electricity — only six structures in the entire build menu pull more, and the Gigantic Furnace you need to supply it is one of them. It has to go inside a base near your Palbox, it needs one Pal with Handiwork on it, and it will not turn over a single sphere without a generator wired up.
| What | Detail |
|---|---|
| Type | Base structure, Production tab of the build menu |
| Technology level | Lv. 58 |
| Technology points | 5 |
| Materials | 50 Hexolite, 50 Plasteel, 10 Computer, 10 Bio Battery |
| Build workload | 500,000 |
| Power draw | 1,000 — needs electricity to run at all |
| Worker | Handiwork Lv. 1 or better, one Pal |
| Placement | Base only, and it has to sit near the Palbox |
| Durability | 10,000 HP, 5 defence — the toughest of the four sphere benches |
| What it makes | Every capture sphere and every sphere module, at the fastest rate in the game |
How to Unlock the Advanced Sphere Assembly Line
Hit character level 58, open the Palworld technology tree, and spend 5 technology points. The catch is that level 58 is the single nastiest row in the tree for this particular build, because three of its other entries are prerequisites for actually using the bench. Hexolite at 2 points teaches you the recipe, the Gigantic Furnace at 5 points is the only place Hexolite can be smelted, and the Metal Detector at 3 points is how you find the Chromite that goes into it. That is 15 points before you have crafted anything, and another 5 if you want the Exotic Sphere the line exists to mass-produce. Budget for it — 462 of the game's 588 technologies are already on the table by level 58, so points are the real currency here, not materials.
| Technology at Lv. 58 | Points | Do you need it? |
|---|---|---|
| Advanced Sphere Assembly Line | 5 | The bench itself |
| Gigantic Furnace | 5 | Yes — the only furnace that smelts Hexolite |
 Metal Detector Metal Detector | 3 | Yes — finds the buried Chromite for Hexolite |
 Hexolite Hexolite | 2 | Yes — the recipe for the bench's biggest material |
 Exotic Sphere Exotic Sphere | 5 | The reason to build the line in the first place |
| Large-Scale Electric Egg Incubator | 5 | No, but it is the other big level 58 prize |
 Azurmane Saddle Azurmane Saddle | 4 | No |
 Smokie's Harness Smokie's Harness | 3 | No, though Smokie itself drops Chromite |
 Crafting Materials and Where to Make Them
Four materials, and none of them are casual. The 50 Hexolite is the wall: each bar is 500,000 crafting workload on its own, so the Hexolite alone is 25,000,000 workload — fifty times the cost of assembling the bench once you have the parts. The 10 Computers are the expensive ones at 22,440 gold of value apiece, and they quietly drag another 30 Plasteel, 20 Bio Batteries and 20 Carbon Fiber into the bill. Start the Hexolite line running the moment you unlock the Gigantic Furnace and build everything else while it cooks.
| Material | Qty | Made at | Recipe per unit | Value each |
|---|---|---|---|---|
| Hexolite | 50 | Gigantic Furnace | 1 Chromite + 1 Hexolite Quartz | 3,000 |
 Plasteel Plasteel | 50 | Electric Furnace | 2 Crude Oil + 5 Ore | 2,520 |
| Computer | 10 | Production Assembly Line II | 2 Circuit Board + 3 Plasteel + 2 Bio Battery + 2 Carbon Fiber | 22,440 |
 Bio Battery Bio Battery | 10 | Production Assembly Line II | 1 Electric Organ + 1 Refined Ingot + 1 Carbon Fiber | 2,230 |
Hexolite ×50
Hexolite is one Chromite plus one Hexolite Quartz in a Gigantic Furnace, so 50 bars means 50 of each. The quartz is the easy half — there are 635 Hexolite Quartz nodes on the map, all of them in Feybreak, and Celesdir hands over 2–3 per kill at 100%. Chromite is the awkward half, because it is buried: you sweep for it with a Metal Detector on the Feybreak islands, which is exactly why that 3-point technology sits on the same row. If you would rather not walk a grid with a detector, Silvegis drops 2–3 Chromite at 100% and Smokie drops 1–2, and both are farmable.
Plasteel ×50
Plasteel is 2 Crude Oil and 5 Ore in an Electric Furnace, and remember the Computers want 30 more on top of the 50 the bench lists — 80 Plasteel total, or 160 Crude Oil. Oil is the bottleneck for most players: the Crude Oil Extractor unlocks at technology level 50 and has to be planted on a field, and there are only 185 oil fields on the entire map. Supply drops carry it too, so keep an eye on those while you scout a spot for the extractor.
Computer ×10
Each Computer is 2 Circuit Boards, 3 Plasteel, 2 Bio Batteries and 2 Carbon Fiber at a Production Assembly Line II, which is a four-way sub-recipe and the reason this build feels bigger than its four-line material list. The Circuit Boards are the annoying part — 2 Pure Quartz and 1 Polymer each, and Polymer means High Quality Pal Oil and Sulfur. Mammorest drops 5–10 Pal Oil at 100%, so a couple of trips covers all 40 you need.
Bio Battery ×10
One Electric Organ, one Refined Ingot and one Carbon Fiber each, also at a Production Assembly Line II. Count 30 rather than 10, because the Computers eat 20 more. That is 30 Electric Organs, and Prixter Lux hands over 4–5 per kill at 100% — eight of them clears the whole requirement, and you will want a stack of organs for the generator that powers this thing anyway.
 Full Raw Material Cost
Chase every sub-recipe down to things you actually mine, shoot or pump and one Advanced Sphere Assembly Line comes to the eleven materials below — about 379,000 gold of value if you priced the pile at merchant rates. Wood tops the count at 500, but that is only because it burns down into the 250 Charcoal the Carbon Fiber needs; the ones that actually cost you an evening are the 160 Crude Oil and the 50 Chromite. Note how much of this list is butcher loot rather than nodes — 50 Flame Organ, 40 High Quality Pal Oil and 30 Electric Organ all come off Pals, so a farming route pays for a good chunk of the bench.
| Raw material | Total needed | Where to get it |
|---|---|---|
 Wood Wood | 500 | Any tree — burned into 250 Charcoal for the Carbon Fiber |
| Ore | 460 | 1,632 Ore nodes, or an Ore Mining Site at technology level 24 |
 Crude Oil Crude Oil | 160 | 185 oil fields with a Crude Oil Extractor, plus supply drops |
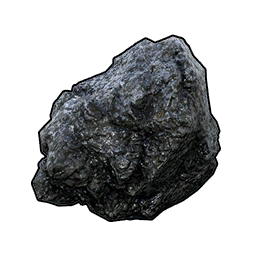 Coal Coal | 60 | 824 Coal nodes, or a Coal Quarry at technology level 37 |
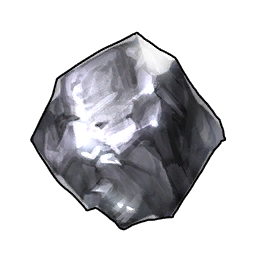 Chromite Chromite | 50 | Metal Detector sweeps on the Feybreak islands; Silvegis drops 2–3 at 100% |
 Hexolite Quartz Hexolite Quartz | 50 | 635 nodes, all in Feybreak; Celesdir drops 2–3 at 100% |
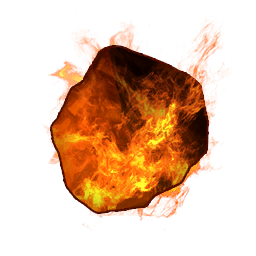 Flame Organ Flame Organ | 50 | Blazamut drops a flat 10 at 100%; Suzaku drops 5–10 |
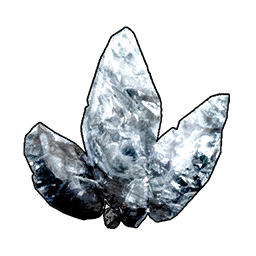 Pure Quartz Pure Quartz | 40 | 607 nodes, or a Pure Quartz Quarry at technology level 52 |
 High Quality Pal Oil High Quality Pal Oil | 40 | Mammorest drops 5–10 at 100% |
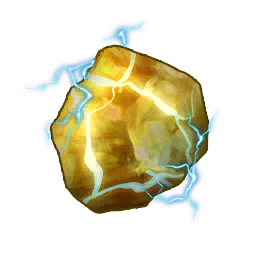 Electric Organ Electric Organ | 30 | Prixter Lux drops 4–5 at 100% |
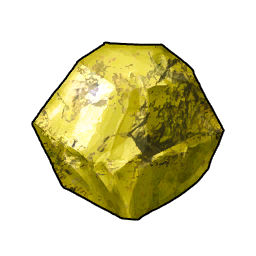 Sulfur Sulfur | 20 | 655 Sulfur nodes, or a Sulfur Quarry at technology level 46 |
All Craftable Spheres at the Advanced Line
Eight capture spheres show up on the bench's menu, and the reason to build it is the bottom two rows. An Ultimate Sphere is 150,000 crafting workload and an Exotic Sphere is 300,000 — a thousand times a plain Pal Sphere — so at any lower bench you are watching a single sphere crawl through the queue. Capture power runs 7 on the base sphere up to 43 on the Ultimate, and the Exotic Sphere is the top of the craftable ladder above it; Pocketpair has never published a number for it, so treat it as the best throw you can build rather than a figure to plug into a formula. Every single one of them burns Paldium Fragment, which is the material to stockpile before you flip the bench on — there are 711 Paldium Ore nodes on the map.
| Sphere | Tech Lv | Capture power | Materials | Craft workload |
|---|---|---|---|---|
 Pal Sphere Pal Sphere | 2 | 7 | 1 Paldium Fragment | 300 |
 Mega Sphere Mega Sphere | 14 | 14 | 1 Paldium Fragment, 1 Ingot, 3 Wood, 3 Stone | 1,500 |
 Giga Sphere Giga Sphere | 20 | 20 | 2 Paldium Fragment, 2 Ingot, 5 Wood, 5 Stone | 2,500 |
 Hyper Sphere Hyper Sphere | 27 | 26 | 3 Paldium Fragment, 3 Ingot, 8 Wood, 8 Stone | 6,000 |
 Ultra Sphere Ultra Sphere | 35 | 32 | 5 Paldium Fragment, 3 Refined Ingot, 10 Wood, 10 Stone | 20,000 |
 Legendary Sphere Legendary Sphere | 44 | 37 | 5 Paldium Fragment, 3 Pal Metal Ingot, 3 Hardwood, 20 Stone | 50,000 |
 Ultimate Sphere Ultimate Sphere | 51 | 43 | 10 Paldium Fragment, 5 Pal Metal Ingot, 10 Hardwood, 1 Plasteel | 150,000 |
| Exotic Sphere | 58 | Top of the ladder | 15 Paldium Fragment, 1 Plasteel, 10 Hardwood, 1 Hexolite | 300,000 |
Two more spheres exist past this list and both sit well beyond level 58 — the Sol Sphere at technology level 67 and the Ancient Sphere at level 74. They run on Soralite Ingot and World Tree Ingot instead of the usual metals, so they belong to a much later stage of the game than the bench you are building here.
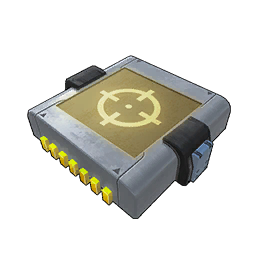 All 6 Sphere Modules
The same bench turns out all six modules, the attachments that bolt onto a sphere and add flat capture power on top of whatever you throw. The workload curve here is brutal in a way the sphere list is not: the Heavy Weight Module is 3,000 and the Homing Module is 10,000,000, over three thousand times more, which is the single best argument for owning this bench at all. Modules do not stack — you have one fitted at a time — so the practical order is Heavy early, Sniper II through the midgame for the range, and Homing once you can afford it. Full boost numbers are in the list of all sphere modules.
| Module | Tech Lv | Materials | Craft workload |
|---|---|---|---|
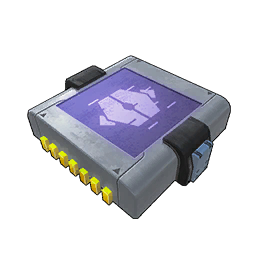 Heavy Weight Module Heavy Weight Module | 19 | 10 Paldium Fragment, 10 Ingot, 20 Stone | 3,000 |
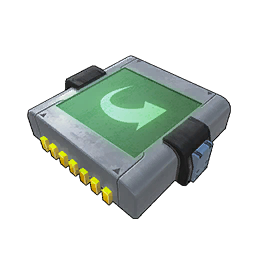 Curve Module Curve Module | 23 | 30 Paldium Fragment, 30 Ingot, 50 Stone, 2 Ancient Civilization Parts | 45,000 |
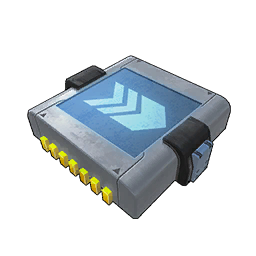 Sniper Module Sniper Module | 31 | 50 Paldium Fragment, 50 Ingot, 30 Cement, 8 Ancient Civilization Parts | 130,000 |
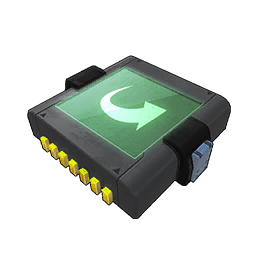 Slider Module Slider Module | 39 | 100 Paldium Fragment, 30 Refined Ingot, 15 Carbon Fiber, 8 Corrosive Solvent, 10 Ancient Civilization Parts | 600,000 |
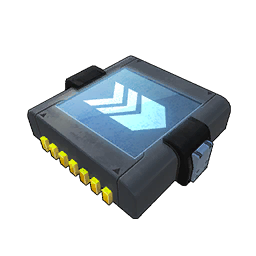 Sniper Module II Sniper Module II | 48 | 200 Paldium Fragment, 30 Pal Metal Ingot, 30 Carbon Fiber, 20 Ancient Civilization Parts, 2 Ancient Civilization Core | 2,000,000 |
| Homing Module | 69 | 50 Soralite Ingot, 3 AI Core, 40 Ancient Civilization Parts, 50 Dark Fragment, 5 Ancient Civilization Core | 10,000,000 |
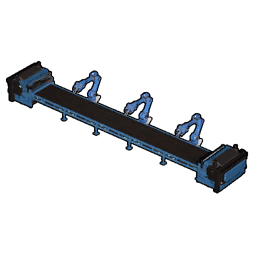 Sphere Bench Tiers Compared
All four benches craft the same menu — the difference is how fast the queue moves and what it costs to keep running. The jump people underrate is the first one: the Sphere Workbench at level 14 needs no electricity at all, while everything above it does, so upgrading is also the moment sphere production starts competing with your furnaces for power. The Advanced line's 1,000 draw is 2.5× the Sphere Assembly Line II's, and since you will almost certainly have a Gigantic Furnace on the same grid at level 58, plan for 2,500 of load from those two alone. If you are not yet swimming in Hexolite, the honest advice is to stay on the level 35 bench until the Gigantic Furnace is up and producing — a bench you cannot power is worse than the one you already have.
| Bench | Tech Lv | Points | Build materials | Build workload | Power draw | HP |
|---|---|---|---|---|---|---|
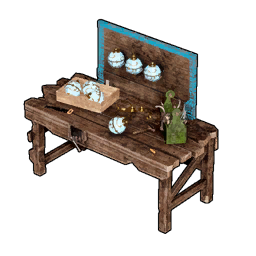 Sphere Workbench Sphere Workbench | 14 | 3 | 10 Paldium Fragment, 30 Wood, 10 Nail, 20 Ingot | 5,000 | None | 2,000 |
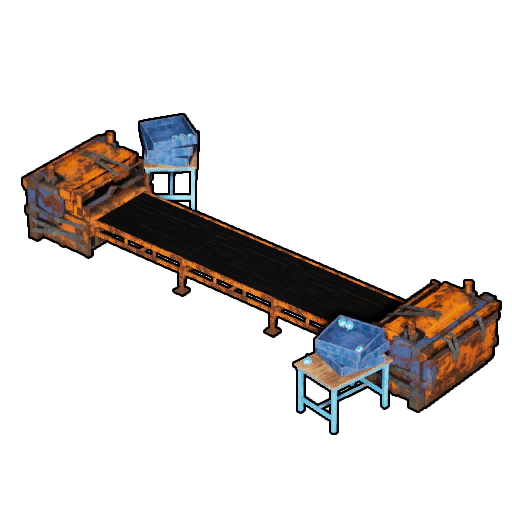 Sphere Assembly Line Sphere Assembly Line | 27 | 3 | 30 Paldium Fragment, 5 Wooden Board, 100 Ingot, 20 Nail | 30,000 | 200 | 4,000 |
| Sphere Assembly Line II | 35 | 5 | 100 Refined Ingot, 10 Circuit Board, 30 Nail, 50 Paldium Fragment | 120,000 | 400 | 8,000 |
| Advanced Sphere Assembly Line | 58 | 5 | 50 Hexolite, 50 Plasteel, 10 Computer, 10 Bio Battery | 500,000 | 1,000 | 10,000 |
 Powering and Staffing the Line
Two things keep the bench turning: a generator big enough to cover 1,000 draw, and one Handiwork Pal standing at it. For power, the Large Power Generator at technology level 50 is the pick over the plain Power Generator from level 26 — by the time you are running an Advanced line, a Gigantic Furnace and an Electric Furnace on one grid you are well past what the small one covers. For the worker, Handiwork is the most contested job in the game with 109 Pals able to do it and a ceiling of Lv. 8, and exactly one Pal sits at that ceiling.
| Pal | Handiwork | Also good at | Why it works |
|---|---|---|---|
| Solenne | Lv. 8 | Gathering 4, Transporting 2 | The only Handiwork Lv. 8 Pal in the game — nothing else matches it |
 Selyne Selyne | Lv. 7 | Medicine Production 6, Transporting 3 | The only Lv. 7, and it covers your medicine bench too |
 Anubis Anubis | Lv. 6 | Mining 6, Transporting 4 | Far easier to get than the top two and mines at the same rank |
 Renjishi Renjishi | Lv. 6 | Kindling 8, Gathering 5, Transporting 5 | Best all-rounder — one bed slot covering four jobs including the furnaces |
 Dandilord Dandilord | Lv. 6 | Planting 8, Medicine Production 6, Gathering 5 | Pair it with a farm base so it is never idle between sphere queues |
 Lapure Lapure | Lv. 6 | Gathering 5 | Cheapest Lv. 6 to obtain — pure crafter, no distractions |
Summary
Reach character level 58, spend 5 technology points on the bench plus 10 more on the Gigantic Furnace and Metal Detector that feed it, and bring 50 Hexolite, 50 Plasteel, 10 Computer and 10 Bio Battery — which traces back to 460 Ore, 160 Crude Oil and 50 Chromite once you dig to the ground. Wire it to a Large Power Generator for its 1,000 draw, park a Handiwork Pal on it, and it will turn out every sphere and module in the game, Exotic Spheres included. Until then the level 35 Sphere Assembly Line II crafts the same list for a quarter of the power.
Related Guides
Start here:
- All Palworld Guides — every walkthrough, list and calculator on the site
- Palworld Technology Tree — every unlock, its level and its point cost
- All Palworld Structures — build costs for every base facility
- Palworld Capture Rate Calculator — your real odds with each sphere
Filling the bench:
- List of All Sphere Modules — exact capture boosts for all six attachments
- Alpha Hunting by Level — the field targets worth spending Ultimate Spheres on
- All Legendary Pals — the catches that justify an Exotic Sphere
- Best Pals to Butcher — where the Flame Organs and Pal Oil come from
Building the base around it:
- Best Base Pals in Palworld — the workers every base wants
- Best Base Locations — coordinates and the nodes each spot covers
- How to Get the Pal Disassembly Conveyor — the other level-50s automation build
- Palworld Endgame Checklist — what to chase once level 58 is behind you
- Palworld Interactive Map — every ore, quartz, coal and oil node on one map