How to Get the Accumulator: Cost and How It Works
How to get the Accumulator in Palworld: the Lv. 37 technology unlock, its 50 Ingot, 20 Electric Organ, 5 Cryogenic Coolant and 5 Corrosive Solvent build cost, where every material comes from, and which of the 43 powered structures it keeps running.
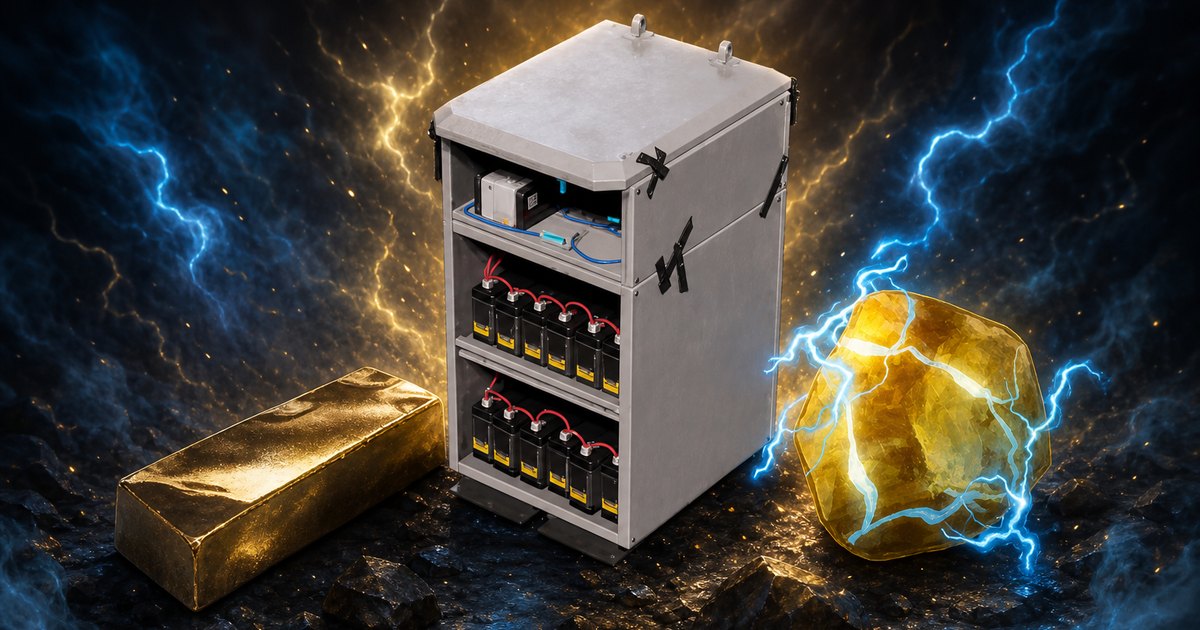
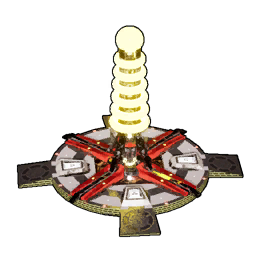
The Accumulator is the closest thing Palworld gives you to a base battery: it banks the electricity your generator Pals make while nothing is drawing it, then hands it back when the whole factory floor fires up at once. This guide covers the Lv. 37 unlock, the 50 Ingot, 20 Electric Organ, 5 Cryogenic Coolant and 5 Corrosive Solvent it costs, where every one of those comes from, and which of the 43 powered structures in the game it is actually there to protect.
 Accumulator at a Glance
You will find it in the Infrastructure tab of the build menu, in the Electricity group, sitting last in the row behind all four generators. Two things make it unusual for an Infrastructure build. It takes no worker — there is no suitability line on the build screen, so nothing gets pulled off your base work roster to run it. And it draws no power itself, which is the whole point: it is a buffer sitting between your Power Generator and everything plugged into it. The build workload is a flat 50,000, exactly the same as the ordinary Power Generator, so the structure goes up fast once you have the materials — the materials are the real job.
| What | Detail |
|---|---|
| Type | Base structure — Infrastructure tab, Electricity group |
| Position in the menu | Fifth and last Electricity build, after the four generators |
| Technology level | Lv. 37 |
| Technology points | 2 — ordinary points, not Ancient Technology Points |
| Build cost | 50 Ingot, 20 Electric Organ, 5 Cryogenic Coolant, 5 Corrosive Solvent |
| Build workload | 50,000 — identical to the Power Generator |
| Worker slots | None — no work suitability, nothing to assign |
| Power draw | None — it stores electricity, it never spends any |
| Structure HP | 10,000, Defense 4 — same as the Power Generator |
| Placement | Must sit inside your Palbox radius |
| Build limit | None — you can place as many as you can afford |
| Prerequisite technology | None in the tree, but you need the Corrosive Solvent and Cryogenic Coolant recipes to make two of the materials |
| Added in | The Feybreak update |
How to Unlock the Accumulator
Reach character level 37, open the Palworld Technology Tree and spend 2 ordinary points. That is the cheapest node on its entire row — level 37 asks for 22 points across nine unlocks — but the sticker price lies a little. Two of the four materials come out of recipes that are themselves technology unlocks, and one of them is sitting on this exact row: Corrosive Solvent costs another 2 points at Lv. 37, and Cryogenic Coolant wants 2 more back at Lv. 31. Budget 4 points if you skipped the solvent, 6 if you skipped both.
| Level 37 technology | Points | Worth taking first? |
|---|---|---|
| Accumulator | 2 | Yes if your machines already outnumber your generators — nothing else on the row fixes brownouts |
 Corrosive Solvent Corrosive Solvent | 2 | Mandatory — the Accumulator will not build without 5 of these |
 Coal Quarry Coal Quarry | 5 | Strong pick — endless Coal at base feeds every furnace above this tier |
 Refined Metal Armor Refined Metal Armor | 3 | Yes — the armour you will wear for the next ten levels |
 Refined Metal Helm Refined Metal Helm | 3 | Pair it with the armour, or skip if you are still on Cloth |
 SMG SMG | 3 | Yes if you are still on a Handgun — it is the level 37 damage jump |
 Maraith Saddle Maraith Saddle | 2 | Only if you actually own a Maraith |
| Faux Desert Greenery Set and Outdoor Furniture Set | 1 each | Decoration — leave both for a rainy day |
Before you spend anything, run the checklist — the Accumulator is one of those builds where the node unlocking is the easy half:
- Character level 37 and 2 technology points banked, plus 2 more for Corrosive Solvent
- A Production Assembly Line standing at base (Tech Lv. 29) — it is the only station that makes the Coolant and the Solvent
- A Power Generator already running, because that assembly line draws 200 power itself
- A furnace and 100 Ore for the 50 Ingot
- 20 Electric Organ, or 6,000 Gold if you would rather buy them
 Accumulator Materials and Where to Get Them
Eighty items on the build screen, and they split cleanly into the two you already have and the two you probably do not. Ingot and Electric Organ are level-26 materials — if you unlocked the Power Generator you have made both already. Cryogenic Coolant and Corrosive Solvent are the new part: each one is a two-ingredient craft on the Production Assembly Line, so the 10 of them really means 20 organ-and-fluid components underneath. The good news is that four of those five underlying materials come off a Ranch with the right Pal in it, which turns most of this shopping list into something your base makes while you are out doing something else.
| Material | Qty | How you get it | Merchant value each |
|---|---|---|---|
 Ingot Ingot | 50 | Smelted at any furnace from 2 Ore a bar — 100 Ore total | 240 Gold |
 Electric Organ Electric Organ | 20 | 100% drop from 23 Electric Pals, ranched off Sparkit, or bought outright | 300 Gold |
| Cryogenic Coolant | 5 | Production Assembly Line: 1 Aquatic Pal Fluids + 1 Ice Organ each | 720 Gold |
| Corrosive Solvent | 5 | Production Assembly Line: 1 Venom Gland + 1 Sulfur each | 720 Gold |
50 Ingot: 100 Ore and a Furnace
The cheap line. Two Ore makes one bar, so 50 Ingot is 100 Ore and 50,000 crafting workload spread across your Kindling Pals — an hour of a working base, not a project. Ore is the single most common node type on the island with 1,632 of them mapped, so if your base is not already sitting on a cluster this is the nudge to move it. Open the Ore layer on the interactive map and look for a patch of four or five nodes inside one Palbox circle, then park a Mining Pal on it and never think about Ingot again.
20 Electric Organ: Farm, Ranch or Buy
Every Pal that drops Electric Organ drops it at a flat 100% rate, so the only variables are how many you get per kill and how easy the Pal is to find. Twenty is a small ask — five or six Prixter Lux clears it — but the smarter play at this level is the Ranch. Put a Sparkit in one and it produces organs passively at Ranch Lv. 1, which matters because the Large Power Generator later wants 200 of them. Failing all of that, Caravan, Village and Dungeon shops stock organs at 300 Gold, so the entire requirement is a 6,000 Gold receipt.
| Pal | Organs per kill | Spawn spots | Why farm this one |
|---|---|---|---|
 Prixter Lux Prixter Lux | 4-5 | 35 | Best payout in the game — five kills covers the whole build |
 Grizzbolt Grizzbolt | 2-4 | 40 | Worth catching rather than killing: it is a Lv. 5 generator worker |
 Azurmane Azurmane | 2-3 | 112 | Good rate and easy to find across three times Prixter Lux's spots |
 Penking Lux Penking Lux | 1-3 | 252 | The volume option — more spawn spots than anything else that drops organs |
 Sparkit Sparkit | 1-2 | 45 | The Ranch answer — catch one and it produces organs forever |
5 Cryogenic Coolant: Fluids and Ice Organs
Each unit is 1 Aquatic Pal Fluids plus 1 Ice Organ on the Production Assembly Line, at 10,000 workload a piece — so five of them is 50,000 workload, as much as the Accumulator's own build. Both ingredients are ranchable, which is the shortcut nobody uses: Kelpsea produces the fluids at Ranch Lv. 1 and is one of the most common Pals on the island with 1,359 spawn spots, while Mau Cryst produces Ice Organ at Ranch Lv. 1. If you would rather hunt, Pierdon Cryst hands over 4-5 Ice Organs a kill at 100%, and every shop that sells organs sells these too at 300 Gold.
5 Corrosive Solvent: Venom and Sulfur
This is the expensive half — 1 Venom Gland plus 1 Sulfur each, at 15,000 workload per unit, the heaviest craft in the build. Venom is easy: Menasting drops 5-10 glands at 100% and has 545 spawn spots, so a single hunt overshoots the requirement, and Depresso ranches them at Lv. 1 if you would rather automate. Sulfur is the one you have to go get — it is a volcanic material with 655 mapped nodes, concentrated around Mount Obsidian. Open the Sulfur layer before you set out, bring heat-resistant gear, and grab 50 while you are there rather than the 5 you need, because the Sulfur Quarry that automates it is nine levels away at Lv. 46.
| Component | Needed | Best kill source | Ranch option |
|---|---|---|---|
 Aquatic Pal Fluids Aquatic Pal Fluids | 5 | Suzaku Aqua — 5 per kill, 100%, 50 spots | Kelpsea at Ranch Lv. 1 |
 Ice Organ Ice Organ | 5 | Pierdon Cryst — 4-5 per kill, 100%, 50 spots | Mau Cryst at Ranch Lv. 1 |
 Venom Gland Venom Gland | 5 | Menasting — 5-10 per kill, 100%, 545 spots | Depresso at Ranch Lv. 1 |
 Sulfur Sulfur | 5 | 655 nodes on the Sulfur map layer | None — mine it or run the Blazing Cavern expedition |
Read that table as a single afternoon rather than four errands. One trip to Mount Obsidian covers the Sulfur and usually the Menasting too, since both live in the volcanic band. Everything else in the column on the right is a Pal you drop into a Ranch once and never touch again — four Ranches with Sparkit, Kelpsea, Mau Cryst and Depresso in them quietly produce three of the four build materials on their own.
What the Accumulator Actually Does
Palworld's power system has no meter you can read, which is why the Accumulator confuses people. Electricity in a base is generated live: a Pal stands on a Power Generator and produces power continuously, and every powered machine spends power continuously while it works. There is no stockpile in that arrangement — the moment your generator Pal stops to eat, sleep, lose its temper or get hauled off to a bed with low SAN, generation drops to zero and everything downstream stalls with it. That is the brownout every mid-game base runs into, and it is almost never a shortage of generators. It is a gap in coverage.
The Accumulator fills that gap. It soaks up whatever your generators produce beyond what the base is currently spending, and releases it when demand spikes past supply or the generator goes quiet. In practice that means your furnace queue keeps running while your Orserk wanders off to the feed box, and a burst of simultaneous crafting does not brown out the entire base for the twenty seconds it takes to finish. Pocketpair has never published the buffer's exact size, so treat the capacity as "enough to cover a worker gap, not enough to run a base off" — it is a smoothing device, not a replacement generator.
 The Accumulator vs the Four Generators
It is worth being clear about where this sits, because "Electricity group in the Infrastructure tab" holds five builds and only four of them make power. The Accumulator is the odd one out and it is not competing with anything on this table — it complements all of them. What the comparison does tell you is timing: at Lv. 37 you are 13 levels past the Power Generator and 13 short of the Large one, which is exactly the stretch where a single generator Pal is holding up an increasingly greedy base. That is the window the Accumulator was built for.
| Electricity build | Tech Lv. | Points | Materials | Build workload | Worker slots |
|---|---|---|---|---|---|
 Human-Powered Generator Human-Powered Generator | 26 | 1 normal | 5 Wooden Board, 5 Electric Organ | 5,000 | 1 (any small Pal) |
| Power Generator | 26 | 3 normal | 50 Ingot, 20 Electric Organ | 50,000 | 1 — Electricity Lv. 1 |
| Accumulator | 37 | 2 normal | 50 Ingot, 20 Electric Organ, 5 Cryogenic Coolant, 5 Corrosive Solvent | 50,000 | None |
 Large Power Generator Large Power Generator | 50 | 4 Ancient | 200 Pal Metal Ingot, 200 Electric Organ | 500,000 | 2 — Electricity Lv. 1 |
 Ancient Power Generator Ancient Power Generator | 75 | 5 normal | 100 Paloxite Ingot, 200 Electric Organ, 10 Ancient Civilization Core | 1,000,000 | Electricity Lv. 6 + Watering |
One row deserves a note. The Large Power Generator costs Ancient Technology Points, which you cannot earn by levelling — they come off tower bosses and dungeon boss chests. The Accumulator costs ordinary points, so it is genuinely available the moment you hit 37, and it is a much cheaper answer to "my base keeps stalling" than saving four Ancient points for thirteen levels. Build the buffer now and the generator later. If you want more raw output on top, the Electric Pylon at Lv. 48 speeds up generation itself, and one per base is the cap on its effect.
 Every Machine the Accumulator Is Protecting
There are 43 structures in the game that need electricity, and their appetites differ by a factor of more than 400 — an Ancient Furnace pulls 3,000 while a Wall Lamp pulls 7. That spread is the whole argument for an Accumulator. A base with lamps and a Sphere Assembly Line barely notices a generator hiccup; a base running a Gigantic Furnace, an oil pump and two advanced assembly lines is spending thousands a second and stops dead the instant supply dips. Look down this list, find the heaviest thing you own, and that tells you how badly you need the buffer.
| Machine | Power draw | Tech Lv. | What it is for |
|---|---|---|---|
 Ancient Furnace Ancient Furnace | 3,000 | 66 | The endgame smelter — joint-heaviest draw in the game |
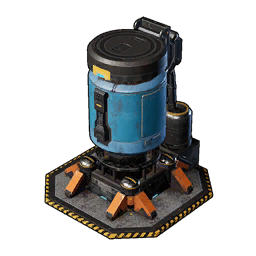 High-Pressure Crude Oil Extractor High-Pressure Crude Oil Extractor | 3,000 | 51 | Pumps Crude Oil anywhere, no oil field needed |
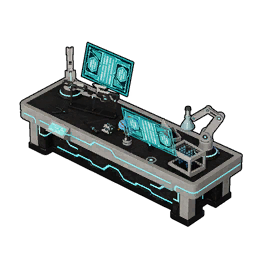 Ancient Workbench Ancient Workbench | 2,000 | 67 | Ancient-tier gear and equipment |
 Crude Oil Extractor Crude Oil Extractor | 2,000 | 50 | The front door to the Plasteel line |
| Gigantic Furnace | 1,500 | 58 | The only station that smelts Hexolite |
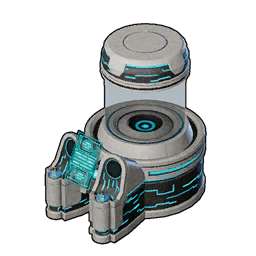 Ancient Hatchery Ancient Hatchery | 1,200 | 76 | Breeds and incubates in one machine |
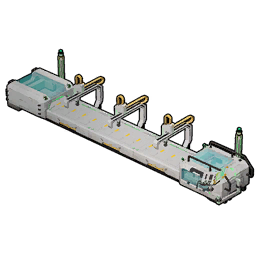 Advanced Workshop Advanced Workshop | 1,000 | 62 | Top-tier materials and AI Core |
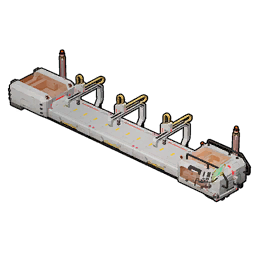 Advanced Weapon Assembly Line Advanced Weapon Assembly Line | 1,000 | 63 | The last weapon bench |
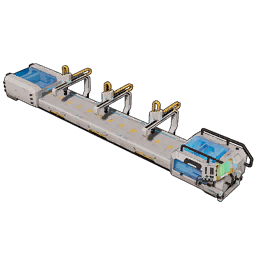 Advanced Sphere Assembly Line Advanced Sphere Assembly Line | 1,000 | 58 | Ultra and Legendary Spheres |
 Advanced Medicine Workbench Advanced Medicine Workbench | 1,000 | 61 | High-grade medical supplies |
 Mounted Missile Launcher Mounted Missile Launcher | 1,000 | 50 | Base defence — and it eats power even between raids |
 Large-Scale Electric Egg Incubator Large-Scale Electric Egg Incubator | 800 | 58 | Multiple eggs at optimal temperature |
 Ancient Material Synthesizer Ancient Material Synthesizer | 800 | 78 | Generates wood and ore outright |
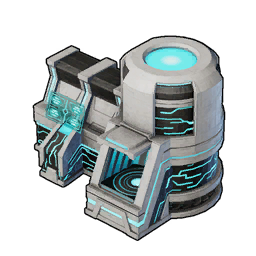 Ancient Relic Recycler Ancient Relic Recycler | 800 | 74 | Turns relics back into usable parts |
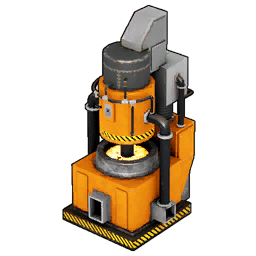 Electric Furnace Electric Furnace | 500 | 44 | The first furnace that makes Pal Metal Ingot |
 Ancient Air Conditioner Ancient Air Conditioner | 500 | — | Holds a whole base at temperature |
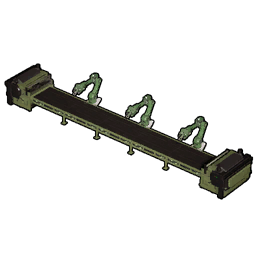 Production Assembly Line II Production Assembly Line II | 400 | 42 | The upgrade to the bench that makes your Coolant |
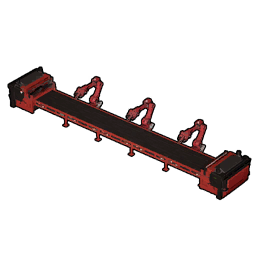 Weapon Assembly Line II Weapon Assembly Line II | 400 | 47 | Mid-game guns |
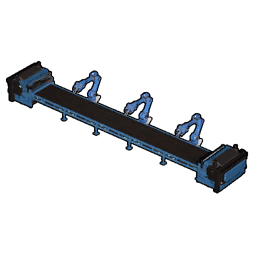 Sphere Assembly Line II Sphere Assembly Line II | 400 | 35 | Hyper and Ultra Spheres |
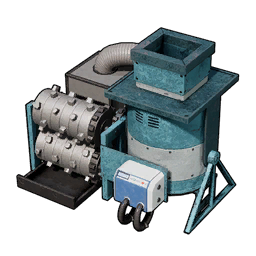 Cryogenic Crusher Cryogenic Crusher | 300 | 54 | Crushes ore into other materials |
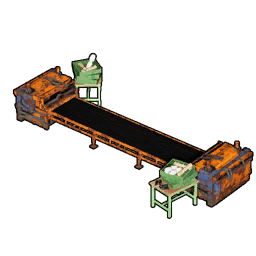 Production Assembly Line Production Assembly Line | 200 | 29 | Makes the Coolant and Solvent for this very build |
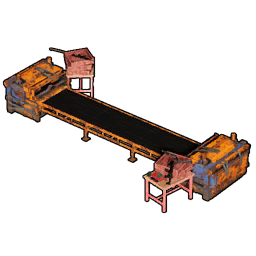 Weapon Assembly Line Weapon Assembly Line | 200 | 32 | Your first powered gun bench |
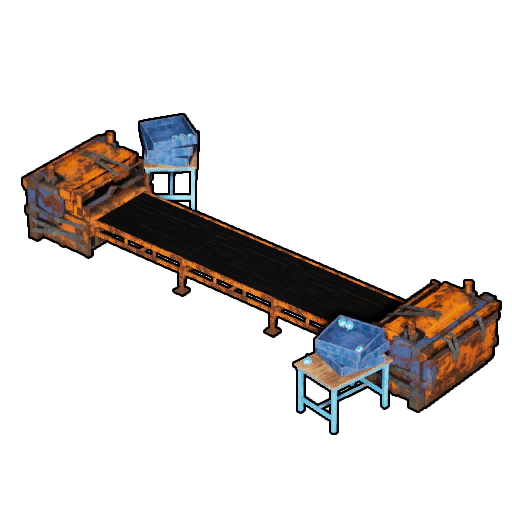 Sphere Assembly Line Sphere Assembly Line | 200 | 27 | Mega and Giga Spheres |
 Gold Coin Assembly Line Gold Coin Assembly Line | 200 | 73 | Turns materials into Gold |
 Electric Egg Incubator Electric Egg Incubator | 200 | 36 | No more swapping heaters around the incubator |
 Electric Heater Electric Heater | 100 | 41 | Raises base temperature |
 Electric Cooler Electric Cooler | 100 | 42 | Lowers base temperature |
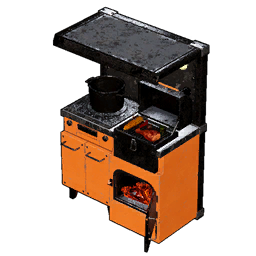 Electric Kitchen Electric Kitchen | 50 | 41 | Bulk cooking, fast |
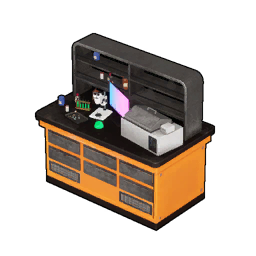 Electric Medicine Workbench Electric Medicine Workbench | 50 | 43 | Better Pal medicine |
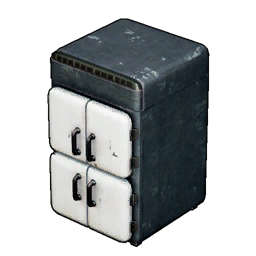 Refrigerator Refrigerator | 50 | 38 | Stops food spoiling |
Those 30 are the ones worth planning around. The remaining 13 are lighting and one turret, and they sit between 7 and 20 apiece — a Wall Lamp at 7, ordinary lamps and street lamps at 10, the Large Ceiling and Mounted Lamps at 20. You could light an entire compound for less than one Electric Furnace costs to run. The practical read for a level 37 base: if you are running the Gigantic Furnace or a Cryogenic Crusher later on, one generator plus an Accumulator will not be enough on its own — but without the Accumulator, even two generators will still stall every time a worker walks away.
Where to Place It and How Many to Build
It has to go inside your Palbox radius like every other base structure, and there is no cap on how many you place. Beyond that, placement is unusually relaxed: it needs no worker, so it does not have to be anywhere near a walkable path, and it does not need line of sight to a generator. Tuck it against a wall out of the way. What it does share with the Power Generator is durability — 10,000 HP and Defense 4, which is on the soft side for something raiders will happily chew through, so keep it inside your walls rather than out on the perimeter where the Mounted Missile Launcher lives.
A few things worth knowing before you commit the materials:
- One is enough to start. Buffers help most when a base has gaps in coverage, not when it is permanently under-powered — if your generator is staffed 24/7 and still cannot keep up, you need a second generator, not a second Accumulator
- Keep your generator Pals happy. The Accumulator smooths over short absences; it cannot fix a worker whose SAN has cratered. A proper feed box and a hot spring do more for base uptime than any amount of storage
- Do not dismantle your Power Generator for parts. The base level checklist asks for that exact structure, and an Accumulator does not substitute for it
- Farm 40 Electric Organ, not 20, if you plan to build a second Power Generator alongside it — same material, same trip
Is the Accumulator Worth Building?
Yes, and it is one of the better 2-point buys in the level 30s. The short version: at level 37 you have a base full of machines that each spend power continuously and exactly one Pal making it, and every time that Pal blinks, everything stops. Two technology points and a single afternoon of materials buys you a cushion over those gaps, with no worker slot and no ongoing cost. It will not carry a base that is genuinely short on generation — that is what the Large Power Generator is for at 50 — but it is the cheapest fix for the specific, extremely common problem of a base that works fine right up until the moment it doesn't.
Related Guides
Hubs: All Palworld structures and build costs, Palworld Technology Tree, Best Generating Electricity Pals, Palworld Interactive Map.
Power and base infrastructure:
The machines that need the power: